2003 BMW 3.0i ROADSTER ECO mode
[x] Cancel search: ECO modePage 42 of 106
Driving
42 positions, however, the vehicle will be
operating in the fourth gear only.
If this happens, avoid extreme engine loads
and consult the nearest BMW center.
Never work in the engine compart-
ment when a drive gear – forward or
reverse – is engaged. If you do so, the vehi-
cle could move.<
For towing, tow-starting and jump-starting:
refer to the information beginning on
page 89.
Electric Power Steering EPS
The concept
The electric power steering is a direct,
sporting steering system that is speed-sen-
sitive.
Power support is reduced with an increase
in driving speed.
Indicator lamp
Electric Power Steering
The indicator lamp stays lit:
The system has malfunctioned or is
faulty.
Please have the system inspected by the
nearest BMW center.
Steering remains operational.
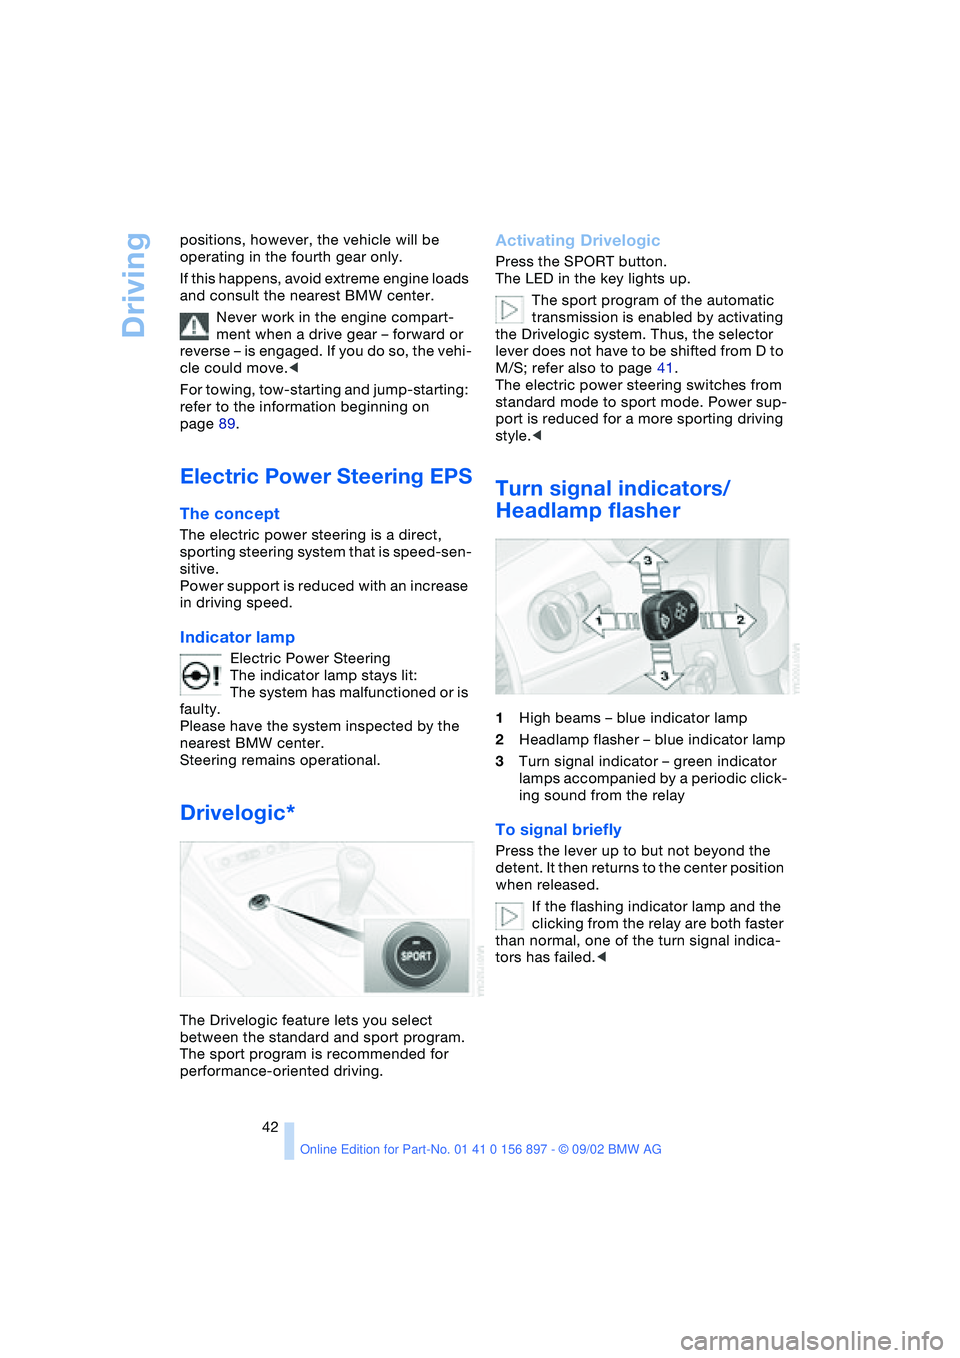
Drivelogic*
The Drivelogic feature lets you select
between the standard and sport program.
The sport program is recommended for
performance-oriented driving.
Activating Drivelogic
Press the SPORT button.
The LED in the key lights up.
The sport program of the automatic
transmission is enabled by activating
the Drivelogic system. Thus, the selector
lever does not have to be shifted from D to
M/S; refer also to page 41.
The electric power steering switches from
standard mode to sport mode. Power sup-
port is reduced for a more sporting driving
style.<
Turn signal indicators/
Headlamp flasher
1High beams – blue indicator lamp
2Headlamp flasher – blue indicator lamp
3Turn signal indicator – green indicator
lamps accompanied by a periodic click-
ing sound from the relay
To signal briefly
Press the lever up to but not beyond the
detent. It then returns to the center position
when released.
If the flashing indicator lamp and the
clicking from the relay are both faster
than normal, one of the turn signal indica-
tors has failed.<
Page 49 of 106
At a glance
Controls
Driving tips
Mobility
Reference
49
4.Press button 1 repeatedly until the
required minutes are set
5.Press button 2 to confirm the settings.
The set time of day is transferred to the car
radio display or appears in the instrument
cluster display.
Display mode
In ignition key position 0:
Press button 1.
The time of day is displayed for several
seconds.
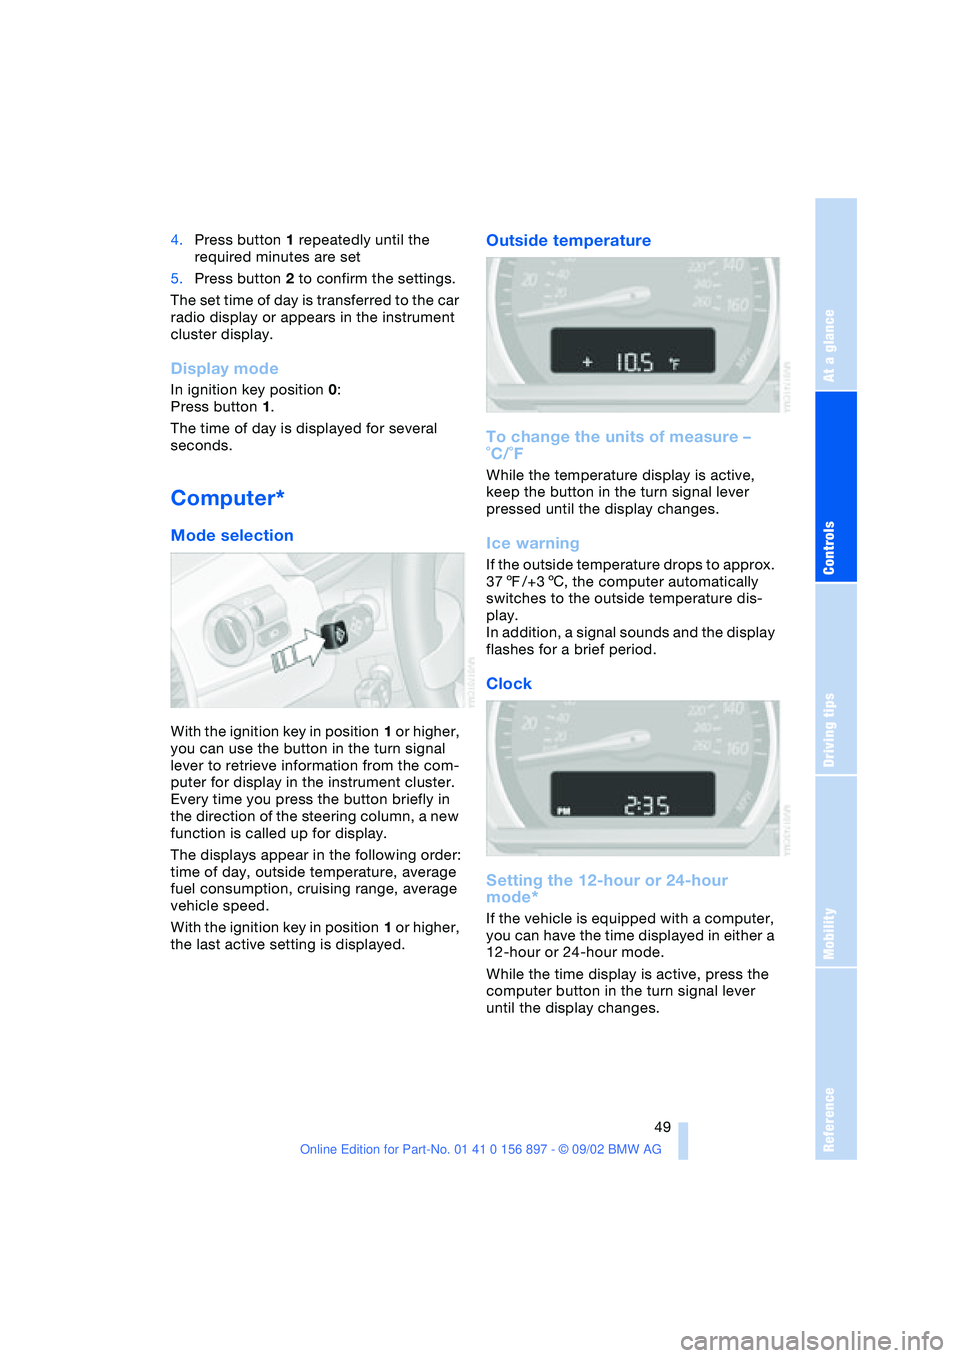
Computer*
Mode selection
With the ignition key in position 1 or higher,
you can use the button in the turn signal
lever to retrieve information from the com-
puter for display in the instrument cluster.
Every time you press the button briefly in
the direction of the steering column, a new
function is called up for display.
The displays appear in the following order:
time of day, outside temperature, average
fuel consumption, cruising range, average
vehicle speed.
With the ignition key in position 1 or higher,
the last active setting is displayed.
Outside temperature
To change the units of measure –
˚C/˚F
While the temperature display is active,
keep the button in the turn signal lever
pressed until the display changes.
Ice warning
If the outside temperature drops to approx.
377/+36, the computer automatically
switches to the outside temperature dis-
play.
In addition, a signal sounds and the display
flashes for a brief period.
Clock
Setting the 12-hour or 24-hour
mode*
If the vehicle is equipped with a computer,
you can have the time displayed in either a
12-hour or 24-hour mode.
While the time display is active, press the
computer button in the turn signal lever
until the display changes.
Page 52 of 106
Technology for safety and driving convenience
52 For more information on the various
systems, refer to the "Technology"
brochure.<
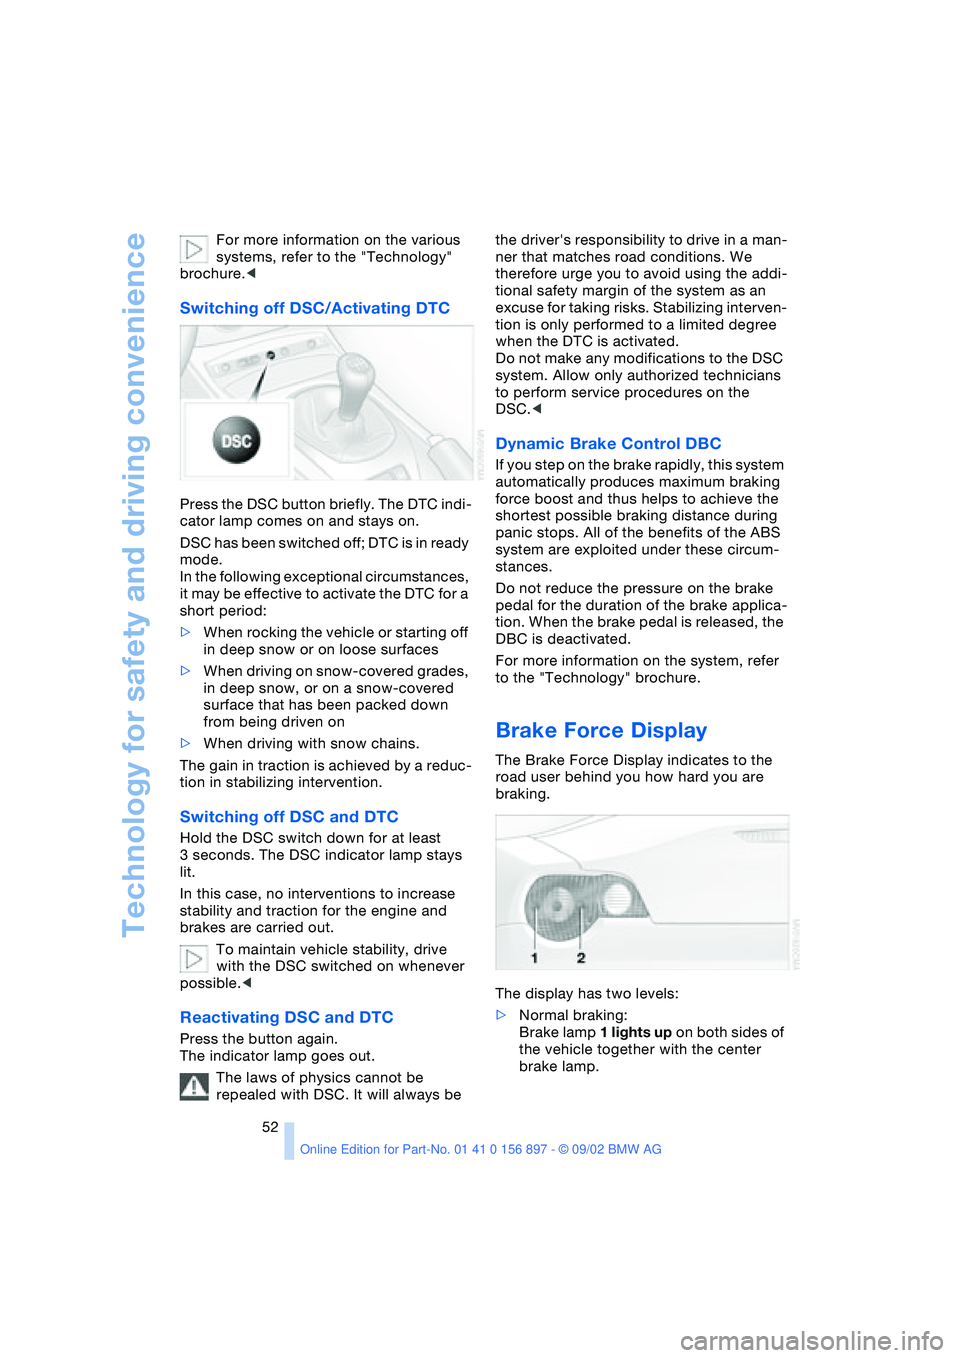
Switching off DSC/Activating DTC
Press the DSC button briefly. The DTC indi-
cator lamp comes on and stays on.
DSC has been switched off; DTC is in ready
mode.
In the following exceptional circumstances,
it may be effective to activate the DTC for a
short period:
>When rocking the vehicle or starting off
in deep snow or on loose surfaces
>When driving on snow-covered grades,
in deep snow, or on a snow-covered
surface that has been packed down
from being driven on
>When driving with snow chains.
The gain in traction is achieved by a reduc-
tion in stabilizing intervention.
Switching off DSC and DTC
Hold the DSC switch down for at least
3 seconds. The DSC indicator lamp stays
lit.
In this case, no interventions to increase
stability and traction for the engine and
brakes are carried out.
To maintain vehicle stability, drive
with the DSC switched on whenever
possible.<
Reactivating DSC and DTC
Press the button again.
The indicator lamp goes out.
The laws of physics cannot be
repealed with DSC. It will always be the driver's responsibility to drive in a man-
ner that matches road conditions. We
therefore urge you to avoid using the addi-
tional safety margin of the system as an
excuse for taking risks. Stabilizing interven-
tion is only performed to a limited degree
when the DTC is activated.
Do not make any modifications to the DSC
system. Allow only authorized technicians
to perform service procedures on the
DSC.<
Dynamic Brake Control DBC
If you step on the brake rapidly, this system
automatically produces maximum braking
force boost and thus helps to achieve the
shortest possible braking distance during
panic stops. All of the benefits of the ABS
system are exploited under these circum-
stances.
Do not reduce the pressure on the brake
pedal for the duration of the brake applica-
tion. When the brake pedal is released, the
DBC is deactivated.
For more information on the system, refer
to the "Technology" brochure.
Brake Force Display
The Brake Force Display indicates to the
road user behind you how hard you are
braking.
The display has two levels:
>Normal braking:
Brake lamp 1 lights up on both sides of
the vehicle together with the center
brake lamp.
Page 53 of 106
At a glance
Controls
Driving tips
Mobility
Reference
53
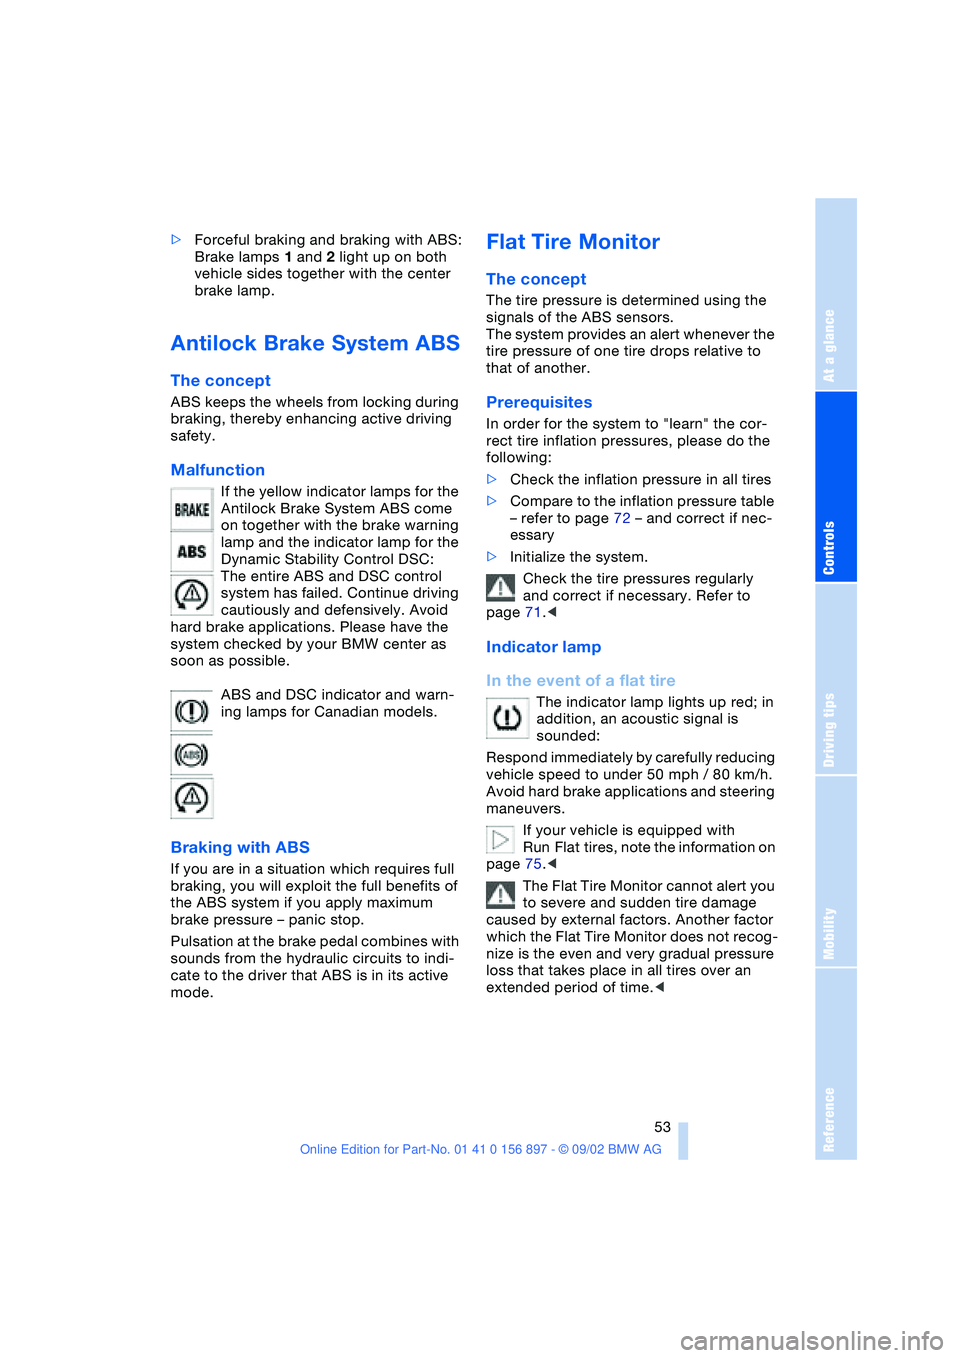
>Forceful braking and braking with ABS:
Brake lamps 1 and 2 light up on both
vehicle sides together with the center
brake lamp.
Antilock Brake System ABS
The concept
ABS keeps the wheels from locking during
braking, thereby enhancing active driving
safety.
Malfunction
If the yellow indicator lamps for the
Antilock Brake System ABS come
on together with the brake warning
lamp and the indicator lamp for the
Dynamic Stability Control DSC:
The entire ABS and DSC control
system has failed. Continue driving
cautiously and defensively. Avoid
hard brake applications. Please have the
system checked by your BMW center as
soon as possible.
ABS and DSC indicator and warn-
ing lamps for Canadian models.
Braking with ABS
If you are in a situation which requires full
braking, you will exploit the full benefits of
the ABS system if you apply maximum
brake pressure – panic stop.
Pulsation at the brake pedal combines with
sounds from the hydraulic circuits to indi-
cate to the driver that ABS is in its active
mode.
Flat Tire Monitor
The concept
The tire pressure is determined using the
signals of the ABS sensors.
The system provides an alert whenever the
tire pressure of one tire drops relative to
that of another.
Prerequisites
In order for the system to "learn" the cor-
rect tire inflation pressures, please do the
following:
>Check the inflation pressure in all tires
>Compare to the inflation pressure table
– refer to page 72 – and correct if nec-
essary
>Initialize the system.
Check the tire pressures regularly
and correct if necessary. Refer to
page 71.<
Indicator lamp
In the event of a flat tire
The indicator lamp lights up red; in
addition, an acoustic signal is
sounded:
Respond immediately by carefully reducing
vehicle speed to under 50 mph / 80 km/h.
Avoid hard brake applications and steering
maneuvers.
If your vehicle is equipped with
Run Flat tires, note the information on
page 75.<
The Flat Tire Monitor cannot alert you
to severe and sudden tire damage
caused by external factors. Another factor
which the Flat Tire Monitor does not recog-
nize is the even and very gradual pressure
loss that takes place in all tires over an
extended period of time.<
Page 56 of 106
Controlling the climate for pleasant driving
56
Air distribution
You can direct airflow onto the
windows , toward the upper
body and into the footwell .
All intermediate settings are pos-
sible.
Air supply/blower
You can set the blower to 8 differ-
ent levels. Both heating and ven-
tilation become more effective as
the air supply rate is increased.
Temperature
In order to increase the tempera-
ture of the passenger compart-
ment, turn to the right – red zone.
Air conditioning
The air is cooled and dehumidi-
fied and – depending on the tem-
perature setting – rewarmed.
Depending on the weather, the
windshield may fog over briefly when the
engine is started.
Condensation forms during operation
of the air conditioning system, which
then exits under the vehicle. Traces of con-
densed water on the ground underneath
the vehicle are thus normal.<
Outside-air/recirculated-air mode
If there are unpleasant odors in
the outside air, you can tempo-
rarily block the supply of incom-
ing air. The system then recircu-
lates the air currently within the vehicle.
If the windows fog over in the recircu-
lated air mode, switch this mode off
and increase the air supply as required.<
Rear window defroster
The indicator lamp lights up when
the rear window defroster is
active. The rear window defroster
switches off automatically.
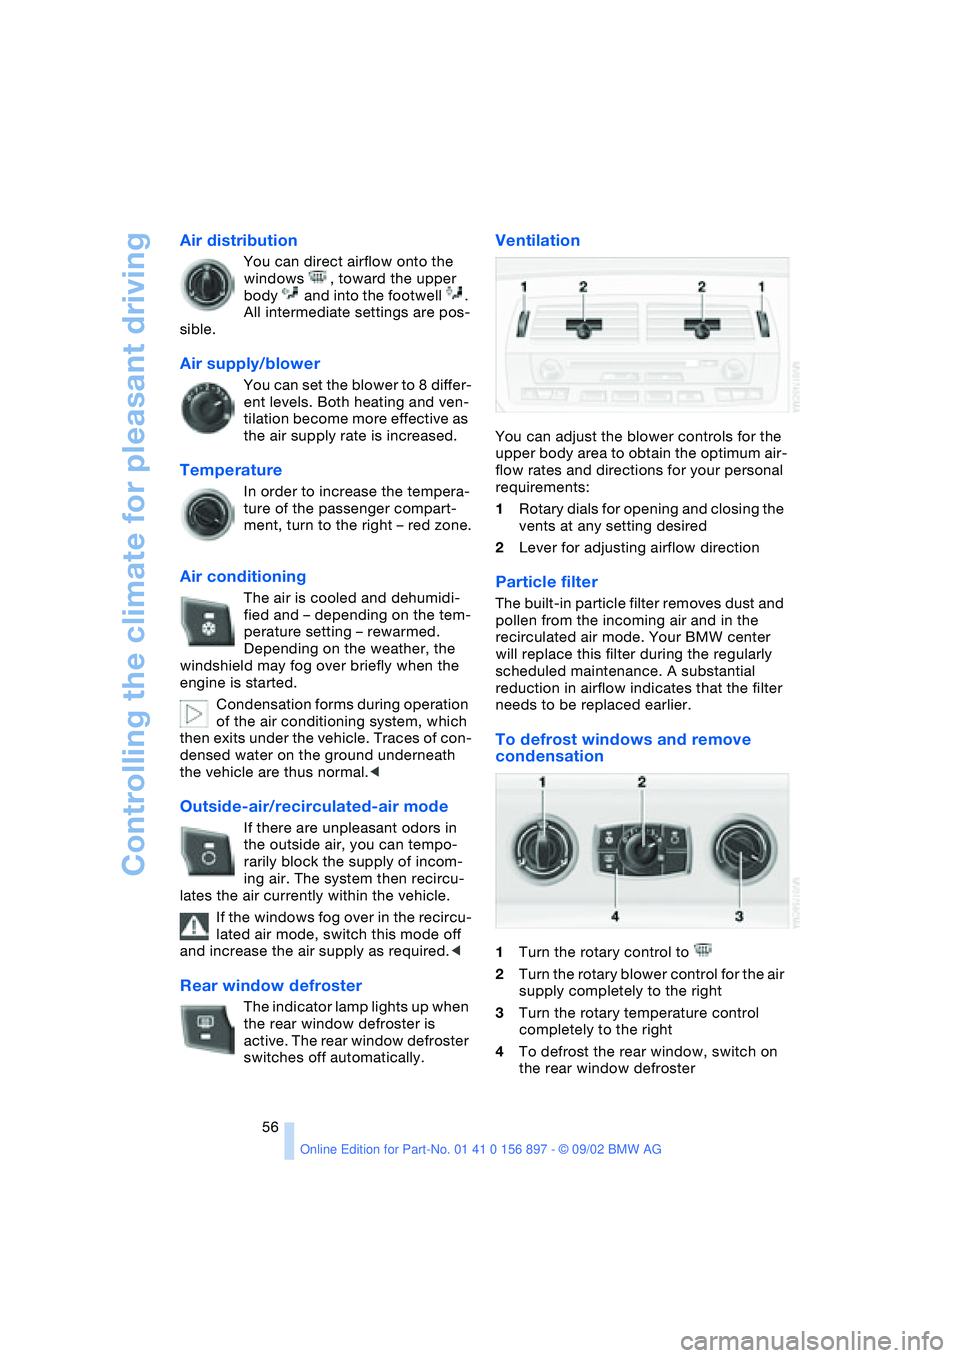
Ventilation
You can adjust the blower controls for the
upper body area to obtain the optimum air-
flow rates and directions for your personal
requirements:
1Rotary dials for opening and closing the
vents at any setting desired
2Lever for adjusting airflow direction
Particle filter
The built-in particle filter removes dust and
pollen from the incoming air and in the
recirculated air mode. Your BMW center
will replace this filter during the regularly
scheduled maintenance. A substantial
reduction in airflow indicates that the filter
needs to be replaced earlier.
To defrost windows and remove
condensation
1Turn the rotary control to
2Turn the rotary blower control for the air
supply completely to the right
3Turn the rotary temperature control
completely to the right
4To defrost the rear window, switch on
the rear window defroster
Page 66 of 106
Special operating instructions
66 the engine switched off. Otherwise the
engine provides no braking effect and there
is no power-assist for braking or steering
when the engine is off.<
Brake pads
The yellow indicator lamp for the
brake pads lights up:
Have the condition of the brake
pads inspected.<
For your own safety: use brake pads
which the manufacturer has approved
for your specific vehicle model. The manu-
facturer cannot evaluate non-approved
brake pads to determine if they are suitable
for use, and therefore cannot ensure the
operating safety of the vehicle in the event
of their use.<
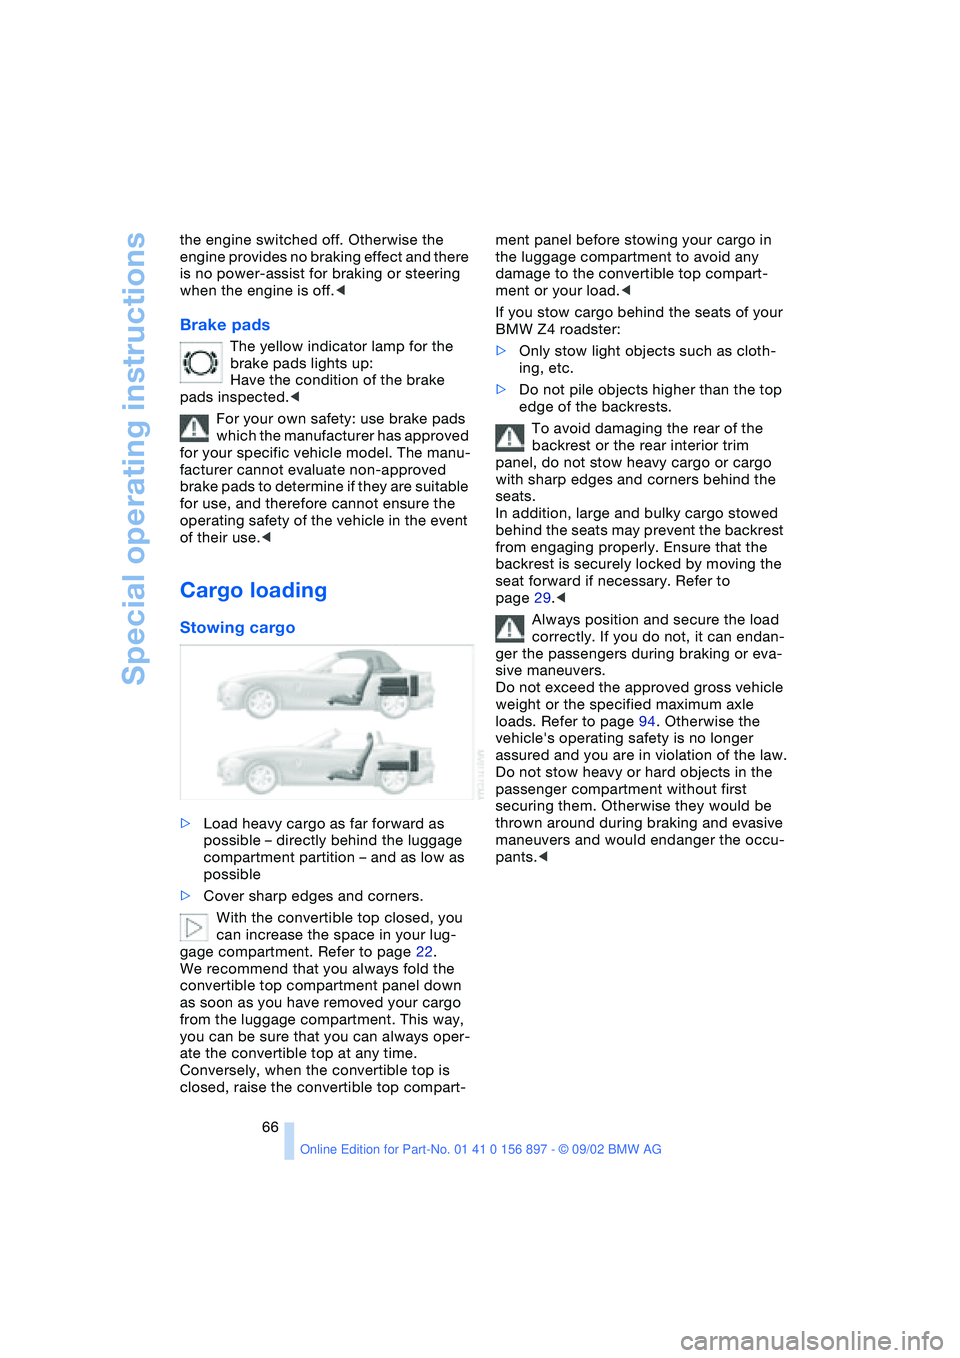
Cargo loading
Stowing cargo
>Load heavy cargo as far forward as
possible – directly behind the luggage
compartment partition – and as low as
possible
>Cover sharp edges and corners.
With the convertible top closed, you
can increase the space in your lug-
gage compartment. Refer to page 22.
We recommend that you always fold the
convertible top compartment panel down
as soon as you have removed your cargo
from the luggage compartment. This way,
you can be sure that you can always oper-
ate the convertible top at any time.
Conversely, when the convertible top is
closed, raise the convertible top compart-ment panel before stowing your cargo in
the luggage compartment to avoid any
damage to the convertible top compart-
ment or your load.<
If you stow cargo behind the seats of your
BMW Z4 roadster:
>Only stow light objects such as cloth-
ing, etc.
>Do not pile objects higher than the top
edge of the backrests.
To avoid damaging the rear of the
backrest or the rear interior trim
panel, do not stow heavy cargo or cargo
with sharp edges and corners behind the
seats.
In addition, large and bulky cargo stowed
behind the seats may prevent the backrest
from engaging properly. Ensure that the
backrest is securely locked by moving the
seat forward if necessary. Refer to
page 29.<
Always position and secure the load
correctly. If you do not, it can endan-
ger the passengers during braking or eva-
sive maneuvers.
Do not exceed the approved gross vehicle
weight or the specified maximum axle
loads. Refer to page 94. Otherwise the
vehicle's operating safety is no longer
assured and you are in violation of the law.
Do not stow heavy or hard objects in the
passenger compartment without first
securing them. Otherwise they would be
thrown around during braking and evasive
maneuvers and would endanger the occu-
pants.<
Page 81 of 106
At a glance
Controls
Driving tips
Mobility
Reference
81
allow accumulated pressure to escape,
then open completely
2.The coolant level is correct when the
upper end of the red float is at least
even with the upper edge of the filler
neck but no more than ι in / 2 cm
above it, that is, up to the second mark
on the float. Refer also to the schematic
diagram next to the filler neck
3.If necessary, add coolant. Slowly add
coolant until the correct level is reached
– do not overfill.
Comply with the applicable environ-
mental laws regulating the disposal of
extended-duty antifreeze with corrosion
inhibitor.<
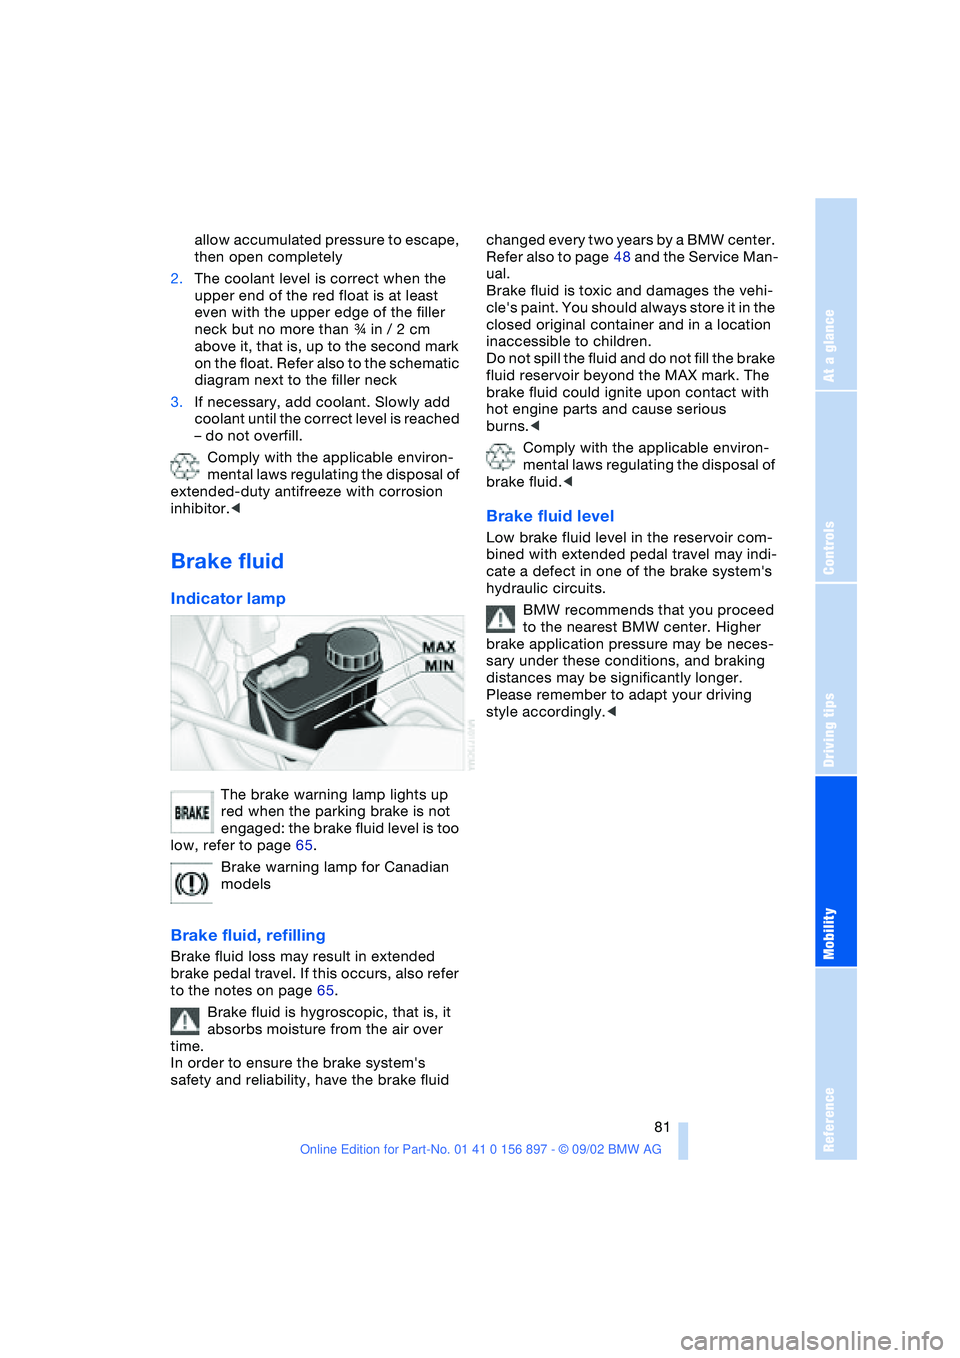
Brake fluid
Indicator lamp
The brake warning lamp lights up
red when the parking brake is not
engaged: the brake fluid level is too
low, refer to page 65.
Brake warning lamp for Canadian
models
Brake fluid, refilling
Brake fluid loss may result in extended
brake pedal travel. If this occurs, also refer
to the notes on page 65.
Brake fluid is hygroscopic, that is, it
absorbs moisture from the air over
time.
In order to ensure the brake system's
safety and reliability, have the brake fluid changed every two years by a BMW center.
Refer also to page 48 and the Service Man-
ual.
Brake fluid is toxic and damages the vehi-
cle's paint. You should always store it in the
closed original container and in a location
inaccessible to children.
Do not spill the fluid and do not fill the brake
fluid reservoir beyond the MAX mark. The
brake fluid could ignite upon contact with
hot engine parts and cause serious
burns.<
Comply with the applicable environ-
mental laws regulating the disposal of
brake fluid.<
Brake fluid level
Low brake fluid level in the reservoir com-
bined with extended pedal travel may indi-
cate a defect in one of the brake system's
hydraulic circuits.
BMW recommends that you proceed
to the nearest BMW center. Higher
brake application pressure may be neces-
sary under these conditions, and braking
distances may be significantly longer.
Please remember to adapt your driving
style accordingly.<
Page 82 of 106
Maintenance
82
Maintenance
The BMW Maintenance
System
The BMW Maintenance System has been
designed as a reliable means of providing
maximum driving and operating safety –
and as cost-effectively for you as possible.
Please keep in mind that regular mainte-
nance is not only necessary for the safety
of your vehicle, but also plays a significant
role in maintaining the resale value of your
vehicle.
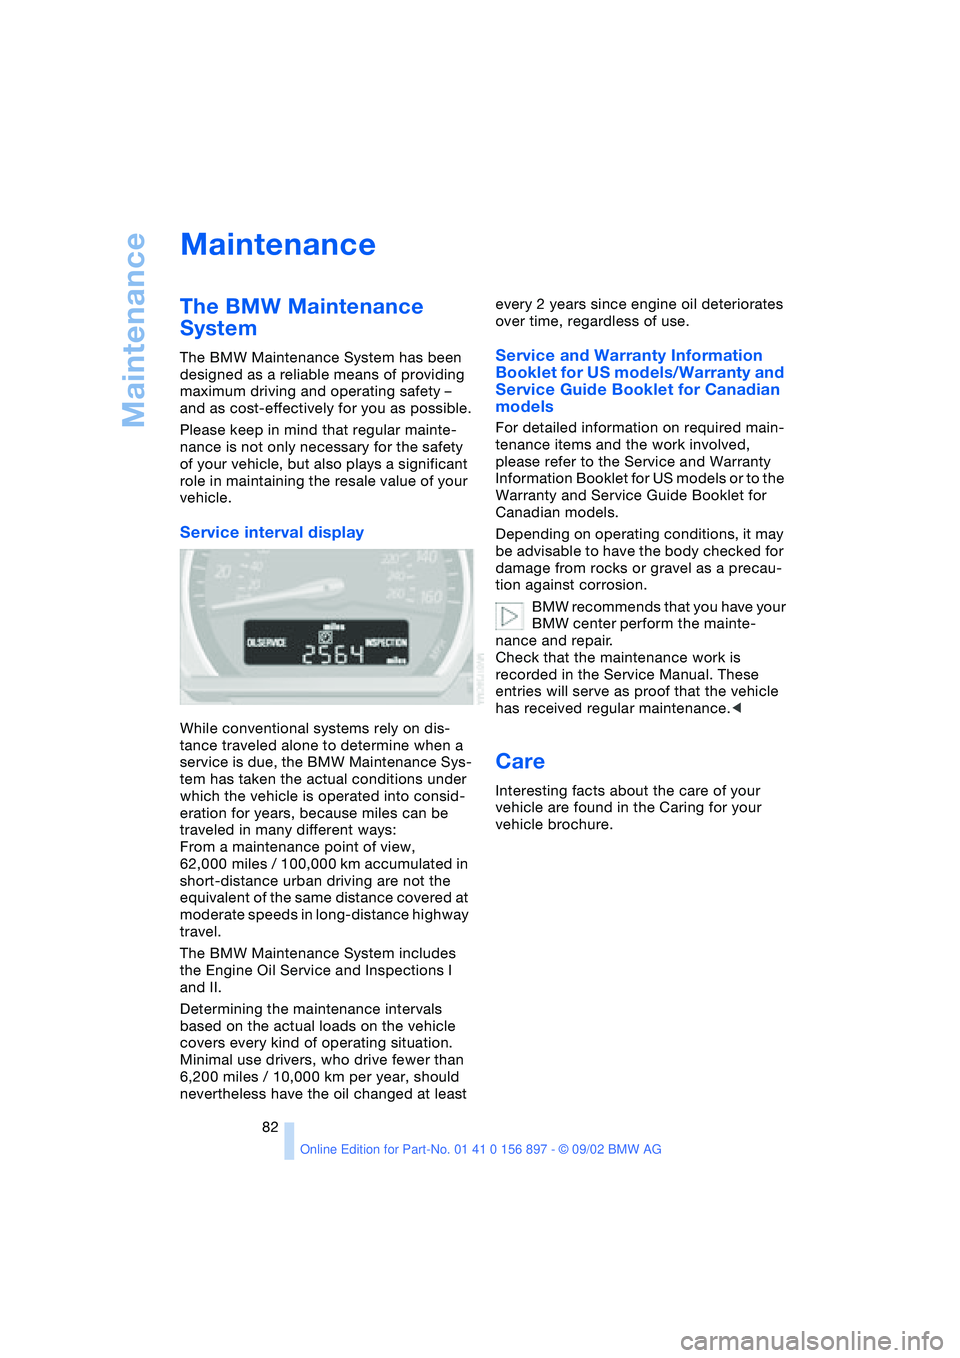
Service interval display
While conventional systems rely on dis-
tance traveled alone to determine when a
service is due, the BMW Maintenance Sys-
tem has taken the actual conditions under
which the vehicle is operated into consid-
eration for years, because miles can be
traveled in many different ways:
From a maintenance point of view,
62,000 miles / 100,000 km accumulated in
short-distance urban driving are not the
equivalent of the same distance covered at
moderate speeds in long-distance highway
travel.
The BMW Maintenance System includes
the Engine Oil Service and Inspections I
and II.
Determining the maintenance intervals
based on the actual loads on the vehicle
covers every kind of operating situation.
Minimal use drivers, who drive fewer than
6,200 miles / 10,000 km per year, should
nevertheless have the oil changed at least every 2 years since engine oil deteriorates
over time, regardless of use.
Service and Warranty Information
Booklet for US models/Warranty and
Service Guide Booklet for Canadian
models
For detailed information on required main-
tenance items and the work involved,
please refer to the Service and Warranty
Information Booklet for US models or to the
Warranty and Service Guide Booklet for
Canadian models.
Depending on operating conditions, it may
be advisable to have the body checked for
damage from rocks or gravel as a precau-
tion against corrosion.
BMW recommends that you have your
BMW center perform the mainte-
nance and repair.
Check that the maintenance work is
recorded in the Service Manual. These
entries will serve as proof that the vehicle
has received regular maintenance.<
Care
Interesting facts about the care of your
vehicle are found in the Caring for your
vehicle brochure.