2002 NISSAN ALTIMA battery
[x] Cancel search: batteryPage 194 of 249
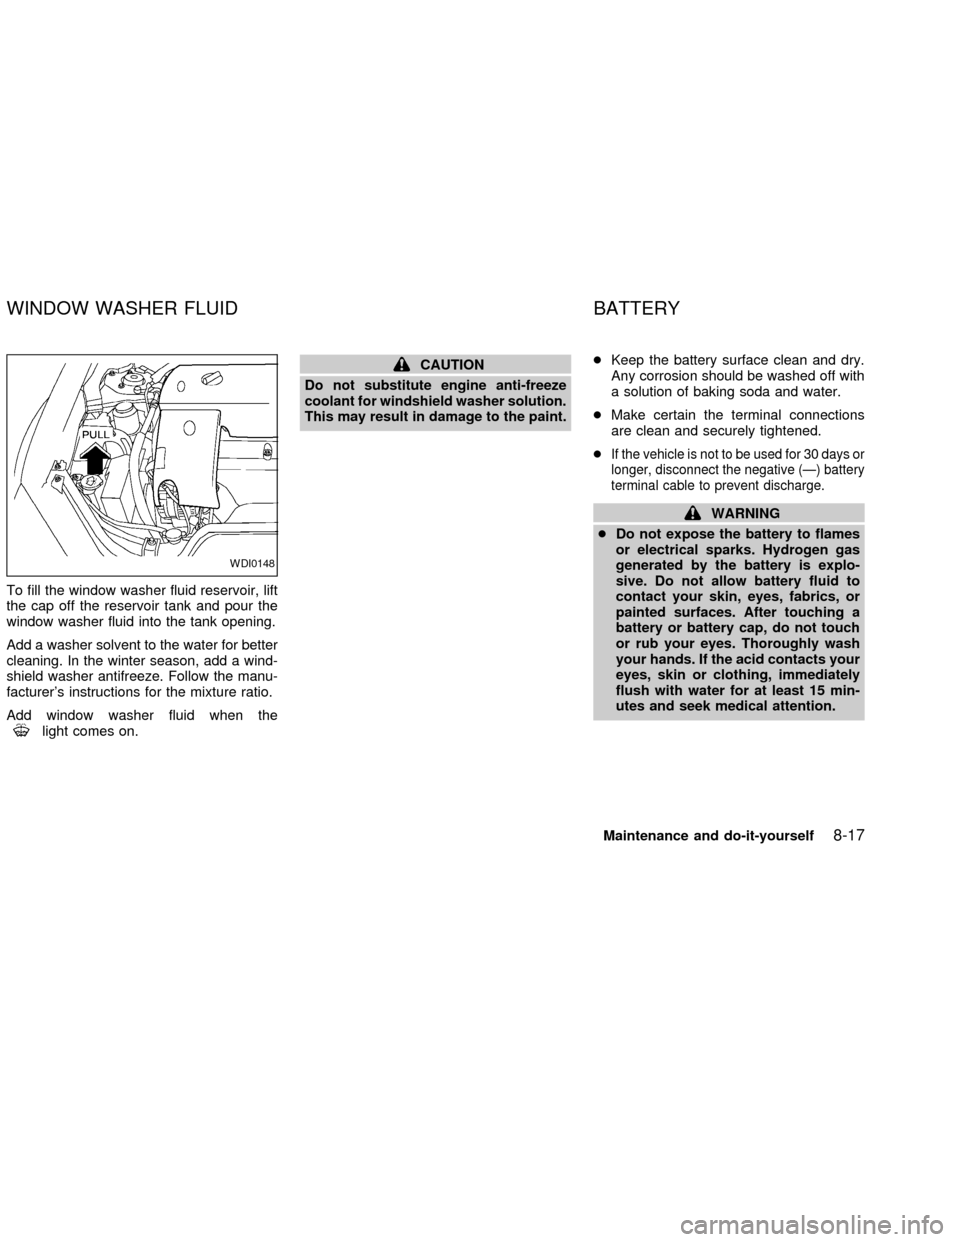
To fill the window washer fluid reservoir, lift
the cap off the reservoir tank and pour the
window washer fluid into the tank opening.
Add a washer solvent to the water for better
cleaning. In the winter season, add a wind-
shield washer antifreeze. Follow the manu-
facturer's instructions for the mixture ratio.
Add window washer fluid when the
light comes on.
CAUTION
Do not substitute engine anti-freeze
coolant for windshield washer solution.
This may result in damage to the paint.cKeep the battery surface clean and dry.
Any corrosion should be washed off with
a solution of baking soda and water.
cMake certain the terminal connections
are clean and securely tightened.
c
If the vehicle is not to be used for 30 days or
longer, disconnect the negative (Ð) battery
terminal cable to prevent discharge.
WARNING
cDo not expose the battery to flames
or electrical sparks. Hydrogen gas
generated by the battery is explo-
sive. Do not allow battery fluid to
contact your skin, eyes, fabrics, or
painted surfaces. After touching a
battery or battery cap, do not touch
or rub your eyes. Thoroughly wash
your hands. If the acid contacts your
eyes, skin or clothing, immediately
flush with water for at least 15 min-
utes and seek medical attention.
WDI0148
WINDOW WASHER FLUID BATTERY
Maintenance and do-it-yourself8-17
ZX
Page 195 of 249

cDo not operate the vehicle if the fluid
in the battery is low. Low battery
fluid can cause a higher load on the
battery which can generate heat, re-
duce battery life, and in some cases
lead to an explosion.
cWhen working on or near the battery,
always wear suitable eye protection
and remove all jewelry.
cBattery posts, terminals and related
accessories contain lead and lead
compounds. Wash hands after han-
dling.
cKeep the battery out of the reach of
children.1. To remove the cap, gently pry between
the battery cap and cover as illustrated.
Use a cloth to protect the battery case.2. Check the fluid level in each cell.
If it is necessary to add fluid, add only
distilled water to bring the level up to the
OK level indicator in each filler opening.
Do not overfill.
Vehicles operated in high temperatures
or under severe conditions require fre-
quent checks of the battery fluid level.
JUMP STARTING
If jump starting is necessary, see the ``In
case of emergency'' section of this owner's
manual. If the engine does not start by jump
starting, the battery may have to be re-
ADI0500DI1310
8-18Maintenance and do-it-yourself
ZX
Page 197 of 249
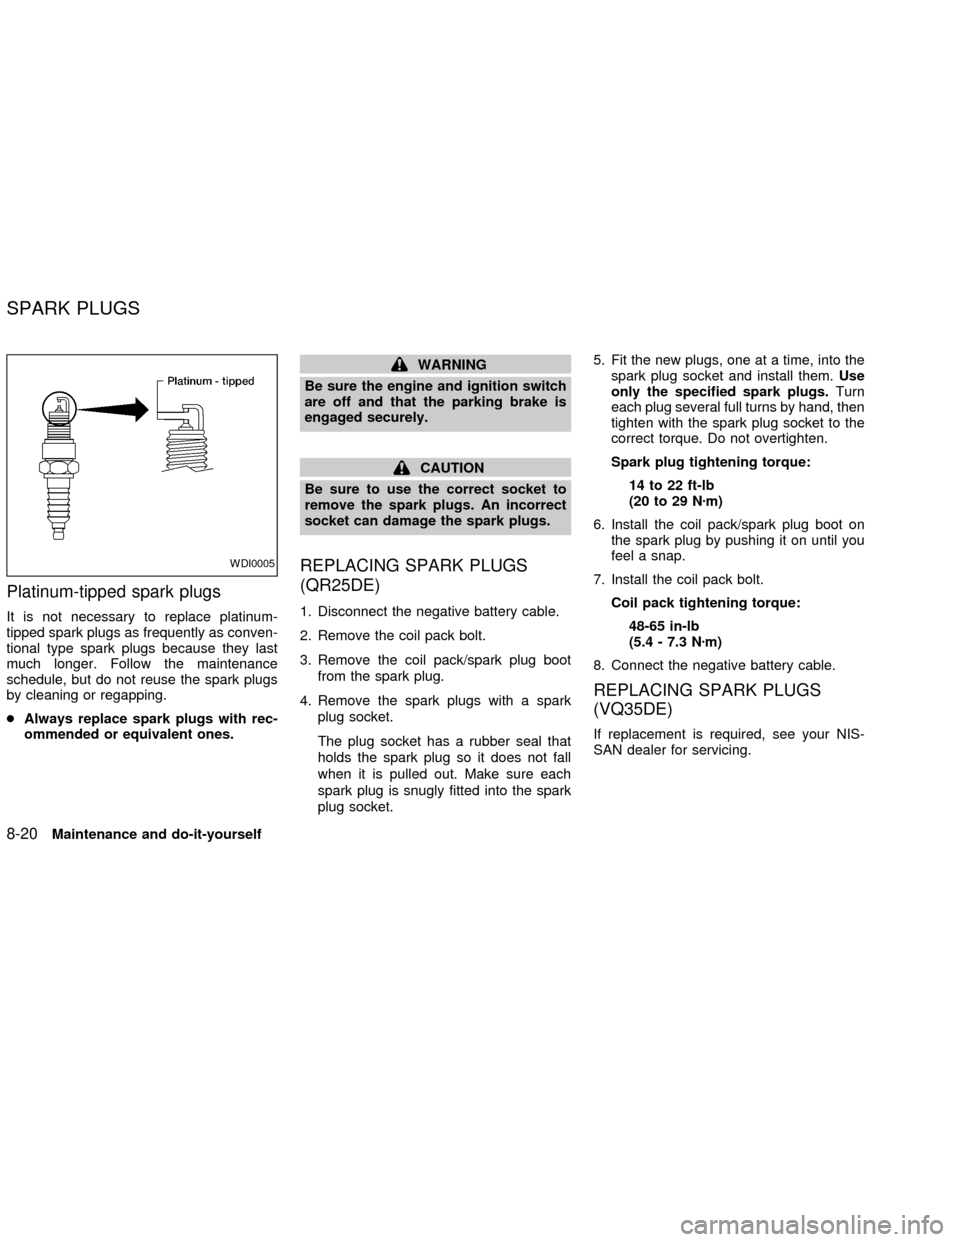
Platinum-tipped spark plugs
It is not necessary to replace platinum-
tipped spark plugs as frequently as conven-
tional type spark plugs because they last
much longer. Follow the maintenance
schedule, but do not reuse the spark plugs
by cleaning or regapping.
cAlways replace spark plugs with rec-
ommended or equivalent ones.
WARNING
Be sure the engine and ignition switch
are off and that the parking brake is
engaged securely.
CAUTION
Be sure to use the correct socket to
remove the spark plugs. An incorrect
socket can damage the spark plugs.
REPLACING SPARK PLUGS
(QR25DE)
1. Disconnect the negative battery cable.
2. Remove the coil pack bolt.
3. Remove the coil pack/spark plug boot
from the spark plug.
4. Remove the spark plugs with a spark
plug socket.
The plug socket has a rubber seal that
holds the spark plug so it does not fall
when it is pulled out. Make sure each
spark plug is snugly fitted into the spark
plug socket.5. Fit the new plugs, one at a time, into the
spark plug socket and install them.Use
only the specified spark plugs.Turn
each plug several full turns by hand, then
tighten with the spark plug socket to the
correct torque. Do not overtighten.
Spark plug tightening torque:
14 to 22 ft-lb
(20 to 29 Nzm)
6. Install the coil pack/spark plug boot on
the spark plug by pushing it on until you
feel a snap.
7. Install the coil pack bolt.
Coil pack tightening torque:
48-65 in-lb
(5.4 - 7.3 Nzm)
8. Connect the negative battery cable.
REPLACING SPARK PLUGS
(VQ35DE)
If replacement is required, see your NIS-
SAN dealer for servicing.
WDI0005
SPARK PLUGS
8-20Maintenance and do-it-yourself
ZX
Page 206 of 249
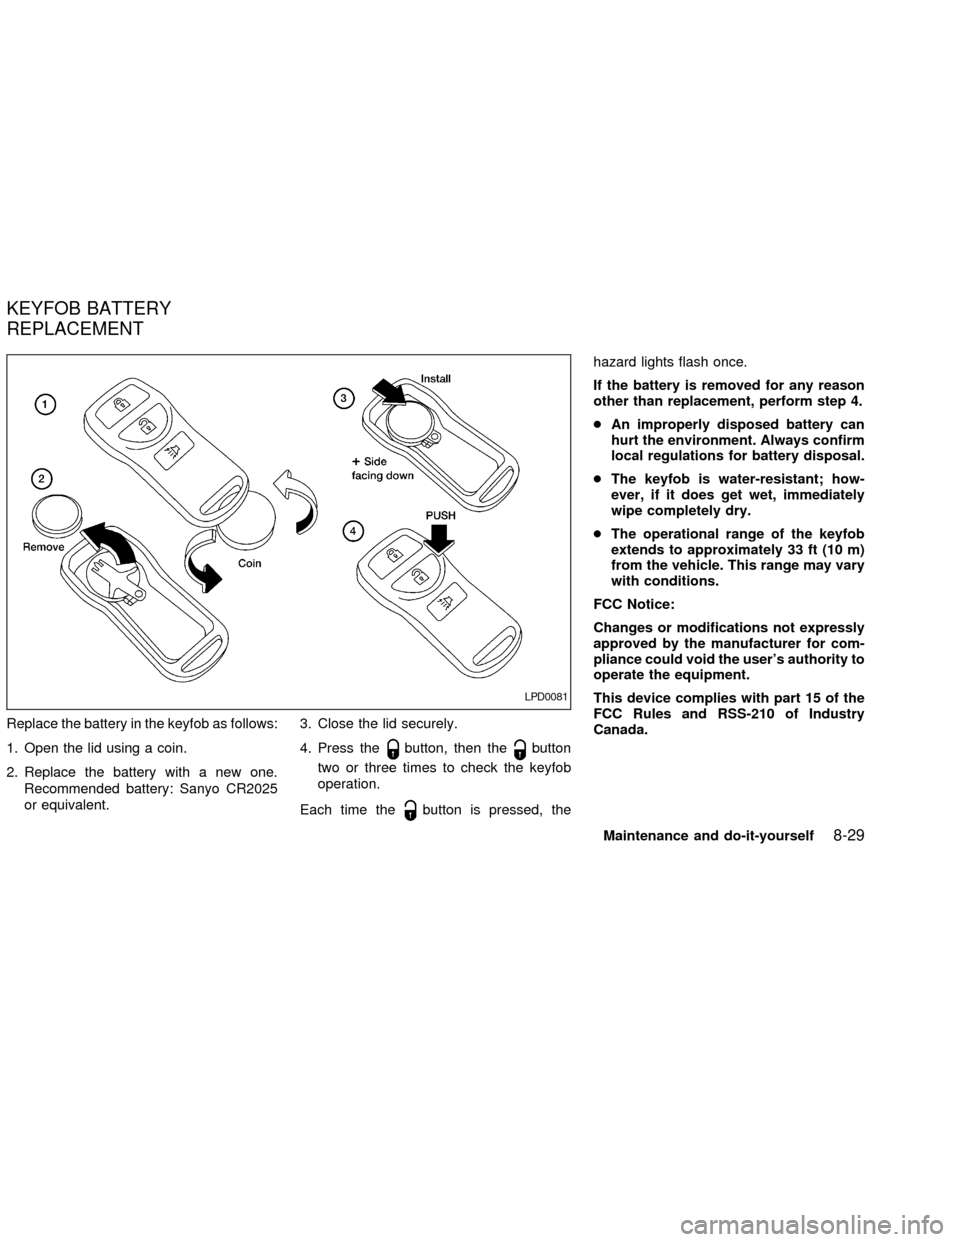
Replace the battery in the keyfob as follows:
1. Open the lid using a coin.
2. Replace the battery with a new one.
Recommended battery: Sanyo CR2025
or equivalent.3. Close the lid securely.
4. Press the
button, then thebutton
two or three times to check the keyfob
operation.
Each time the
button is pressed, thehazard lights flash once.
If the battery is removed for any reason
other than replacement, perform step 4.
cAn improperly disposed battery can
hurt the environment. Always confirm
local regulations for battery disposal.
cThe keyfob is water-resistant; how-
ever, if it does get wet, immediately
wipe completely dry.
cThe operational range of the keyfob
extends to approximately 33 ft (10 m)
from the vehicle. This range may vary
with conditions.
FCC Notice:
Changes or modifications not expressly
approved by the manufacturer for com-
pliance could void the user's authority to
operate the equipment.
This device complies with part 15 of the
FCC Rules and RSS-210 of Industry
Canada.
LPD0081
KEYFOB BATTERY
REPLACEMENT
Maintenance and do-it-yourself8-29
ZX
Page 208 of 249

FRONT
PARK/TURN/SIDEMARKER
LIGHT
Bulb replacement requires the removal of
the headlight assembly. If replacement is
required, see your NISSAN dealer.
FOG LIGHTS
Replacing the fog light bulb
1. Disconnect the negative (-) battery cable.
2. Remove the two splash shield screws
(see illustration).
3. Position the splash shield aside to allow
access to the fog light bulb.
4. Disconnect the fog light electrical con-
nector.
5. Rotate the fog light bulb counterclock-
wise and pull it out of the fog light assem-
bly.
6. Follow the instructions in reverse order to
install a new bulb.
LDI0114LDI0115
Maintenance and do-it-yourself8-31
ZX
Page 239 of 249
Due to legal requirements in some states
and Canadian Provinces, your vehicle may
be required to be in what is called the ``ready
condition'' for an Inspection/Maintenance
(I/M) test of the emission control system.
The vehicle is set to the ``ready condition''
when it is driven through certain driving
patterns. Usually, the ready condition can be
obtained by ordinary usage of the vehicle.
If a powertrain system component is repaired
or the battery is disconnected, the vehicle
may be reset to a ``not ready'' condition.
Before taking the I/M test, drive the vehicle
through the following pattern to set the ve-
hicle to the ready condition. If you cannot or
do not want to perform the driving pattern, a
NISSAN dealer can conduct it for you.
WARNING
Always drive the vehicle in a safe and
prudent manner according to traffic
conditions and obey all traffic laws.
1. Start the engine when the engine coolant
temperature gauge needle points to C.
Allow the engine to idle until the gauge
needle points between the C and H (nor-
mal operating temperature).2. Accelerate the vehicle to 55 mph (88
km/h), then quickly release the accelera-
tor pedal completely and keep it released
for at least 6 seconds.
3. Quickly depress the accelerator pedal for
a moment, then drive the vehicle at a
speed of 53 to 60 mph (86 to 96 km/h) for
at least 5 minutes.
4. Stop the vehicle.
5. Accelerate the vehicle to 35 mph (55
km/h) and maintain the speed for 20
seconds.
6. Repeat steps four through five at least
three times.
7. Accelerate the vehicle to 55 mph (88
km/h) and maintain the speed for at least
3 minutes.
8. Stop the vehicle (shift lever in the ``P'' or
``N'' position).
9. Rev the engine up between 2,500 and
3,500 rpm and hold it for 3 consecutive
minutes, then release the accelerator
pedal completely.
10. Wait 5 seconds at idle.
11. Rev the engine up between 2,000 and3,000 rpm and maintain it for 5 consecu-
tive minutes.
12. Stop the vehicle and turn the engine off.
13. Repeat steps one through twelve at
least one more time.
If step one through seven is interrupted,
repeat the preceding step. Any safe driving
mode is acceptable between steps. Do not
stop the engine until step seven is com-
pleted.
READINESS FOR
INSPECTION/MAINTENANCE
(I/M) TEST (US only)
9-20Technical and consumer information
ZX
Page 242 of 249
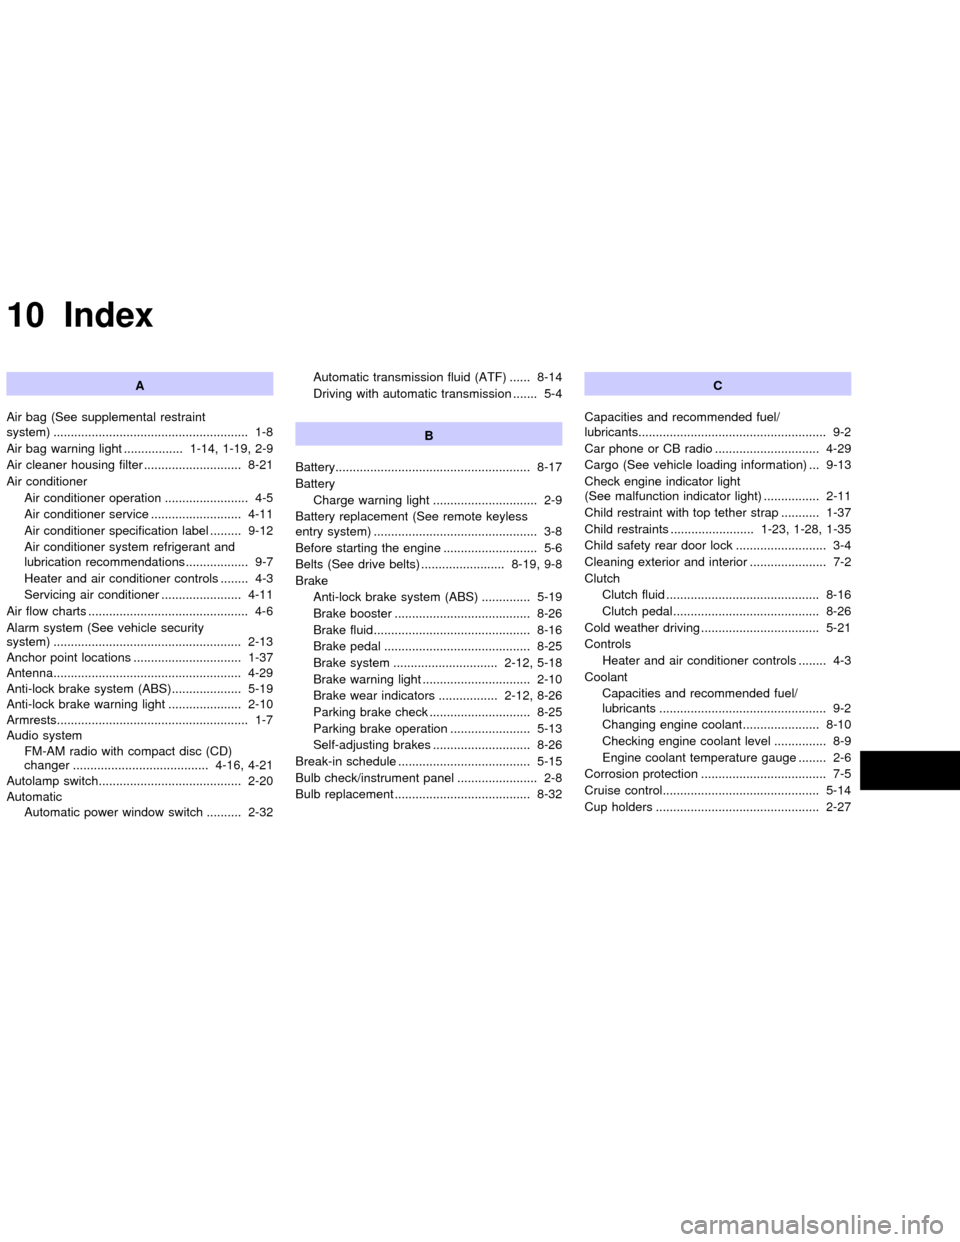
10 Index
A
Air bag (See supplemental restraint
system) ........................................................ 1-8
Air bag warning light ................. 1-14, 1-19, 2-9
Air cleaner housing filter ............................ 8-21
Air conditioner
Air conditioner operation ........................ 4-5
Air conditioner service .......................... 4-11
Air conditioner specification label ......... 9-12
Air conditioner system refrigerant and
lubrication recommendations.................. 9-7
Heater and air conditioner controls ........ 4-3
Servicing air conditioner ....................... 4-11
Air flow charts .............................................. 4-6
Alarm system (See vehicle security
system) ...................................................... 2-13
Anchor point locations ............................... 1-37
Antenna...................................................... 4-29
Anti-lock brake system (ABS).................... 5-19
Anti-lock brake warning light ..................... 2-10
Armrests....................................................... 1-7
Audio system
FM-AM radio with compact disc (CD)
changer ....................................... 4-16, 4-21
Autolamp switch......................................... 2-20
Automatic
Automatic power window switch .......... 2-32Automatic transmission fluid (ATF) ...... 8-14
Driving with automatic transmission ....... 5-4
B
Battery........................................................ 8-17
Battery
Charge warning light .............................. 2-9
Battery replacement (See remote keyless
entry system) ............................................... 3-8
Before starting the engine ........................... 5-6
Belts (See drive belts) ........................ 8-19, 9-8
Brake
Anti-lock brake system (ABS) .............. 5-19
Brake booster ....................................... 8-26
Brake fluid............................................. 8-16
Brake pedal .......................................... 8-25
Brake system .............................. 2-12, 5-18
Brake warning light ............................... 2-10
Brake wear indicators ................. 2-12, 8-26
Parking brake check ............................. 8-25
Parking brake operation ....................... 5-13
Self-adjusting brakes ............................ 8-26
Break-in schedule ...................................... 5-15
Bulb check/instrument panel ....................... 2-8
Bulb replacement ....................................... 8-32C
Capacities and recommended fuel/
lubricants...................................................... 9-2
Car phone or CB radio .............................. 4-29
Cargo (See vehicle loading information) ... 9-13
Check engine indicator light
(See malfunction indicator light) ................ 2-11
Child restraint with top tether strap ........... 1-37
Child restraints ........................ 1-23, 1-28, 1-35
Child safety rear door lock .......................... 3-4
Cleaning exterior and interior ...................... 7-2
Clutch
Clutch fluid ............................................ 8-16
Clutch pedal.......................................... 8-26
Cold weather driving .................................. 5-21
Controls
Heater and air conditioner controls ........ 4-3
Coolant
Capacities and recommended fuel/
lubricants ................................................ 9-2
Changing engine coolant...................... 8-10
Checking engine coolant level ............... 8-9
Engine coolant temperature gauge ........ 2-6
Corrosion protection .................................... 7-5
Cruise control............................................. 5-14
Cup holders ............................................... 2-27
ZX
Page 244 of 249
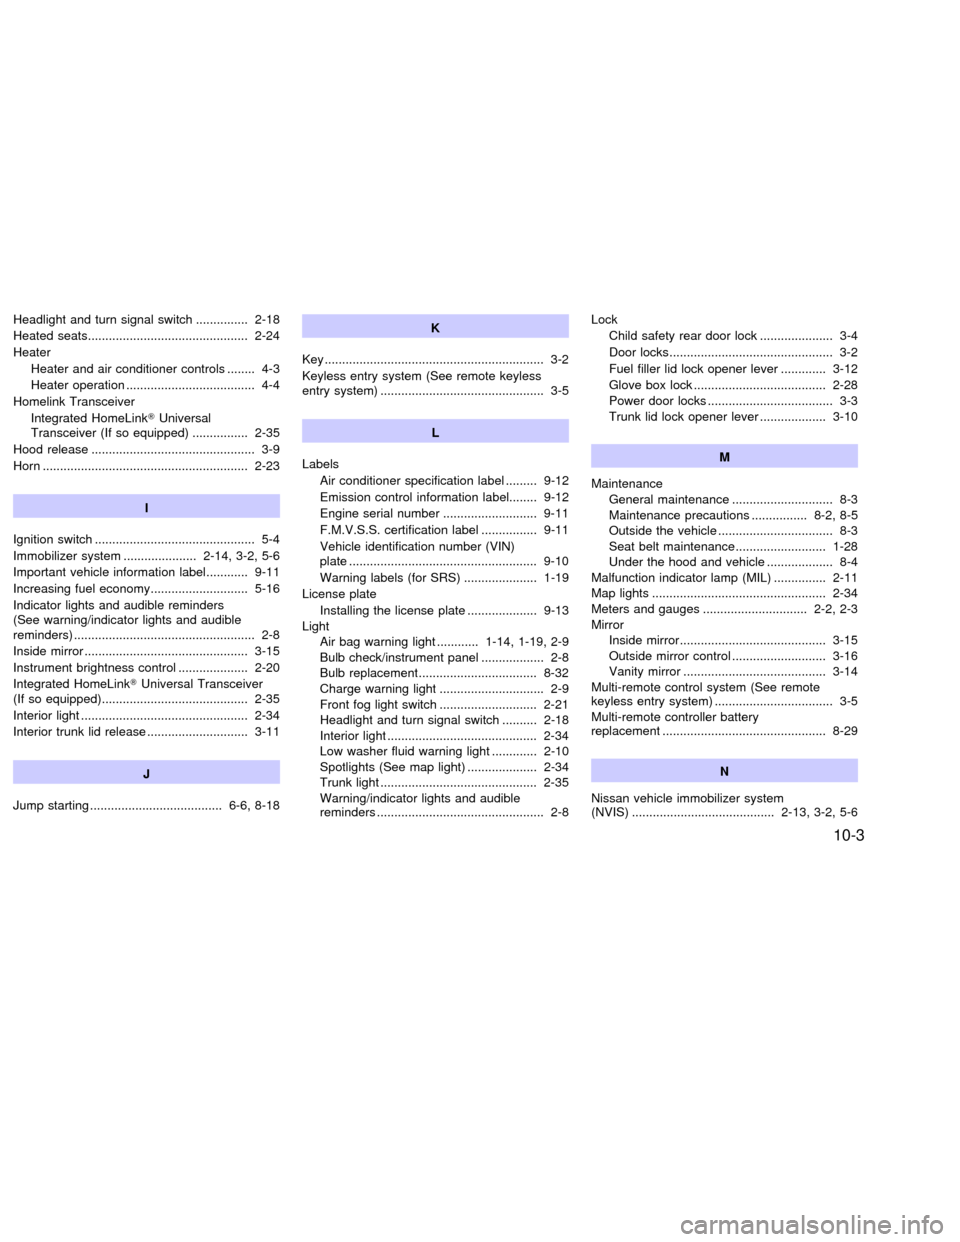
Headlight and turn signal switch ............... 2-18
Heated seats.............................................. 2-24
Heater
Heater and air conditioner controls ........ 4-3
Heater operation ..................................... 4-4
Homelink Transceiver
Integrated HomeLinkTUniversal
Transceiver (If so equipped) ................ 2-35
Hood release ............................................... 3-9
Horn ........................................................... 2-23
I
Ignition switch .............................................. 5-4
Immobilizer system ..................... 2-14, 3-2, 5-6
Important vehicle information label............ 9-11
Increasing fuel economy............................ 5-16
Indicator lights and audible reminders
(See warning/indicator lights and audible
reminders) .................................................... 2-8
Inside mirror ............................................... 3-15
Instrument brightness control .................... 2-20
Integrated HomeLinkTUniversal Transceiver
(If so equipped).......................................... 2-35
Interior light ................................................ 2-34
Interior trunk lid release ............................. 3-11
J
Jump starting ...................................... 6-6, 8-18K
Key ............................................................... 3-2
Keyless entry system (See remote keyless
entry system) ............................................... 3-5
L
Labels
Air conditioner specification label ......... 9-12
Emission control information label........ 9-12
Engine serial number ........................... 9-11
F.M.V.S.S. certification label ................ 9-11
Vehicle identification number (VIN)
plate ...................................................... 9-10
Warning labels (for SRS) ..................... 1-19
License plate
Installing the license plate .................... 9-13
Light
Air bag warning light ............ 1-14, 1-19, 2-9
Bulb check/instrument panel .................. 2-8
Bulb replacement.................................. 8-32
Charge warning light .............................. 2-9
Front fog light switch ............................ 2-21
Headlight and turn signal switch .......... 2-18
Interior light ........................................... 2-34
Low washer fluid warning light ............. 2-10
Spotlights (See map light) .................... 2-34
Trunk light ............................................. 2-35
Warning/indicator lights and audible
reminders ................................................ 2-8Lock
Child safety rear door lock ..................... 3-4
Door locks............................................... 3-2
Fuel filler lid lock opener lever ............. 3-12
Glove box lock ...................................... 2-28
Power door locks .................................... 3-3
Trunk lid lock opener lever ................... 3-10
M
Maintenance
General maintenance ............................. 8-3
Maintenance precautions ................ 8-2, 8-5
Outside the vehicle ................................. 8-3
Seat belt maintenance.......................... 1-28
Under the hood and vehicle ................... 8-4
Malfunction indicator lamp (MIL) ............... 2-11
Map lights .................................................. 2-34
Meters and gauges .............................. 2-2, 2-3
Mirror
Inside mirror.......................................... 3-15
Outside mirror control ........................... 3-16
Vanity mirror ......................................... 3-14
Multi-remote control system (See remote
keyless entry system) .................................. 3-5
Multi-remote controller battery
replacement ............................................... 8-29
N
Nissan vehicle immobilizer system
(NVIS) ......................................... 2-13, 3-2, 5-6
10-3
ZX