2002 Hyundai Grandeur remote control
[x] Cancel search: remote controlPage 10 of 230
YOUR VEHICLE AT A GLANCE
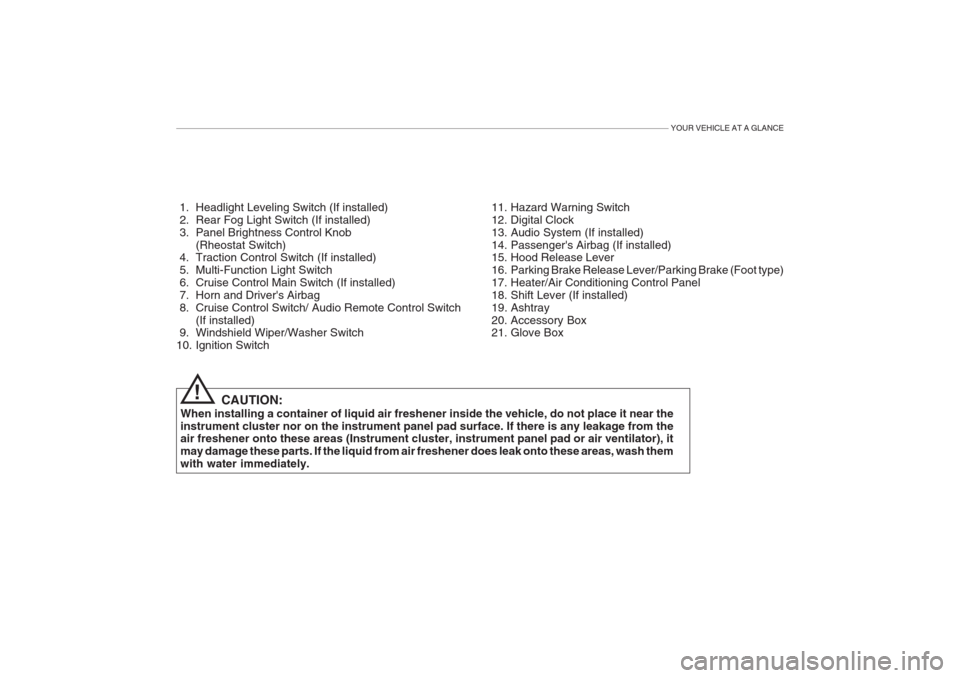
1. Headlight Leveling Switch (If installed)
2. Rear Fog Light Switch (If installed)
3. Panel Brightness Control Knob(Rheostat Switch)
4. Traction Control Switch (If installed)
5. Multi-Function Light Switch
6. Cruise Control Main Switch (If installed)
7. Horn and Driver's Airbag
8. Cruise Control Switch/ Audio Remote Control Switch
(If installed)
9. Windshield Wiper/Washer Switch
10. Ignition Switch
CAUTION:
When installing a container of liquid air freshener inside the vehicle, do not place it near theinstrument cluster nor on the instrument panel pad surface. If there is any leakage from the air freshener onto these areas (Instrument cluster, instrument panel pad or air ventilator), it may damage these parts. If the liquid from air freshener does leak onto these areas, wash themwith water immediately. 11. Hazard Warning Switch
12. Digital Clock
13. Audio System (If installed)
14. Passenger's Airbag (If installed)
15. Hood Release Lever
16. Parking Brake Release Lever/Parking Brake (Foot type)
17. Heater/Air Conditioning Control Panel
18. Shift Lever (If installed)
19. Ashtray
20. Accessory Box
21. Glove Box
!
Page 12 of 230
YOUR VEHICLE AT A GLANCE
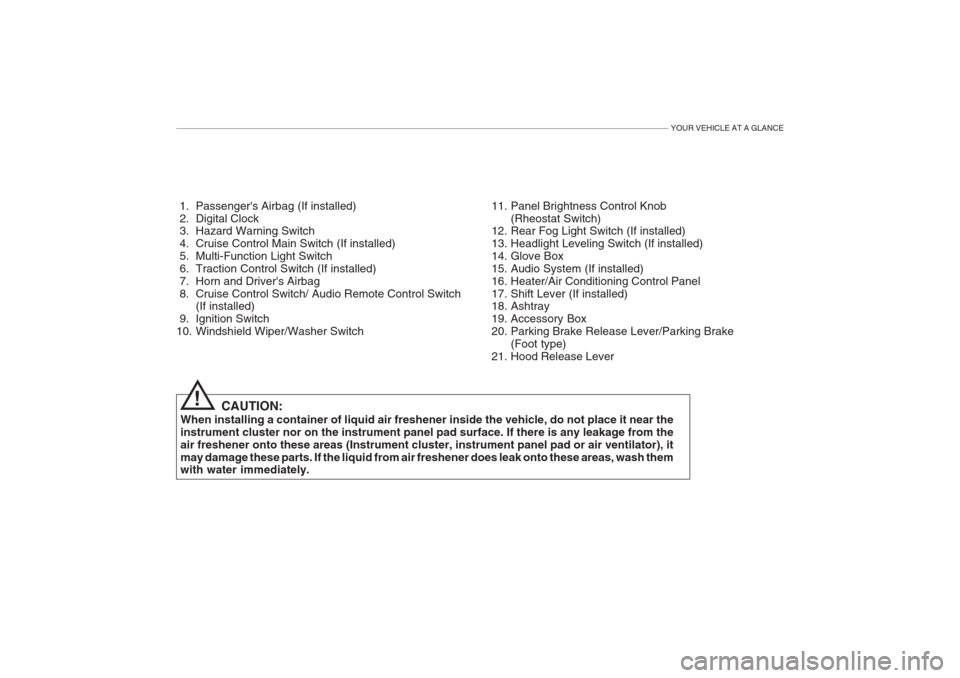
1. Passenger's Airbag (If installed)
2. Digital Clock
3. Hazard Warning Switch
4. Cruise Control Main Switch (If installed)
5. Multi-Function Light Switch
6. Traction Control Switch (If installed)
7. Horn and Driver's Airbag
8. Cruise Control Switch/ Audio Remote Control Switch(If installed)
9. Ignition Switch
10. Windshield Wiper/Washer Switch 11. Panel Brightness Control Knob
(Rheostat Switch)
12. Rear Fog Light Switch (If installed)
13. Headlight Leveling Switch (If installed)
14. Glove Box
15. Audio System (If installed)
16. Heater/Air Conditioning Control Panel
17. Shift Lever (If installed)
18. Ashtray
19. Accessory Box
20. Parking Brake Release Lever/Parking Brake
(Foot type)
21. Hood Release Lever
CAUTION:
When installing a container of liquid air freshener inside the vehicle, do not place it near theinstrument cluster nor on the instrument panel pad surface. If there is any leakage from theair freshener onto these areas (Instrument cluster, instrument panel pad or air ventilator), itmay damage these parts. If the liquid from air freshener does leak onto these areas, wash them with water immediately.
!
Page 29 of 230
1- 16 FEATURES OF YOUR HYUNDAI
To memorize the driving position
1. Turn the ignition key "ON".
2. Adjust the driver's seat, outside rear-
view mirrors and steering wheel col-umn (if installed the steering wheelelectric tilt and telescopic) to the desired position.
3. Push the "M" button on the I.M.S until the signal beeps.
4. Within five seconds, push button "1" or "2" until the signal beeps twice. The beep sounds mean that the positions are memorized in the I.M.S. To activate the memorized posi- tion When you push button "1" or "2", the driving position will be automaticallyadjusted to the position recorded forthat button. To activate the "AUTO" button When the "AUTO" button is "ON", it will move the driver's seat forward or rear- ward and steering wheel column up/down or inward/outward, so you canget on or off comfortably.
o It will move driver's seat rearward
and steering wheel column up/down or inward/outward, when the igni-tion key is pulled out.
o It will move driver's seat forward and steering wheel column to theoriginal position, when the ignition key is inserted.
o While the vehicle is moving back- ward, the outside rearview mirrors will automatically move downwardto change the area visible with theoutside mirrors. NOTE: If the remote control outside rear- view mirror switch knob is locatedin the middle position of the switch,the outside rearview mirrors willnot operate while the vehicle is mov-ing backward. When the shift lever is moved the "R" position, only the passenger's outside rearview mir-ror will move downward.
!
CAUTION:
In the following conditions, the I.M.S will not operate.
1. When the "1" or "2" button is not pushed within five seconds.
2. When the seat is being adjusted.
3. When the "STOP" button is pushed.
Page 75 of 230
1- 62 FEATURES OF YOUR HYUNDAI
B510D01HP-AAT OUTSIDE REARVIEW MIRROR HEATER (If installed) The outside rearview mirror heater is actuated in connection with the rear window defroster. To heat the outside rearview mirror glass, push in the switchfor the rear window defroster. Therearview mirror glass will be heated fordefrosting or defogging and will giveyou improved rear vision in inclimate weather conditions. Push the switch again to turn the heater off. The out-side rearview mirror heater automati-cally turns itself off after 20 minutes. HXG122
Manual A/Con
Full automatic A/Con
CAUTION:
o Do not operate the switch con- tinuously for an unnecessary length of time.
o Scraping ice from the mirror face could cause permanent damage.To remove any ice, use a sponge,soft cloth or approved deicer. HXGS252
B510B01L-GAT OUTSIDE REARVIEW MIRROR Electric Type (If installed) The outside rearview mirrors can be adjusted in any direction to give themaximum rearview vision. The remote control outside rearview mirror switch controls the adjustmentsfor both right and left outside mirrors. To adjust the position of either mirror:
1. Move the selecting switch to the
right or left to activate the adjustable mechanism for the corresponding door mirror.
2. Now, adjust mirror angle by de- pressing the appropriate perimeter switch as illustrated. B510B01L
!
WARNING:
Be careful when judging the size or distance of any object seen in the passenger side rear view mirror. It is a convex mirror with a curvedsurface. Any objects seen in thismirror are closer than they appear.
!
Page 88 of 230
FEATURES OF YOUR HYUNDAI 1- 75
SEEK ( / ) Switch Press the SEEK switch 1 sec. or more.
1. RADIO mode When the SEEK ( ) is pressed, the unit will automatically tune to the nexthigher frequency and when the SEEK( ) switch is pressed, it will automati- cally tune to the next lower frequency.
2. TAPE mode
o Pressing the SEEK ( ) will play the
beginning of the next music seg- ment.
o Pressing the SEEK ( ) will start
replay at the beginning of the musicjust listened to.
3. CD (compact disc)/CDC (compact disc changer) mode
o Press the SEEK ( ) once to skip forward to the beginning of the next track.
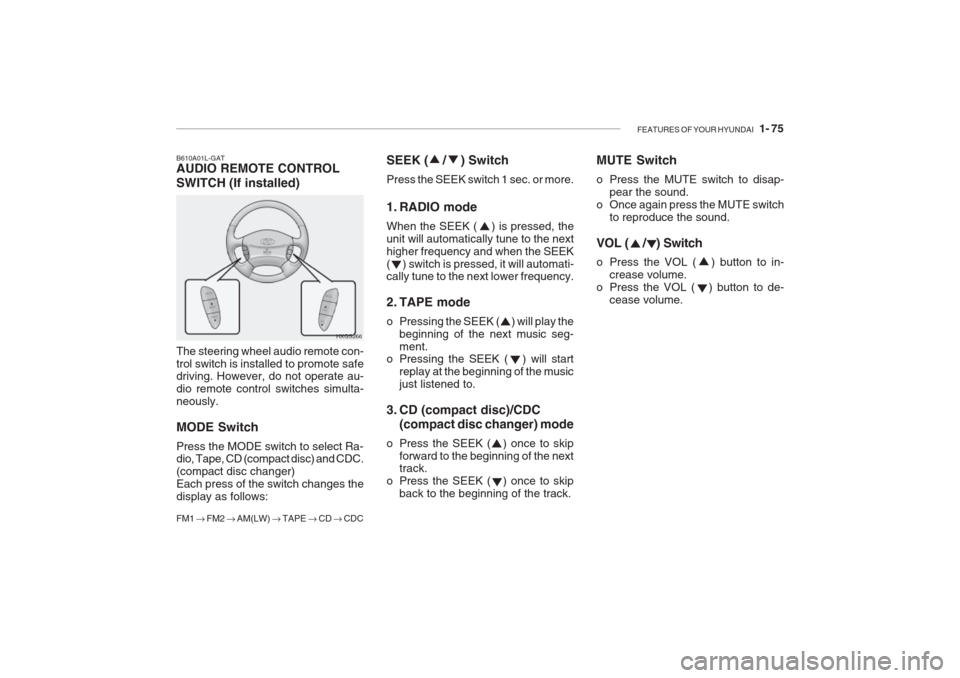
o Press the SEEK ( ) once to skip back to the beginning of the track.B610A01L-GAT AUDIO REMOTE CONTROL
SWITCH (If installed) The steering wheel audio remote con- trol switch is installed to promote safe driving. However, do not operate au- dio remote control switches simulta-neously. MODE Switch
Press the MODE switch to select Ra- dio, Tape, CD (compact disc) and CDC. (compact disc changer)Each press of the switch changes thedisplay as follows: FM1 � FM2 � AM(LW) � TAPE � CD � CDC
HXGS266MUTE Switch
o Press the MUTE switch to disap-
pear the sound.
o Once again press the MUTE switch to reproduce the sound.
VOL ( / ) Switch
o Press the VOL ( ) button to in- crease volume.
o Press the VOL ( ) button to de- cease volume.
Page 226 of 230
10- 2 INDEX
A Accessory Box .......................................................... 1-68
Air Bag .......................................................... 1-31 ~ 1-38
Air Cleaner Fil ter ....................................................... 6-11
Air Conditioning
Care ....................................................................... 6-17
Operation ..................................................... 1-83, 6-17
Switch ..................................................................... 1-82
Antenna ..................................................... 1-115 ~ 1-116
Ashtray ...................................................................... 1-56 Audio Remote Control Switch ................................... 1-75
Automatic Heating and Cooling Control System
................................................................... 1-84 ~ 1-89
B
Battery ............................................................. 2-16, 6-23Bi-Level Heating ........................................................ 1-80
Brake Anti-lock brake system .......................................... 2-11Checking the brakes .............................................. 6-15
Fluid ....................................................................... 6-15
Pedal clearance ..................................................... 6-21
Pedal freepl ay ........................................................ 6-20
Practices .................................................... 2-13 ~ 2-14
Breaking-In your New Hyundai ................................... 1-3
Bulbs wattage ........................................................... 6-33 C Care of Cassette Tapes
........................... 1-114 ~ 1-115
Cassette Tape Player Operation (H940B, H940A) ........................................... 1-96 ~1-97, 1-104 ~ 1-105
Catalytic Converter ..................................................... 7-3
CD Auto changer ...................................................... 1-69
CD Auto changer (H940B, H940A)
....................................... 1-98 ~ 1-100, 1-109 ~ 1-111
Child-Protector Rear Door Lock ................................. 1-7
Child Restraint S ystem ................................. 1-23 ~ 1-29
Cigarette Lighter ....................................................... 1-55
Clock ......................................................................... 1-53
Clutch
Checking fluid ........................................................ 6-16
Pedal freepl ay ........................................................ 6-20
Combination Light Headlight flasher .................................................... 1-50
Headlight swi tch ..................................................... 1-48
High-beam swi tch .................................................. 1-49
Lane change si gnal ................................................ 1-48
Turn signal oper ation............................................. 1-48
Compact Disc Player Operation (H940A) . 1-106 ~ 1-108 Cooling Fans ............................................................. 6-24
Corrosion protection Cleaning the interior ....................................... 4-5 ~ 4-6
Protecting your Hyundai from corrosion ........ 4-1 ~ 4-6Washing and waxing ...................................... 4-3 ~ 4-5
Cruise Control ............................................... 1-72 ~ 1-74
Page 227 of 230
INDEX 10- 3
D Defrosting / Defogging .............................................. 1-81
Door Door locks ................................................................ 1-6
Door courtesy light ................................................. 1-70
Locking and unlocking front doors with a key ......... 1-6
Drink Holder .............................................................. 1-56
Drive Belts ...................................................... 6-18, 6-21
Driving
Economical driving ..................................... 2-14 ~ 2-15
Smooth cornering ................................................... 2-15
Winter driving ......................................................... 2-15
E Emission Control System ................................. 7-1 ~ 7-3
Engine Before starting the engine ....................................... 2-3
Compartment ................................................... 6-1~6-3 Coolant ......................................................... 6-8 ~ 6-10
Coolant temperature gauge ................................... 1-45
If the engine overheats ............................................ 3-4
Number .................................................................... 8-2
Oil ............................................................................. 6-6
Starting ..................................................................... 2-4
Engine Exhaust Can Be Dangerous ........................... 2-2F Fan Speed Control
.................................................... 1-77
Fog Light Front ....................................................................... 1-47
Rear ........................................................... 1-47 ~ 1-48
Front Seats Adjustable front seats ............................................ 1-11
Adjustable headrests .................................. 1-12 ~ 1-13
Adjusting seat forward and rearward ......... 1-11 ~ 1-12 Adjusting seatback angle ....................................... 1-12
Lumbar support control .......................................... 1-13 Seat cushion height adjustment............................ 1-13
Seat warmer ........................................................... 1-17
Fuel Capacity ................................................................... 9-2
Gauge .................................................................... 1-45
recommendations ..................................................... 1-2
Fuel Filler Lid Remote release ...................................................... 1-67
Manual ................................................................... 1-67
Fuses ............................................................ 6-21 ~ 6-23 G General Checks .......................................................... 6-5
Glove Box ................................................................. 1-61