2002 Hyundai Grandeur set clock
[x] Cancel search: set clockPage 66 of 230
FEATURES OF YOUR HYUNDAI 1- 53
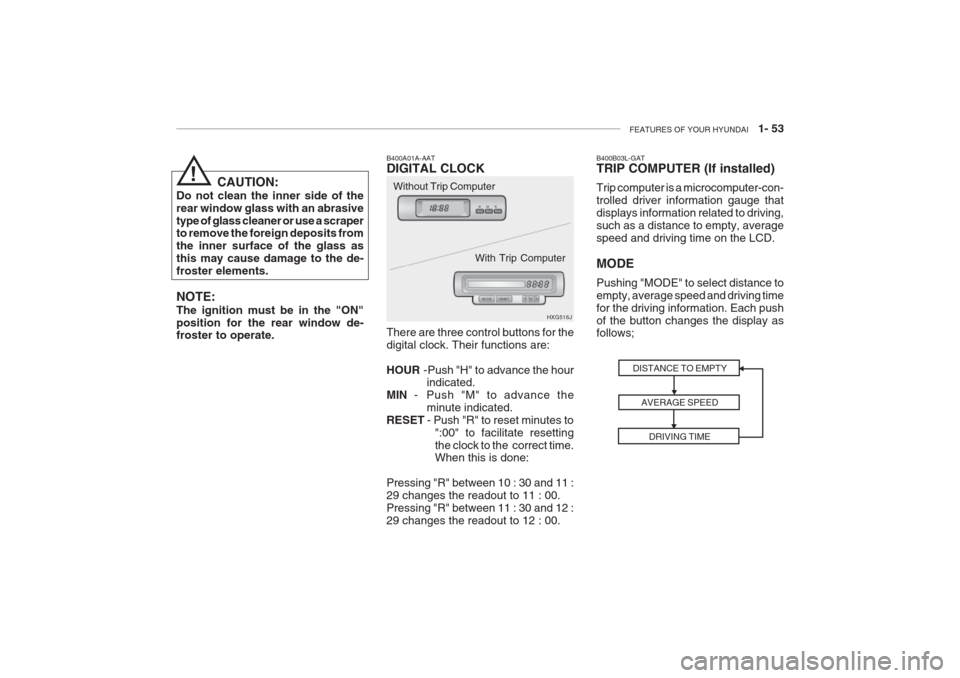
B400A01A-AAT DIGITAL CLOCK There are three control buttons for the digital clock. Their functions are: HOUR -Push "H" to advance the hour
indicated.
MIN - Push "M" to advance the
minute indicated.
RESET - Push "R" to reset minutes to
":00" to facilitate resetting the clock to the correct time. When this is done:
Pressing "R" between 10 : 30 and 11 : 29 changes the readout to 11 : 00.Pressing "R" between 11 : 30 and 12 :29 changes the readout to 12 : 00. HXG516J
CAUTION:
Do not clean the inner side of therear window glass with an abrasivetype of glass cleaner or use a scraper to remove the foreign deposits from the inner surface of the glass asthis may cause damage to the de-froster elements. NOTE: The ignition must be in the "ON" position for the rear window de- froster to operate. Without Trip Computer
With Trip Computer
!
DISTANCE TO EMPTYAVERAGE SPEEDDRIVING TIME
B400B03L-GAT TRIP COMPUTER (If installed) Trip computer is a microcomputer-con- trolled driver information gauge thatdisplays information related to driving,such as a distance to empty, averagespeed and driving time on the LCD. MODE Pushing "MODE" to select distance to empty, average speed and driving timefor the driving information. Each pushof the button changes the display as follows;
Page 107 of 230
1- 94 FEATURES OF YOUR HYUNDAI
B940B02L-GAT
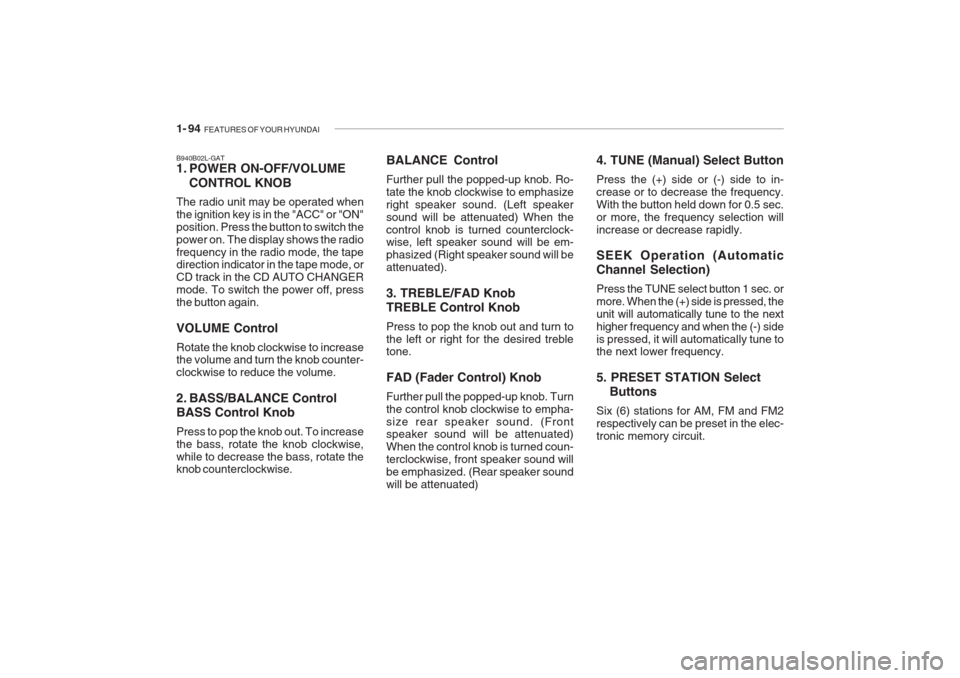
1. POWER ON-OFF/VOLUME
CONTROL KNOB
The radio unit may be operated when the ignition key is in the "ACC" or "ON"position. Press the button to switch thepower on. The display shows the radiofrequency in the radio mode, the tape direction indicator in the tape mode, or CD track in the CD AUTO CHANGERmode. To switch the power off, pressthe button again. VOLUME Control Rotate the knob clockwise to increase the volume and turn the knob counter- clockwise to reduce the volume.
2. BASS/BALANCE Control BASS Control Knob Press to pop the knob out. To increase the bass, rotate the knob clockwise,while to decrease the bass, rotate the knob counterclockwise. 4. TUNE (Manual) Select Button Press the (+) side or (-) side to in- crease or to decrease the frequency.With the button held down for 0.5 sec.or more, the frequency selection willincrease or decrease rapidly. SEEK Operation (Automatic Channel Selection) Press the TUNE select button 1 sec. or more. When the (+) side is pressed, theunit will automatically tune to the nexthigher frequency and when
the (-) side
is pressed, it will automatically tune to the next lower frequency. 5. PRESET STATION Select
Buttons
Six (6) stations for AM, FM and FM2 respectively can be preset in the elec-tronic memory circuit.
BALANCE Control Further pull the popped-up knob. Ro- tate the knob clockwise to emphasizeright speaker sound. (Left speakersound will be attenuated) When thecontrol knob is turned counterclock- wise, left speaker sound will be em- phasized (Right speaker sound will beattenuated). 3. TREBLE/FAD Knob TREBLE Control Knob Press to pop the knob out and turn to the left or right for the desired treble tone. FAD (Fader Control) Knob Further pull the popped-up knob. Turn the control knob clockwise to empha-size rear speaker sound. (Front speaker sound will be attenuated) When the control knob is turned coun-terclockwise, front speaker sound willbe emphasized. (Rear speaker soundwill be attenuated)
Page 115 of 230
1- 102 FEATURES OF YOUR HYUNDAI
B940H02L-GAT
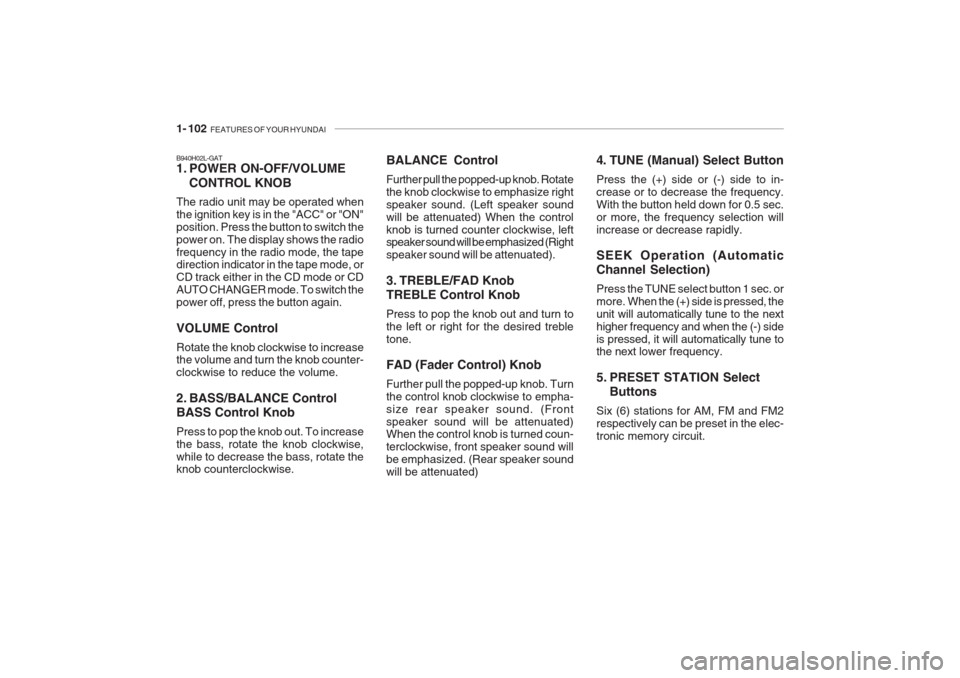
1. POWER ON-OFF/VOLUME
CONTROL KNOB
The radio unit may be operated when the ignition key is in the "ACC" or "ON"position. Press the button to switch thepower on. The display shows the radiofrequency in the radio mode, the tape direction indicator in the tape mode, or CD track either in the CD mode or CDAUTO CHANGER mode. To switch thepower off, press the button again. VOLUME Control Rotate the knob clockwise to increase the volume and turn the knob counter- clockwise to reduce the volume.
2. BASS/BALANCE Control BASS Control Knob Press to pop the knob out. To increase the bass, rotate the knob clockwise,while to decrease the bass, rotate the knob counterclockwise. BALANCE Control Further pull the popped-up knob. Rotate the knob clockwise to emphasize rightspeaker sound. (Left speaker soundwill be attenuated) When the controlknob is turned counter clockwise, left speaker sound will be emphasized (Right speaker sound will be attenuated).
3. TREBLE/FAD Knob TREBLE Control Knob Press to pop the knob out and turn to the left or right for the desired trebletone. FAD (Fader Control) Knob Further pull the popped-up knob. Turn the control knob clockwise to empha-size rear speaker sound. (Frontspeaker sound will be attenuated) When the control knob is turned coun- terclockwise, front speaker sound willbe emphasized. (Rear speaker soundwill be attenuated) 4. TUNE (Manual) Select Button Press the (+) side or (-) side to in- crease or to decrease the frequency.With the button held down for 0.5 sec.or more, the frequency selection willincrease or decrease rapidly. SEEK Operation (Automatic Channel Selection) Press the TUNE select button 1 sec. or more.
When the (+) side is pressed, the
unit will automatically tune to the nexthigher frequency and when the (-) sideis pressed, it will automatically tune to
the next lower frequency.
5. PRESET STATION Select Buttons
Six (6) stations for AM, FM and FM2 respectively can be preset in the elec-tronic memory circuit.
Page 184 of 230
DO-IT-YOURSELF MAINTENANCE 6- 7
G040A02A-AAT
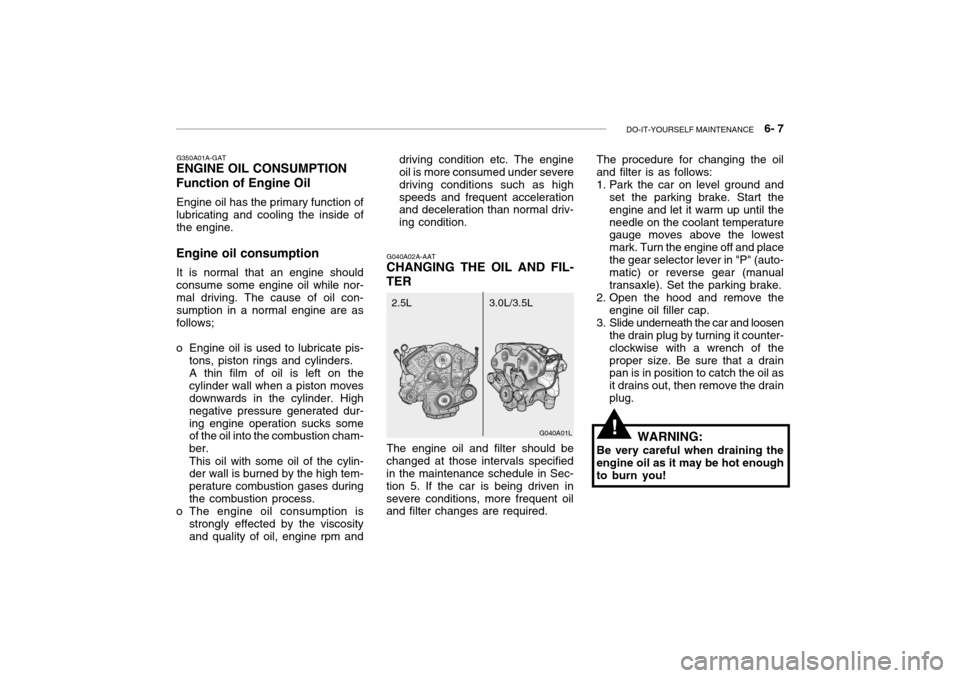
CHANGING THE OIL AND FIL- TER The procedure for changing the oil and filter is as follows:
1. Park the car on level ground and
set the parking brake. Start the engine and let it warm up until theneedle on the coolant temperature gauge moves above the lowest mark. Turn the engine off and placethe gear selector lever in "P" (auto- matic) or reverse gear (manual transaxle). Set the parking brake.
2. Open the hood and remove the engine oil filler cap.
3. Slide underneath the car and loosen the drain plug by turning it counter-clockwise with a wrench of theproper size. Be sure that a drain pan is in position to catch the oil as it drains out, then remove the drainplug.
WARNING:
Be very careful when draining theengine oil as it may be hot enoughto burn you!
The engine oil and filter should be
changed at those intervals specified in the maintenance schedule in Sec- tion 5. If the car is being driven insevere conditions, more frequent oil and filter changes are required. G040A01L
3.0L/3.5L
2.5L
G350A01A-GAT
ENGINE OIL CONSUMPTION Function of Engine Oil
Engine oil has the primary function of lubricating and cooling the inside ofthe engine.
Engine oil consumption It is normal that an engine shouldconsume some engine oil while nor-
mal driving. The cause of oil con- sumption in a normal engine are as follows;
o Engine oil is used to lubricate pis- tons, piston rings and cylinders.A thin film of oil is left on thecylinder wall when a piston moves downwards in the cylinder. High negative pressure generated dur-ing engine operation sucks some of the oil into the combustion cham- ber. This oil with some oil of the cylin- der wall is burned by the high tem- perature combustion gases duringthe combustion process.
o The engine oil consumption is
strongly effected by the viscosity and quality of oil, engine rpm and driving condition etc. The engine
oil is more consumed under severe driving conditions such as highspeeds and frequent acceleration and deceleration than normal driv- ing condition.
!
Page 212 of 230

DO-IT-YOURSELF MAINTENANCE 6- 35
FUSE RATING
25A 20A10A15A10A10A10A15A10A10A15A 10A 10A 10A20A10A 15A 10A15A10A10A15A10A20A 10A 10A 10A 10A10A10A 10A 10A PROTECTED COMPONENTS
Power seat
Seat warmerEPS controls
ETS relay
(HID) Head lights, DRL controls, AQS sensor
Blower & A/C controls
Turn & Hazard controlsNot used
Cruise switch, Instrument cluster
Head light leveling switch, Rain sensor, IMS controls
Rain sensor relay, Wiper & Washer controls
Home link connector, Left (Right) vanity lights, Sunroof, Blower & A/C controls,Electronic chrome mirrorNot used
Audio
Front (Rear) cigarette lighter, Accessory socket
IMS controls, Driver door module, RheostatNot used
Rear for light relay
Stop lights, Left (Right) personal lights, Left (Right) rear door lights
Door warning & Ignition key illumination, Courtesy lightsInstrument clusterSRS controls
Automatic transaxle controls, Back-up light switch, Vehicle speed sensor
Fuel filler door & Trunk lid opener, Driver (Assister) door module
Multipurpose check connector, Audio, lmmobiilizer controls, Trip computers, Digital
clock, Blower & A/C controls, Instrument cluster
Left (Right) inside lights, (HID) Head lights, Fog light relay, Right HID turn signal light,Right rear combination light
Stop light failure relay
Immobilizer controls, TCS switch, Trip computers, Instrument cluster
ETACM, Hazard switch, Auto light sensor
Antenna, Blower & A/C controls, Left (Right) outside mirror motor & Folding motor
(HID) Head lights, Front (Rear) cigarette lighters, Left (Right) license lights, Left HID
Turn signal light, Left rear combination lightBurglar alarm relay, Transaxle range switch, Start relay, ETS controlsDESCRIPTION P/SEAT
S/HTR EPSETS
H/LP
A/CON SW HAZARDSPARE
CRUISE IMS
WIPER
ETACS
SPARE AUDIO
C/LIGHTER MIRRORSPARE
RR FOG
STOP LP
ROOM LP
A/BAG IND A/BAGB/UP
T/LID
D/CLOCK
RH TAILSPARE
CLUSTER T/SIG
RR HTD IND
LH TAIL
START
G200D01L-GAT
Instrument Panel Junction Box
G200D01L
Page 226 of 230
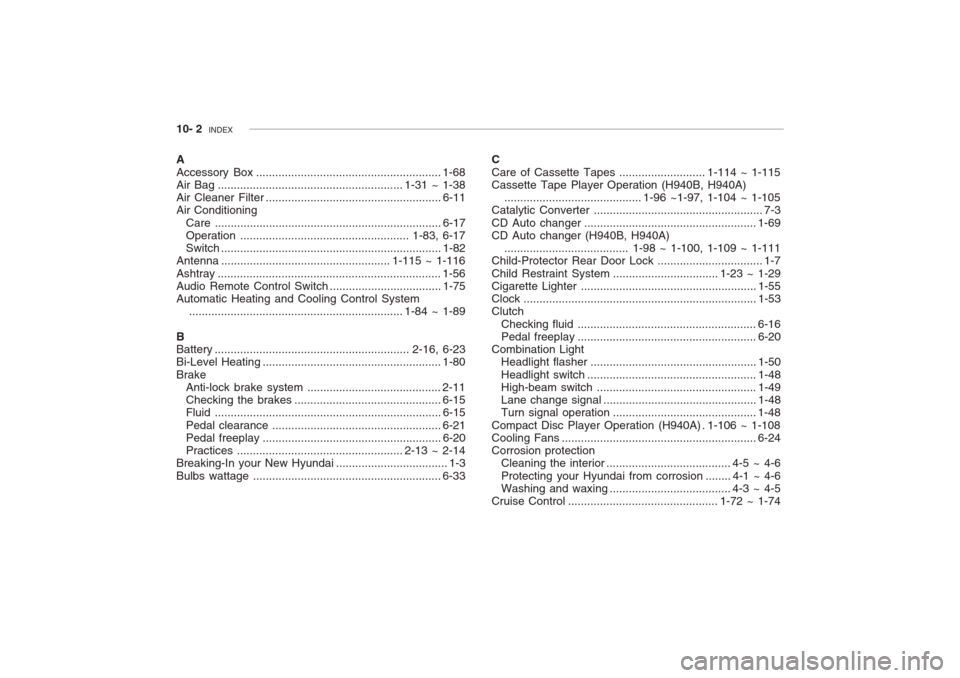
10- 2 INDEX
A Accessory Box .......................................................... 1-68
Air Bag .......................................................... 1-31 ~ 1-38
Air Cleaner Fil ter ....................................................... 6-11
Air Conditioning
Care ....................................................................... 6-17
Operation ..................................................... 1-83, 6-17
Switch ..................................................................... 1-82
Antenna ..................................................... 1-115 ~ 1-116
Ashtray ...................................................................... 1-56 Audio Remote Control Switch ................................... 1-75
Automatic Heating and Cooling Control System
................................................................... 1-84 ~ 1-89
B
Battery ............................................................. 2-16, 6-23Bi-Level Heating ........................................................ 1-80
Brake Anti-lock brake system .......................................... 2-11Checking the brakes .............................................. 6-15
Fluid ....................................................................... 6-15
Pedal clearance ..................................................... 6-21
Pedal freepl ay ........................................................ 6-20
Practices .................................................... 2-13 ~ 2-14
Breaking-In your New Hyundai ................................... 1-3
Bulbs wattage ........................................................... 6-33 C Care of Cassette Tapes
........................... 1-114 ~ 1-115
Cassette Tape Player Operation (H940B, H940A) ........................................... 1-96 ~1-97, 1-104 ~ 1-105
Catalytic Converter ..................................................... 7-3
CD Auto changer ...................................................... 1-69
CD Auto changer (H940B, H940A)
....................................... 1-98 ~ 1-100, 1-109 ~ 1-111
Child-Protector Rear Door Lock ................................. 1-7
Child Restraint S ystem ................................. 1-23 ~ 1-29
Cigarette Lighter ....................................................... 1-55
Clock ......................................................................... 1-53
Clutch
Checking fluid ........................................................ 6-16
Pedal freepl ay ........................................................ 6-20
Combination Light Headlight flasher .................................................... 1-50
Headlight swi tch ..................................................... 1-48
High-beam swi tch .................................................. 1-49
Lane change si gnal ................................................ 1-48
Turn signal oper ation............................................. 1-48
Compact Disc Player Operation (H940A) . 1-106 ~ 1-108 Cooling Fans ............................................................. 6-24
Corrosion protection Cleaning the interior ....................................... 4-5 ~ 4-6
Protecting your Hyundai from corrosion ........ 4-1 ~ 4-6Washing and waxing ...................................... 4-3 ~ 4-5
Cruise Control ............................................... 1-72 ~ 1-74