Page 97 of 184
Reverse
Make sure that your vehicle is at a complete stop before you shift into R
(Reverse). You can shift into R (Reverse) only by moving the gearshift
lever from left of 3 (Third) and 4 (Fourth) gears before you shift into R
(Reverse). This is a special lockout feature that protects the transmission
from accidentally being shifted into R (Reverse) when you downshift
from 5th.
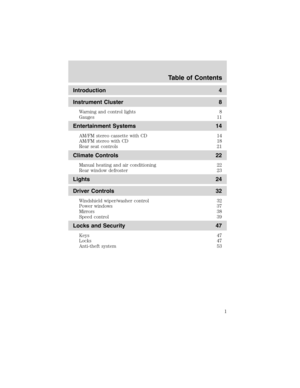
Parking your vehicle
1. Disengage the clutch, apply the
brake and shift into N (Neutral).
2. Set parking brake.
3. Shift into 1 (First).
4. Turn the ignition key to position
3 (OFF).
3
2
1
5
4
Driving
97
Page 98 of 184
 gear and set the parking brake
fully.
FOUR-WHEEL DRIVE (4WD) OPERATION (IF EQUIPPED)
Four–wheel drive")
Do not park your vehicle in Neutral, it may move unexpectedly
and injure someone. Use 1 (First) gear and set the parking brake
fully.
FOUR-WHEEL DRIVE (4WD) OPERATION (IF EQUIPPED)
Four–wheel drive (4WD) supplies power to all four wheels. 4WD should
not be operated on dry pavement; driveline damage may occur.
4WD system indicator lights
•4WD HIGH- illuminates when
4x4 HIGH is selected.
•4WD LOW–illuminates when 4x4
LOW is selected.
If these lights illuminate when driving in 2WD, contact your Ford dealer
as soon as possible.
Electronic shift on the fly 4WD system
2WD- Power to the rear wheels only; used for street and highway
driving.
4X4 HIGH- Used for extra traction such as in snow or icy roads or in
off-road situations. Not intended for use on dry pavement.
4X4 LOW- Uses extra gearing to provide maximum power to all four
wheels. Intended only for off-road applications such as deep sand, steep
grades or pulling heavy objects. 4X4 LOW will not engage while the
4WD
HIGH
4WD
LOW
Driving
98
Page 99 of 184

vehicle is moving; this is normal and should be no reason for concern.
Refer toShifting to/from 4X4 LOWfor proper operation.
Shifting between 2WD and 4X4 HIGH
•Move the 4WD control between 2WD and 4X4 HIGH at any forward
speed.
Note:Do not perform this operation if the rear wheels are slipping.
Shifting to/from 4X4 LOW
1. Bring the vehicle to a complete stop
2. Depress the brake
3. On vehicles equipped with an automatic transmission, place the
transmission in N (Neutral); on vehicles equipped with a manual
transmission, depress the clutch.
4. Move the 4WD control to the desired position.
•If shifting into 4WD LOW, wait for the 4X4 LOW light in the
instrument cluster to turnonindicating the shift is complete.
•If shifting out of 4WD LOW, wait for the 4X4 LOW light in the
instrument cluster turn turnoffindicating the shift is complete.
Driving off-road with truck and utility vehicles
Basic operating principles
Maintain steering wheel control at all times, especially in rough terrain;
sudden changes in terrain can result in abrupt steering wheel motion. Do
not use 4WD on dry, hard surfaced roads (except models equipped with
Auto 4WD).
If your vehicle goes off the edge of the pavement
Slow down and don’t slam on the brakes. Ease the vehicle back onto the
pavement only after reducing your speed.
Do not turn the steering wheel sharply while returning to the
road as this may cause you to lose control of the vehicle.
It may be safer to stay on the shoulder of the road and slow down before
returning to the pavement.
If your vehicle gets stuck
The vehicle may be rocked out by shifting from forward and reverse
gears, stopping between shifts, in a steady pattern. Press lightly on the
Driving
99
Page 100 of 184

accelerator in each gear.Do not rock the vehicle for more than a
few minutes or damage to the transmission and tires may occur
or the engine may overheat.
Do not spin the wheels at over 56 km/h (35 mph). The tires may
fail and injure a passenger or bystander.
Emergency maneuvers
In an emergency situation where a sudden sharp turn must be made,
turn the steering wheel only as rapidly and as far as required to avoid
the emergency. Excessive steering will result in less vehicle control. Also
avoid abrupt braking. In the event of an emergency stop, do not attempt
any sharp steering wheel movements. If the vehicle goes from one type
of surface to another (i.e., from concrete to gravel) there will be a
change in the way the vehicle responds to a maneuver (steering,
acceleration or braking).
Parking
On some 4WD vehicles, when the transfer case is in the N (Neutral)
position, the engine and transmission are disconnected from the rest of
the driveline. Therefore, the vehicle is free to roll even if the automatic
transmission is in P (Park) or the manual transmission is in gear. Do not
leave the vehicle unattended with the transfer case in N (Neutral)
position. Always set the parking brake fully and turn off the ignition
when leaving the vehicle.
Normal characteristics
On some 4WD vehicles, the initial shift from two-wheel drive to
four–wheel drive while the vehicle is moving can cause some momentary
clunk and ratcheting sounds. This is normal and should be no cause for
concern.
Driving on sand, mud and water
When driving over sand, avoid reducing the tire pressures; instead, shift
to a lower gear. Apply the accelerator slowly and avoid spinning the
wheels. If you must reduce the tire pressure, make sure you re-inflate
the tires as soon as possible. Avoid excessive speed because vehicle
momentum can work against your vehicle and cause it to become stuck.
Driving
100
Page 101 of 184

If you must drive through high
water, drive slowly. Traction or
braking ability may be reduced.
Also, if the ignition system gets wet,
the vehicle may stall.
Once you’re through the water, always dry the brakes by moving your
vehicle slowly while applying light pressure on the brake pedal. Wet
brakes do not stop the vehicle as quickly as dry brakes.
When driving through mud, be cautious of sudden changes in vehicle
speed or direction. Even 4WD vehicles can lose traction in slick mud.
Apply the accelerator slowly and avoid spinning your wheels. If the
vehicle does slide, steer in the direction of the slide until you regain
control of the vehicle. If the transmission, transfer case or either axle
become submerged in mud or water, their fluids should be checked and
changed, if necessary. After driving through mud, clean off residue stuck
to rotating driveshafts and tires. Excess mud stuck on tires and rotating
driveshafts could damage driveline components.
“Tread Lightly”is an educational
program designed to increase public
awareness of land-use regulations
and responsibilities in our nations
wilderness areas. Ford joins the U.S.
Forest Service and the Bureau of Land Management in encouraging you
to help preserve our national forest and other public and private lands by
“treading lightly.”
Driving on hilly or sloping terrain
Avoid driving crosswise or turning on steep slopes or hills. Your vehicle
may lose traction and slip sideways and possibly roll over. Do not drive
in reverse over a hill without the aid of an observer.
Driving
101
Page 102 of 184

When climbing a steep slope or hill,
start in a lower gear rather than
downshifting to a lower gear from a
higher gear once the ascent has
started. This reduces the possibility
of the vehicle stalling. If your
vehicle does stall, do not try to turn
around because your vehicle may
roll over. Apply just enough power
to the wheels to climb the hill. Too
much power will cause the tires to slip or spin, resulting in loss of
vehicle control.
When descending a hill, use the
same gear you would use to climb
up the hill and do not descend the
hill with the transmission in neutral.
Disengage overdrive or manually
shift to a lower gear. When
descending a steep hill, avoid
sudden hard braking as you could
lose control. When you brake hard,
the front wheels can’t turn. Rapid
pumping of the brake pedal will help
you slow the vehicle and still
maintain steering control.
If your vehicle has anti-lock brakes, apply the brakes steadily. Do not
“pump”the brakes.
Driving on snow and ice
4WD vehicles can skid like any other vehicle. If you start to skid while
driving on a snowy or icy road, turn the steering wheel in the direction
of the slide until you regain control. Although a 4WD vehicle may
accelerate better than a two-wheel drive vehicle in snow and ice, it won’t
stop any faster.
Don’t press hard on the accelerator or brake pedal or make quick
steering changes while on snow or ice. Apply the accelerator slowly and
steadily when starting from a full stop. If your vehicle is equipped with
ABS, apply the brake steadily. Do not“pump”the brakes. Refer to the
Brakessection of this chapter for additional information on the
operation of the anti-lock brake system. If your vehicle is not equipped
with ABS, use a“squeeze”braking technique. Push on the brake pedal
with a steadily increasing force which allows the wheels to brake yet
Driving
102
Page 103 of 184

continue to roll so that you may steer in the direction you want to travel.
If you lock the wheels, release the brake pedal and repeat the squeeze
technique.
Never drive with chains on the front tires of 4WD vehicles without also
putting them on the rear tires. This could cause the rear to slide and
swing around during braking.
Maintenance and Modifications
Ford strongly recommends that you do not add or removing steering or
suspension parts (such as lift kits or stabilizer bars) or by using
replacement parts not equivalent to the original factory equipment. Do
not use aftermarket“lift kits”or other suspension modifications. These
could adversely affect the vehicle’s handling characteristics, which could
lead to loss of vehicle control or roll over and serious injury. Frequent
inspection of vehicle chassis components is recommended if the vehicle
is subjected to heavy off-road usage.
DRIVING THROUGH WATER
If driving through deep or standing water is unavoidable, proceed very
slowly especially if the depth is not known. Never drive through water
that is higher than the bottom of the hubs (for trucks) or the bottom of
the wheel rims (for cars). Traction or brake capability may be limited
and your vehicle may stall. Water may also enter your engine’s air intake
and severely damage your engine.
Once through the water, always dry the brakes by moving your vehicle
slowly while applying light pressure on the brake pedal. Wet brakes do
not stop the vehicle as quickly as dry brakes.Driving through deep
water where the transmission vent tube is submerged may allow
water into the transmission and cause internal transmission
damage.
VEHICLE LOADING
Before loading a vehicle, familiarize yourself with the following terms:
•Base Curb Weight:Weight of the vehicle including any standard
equipment, fluids, lubricants, etc. It does not include occupants or
aftermarket equipment.
•Payload:Combined maximum allowable weight of cargo, occupants
and optional equipment. The payload equals the gross vehicle weight
rating minus base curb weight.
•GVW (Gross Vehicle Weight):Base curb weight plus payload
weight.
Driving
103
Page 104 of 184
:Maximum allowable total
weight of the base vehicle, occupants, optional equipment and cargo.
The GVWR is specific to each vehicle and is listed on the Safety
Cert")
•GVWR (Gross Vehicle Weight Rating):Maximum allowable total
weight of the base vehicle, occupants, optional equipment and cargo.
The GVWR is specific to each vehicle and is listed on the Safety
Certification Label on the driver’s door pillar.
•GAWR (Gross Axle Weight Rating):Carrying capacity for each axle
system. The GAWR is specific to each vehicle and is listed on the
Safety Certification Label on the driver’s door pillar.
•GCW (Gross Combined Weight):The combined weight of the
towing vehicle (including occupants and cargo) and the loaded trailer.
•GCWR (Gross Combined Weight Rating):Maximum allowable
combined weight of towing vehicle (including occupants and cargo)
and the loaded trailer
•Maximum Trailer Weight Rating:Maximum weight of a trailer the
vehicle is permitted to tow. The maximum trailer weight rating is
determined by subtracting the vehicle curb weight for each
engine/transmission combination, any required option weight for trailer
towing and the weight of the driver from the GCWR for the towing
vehicle.
•Maximum Trailer Weight:Maximum weight of a trailer the loaded
vehicle, including occupants and cargo, is permitted to tow. It is
determined by subtracting the weight of the loaded trailer towing
vehicle from the GCWR for the towing vehicle.
•Trailer Weight Range:Specified range of trailer weight from zero to
the maximum trailer weight rating.
Remember to figure in the tongue load of your loaded trailer when
figuring the total weight.
The Safety Certification Label, located on the driver’s door pillar, lists
vehicle weight rating limitations. Before adding any additional equipment,
refer to these limitations.
Always ensure that the weight of occupants, cargo and equipment is
within the weight limitations, including both gross vehicle weight and
front and rear gross axle weight rating limits.
Note:Do not exceed the GVWR or the GAWR specified on the
certification label.
Exceeding any vehicle weight rating limitation could result in
serious damage to the vehicle loss of vehicle control, vehicle
rollover, and/or personal injury.
Driving
104
 1
1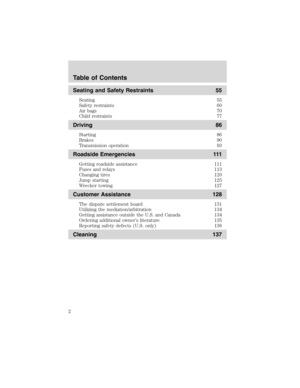 2
2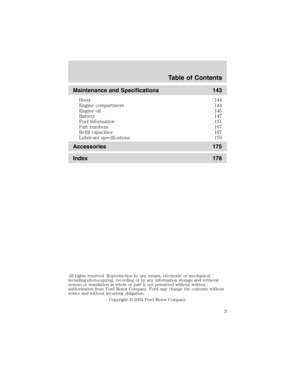 3
3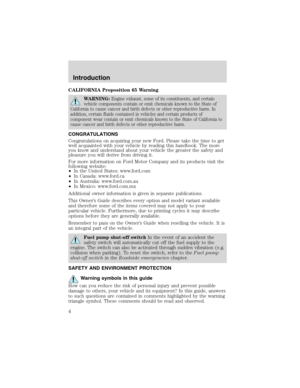 4
4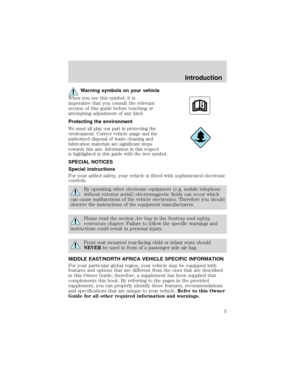 5
5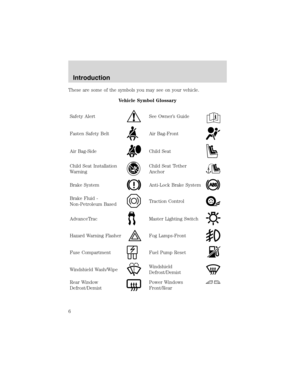 6
6 7
7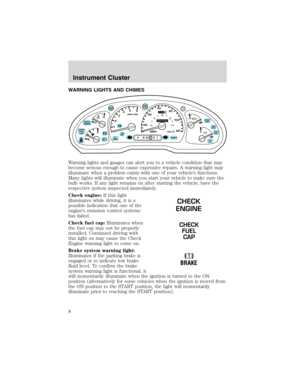 8
8 9
9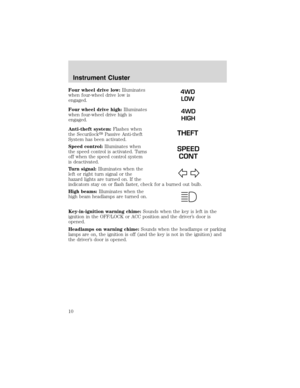 10
10 11
11 12
12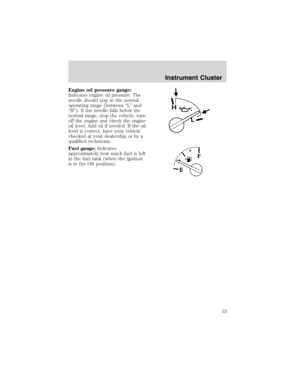 13
13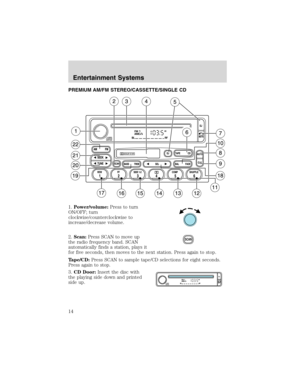 14
14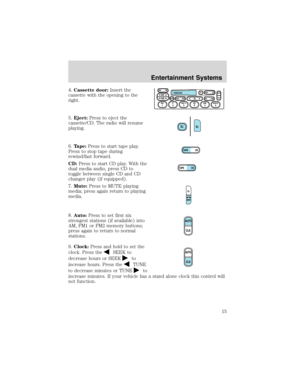 15
15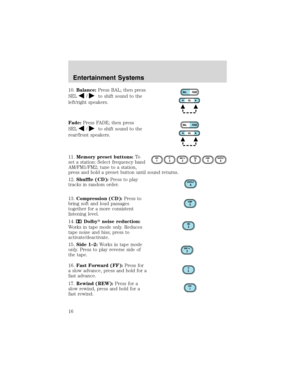 16
16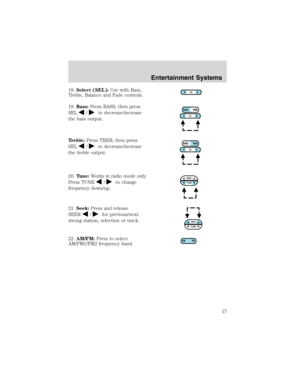 17
17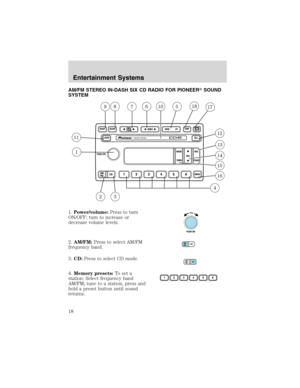 18
18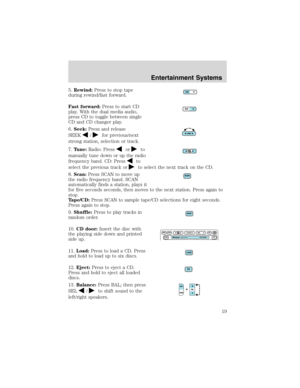 19
19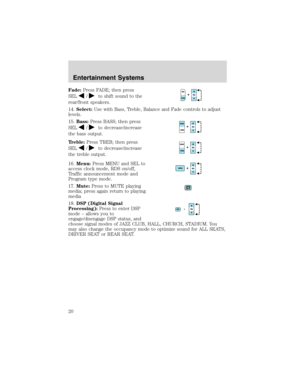 20
20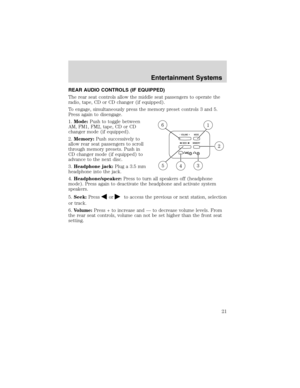 21
21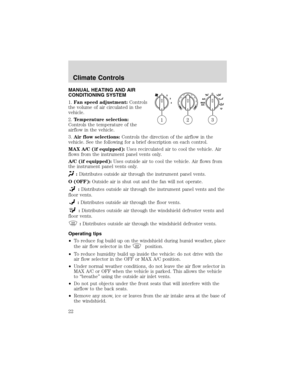 22
22 23
23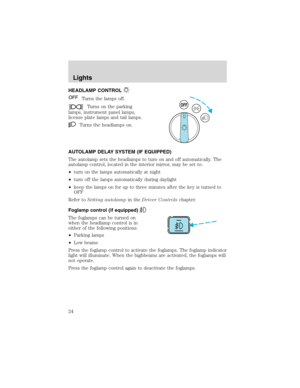 24
24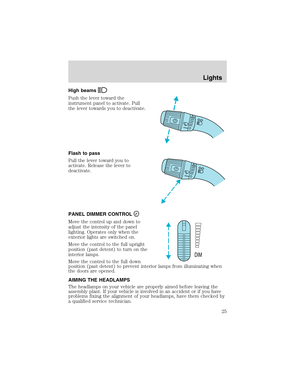 25
25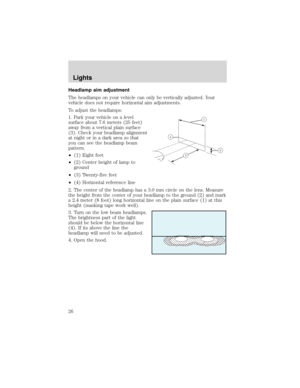 26
26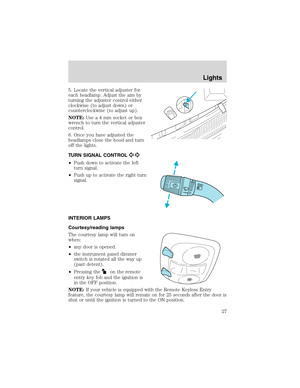 27
27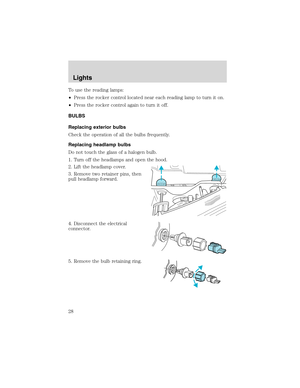 28
28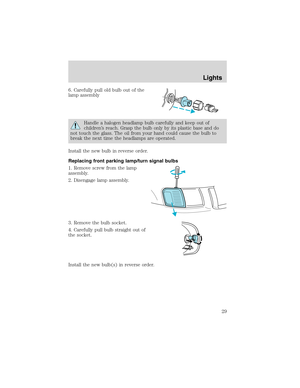 29
29 30
30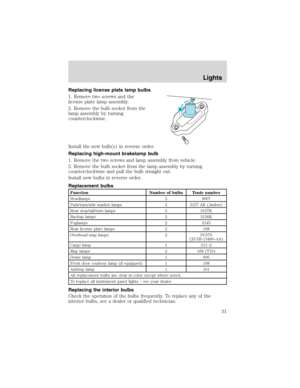 31
31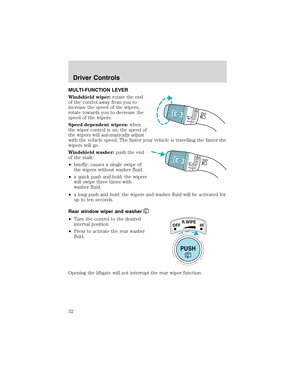 32
32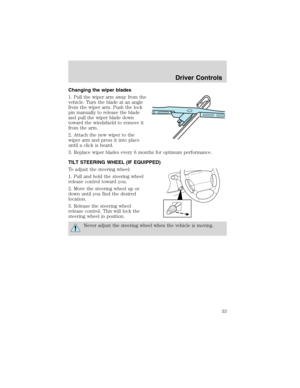 33
33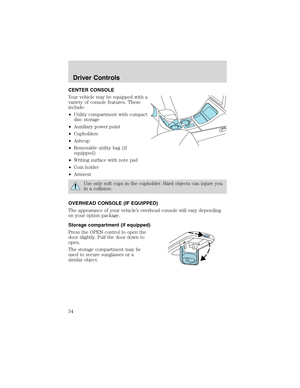 34
34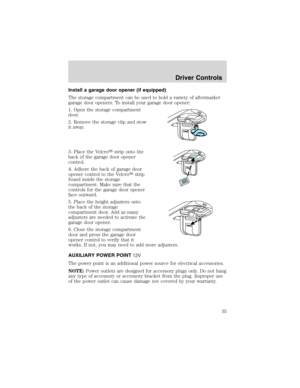 35
35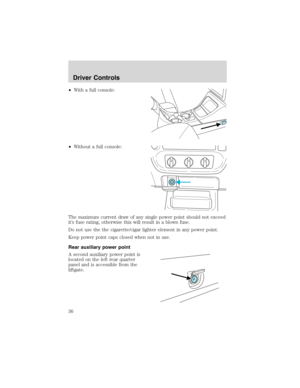 36
36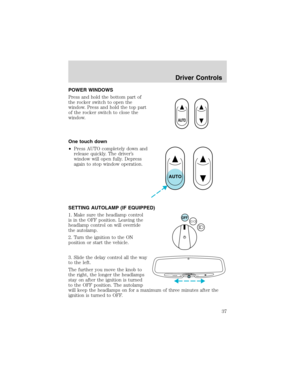 37
37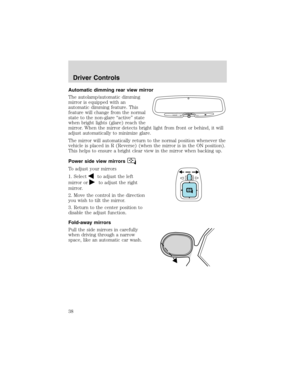 38
38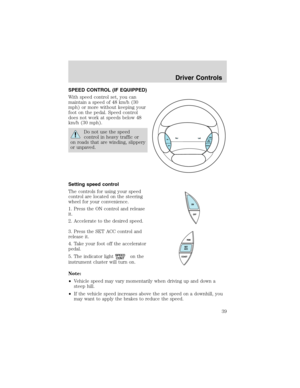 39
39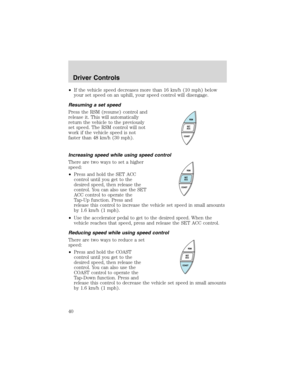 40
40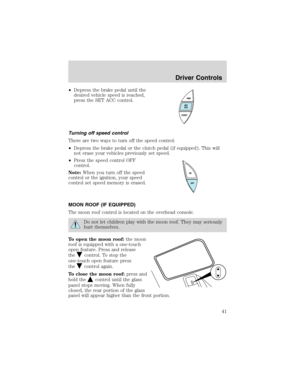 41
41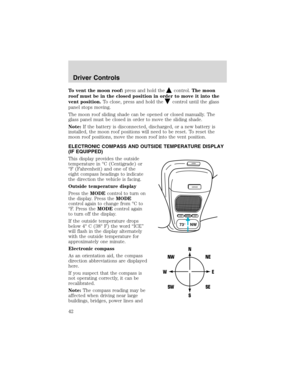 42
42 43
43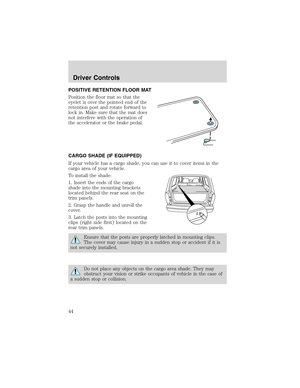 44
44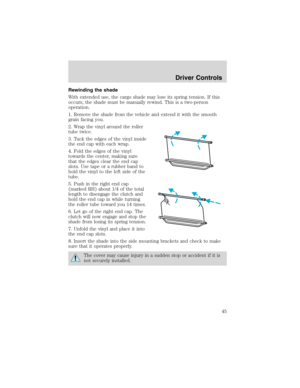 45
45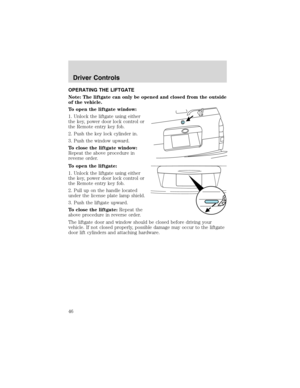 46
46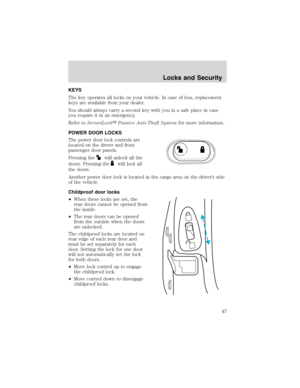 47
47 48
48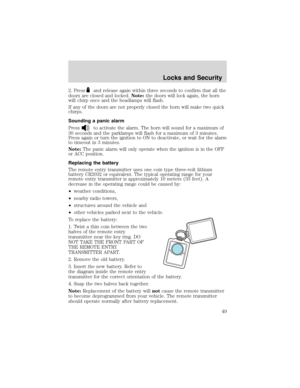 49
49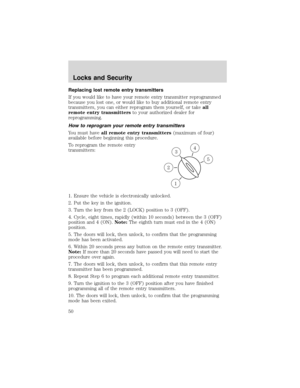 50
50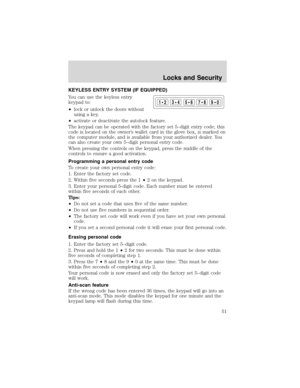 51
51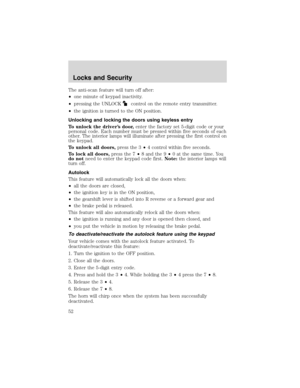 52
52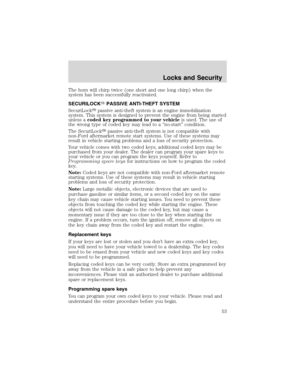 53
53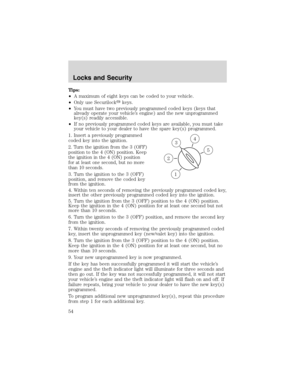 54
54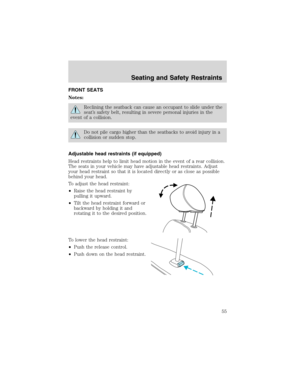 55
55 56
56 57
57 58
58 59
59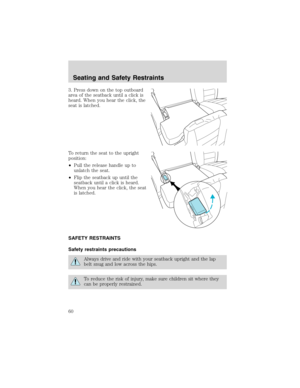 60
60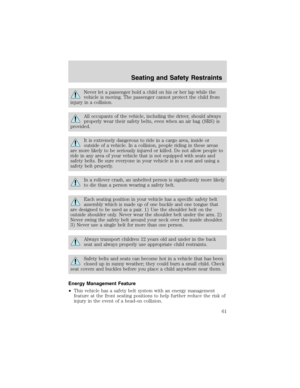 61
61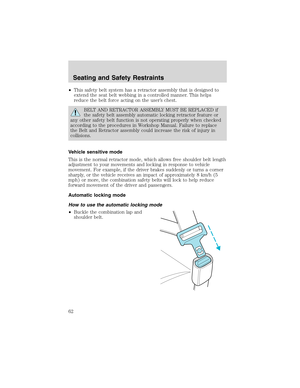 62
62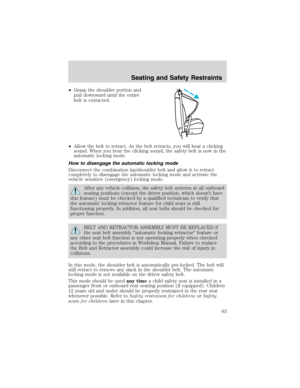 63
63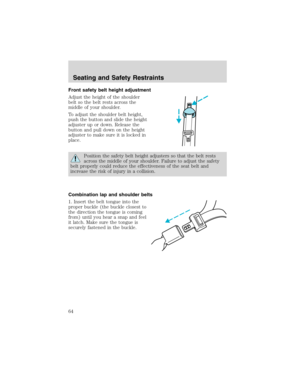 64
64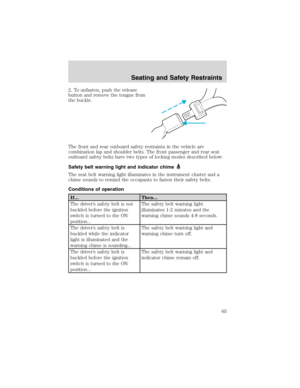 65
65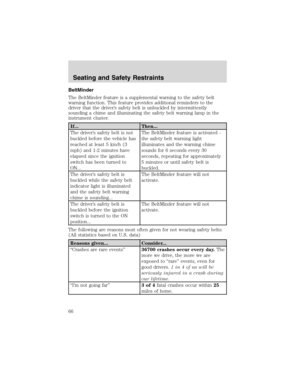 66
66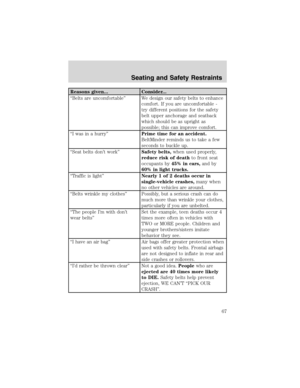 67
67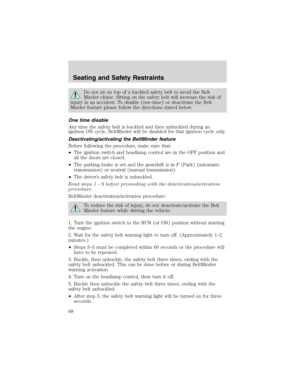 68
68 69
69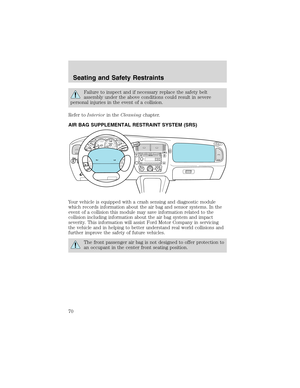 70
70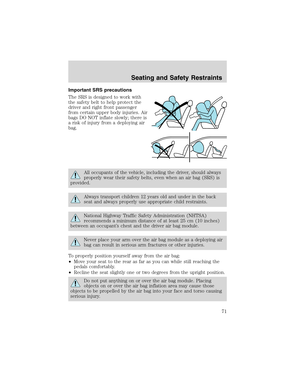 71
71 72
72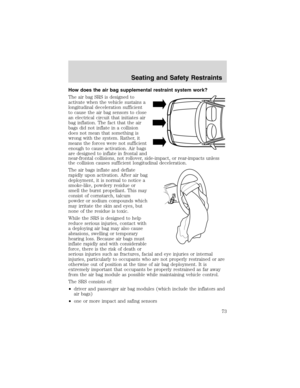 73
73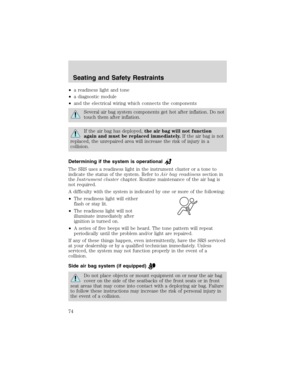 74
74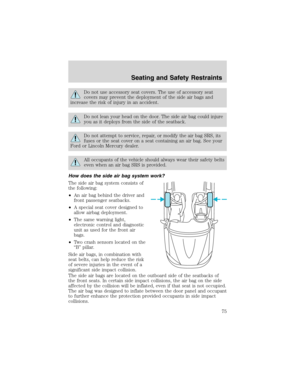 75
75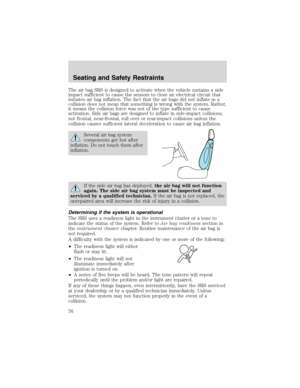 76
76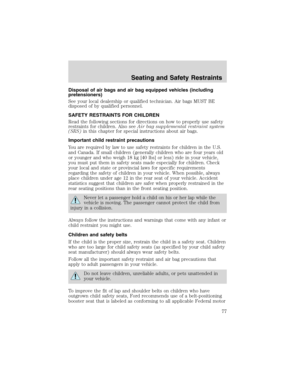 77
77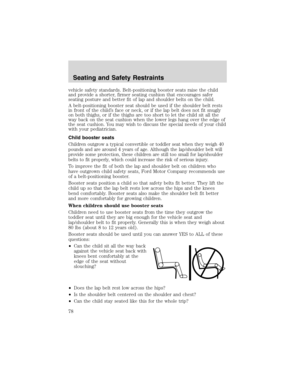 78
78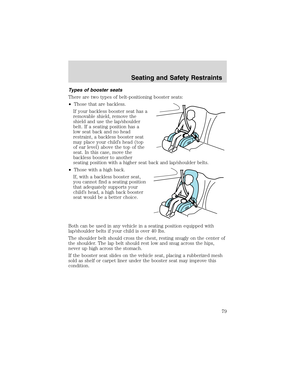 79
79 80
80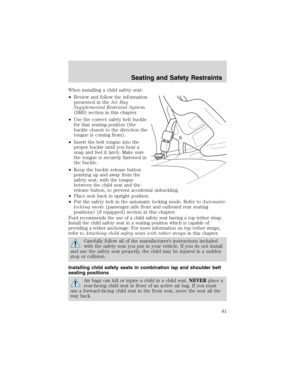 81
81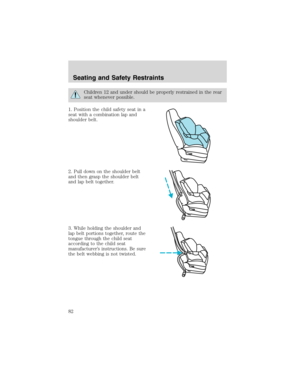 82
82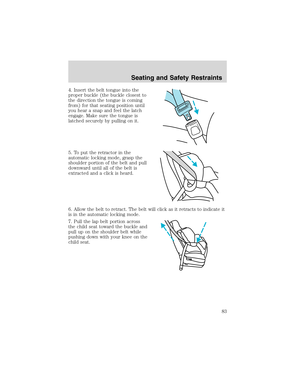 83
83 84
84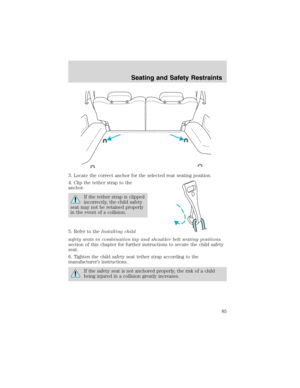 85
85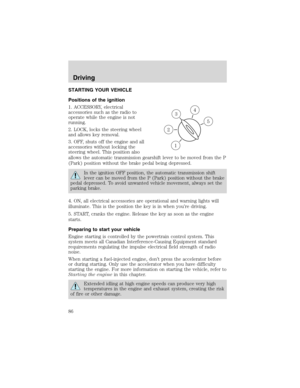 86
86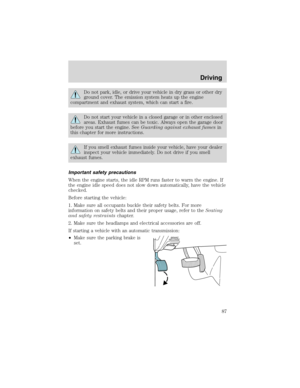 87
87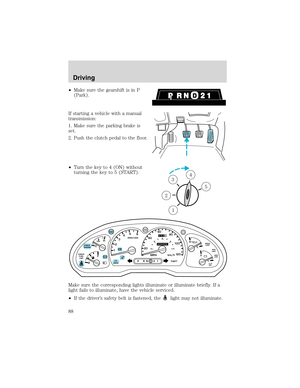 88
88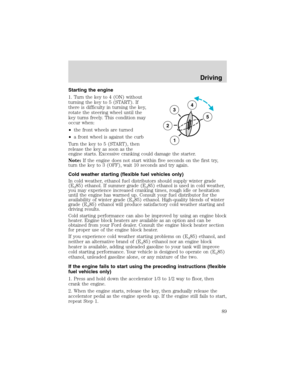 89
89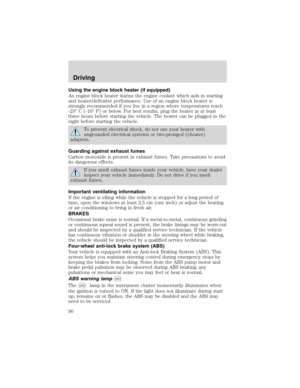 90
90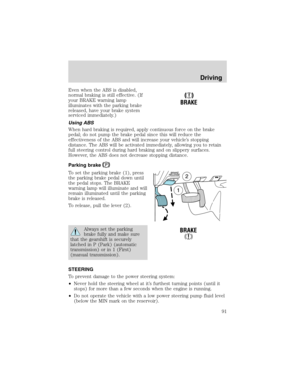 91
91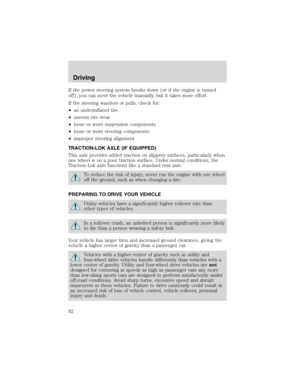 92
92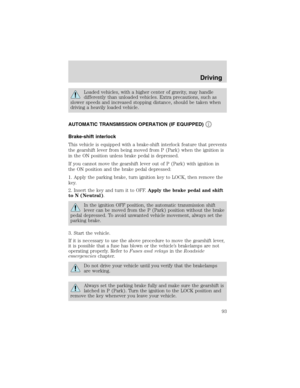 93
93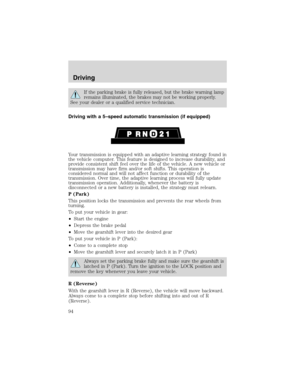 94
94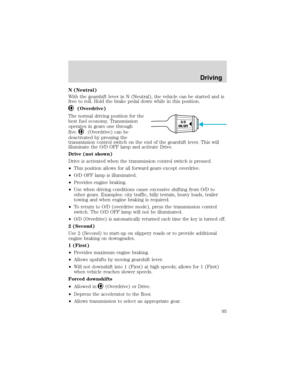 95
95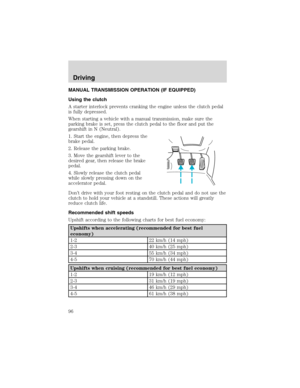 96
96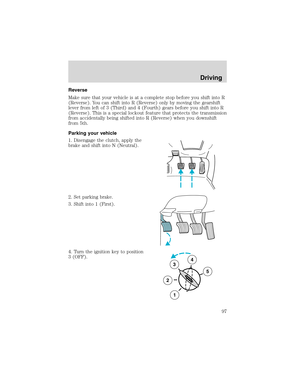 97
97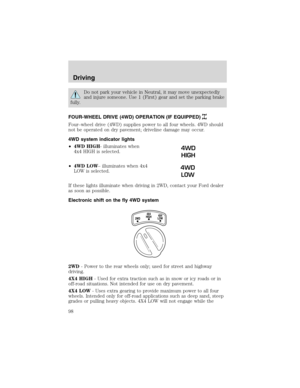 98
98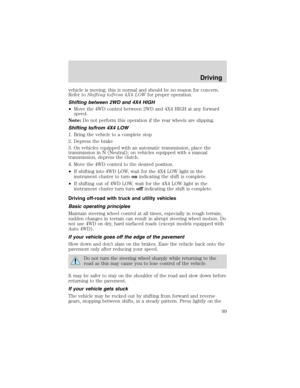 99
99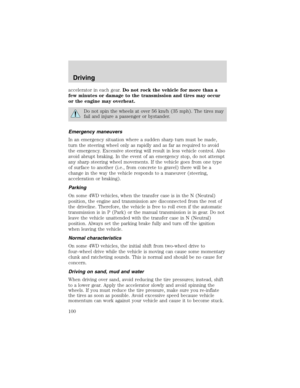 100
100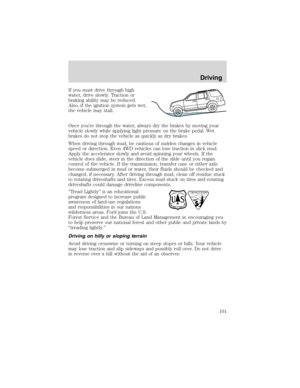 101
101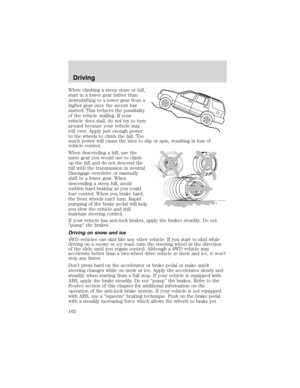 102
102 103
103 104
104 105
105 106
106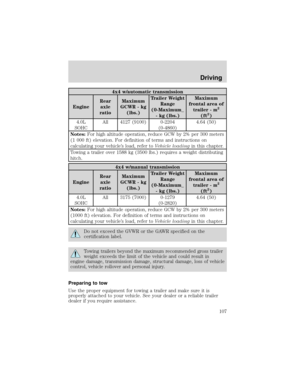 107
107 108
108 109
109 110
110 111
111 112
112 113
113 114
114 115
115 116
116 117
117 118
118 119
119 120
120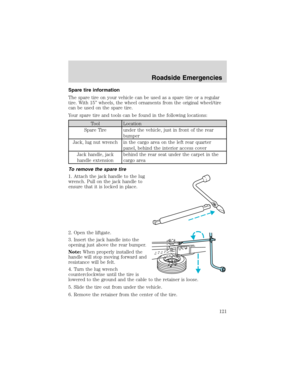 121
121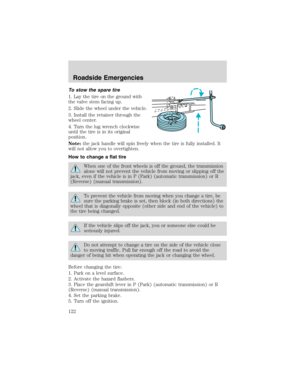 122
122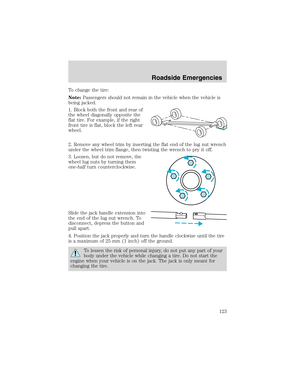 123
123 124
124 125
125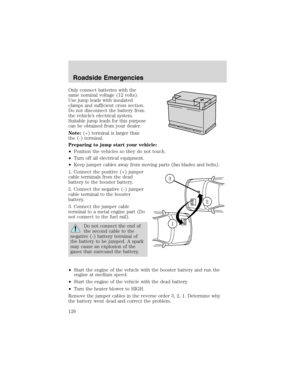 126
126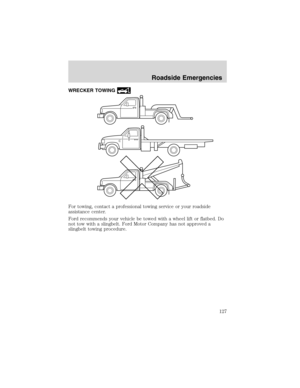 127
127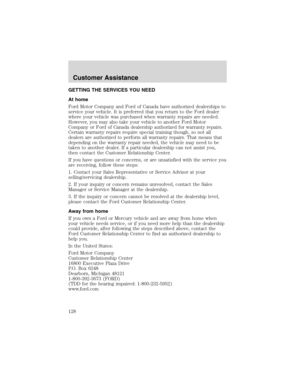 128
128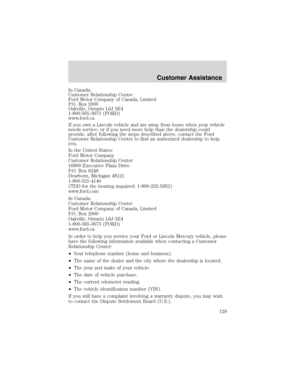 129
129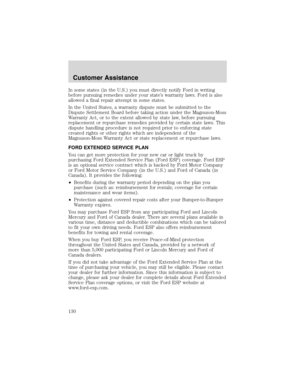 130
130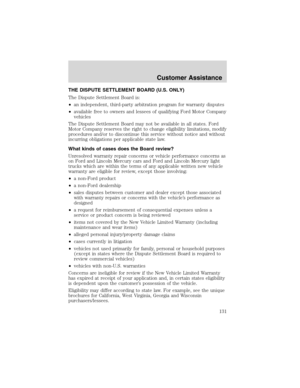 131
131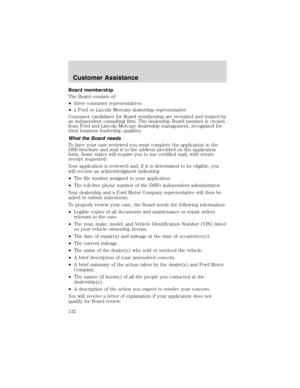 132
132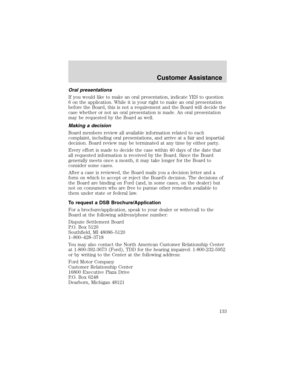 133
133 134
134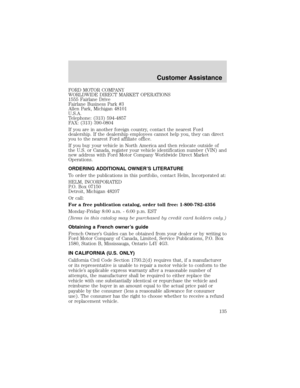 135
135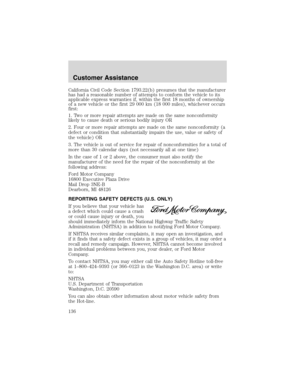 136
136 137
137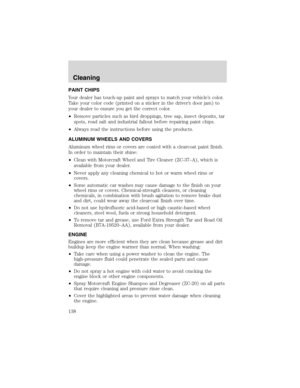 138
138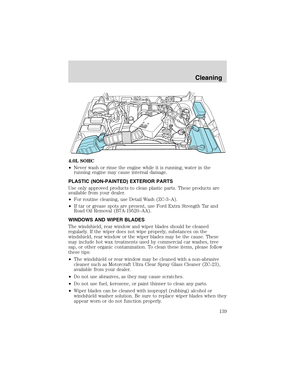 139
139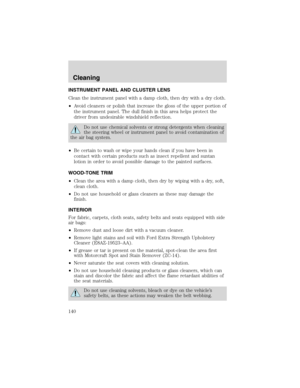 140
140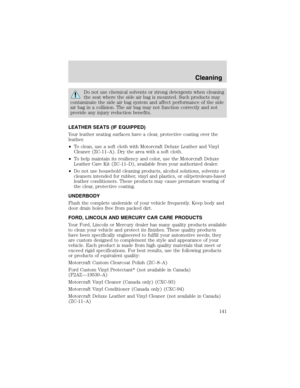 141
141 142
142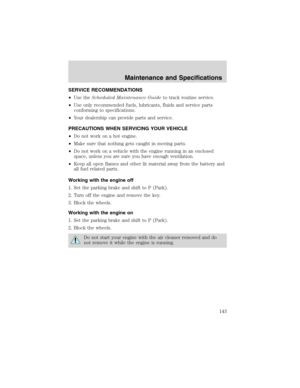 143
143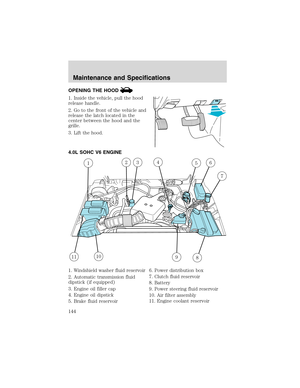 144
144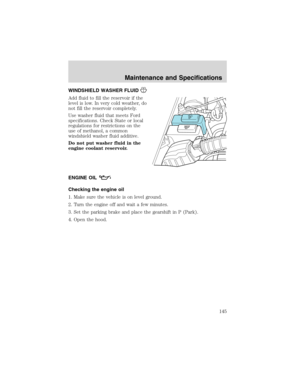 145
145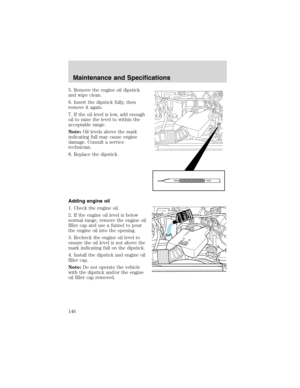 146
146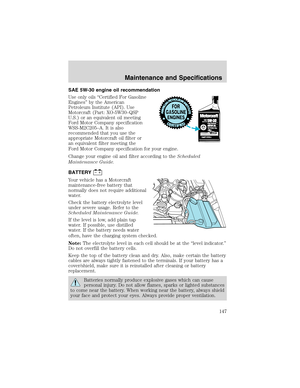 147
147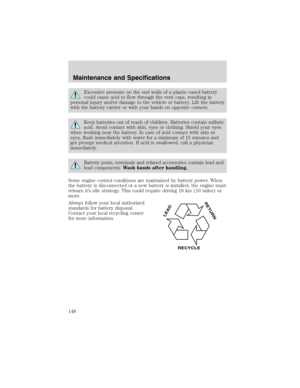 148
148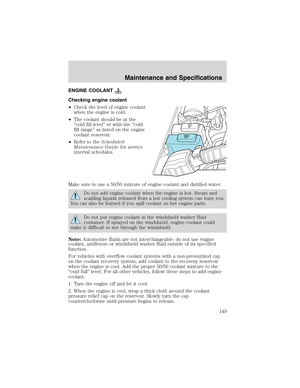 149
149 150
150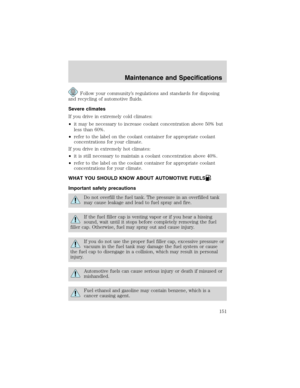 151
151 152
152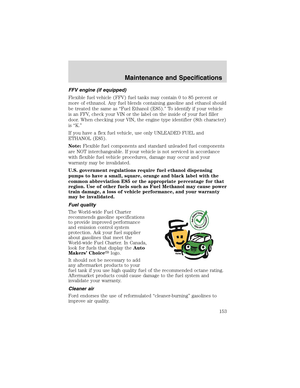 153
153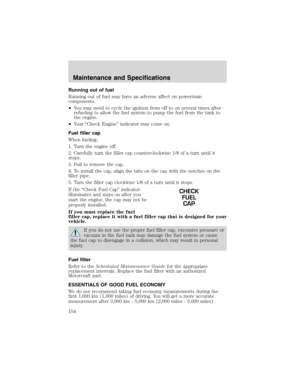 154
154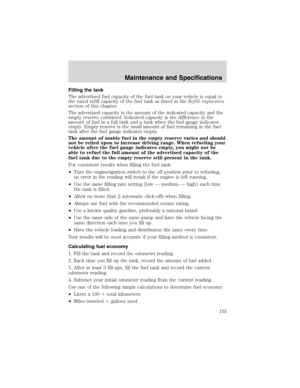 155
155 156
156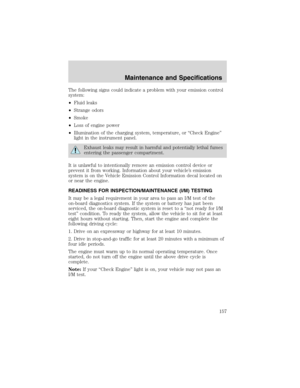 157
157 158
158 159
159 160
160 161
161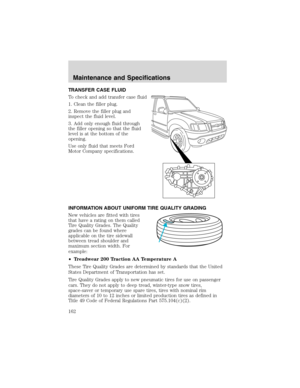 162
162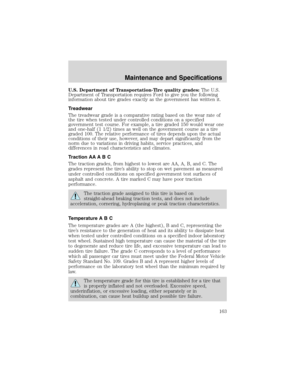 163
163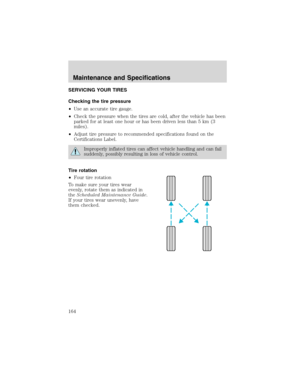 164
164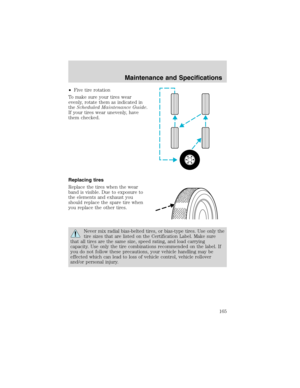 165
165 166
166 167
167 168
168 169
169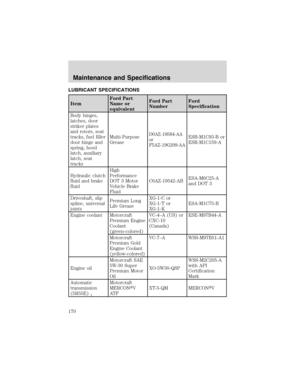 170
170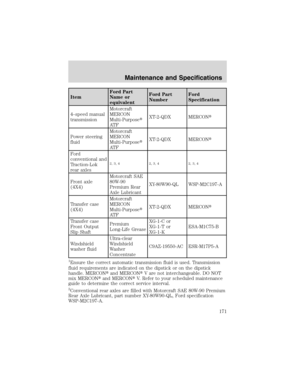 171
171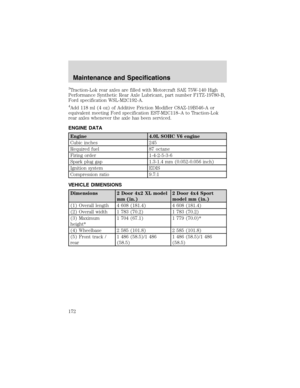 172
172 173
173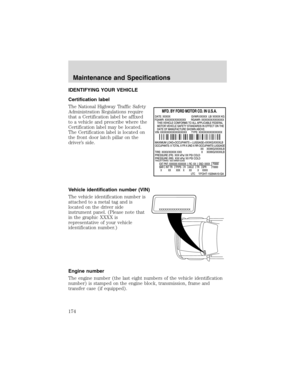 174
174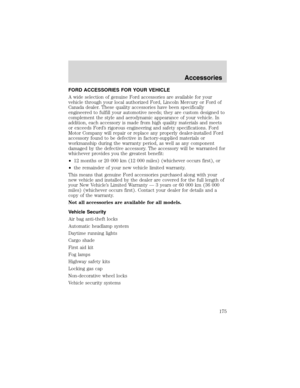 175
175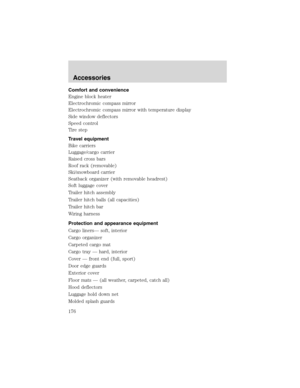 176
176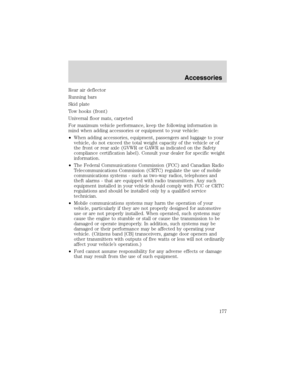 177
177 178
178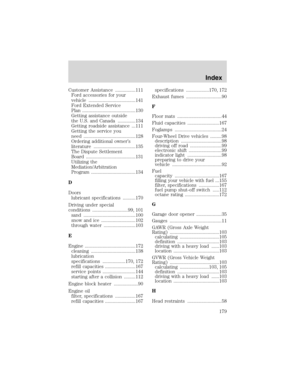 179
179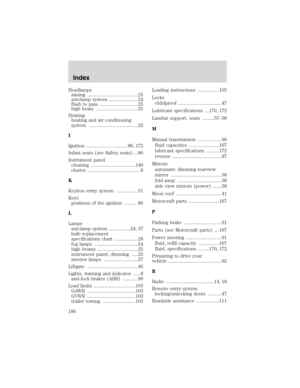 180
180 181
181 182
182 183
183. You can shift into R (Reverse) only by moving the gearshift
lever from left of 3 (Third) and 4 (Fourth) gea")