Page 10 of 184
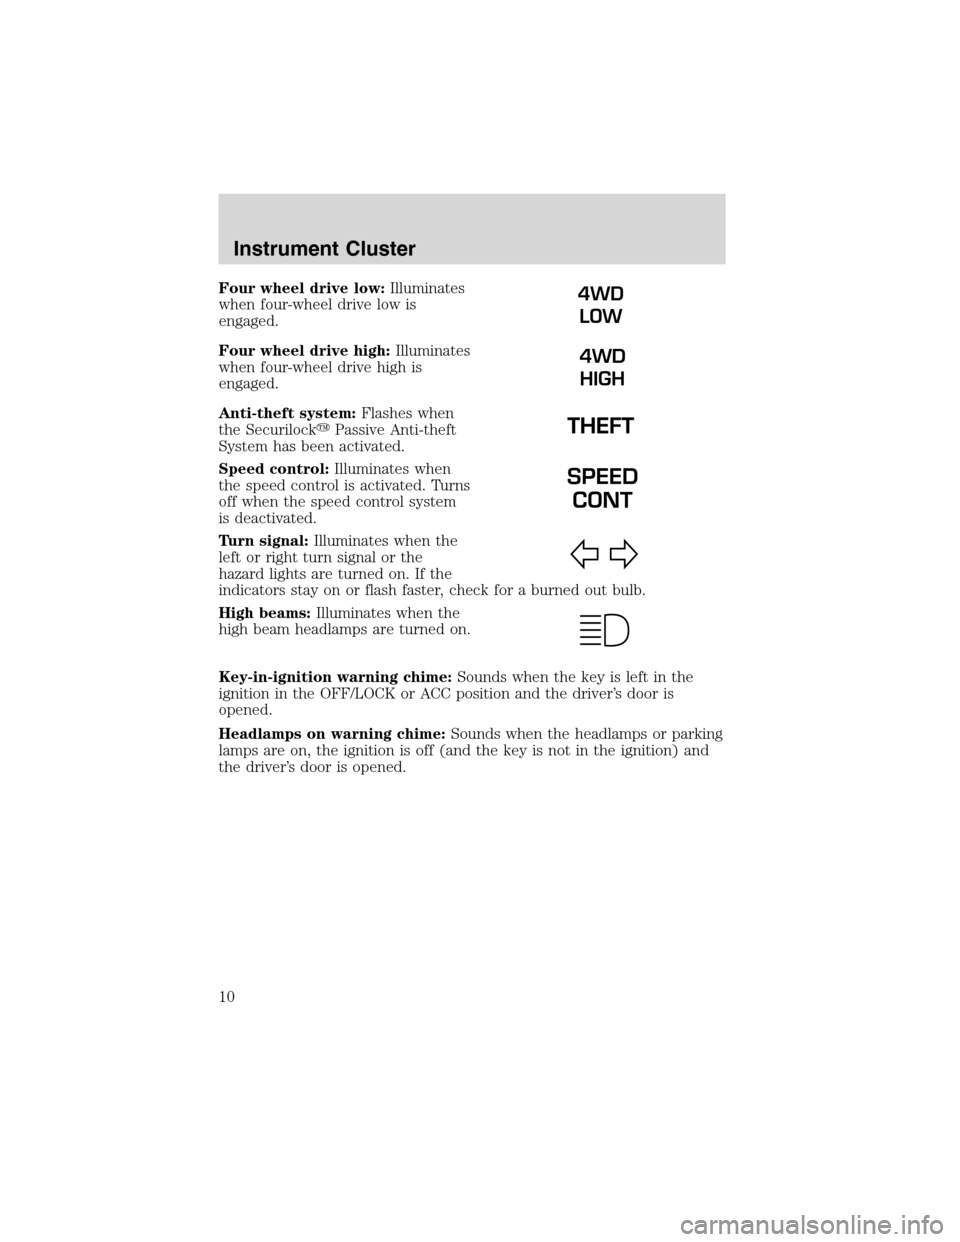
Four wheel drive low:Illuminates
when four-wheel drive low is
engaged.
Four wheel drive high:Illuminates
when four-wheel drive high is
engaged.
Anti-theft system:Flashes when
the Securilock�Passive Anti-theft
System has been activated.
Speed control:Illuminates when
the speed control is activated. Turns
off when the speed control system
is deactivated.
Turn signal:Illuminates when the
left or right turn signal or the
hazard lights are turned on. If the
indicators stay on or flash faster, check for a burned out bulb.
High beams:Illuminates when the
high beam headlamps are turned on.
Key-in-ignition warning chime:Sounds when the key is left in the
ignition in the OFF/LOCK or ACC position and the driver’s door is
opened.
Headlamps on warning chime:Sounds when the headlamps or parking
lamps are on, the ignition is off (and the key is not in the ignition) and
the driver’s door is opened.4WD
LOW
4WD
HIGH
SPEED
CONT
Instrument Cluster
10
Page 24 of 184
HEADLAMP CONTROL
Turns the lamps off.
Turns on the parking
lamps, instrument panel lamps,
license plate lamps and tail lamps.
Turns the headlamps on.
AUTOLAMP DELAY SYSTEM (IF EQUIPPED)
The autolamp sets the headlamps to turn on and off automatically. The
autolamp control, located in the interior mirror, may be set to:
•turn on the lamps automatically at night
•turn off the lamps automatically during daylight
•keep the lamps on for up to three minutes after the key is turned to
OFF
Refer toSetting autolampin theDriver Controlschapter.
Foglamp control (if equipped)
The foglamps can be turned on
when the headlamp control is in
either of the following positions:
•Parking lamps
•Low beams
Press the foglamp control to activate the foglamps. The foglamp indicator
light will illuminate. When the highbeams are activated, the foglamps will
not operate.
Press the foglamp control again to deactivate the foglamps.
OFF
Lights
24
Page 26 of 184
Headlamp aim adjustment
The headlamps on your vehicle can only be vertically adjusted. Your
vehicle does not require horizontal aim adjustments.
To adjust the headlamps:
1. Park your vehicle on a level
surface about 7.6 meters (25 feet)
away from a vertical plain surface
(3). Check your headlamp alignment
at night or in a dark area so that
you can see the headlamp beam
pattern.
•(1) Eight feet
•(2) Center height of lamp to
ground
•(3) Twenty-five feet
•(4) Horizontal reference line
2. The center of the headlamp has a 3.0 mm circle on the lens. Measure
the height from the center of your headlamp to the ground (2) and mark
a 2.4 meter (8 foot) long horizontal line on the plain surface (1) at this
height (masking tape work well).
3. Turn on the low beam headlamps.
The brightness part of the light
should be below the horizontal line
(4). If its above the line the
headlamp will need to be adjusted.
4. Open the hood.
Lights
26
Page 119 of 184
Fuse/Relay
LocationFuse Amp
RatingPower Distribution Box
Description
13 20A Cartridge
fuse4X4 Motor
14—Not Used
15—Not Used
16 40A Cartridge
fuseBlower Motor
17 30A Cartridge
fuseRear Defroster
18—Not Used
19—Not Used
20—Not Used
21 10A Mini fuse PCM Memory
22 15A Mini fuse Horn
23 20A Mini fuse Fuel Pump Motor
24 25A Mini fuse Headlamps
25 10A Mini fuse A/C Clutch Solenoid
26—Not Used
27—Not Used
28 30A Mini fuse 4WABS Module
29 15A Mini fuse Foglamps
30—Not Used
31 15A Mini fuse Daytime Running Lamps
32—Not Used
33—Not Used
34–Not Used
35—Not Used
36—Not Used
37—Not Used
38 10A Mini fuse Left Low Beam
39—Not Used
40—Not Used
Roadside Emergencies
119
Page 120 of 184
Fuse/Relay
LocationFuse Amp
RatingPower Distribution Box
Description
41 15A Mini fuse Heated Oxygen Sensors
42 10A Mini fuse Right Low Beam
43—Not Used
44—Not Used
45A—Wiper Hi/Low Relay
45B—Wiper Run/Park Relay
46A—Not Used
46B—Rear Wiper Up Relay
47A 20A CB Windows
47B—Not Used
48—Window Safety Relay
49—Starter Relay
50A—Not Used
50B—Fuel Pump Relay
51—Not Used
52—Not Used
53—PCM Diode
54—PCM Relay
55—Blower Relay
56A—A/C Clutch Solenoid
56B—Horn Relay
CHANGING A FLAT TIRE
If you get a flat tire while driving:
•do not brake heavily.
•gradually decrease the vehicle’s speed.
•hold the steering wheel firmly.
•slowly move to a safe place on the side of the road.
The use of tire sealants is not recommended and may compromise the
integrity of your tires. The use of tire sealants may also affect your tire
pressure monitoring system (if equipped).
Roadside Emergencies
120

The autolamp s")


