2002 BMW 745LI SEDAN lights
[x] Cancel search: lightsPage 44 of 208
At a glanceControlsDriving tipsCommunicationsNavigationEntertainmentMobilityReference
43
indicator lamp lights up when this safety
feature is activated.
Press the safety switch whenever
children are riding in the rear of the
vehicle. Careless use of the power
windows can lead to injury.<
The remote control unit must be
locked in position in the ignition lock
before this safety feature can be deacti-
vated.< After installing accessories After installing any accessory Ð such as a
clamp-on antenna for a mobile phone Ð
within the window's travel range, you will
need to have the system reinitialized for
use under the new conditions . Please
contact your BMW center for assistance. Sliding/tilt sunroof*
To prevent injuries, exercise care
when closing the sliding/tilt sunroof
and keep it in your field of vision until it is
shut.
When leaving the vehicle, always disen-
gage the remote control in the ignition lock
and close the doors to prevent children
from operating the sunroof and injuring
themselves, etc.<
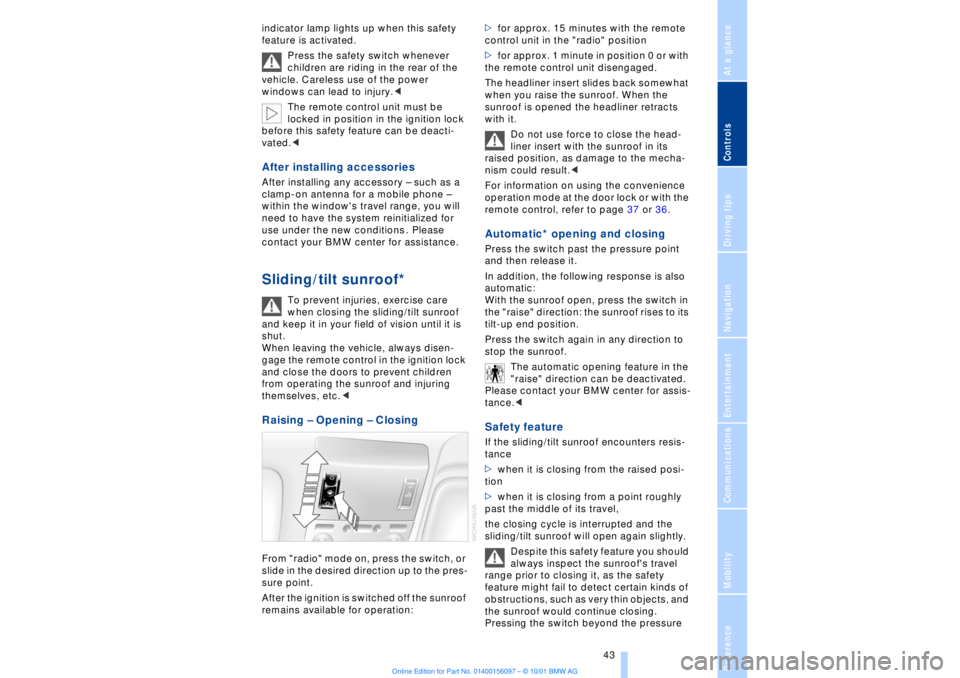
Raising Ð Opening Ð Closing From "radio" mode on, press the switch, or
slide in the desired direction up to the pres-
sure point.
After the ignition is switched off the sunroof
remains available for operation:>for approx. 15 minutes with the remote
control unit in the "radio" position
>for approx. 1 minute in position 0 or with
the remote control unit disengaged.
The headliner insert slides back somewhat
when you raise the sunroof. When the
sunroof is opened the headliner retracts
with it.
Do not use force to close the head-
liner insert with the sunroof in its
raised position, as damage to the mecha-
nism could result.<
For information on using the convenience
operation mode at the door lock or with the
remote control, refer to page 37 or 36.
Automatic* opening and closing Press the switch past the pressure point
and then release it.
In addition, the following response is also
automatic:
With the sunroof open, press the switch in
the "raise" direction: the sunroof rises to its
tilt-up end position.
Press the switch again in any direction to
stop the sunroof.
The automatic opening feature in the
"raise" direction can be deactivated.
Please contact your BMW center for assis-
tance.< Safety feature If the sliding/tilt sunroof encounters resis-
tance
>when it is closing from the raised posi-
tion
>when it is closing from a point roughly
past the middle of its travel,
the closing cycle is interrupted and the
sliding/tilt sunroof will open again slightly.
Despite this safety feature you should
always inspect the sunroof's travel
range prior to closing it, as the safety
feature might fail to detect certain kinds of
obstructions, such as very thin objects, and
the sunroof would continue closing.
Pressing the switch beyond the pressure
Page 47 of 208
Adjustments
46 notice on the active head restraints on
page 48.
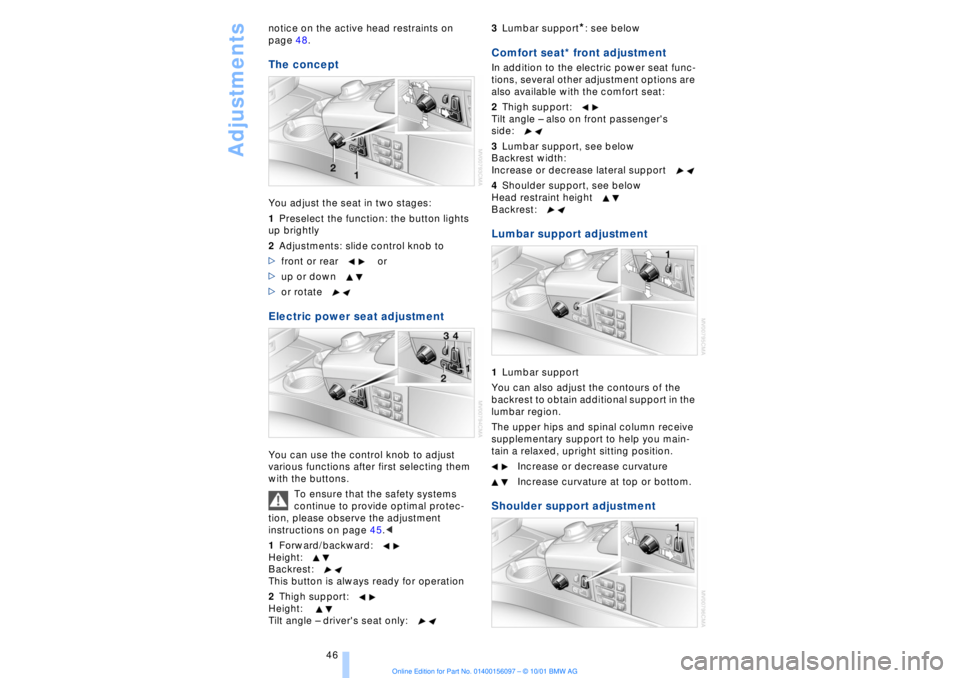
The conceptYou adjust the seat in two stages:
1Preselect the function: the button lights
up brightly
2Adjustments: slide control knob to
>front or rear or
>up or down
>or rotate Electric power seat adjustment You can use the control knob to adjust
various functions after first selecting them
with the buttons.
To ensure that the safety systems
continue to provide optimal protec-
tion, please observe the adjustment
instructions on page 45.<
1Forward/backward:
Height:
Backrest:
This button is always ready for operation
2Thigh support:
Height:
Tilt angle Ð driver's seat only:3Lumbar support
*: see below
Comfort seat* front adjustment In addition to the electric power seat func-
tions, several other adjustment options are
also available with the comfort seat:
2Thigh support:
Tilt angle Ð also on front passenger's
side:
3Lumbar support, see below
Backrest width:
Increase or decrease lateral support
4Shoulder support, see below
Head restraint height
Backrest: Lumbar support adjustment1Lumbar support
You can also adjust the contours of the
backrest to obtain additional support in the
lumbar region.
The upper hips and spinal column receive
supplementary support to help you main-
tain a relaxed, upright sitting position.
Increase or decrease curvature
Increase curvature at top or bottom. Shoulder support adjustment
Page 54 of 208
At a glanceControlsDriving tipsCommunicationsNavigationEntertainmentMobilityReference
53
Lighted vanity mirror
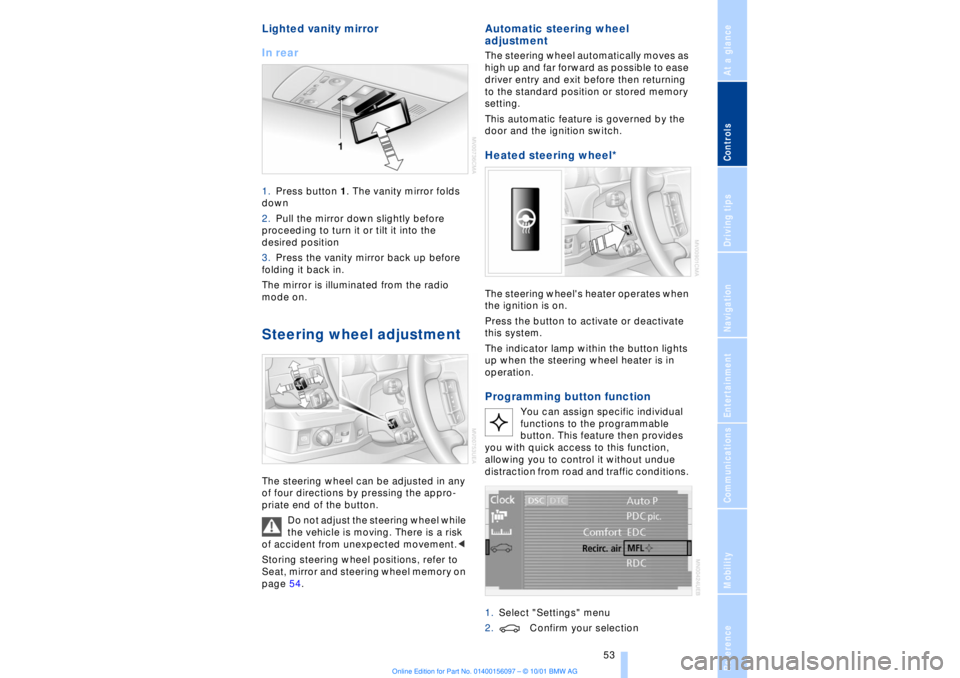
In rear 1.Press button 1. The vanity mirror folds
down
2.Pull the mirror down slightly before
proceeding to turn it or tilt it into the
desired position
3.Press the vanity mirror back up before
folding it back in.
The mirror is illuminated from the radio
mode on. Steering wheel adjustment The steering wheel can be adjusted in any
of four directions by pressing the appro-
priate end of the button.
Do not adjust the steering wheel while
the vehicle is moving. There is a risk
of accident from unexpected movement.<
Storing steering wheel positions, refer to
Seat, mirror and steering wheel memory on
page 54.
Automatic steering wheel
adjustment The steering wheel automatically moves as
high up and far forward as possible to ease
driver entry and exit before then returning
to the standard position or stored memory
setting.
This automatic feature is governed by the
door and the ignition switch. Heated steering wheel*
The steering wheel's heater operates when
the ignition is on.
Press the button to activate or deactivate
this system.
The indicator lamp within the button lights
up when the steering wheel heater is in
operation.Programming button function
You can assign specific individual
functions to the programmable
button. This feature then provides
you with quick access to this function,
allowing you to control it without undue
distraction from road and traffic conditions.
1.Select "Settings" menu
2.Confirm your selection
Page 64 of 208
At a glanceControlsDriving tipsCommunicationsNavigationEntertainmentMobilityReference
63
You have two separate options for
engaging the parking brake:
>Manually, by briefly pressing the button
>Automatically, through activation of the
Automatic Hold mode, refer to next
column.
An electrohydraulic mechanism then
engages the parking brakes to prevent the
rear wheels from turning whenever you
switch off the engine.
When the engine is running, parking brake
engagement is controlled by the brake
system's hydraulic circuits, which act on
the disc brakes at the front and rear
wheels. Brake pedal feel Because this function is activated using the
brake system's hydraulic circuits, the
response of the brake pedal may change
slightly. Engagement may also be accom-
panied by activation noise Ð this is normal. Manual engagement
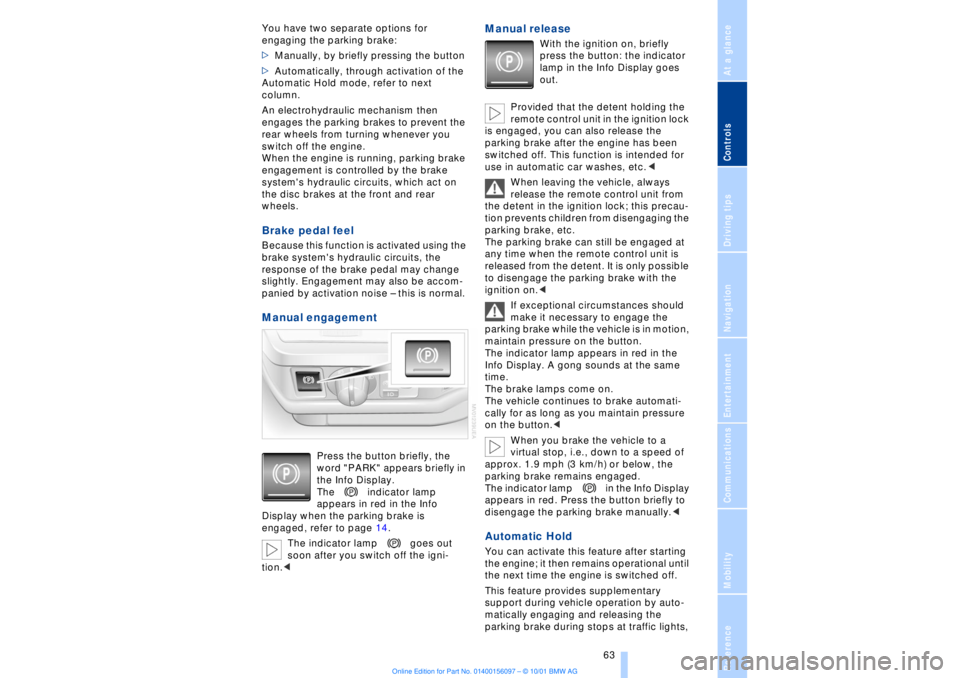
Press the button briefly, the
word "PARK" appears briefly in
the Info Display.
The indicator lamp
appears in red in the Info
Display when the parking brake is
engaged, refer to page 14.
The indicator lamp goes out
soon after you switch off the igni-
tion.<
Manual release
With the ignition on, briefly
press the button: the indicator
lamp in the Info Display goes
out.
Provided that the detent holding the
remote control unit in the ignition lock
is engaged, you can also release the
parking brake after the engine has been
switched off. This function is intended for
use in automatic car washes, etc.<
When leaving the vehicle, always
release the remote control unit from
the detent in the ignition lock; this precau-
tion prevents children from disengaging the
parking brake, etc.
The parking brake can still be engaged at
any time when the remote control unit is
released from the detent. It is only possible
to disengage the parking brake with the
ignition on.<
If exceptional circumstances should
make it necessary to engage the
parking brake while the vehicle is in motion,
maintain pressure on the button.
The indicator lamp appears in red in the
Info Display. A gong sounds at the same
time.
The brake lamps come on.
The vehicle continues to brake automati-
cally for as long as you maintain pressure
on the button.<
When you brake the vehicle to a
virtual stop, i.e., down to a speed of
approx. 1.9 mph (3 km/h) or below, the
parking brake remains engaged.
The indicator lamp in the Info Display
appears in red. Press the button briefly to
disengage the parking brake manually.<
Automatic Hold You can activate this feature after starting
the engine; it then remains operational until
the next time the engine is switched off.
This feature provides supplementary
support during vehicle operation by auto-
matically engaging and releasing the
parking brake during stops at traffic lights,
Page 89 of 208

Technology for comfort, convenience and safety
88
Technology for comfort, convenience
and safetyPDC Park Distance Control*
The concept The PDC assists you when you are parking.
Acoustic signals inform you of the distance
to an obstacle. Four ultrasonic sensors in
both the front and rear bumpers monitor
the distance to the nearest object. The
monitoring range of the front and two rear
corner sensors extends outward roughly
2 ft (60 cm), while the rear bumper's two
centrally located sensors detect objects at
distances of up to approximately 4.9 ft
(1.50 m). Automatic function Whenever the ignition is on the system
automatically assumes operational status
each time the selector lever is pressed
briefly in R. Manual activationPress the button, the indicator lamp lights
up.
The system is automatically deactivated
once the vehicle travels approximately
165 ft (50 m) or exceeds a speed of roughly
18 mph (roughly 30 km/h); the indicator
lamp goes out. You can reactivate the
system manually as needed.
Manual deactivation Press the button again; the indicator lamp
goes out. Acoustic signals The signal indicating the distance to the
nearest obstacle is directional. Thus, an
object detected to the left rear of the
vehicle will be indicated by a signal tone
from the left rear speaker, etc. As the
distance between vehicle and object
decreases, the intervals between the tones
become shorter. The signal tone becomes
continuous once the distance to the
nearest object falls to below roughly 1 ft
(30 cm).
The warning signal is canceled after
approximately 3 seconds when the
distance to an object remains constant
during this time (if you are moving parallel
to a wall, for instance). Malfunctions The indicator lamp within the button
flashes and a status message appears in
the Check Control panel.
Please take note of the supplementary
information provided in the Control Display.
Switch the system off and have the cause
of the malfunction corrected by your BMW
center. PDC with visual alert
Page 91 of 208
Technology for comfort, convenience and safety
90 The indicator lamp and the brake
warning lamp remain on continu-
ously:
DSC, DTC and DBC have been
deactivated or a system malfunc-
tion is present.
When the system is off, the stability main-
tenance functions described above are no
longer available. The vehicle will remain
completely operational, however, without
DSC.
Please respond to any malfunctions by
referring the problem to your BMW center.
Indicator and warning lamps on
Canadian models.
Activating DTC Dynamic Traction
Control You may find it useful to briefly activate
DTC under the following special circum-
stances:
>When rocking the vehicle and starting off
in deep snow or on loose road surfaces
>When ascending snow-covered hills,
and when driving in deep or on hard-
packed snow
>When driving with snow chains.
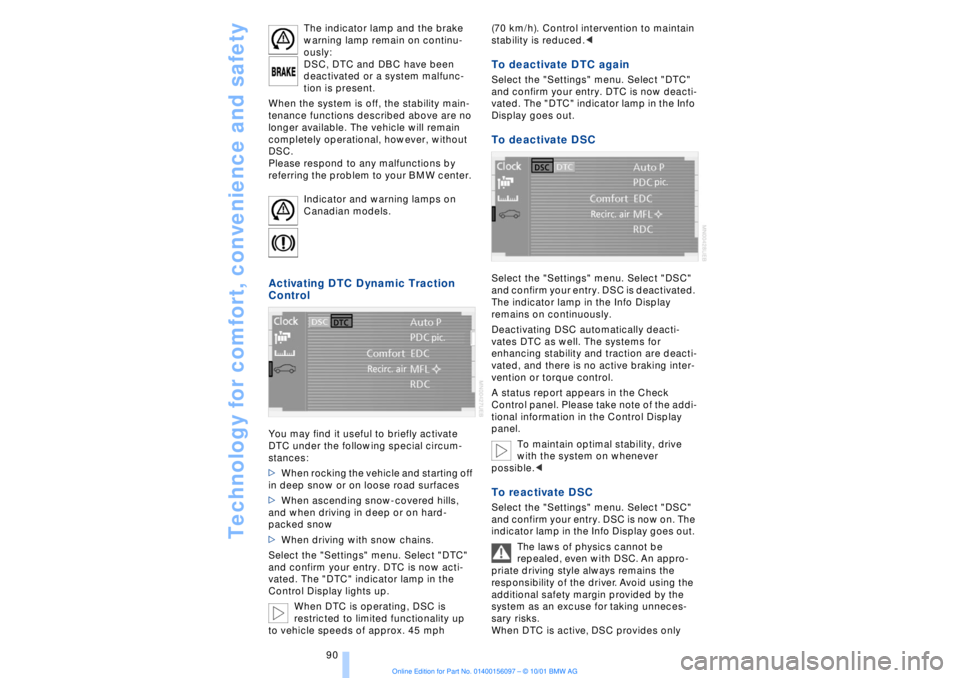
Select the "Settings" menu. Select "DTC"
and confirm your entry. DTC is now acti-
vated. The "DTC" indicator lamp in the
Control Display lights up.
When DTC is operating, DSC is
restricted to limited functionality up
to vehicle speeds of approx. 45 mph (70 km/h). Control intervention to maintain
stability is reduced.<
To deactivate DTC again Select the "Settings" menu. Select "DTC"
and confirm your entry. DTC is now deacti-
vated. The "DTC" indicator lamp in the Info
Display goes out. To deactivate DSC Select the "Settings" menu. Select "DSC"
and confirm your entry. DSC is deactivated.
The indicator lamp in the Info Display
remains on continuously.
Deactivating DSC automatically deacti-
vates DTC as well. The systems for
enhancing stability and traction are deacti-
vated, and there is no active braking inter-
vention or torque control.
A status report appears in the Check
Control panel. Please take note of the addi-
tional information in the Control Display
panel.
To maintain optimal stability, drive
with the system on whenever
possible.< To reactivate DSC Select the "Settings" menu. Select "DSC"
and confirm your entry. DSC is now on. The
indicator lamp in the Info Display goes out.
The laws of physics cannot be
repealed, even with DSC. An appro-
priate driving style always remains the
responsibility of the driver. Avoid using the
additional safety margin provided by the
system as an excuse for taking unneces-
sary risks.
When DTC is active, DSC provides only
Page 92 of 208
At a glanceControlsDriving tipsCommunicationsNavigationEntertainmentMobilityReference
91
limited system response up to a speed of
approx. 45 mph (70 km/h). Intervention for
stability-enhancement is reduced. Do not
make any modiÞcations to the DSC system.
Never allow anyone other than authorized
professional technicians to carry out
service or repairs on the DSC system.< Dynamic Brake Control DBC
When you apply the brakes rapidly, this
system automatically produces the
maximum braking force boost and thus
helps to achieve the shortest possible
braking distance during "panic stops." This
system exploits all of the benefits provided
by ABS.
Do not reduce the pressure on the brake
pedal for the duration of the brake applica-
tion. When the brake pedal is released, the
DBC is deactivated.
In the event of a malfunction, the
warning lamp comes on with a
yellow lamp. Have the system
checked and repaired at your BMW center
as soon as possible.
Check Control messages, refer to page 80.
Please note the supplementary information
provided in the Control Display.
Warning lamp on Canadian models.Driving stability control/
ABS Antilock Brake System The concept ABS enhances active safety by preventing
the wheels from locking under braking.
ABS incorporates CBC and EBV. In case of malfunction
If the indicator lamp lights up in
yellow, this indicates that ABS has
been deactivated in response to a
system malfunction. Conventional braking
efficiency remains available without limita-
tions. Please have the system inspected at
your BMW center.
Cornering Brake Control CBC CBC is a technical advance based on ABS.
It provides further enhancements in vehicle
stability and steering response during lane
changes and cornering at high rates of
lateral acceleration. EBV Electronic brake-force
distribution EBV controls the brake system's applica-
tion pressure at the rear wheels to ensure
stable deceleration. In case of malfunction
If the brake system warning lamp
lights up in red, appearing together
with the yellow lamps for ABS and
DSC: the stability control is no
longer operational.
If all three lamps light up in yellow:
malfunction in the stability control
systems.
While you may continue, you should
remember to proceed cautiously and drive
defensively while avoiding full brake appli-
cations.
Please have the system checked at the
nearest BMW center.
Check Control status messages, refer to
page 80. Please note the supplementary
information provided in the Control Display.
Indicator and warning lamps on
Canadian models.
Dynamic Drive The concept Dynamic Drive minimizes body roll and
optimizes vehicle stability during cornering
and evasive maneuvers.
Page 95 of 208
Technology for comfort, convenience and safety
94
In the event of loss in tire pressure If the indicator lamp symbol in the Check
Control lights up in yellow, and a message
also appears, this indicates that the infla-
tion pressures in the tires have fallen to
below the specified level, which is normal
in every tire after a certain amount of time.
This alerts you to have the tires inflated to
the specified pressures as soon as
possible.
Please take note of the additional informa-
tion in the Control Display panel.
If you are prompted to check the tire
pressure shortly after a correction has
been made, this indicates that the
corrected values were not accurate. Please
check the inflation pressure again and
make corrections according to the inflation
pressure table. Then reinitialize the
system.< Flat tire If you have a flat tire, the indicator lamp
symbol in the Check Control will light up in
red, and a message will appear. In addition,
a gong sounds.
If this occurs, reduce vehicle speed imme-
diately and stop the vehicle. Avoid hard
and sudden steering and braking maneu-
vers. Replace the damaged tire.
The spare tire provided with your
vehicle is equipped with the elec-
tronics required to support RDC operation;
once the spare tire is installed, the pressure
in this tire will also be monitored following
system initialization.
Have the tires changed at your BMW
center. Your BMW center has the informa-
tion needed for working with RDC and is
equipped with the necessary special
tools.
ference signals that may prevent the
system from operating as intended. The symbol will appear in yellow in the
Check Control panel and a message will
appear.
You will also see the same message
>in the event of a system fault
>if a wheel is mounted without the
appropriate electronics
>if, in addition to the spare tire, additional
wheels with RDC electronics are on board.
Please refer to the additional information
supplied in the Control Display, and have
the system inspected at your BMW center.
Self-leveling suspension*
In the event of malfunction
A Check Control message
appearing together with this symbol
indicates a malfunction in the self-
leveling suspension. Please take note of
the additional information in the Control
Display panel.
Stop and inspect the vehicle. If the rear of
the vehicle is visibly lower than the front,
possibly accompanied by a tilt noticeable
when you compare the left rear with the
right rear, you should respond by immedi-
ately proceeding to the nearest BMW
center. Drive with appropriate caution in
the meantime. The vehicle has reduced
ground clearance and driving comfort may
be noticeably reduced. Even if the attitude
of the vehicle is normal, you should consult
the nearest BMW center if the warning
lamp indicates a system fault.
Adaptive brake lamp The adaptive brake lamp indicates the
intensity with which you are applying your
brakes to drivers of following vehicles.