2002 BMW 745LI SEDAN height
[x] Cancel search: heightPage 47 of 208
Adjustments
46 notice on the active head restraints on
page 48.
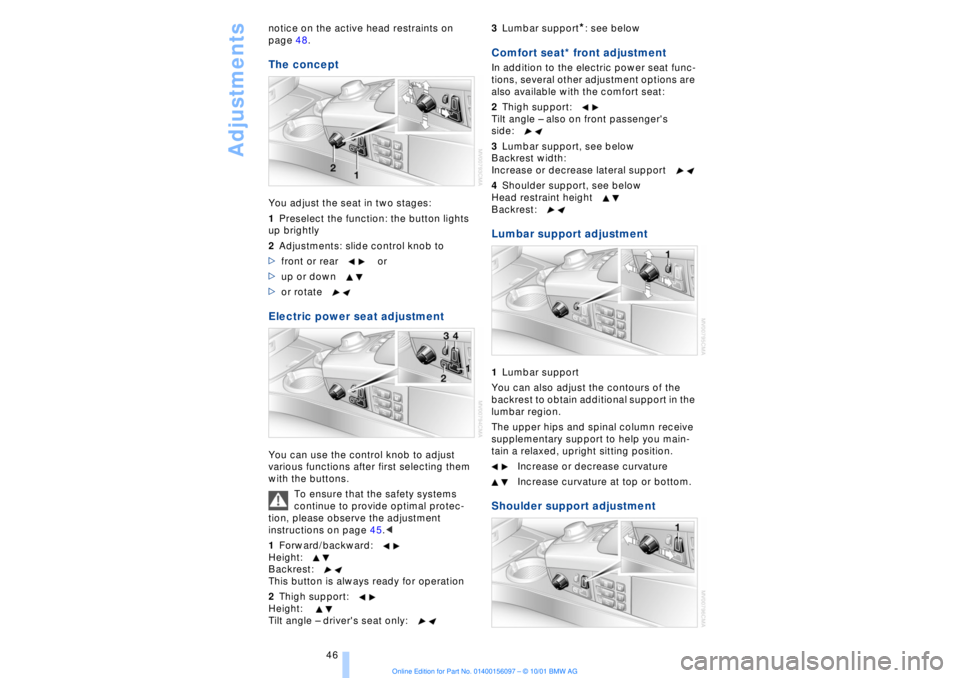
The conceptYou adjust the seat in two stages:
1Preselect the function: the button lights
up brightly
2Adjustments: slide control knob to
>front or rear or
>up or down
>or rotate Electric power seat adjustment You can use the control knob to adjust
various functions after first selecting them
with the buttons.
To ensure that the safety systems
continue to provide optimal protec-
tion, please observe the adjustment
instructions on page 45.<
1Forward/backward:
Height:
Backrest:
This button is always ready for operation
2Thigh support:
Height:
Tilt angle Ð driver's seat only:3Lumbar support
*: see below
Comfort seat* front adjustment In addition to the electric power seat func-
tions, several other adjustment options are
also available with the comfort seat:
2Thigh support:
Tilt angle Ð also on front passenger's
side:
3Lumbar support, see below
Backrest width:
Increase or decrease lateral support
4Shoulder support, see below
Head restraint height
Backrest: Lumbar support adjustment1Lumbar support
You can also adjust the contours of the
backrest to obtain additional support in the
lumbar region.
The upper hips and spinal column receive
supplementary support to help you main-
tain a relaxed, upright sitting position.
Increase or decrease curvature
Increase curvature at top or bottom. Shoulder support adjustment
Page 48 of 208
At a glanceControlsDriving tipsCommunicationsNavigationEntertainmentMobilityReference
47
1Shoulder support:
You can use the adjustable upper backrest
for supplementary support in the shoulder
region. This provides a relaxed driving
position and helps relieve stress on the
shoulder muscles.
Make corrections in the forward/
backward adjustment of the seat to
ensure that the safety belt still fits firmly
against your body. If you do not do this, the
protection provided by the safety belt may
be reduced.
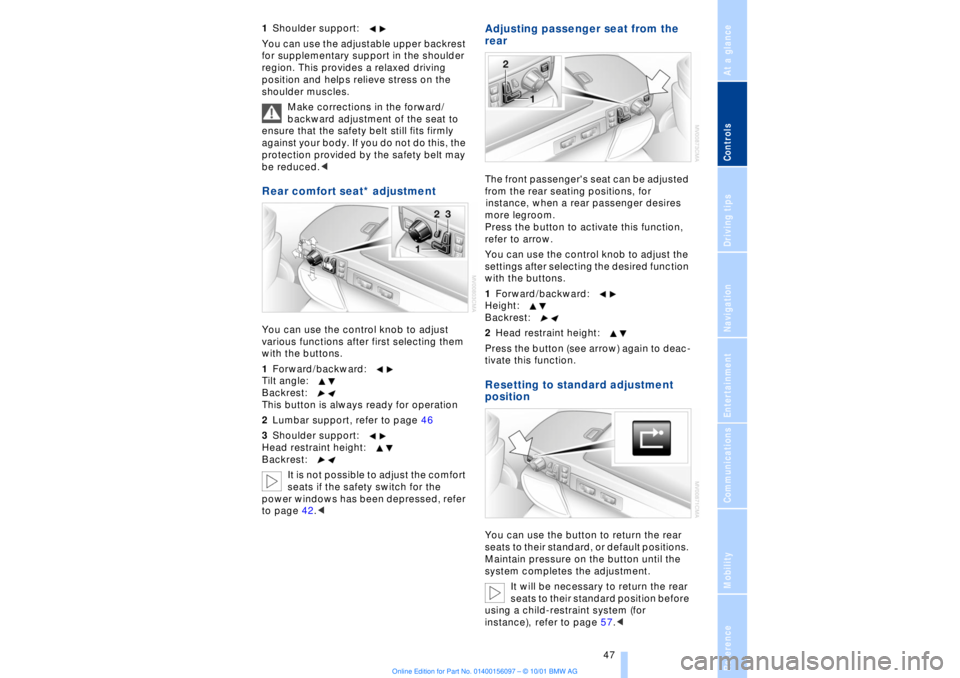
You can use the control knob to adjust
various functions after first selecting them
with the buttons.
1Forward/backward:
Tilt angle:
Backrest:
This button is always ready for operation
2Lumbar support, refer to page 46
3Shoulder support:
Head restraint height:
Backrest:
It is not possible to adjust the comfort
seats if the safety switch for the
power windows has been depressed, refer
to page 42.<
Adjusting passenger seat from the
rear The front passenger's seat can be adjusted
from the rear seating positions, for
instance, when a rear passenger desires
more legroom.
Press the button to activate this function,
refer to arrow.
You can use the control knob to adjust the
settings after selecting the desired function
with the buttons.
1Forward/backward:
Height:
Backrest:
2Head restraint height:
Press the button (see arrow) again to deac-
tivate this function.Resetting to standard adjustment
positionYou can use the button to return the rear
seats to their standard, or default positions.
Maintain pressure on the button until the
system completes the adjustment.
It will be necessary to return the rear
seats to their standard position before
using a child-restraint system (for
instance), refer to page 57.<
Page 49 of 208
Adjustments
48
Head restraints Adjustment information
Head restraints can reduce the risk of
spinal injury in the event of an acci-
dent.
Adjust the head restraints so that they are
centered roughly at the level of your ears.<
Electric power seat, comfort seat
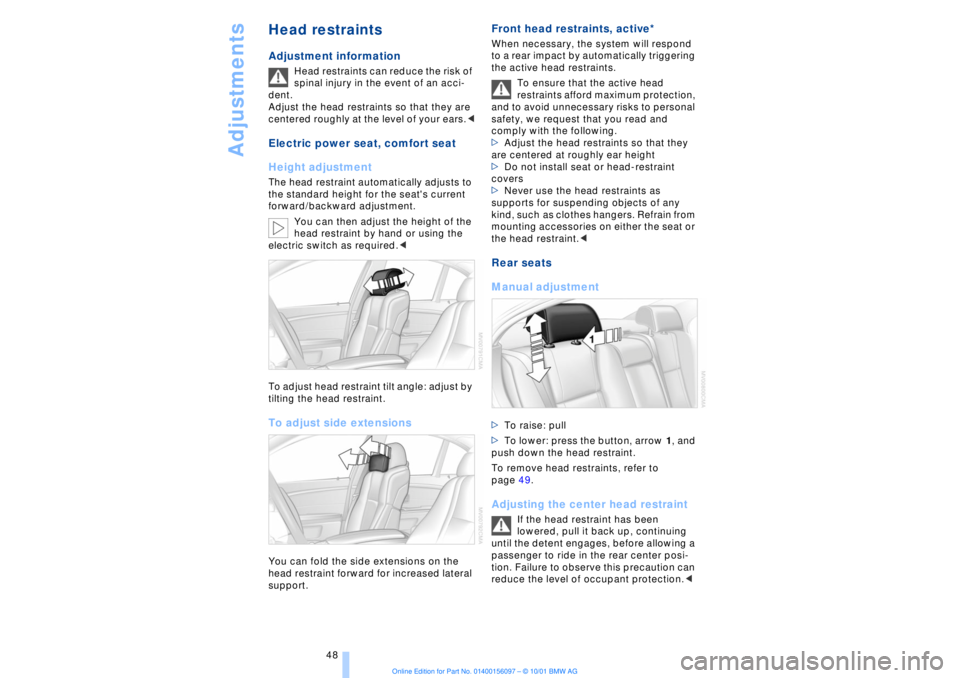
Height adjustment The head restraint automatically adjusts to
the standard height for the seat's current
forward/backward adjustment.
You can then adjust the height of the
head restraint by hand or using the
electric switch as required.<
To adjust head restraint tilt angle: adjust by
tilting the head restraint. To adjust side extensionsYou can fold the side extensions on the
head restraint forward for increased lateral
support.
Front head restraints, active*
When necessary, the system will respond
to a rear impact by automatically triggering
the active head restraints.
To ensure that the active head
restraints afford maximum protection,
and to avoid unnecessary risks to personal
safety, we request that you read and
comply with the following.
>Adjust the head restraints so that they
are centered at roughly ear height
>Do not install seat or head-restraint
covers
>Never use the head restraints as
supports for suspending objects of any
kind, such as clothes hangers. Refrain from
mounting accessories on either the seat or
the head restraint.
>To lower: press the button, arrow 1, and
push down the head restraint.
To remove head restraints, refer to
page 49. Adjusting the center head restraint
If the head restraint has been
lowered, pull it back up, continuing
until the detent engages, before allowing a
passenger to ride in the rear center posi-
tion. Failure to observe this precaution can
reduce the level of occupant protection.<
Page 50 of 208
At a glanceControlsDriving tipsCommunicationsNavigationEntertainmentMobilityReference
49
Electrical adjustment*
The head restraints at the outside
seating positions extend automati-
cally whenever the system detects a
passenger on the seat.<
To prevent possible personal injury
and property damage, always ensure
that the area above the head restraints is
clear and unobstructed before extending
them upward.<
Manual head restraint removal and
installation
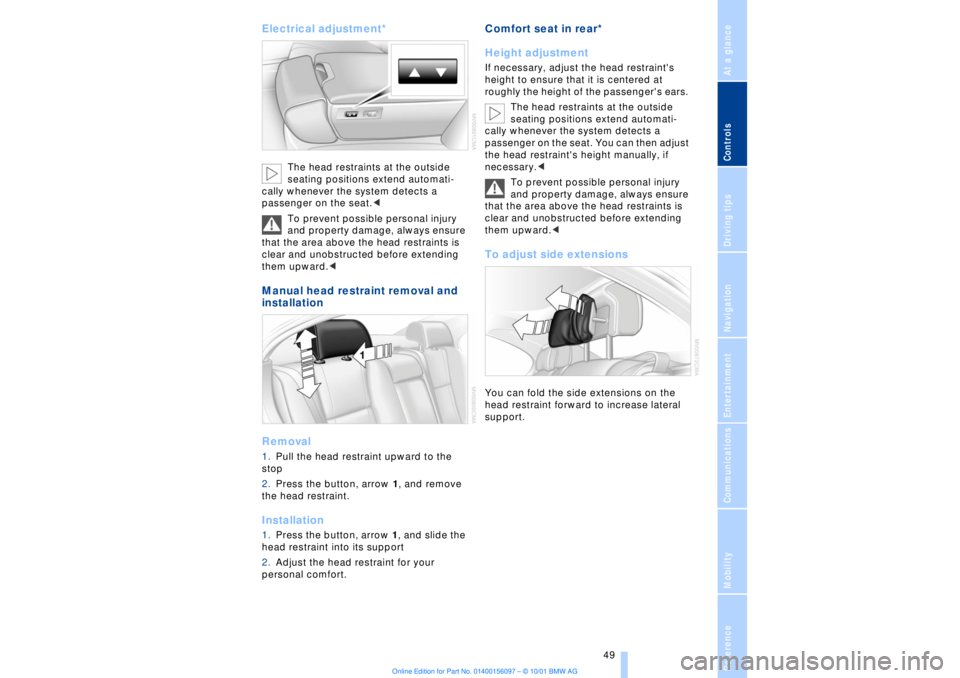
Removal1.Pull the head restraint upward to the
stop
2.Press the button, arrow 1, and remove
the head restraint. Installation1.Press the button, arrow 1, and slide the
head restraint into its support
2.Adjust the head restraint for your
personal comfort.
Comfort seat in rear*
Height adjustment If necessary, adjust the head restraint's
height to ensure that it is centered at
roughly the height of the passenger's ears.
The head restraints at the outside
seating positions extend automati-
cally whenever the system detects a
passenger on the seat. You can then adjust
the head restraint's height manually, if
necessary.<
To prevent possible personal injury
and property damage, always ensure
that the area above the head restraints is
clear and unobstructed before extending
them upward.< To adjust side extensionsYou can fold the side extensions on the
head restraint forward to increase lateral
support.
Page 59 of 208
Adjustments
58 safety belt after they have outgrown a
booster seat that is appropriate for their
age, height, and weight. Younger children
should be secured in an appropriate
forward-facing child-restraint system that
has first been properly secured with a
safety belt. Never install a rearward-facing
child-restraint system in the front
passenger seat.
We strongly urge you to carefully read and
comply with the instructions for installation
and use provided by the child-restraint's
manufacturer whenever you use such a
device.
Be sure that all occupants Ð of all ages Ð
remain properly and securely restrained at
all times. If your vehicle is equipped with
electric power seats at the rear, these will
need to be returned to their standard
adjustment setting position before a child-
restraint system is used, refer to page 47.
Always press the safety switch for the
power windows before transporting chil-
dren in the rear seats, refer to page 42. This
switch also disables the power rear seat
adjustment. Incorrect or unsupervised
adjustment of the electric power seats
could lead to injuries or damage to the
child-restraint system(s) installed in the
rear.<
All rear seating positions in your vehicle
meet the recommendations of SAE J1819,
an industry recommended practice for
securing child-restraint systems in motor
vehicles.
Child seat security All of the rear belt retractors and the front
passenger's safety belt can be locked for mounting and securing child-restraint
systems.
Information regarding this is located near
the buckle latch of each safety belt.
To lock the belt Pull the entire length of the belt from the
belt retractor. Allow the reel to retract the
belt somewhat and engage the buckle,
then tighten the belt against the child-
restraint system. The retraction mechanism
is now locked. To release the belt Release the buckle, remove the child-
restraint device and allow the belt retractor
to reel the belt completely in. LATCH child-restraint
system
If the vehicle is equipped with electric
power seats, these must be returned
to their standard adjustment setting before
the LATCH child-restraint system can be
used, refer to page 47.<
LATCH: Lower Anchors and Tethers for
Children.
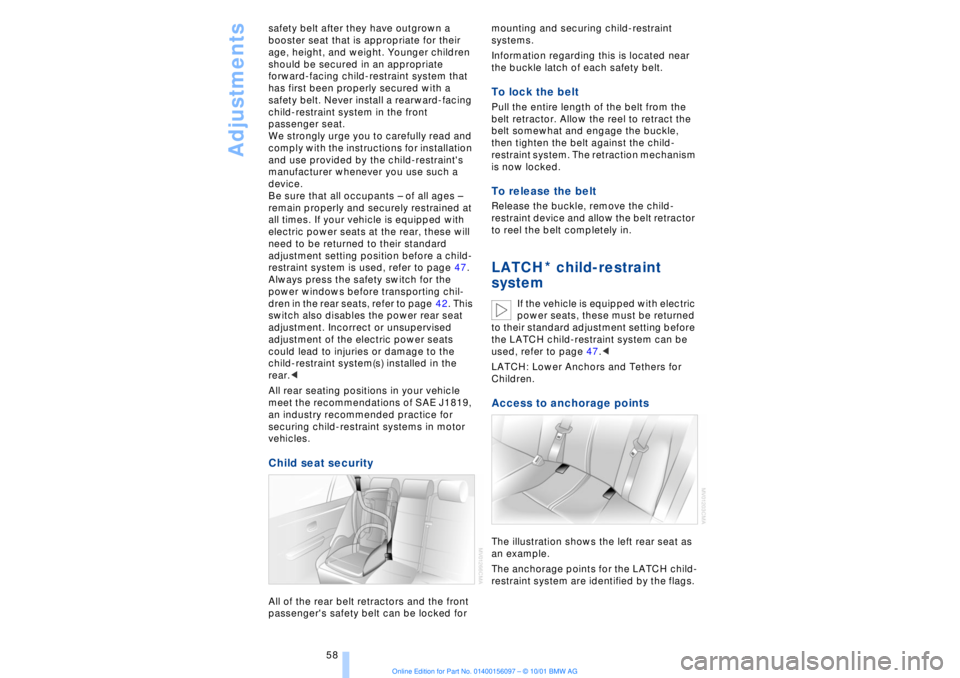
Access to anchorage points The illustration shows the left rear seat as
an example.
The anchorage points for the LATCH child-
restraint system are identified by the flags.
*
Page 176 of 208
At a glanceControlsDriving tipsCommunicationsNavigationEntertainmentMobilityReference
175
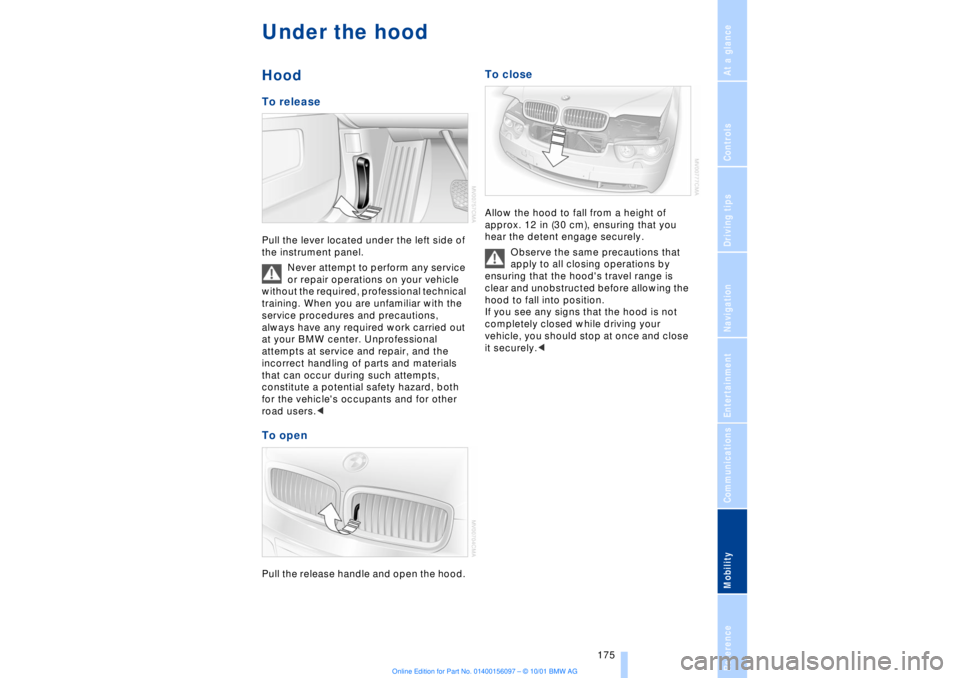
Under the hood Hood To release Pull the lever located under the left side of
the instrument panel.
Never attempt to perform any service
or repair operations on your vehicle
without the required, professional technical
training. When you are unfamiliar with the
service procedures and precautions,
always have any required work carried out
at your BMW center. Unprofessional
attempts at service and repair, and the
incorrect handling of parts and materials
that can occur during such attempts,
constitute a potential safety hazard, both
for the vehicle's occupants and for other
road users.< To open Pull the release handle and open the hood.
To close Allow the hood to fall from a height of
approx. 12 in (30 cm), ensuring that you
hear the detent engage securely.
Observe the same precautions that
apply to all closing operations by
ensuring that the hood's travel range is
clear and unobstructed before allowing the
hood to fall into position.
If you see any signs that the hood is not
completely closed while driving your
vehicle, you should stop at once and close
it securely.<
Page 185 of 208
Replacing components
184 the jack could slip to the side if you attempt
to raise the vehicle on a soft or slippery
surface such as snow, ice, tiles, etc.
Position the jack on a firm support surface.
Do not use a wooden block or similar
object as a support base for the jack, as
this would prevent it from extending to its
full support height and reduce its load-
carrying capacity .
To avoid serious or fatal injury: never lie
under the vehicle, and never start the
engine while it is supported by the jack.<
What you will need To avoid rattling noises, note the positions
of the tools before removing them, then
return them to their initial positions after
completing work.
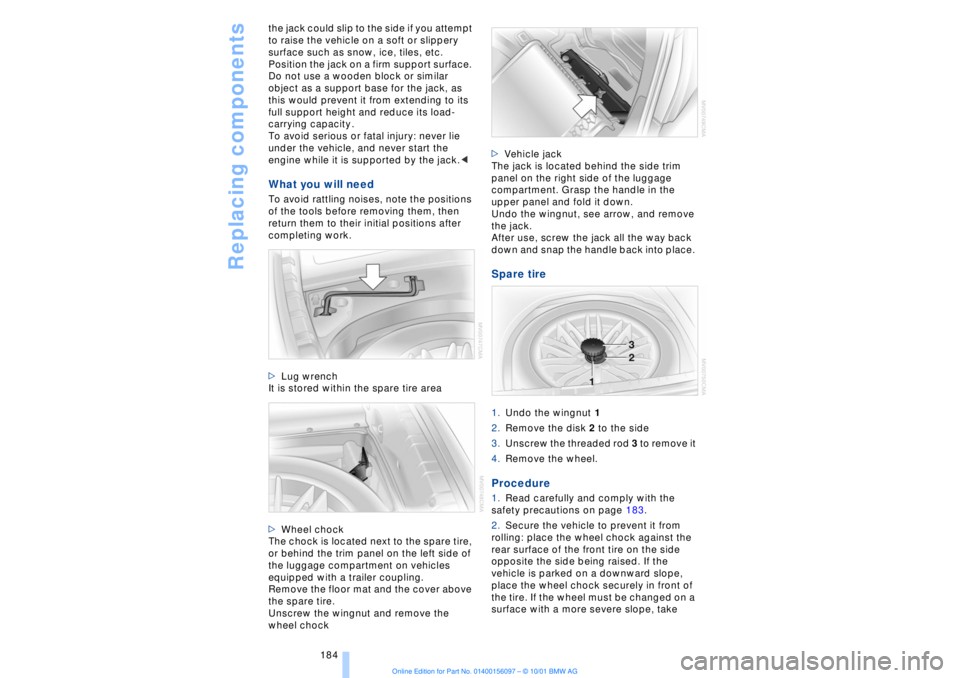
>Lug wrench
It is stored within the spare tire area
>Wheel chock
The chock is located next to the spare tire,
or behind the trim panel on the left side of
the luggage compartment on vehicles
equipped with a trailer coupling.
Remove the floor mat and the cover above
the spare tire.
Unscrew the wingnut and remove the
wheel chock >Vehicle jack
The jack is located behind the side trim
panel on the right side of the luggage
compartment. Grasp the handle in the
upper panel and fold it down.
Undo the wingnut, see arrow, and remove
the jack.
After use, screw the jack all the way back
down and snap the handle back into place.
Spare tire 1.Undo the wingnut 1
2.Remove the disk 2 to the side
3.Unscrew the threaded rod 3 to remove it
4.Remove the wheel. Procedure 1.Read carefully and comply with the
safety precautions on page 183.
2.Secure the vehicle to prevent it from
rolling: place the wheel chock against the
rear surface of the front tire on the side
opposite the side being raised. If the
vehicle is parked on a downward slope,
place the wheel chock securely in front of
the tire. If the wheel must be changed on a
surface with a more severe slope, take
Page 200 of 208
199
At a glanceControlsDriving tipsCommunicationsNavigationEntertainmentMobilityReference
HHandbrake, refer to Parking
brake 62
Hand lamp 111
Hands-free
microphone 161
Hands-free system 161
Hazard warning flashers 16
Headlamp control 96
Headlamp flasher 71
Headlamps, low beam 96
Headlamp washers 72, 73
Head restraints 48
Ð front head restraints,
active 48
Heated steering wheel 53
Heating and ventilation 99
Heating while stopped 101
Height 193
Height adjustment
Ð seats 46
Ð steering column 53
"Help" 19, 22
Help texts in Control
Display 23
High beams 97
Ð bulb replacement 182
High-mount brake
lamp 183
Home address 135
Hood release 175
Horn 13
Hydraulic Brake Assistant,
refer to DBC 91IIce warning 77
Ignition key 34
Ignition lock 61
"Indep. ventil." 106
Indicator lamps 15
"Individual" 104
Individual button assign-
ments on steering
wheel 53
Inflation pressure 170
Inflation pressure control,
tires 92
Info Display 14"Information" for
navigation 129
Instrument cluster, refer to
Info Display 14
Instrument lighting 97
Instrument panel 12, 16
Instrument panel switch 71
Interior lamps 97
Ð remote control 36
Interior motion sensor 41
Interior protection
Ð deactivating 36, 41
Interior rearview mirror 52
Ð automatic dimming 52
Intermittent wipe 71
JJack 184
Jump-starting 187KKey Memory 59
Key Pad control
buttons 160
Key Pad digit buttons 160
Key Pad with mobile
phone 160
Keys 34
Ð adapter for spare key 34
Kickdown 68L"Last" 164
"Last destin." 130
LATCH, refer to LATCH
child-restraint system 58
"Left"
Ð for heated seats 51
Ð with automatic climate
control 103
Length 193
Level control system 94
License plate lamp, bulb
replacement 183
Lighter 113
Lights on warning 96
Light switch 96
"Limit" 84Limit selection,
adjustment 84
Litter container 111
L mode on automatic
transmission 66
Loading 120
Loading the vehicle 120
"LOCATION" 135
"Location" 129, 135
Lock Code 162
Locking
Ð from the outside 35
Louvers 99
Low beams
Ð automatic 96
Lower back support, refer
to lumbar support 46
Lug bolts 185
Luggage compartment
capacity 194
Luggage compartment lid
Ð emergency release 40
Ð locking separately 39
Ð opening from the
inside 39
Ð opening from the
outside 38
Ð operating via remote
control 36
Luggage compartment lid
operation,
automatic 36, 39
Luggage compartment
net 40
Luggage rack, refer to
Roof-mounted luggage
rack 120
Lug wrench 184
Lumbar support 46
MM+S tires 173
Maintenance 179
Make-up mirror 53
Malfunction displays 80
"M AM" 144, 145
Manually controlled recir-
culated air 101