2002 BMW 745LI SEDAN change wheel
[x] Cancel search: change wheelPage 5 of 208
Inhaltsverzeichnis
Radio
143Select the frequency band
143Station selection
144Storing and retrieving a station
145Weather Band
CD Compact Disc
146Using the buttons to search for music
tracks
147Searching for music tracks in the
Control Display
CD changer
149Starting and stopping the CD changer
149Status displays
149Searching for music tracks in the
Control Display
150Using the buttons to search for music
tracks
MiniDisc MD
151Using the buttons to search for music
tracks
152Searching for music tracks in the
Control Display
Cassette
153Noise suppression
154Music track search
Using your mobile phone
158Safety notice
159Care instructions
159Operation
161Hands-free system
161To make SOS call
161Initial operation
162Getting started
162Telephone directory
163To select a number from the Top 8 list
164Redialing, including numbers not
initially reached
164Missed calls
Refueling
168Fuel filler door
169Fuel specifications
Wheels and tires
170Tire inflation pressure
171Tire condition
172Tire replacement
173Wheel and tire combinations
173Special characteristics of winter tires
173Snow chains*
Under the hood
175Hood
176Engine compartment
176Engine oil
177Coolant
178Brake fluid
Maintenance
179The BMW Maintenance System
179Care
Rules and regulations
180California Proposition 65 Warning
180OBD connector
Replacing components
181Onboard tool kit
181Windshield wiper blades
181Lamps and bulbs
183Changing a tire
185Battery
186Fuses
Help Ð Giving and receiving
187Warning triangle*
187First-aid kit*
187Jump-starting
188Towing
Technical data
192Engine specifications
193Dimensions
194Weights
194Capacities
Everything from A to Z
195Contents
Page 26 of 208
At a glanceControlsDriving tipsCommunicationsNavigationEntertainmentMobilityReference
25
Voice commandVoice command system*The conceptThe voice command system allows you to
control operation of various vehicle
systems without ever removing your hands
from the steering wheel. The system oper-
ates on the basis of voice commands that
you will learn easily after using them a few
times. You issue your commands in the
form of instructions or in dialogs. The
dialog functions provide you with additional
support in the form of questions and infor-
mation.
The voice command system transforms
your commands and dialog answers into
control signals for the selected systems.
Please take the time to acquaint your-
self with how a particular system
operates before proceeding to control it
using the voice command system. At the
time of publication the voice command
system was available for use with the
English and German languages. Other
languages are currently in preparation.
When the voice command system is active
you can adjust the volume, refer to
page 141.
command system.<
>>...<< identifies commands used in the
voice command system. It is not necessary
to speak the words in parentheses.
>...< identifies the answers provided by the
voice command system.
Systems available for use with voice
command>Mobile phone, refer to page 158
>>Telephone (menu)<<
>Navigation system, refer to page 124
>>Navigation (menu)<< or
>>Navi (menu)<<>Radio, refer to page 140
>>Radio (menu)<<
>CD, refer to page 146
>>CD (menu)<<
>CD changer, refer to page 148
>>CD changer (menu)<<
>MiniDisc, refer to page 151
>>MiniDisc (menu)<<
>Cassette, refer to page 153
>>Tape (menu)<<
>Notebook, refer to page 28
>>Notepad (menu)<< or
>>Notebook (menu)<< or >>Note
recorder (menu)<<
Either the system that you are now control-
ling, or any current error messages will
appear in the Info Display, refer to page 14.
Voice commandsTo activate voice command systemActivate by briefly pressing the
button in the steering wheel.
A signal tone and "SVS" in the Info Display
indicate that the system is ready for use.
You automatically proceed to the orienta-
tion menu.
Except in dialogs, always press
the button again before issuing voice
commands.
During dialogs that include entry of text or
numbers, the information that the voice
command system has registered will
appear on the Info Display screen, refer to
page 14.To cancel voice command entryYou can terminate execution of a command
or dialog with >>Cancel<<, >>Exit<< or by
pressing the button in the steering
wheel.
Page 64 of 208
At a glanceControlsDriving tipsCommunicationsNavigationEntertainmentMobilityReference
63
You have two separate options for
engaging the parking brake:
>Manually, by briefly pressing the button
>Automatically, through activation of the
Automatic Hold mode, refer to next
column.
An electrohydraulic mechanism then
engages the parking brakes to prevent the
rear wheels from turning whenever you
switch off the engine.
When the engine is running, parking brake
engagement is controlled by the brake
system's hydraulic circuits, which act on
the disc brakes at the front and rear
wheels. Brake pedal feel Because this function is activated using the
brake system's hydraulic circuits, the
response of the brake pedal may change
slightly. Engagement may also be accom-
panied by activation noise Ð this is normal. Manual engagement
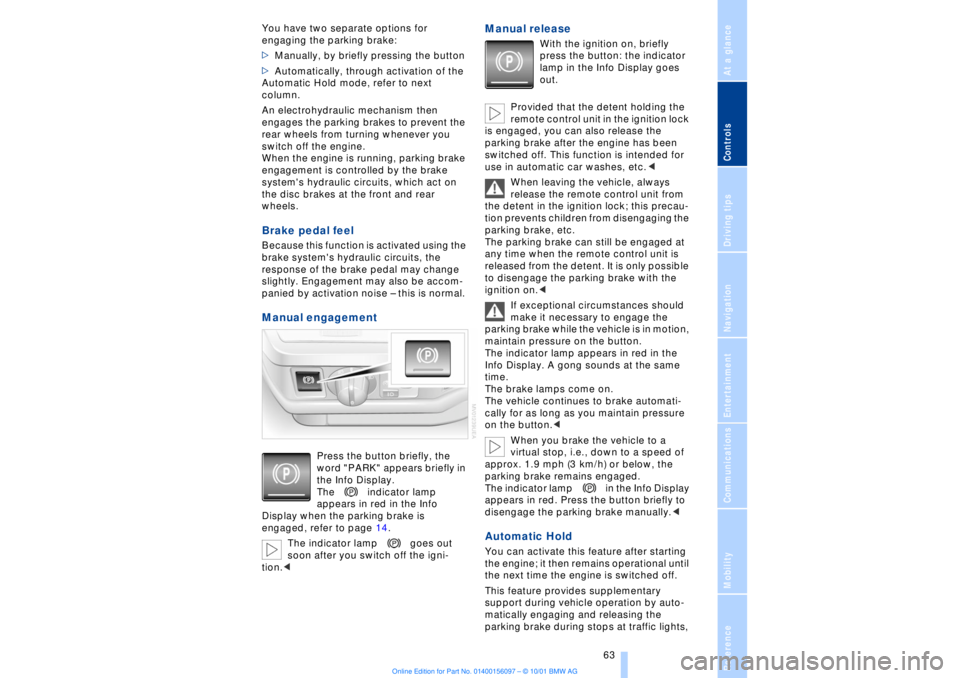
Press the button briefly, the
word "PARK" appears briefly in
the Info Display.
The indicator lamp
appears in red in the Info
Display when the parking brake is
engaged, refer to page 14.
The indicator lamp goes out
soon after you switch off the igni-
tion.<
Manual release
With the ignition on, briefly
press the button: the indicator
lamp in the Info Display goes
out.
Provided that the detent holding the
remote control unit in the ignition lock
is engaged, you can also release the
parking brake after the engine has been
switched off. This function is intended for
use in automatic car washes, etc.<
When leaving the vehicle, always
release the remote control unit from
the detent in the ignition lock; this precau-
tion prevents children from disengaging the
parking brake, etc.
The parking brake can still be engaged at
any time when the remote control unit is
released from the detent. It is only possible
to disengage the parking brake with the
ignition on.<
If exceptional circumstances should
make it necessary to engage the
parking brake while the vehicle is in motion,
maintain pressure on the button.
The indicator lamp appears in red in the
Info Display. A gong sounds at the same
time.
The brake lamps come on.
The vehicle continues to brake automati-
cally for as long as you maintain pressure
on the button.<
When you brake the vehicle to a
virtual stop, i.e., down to a speed of
approx. 1.9 mph (3 km/h) or below, the
parking brake remains engaged.
The indicator lamp in the Info Display
appears in red. Press the button briefly to
disengage the parking brake manually.<
Automatic Hold You can activate this feature after starting
the engine; it then remains operational until
the next time the engine is switched off.
This feature provides supplementary
support during vehicle operation by auto-
matically engaging and releasing the
parking brake during stops at traffic lights,
Page 65 of 208
Driving
64 in stop-and-go traffic, etc. As the vehicle
then no longer tends to "creep" when a
driving position is engaged, it is no longer
necessary to hold the vehicle by
depressing the brake pedal.
It prevents the vehicle from rolling back-
ward during uphill starts.
The parking brake also engages automati-
cally when you switch off the engine after
stopping the vehicle.
You can activate and deactivate the Auto-
matic Hold feature by selecting the
"Settings" menu in the Control Center. A
description of the Control Center is
provided on page 19.
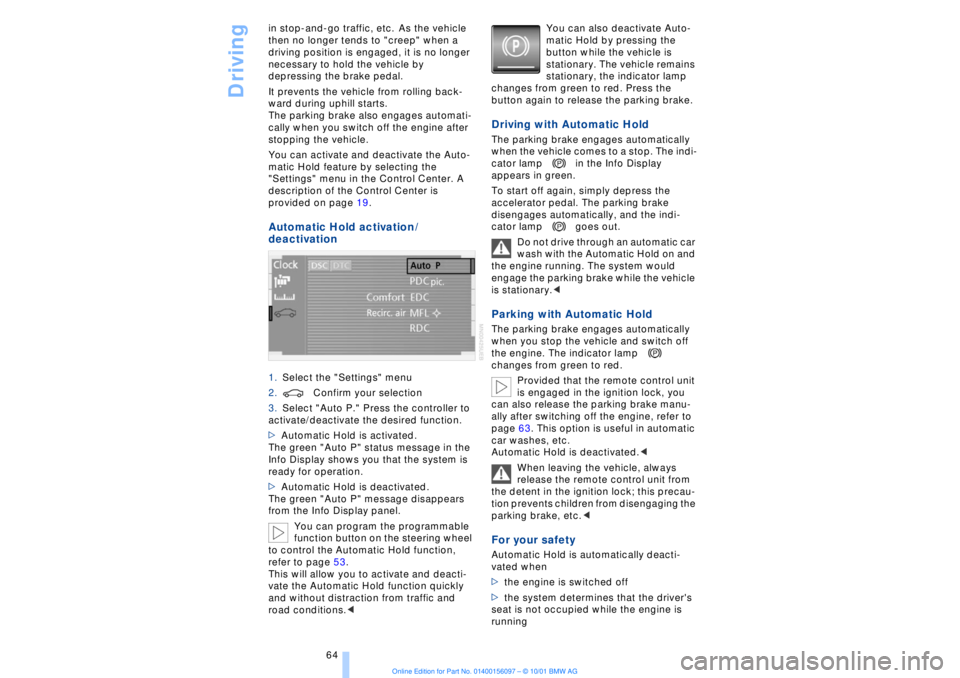
Automatic Hold activation /
deactivation 1.Select the "Settings" menu
2.Confirm your selection
3.Select "Auto P." Press the controller to
activate/deactivate the desired function.
>Automatic Hold is activated.
The green "Auto P" status message in the
Info Display shows you that the system is
ready for operation.
>Automatic Hold is deactivated.
The green "Auto P" message disappears
from the Info Display panel.
You can program the programmable
function button on the steering wheel
to control the Automatic Hold function,
refer to page 53.
This will allow you to activate and deacti-
vate the Automatic Hold function quickly
and without distraction from traffic and
road conditions.< You can also deactivate Auto-
matic Hold by pressing the
button while the vehicle is
stationary. The vehicle remains
stationary, the indicator lamp
changes from green to red. Press the
button again to release the parking brake.
Driving with Automatic Hold The parking brake engages automatically
when the vehicle comes to a stop. The indi-
cator lamp in the Info Display
appears in green.
To start off again, simply depress the
accelerator pedal. The parking brake
disengages automatically, and the indi-
cator lamp goes out.
Do not drive through an automatic car
wash with the Automatic Hold on and
the engine running. The system would
engage the parking brake while the vehicle
is stationary.
the engine. The indicator lamp
changes from green to red.
Provided that the remote control unit
is engaged in the ignition lock, you
can also release the parking brake manu-
ally after switching off the engine, refer to
page 63. This option is useful in automatic
car washes, etc.
Automatic Hold is deactivated.<
When leaving the vehicle, always
release the remote control unit from
the detent in the ignition lock; this precau-
tion prevents children from disengaging the
parking brake, etc.
>the engine is switched off
>the system determines that the driver's
seat is not occupied while the engine is
running
Page 92 of 208
At a glanceControlsDriving tipsCommunicationsNavigationEntertainmentMobilityReference
91
limited system response up to a speed of
approx. 45 mph (70 km/h). Intervention for
stability-enhancement is reduced. Do not
make any modiÞcations to the DSC system.
Never allow anyone other than authorized
professional technicians to carry out
service or repairs on the DSC system.< Dynamic Brake Control DBC
When you apply the brakes rapidly, this
system automatically produces the
maximum braking force boost and thus
helps to achieve the shortest possible
braking distance during "panic stops." This
system exploits all of the benefits provided
by ABS.
Do not reduce the pressure on the brake
pedal for the duration of the brake applica-
tion. When the brake pedal is released, the
DBC is deactivated.
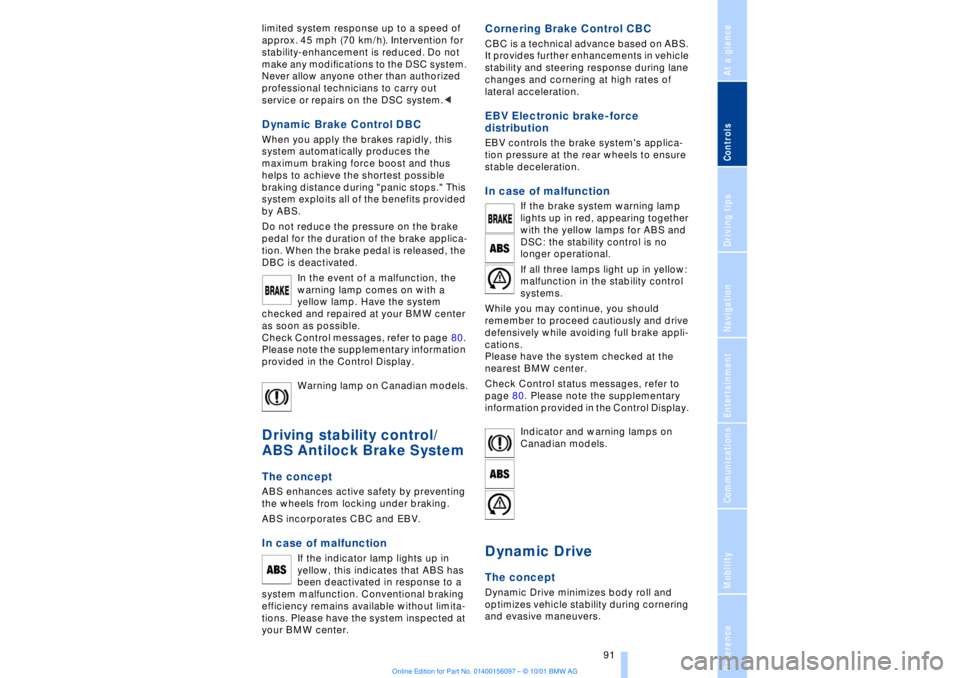
In the event of a malfunction, the
warning lamp comes on with a
yellow lamp. Have the system
checked and repaired at your BMW center
as soon as possible.
Check Control messages, refer to page 80.
Please note the supplementary information
provided in the Control Display.
Warning lamp on Canadian models.Driving stability control/
ABS Antilock Brake System The concept ABS enhances active safety by preventing
the wheels from locking under braking.
ABS incorporates CBC and EBV. In case of malfunction
If the indicator lamp lights up in
yellow, this indicates that ABS has
been deactivated in response to a
system malfunction. Conventional braking
efficiency remains available without limita-
tions. Please have the system inspected at
your BMW center.
Cornering Brake Control CBC CBC is a technical advance based on ABS.
It provides further enhancements in vehicle
stability and steering response during lane
changes and cornering at high rates of
lateral acceleration. EBV Electronic brake-force
distribution EBV controls the brake system's applica-
tion pressure at the rear wheels to ensure
stable deceleration. In case of malfunction
If the brake system warning lamp
lights up in red, appearing together
with the yellow lamps for ABS and
DSC: the stability control is no
longer operational.
If all three lamps light up in yellow:
malfunction in the stability control
systems.
While you may continue, you should
remember to proceed cautiously and drive
defensively while avoiding full brake appli-
cations.
Please have the system checked at the
nearest BMW center.
Check Control status messages, refer to
page 80. Please note the supplementary
information provided in the Control Display.
Indicator and warning lamps on
Canadian models.
Dynamic Drive The concept Dynamic Drive minimizes body roll and
optimizes vehicle stability during cornering
and evasive maneuvers.
Page 95 of 208
Technology for comfort, convenience and safety
94
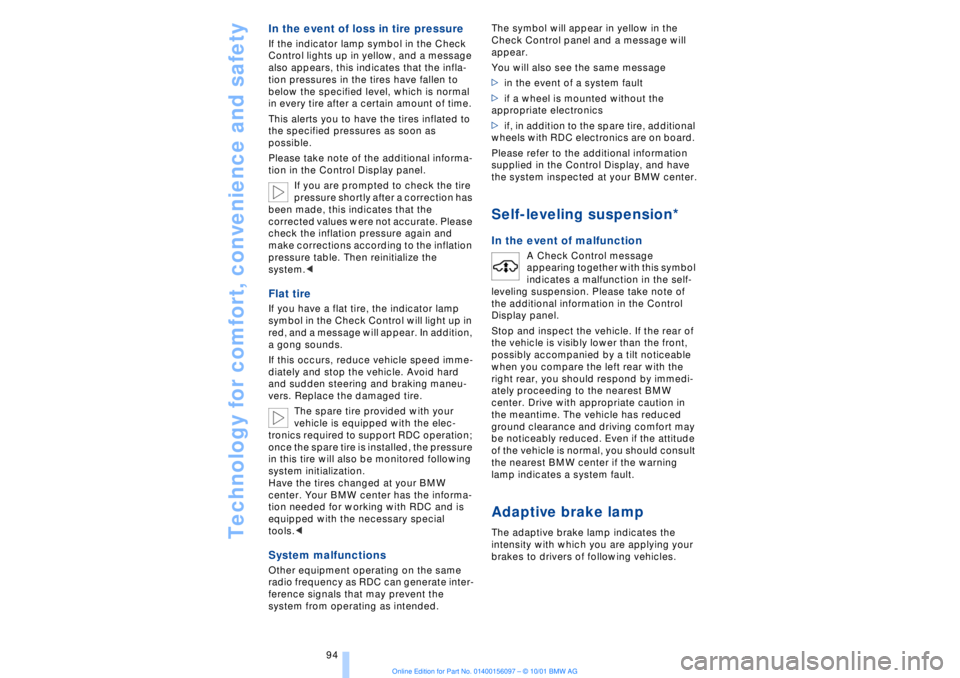
In the event of loss in tire pressure If the indicator lamp symbol in the Check
Control lights up in yellow, and a message
also appears, this indicates that the infla-
tion pressures in the tires have fallen to
below the specified level, which is normal
in every tire after a certain amount of time.
This alerts you to have the tires inflated to
the specified pressures as soon as
possible.
Please take note of the additional informa-
tion in the Control Display panel.
If you are prompted to check the tire
pressure shortly after a correction has
been made, this indicates that the
corrected values were not accurate. Please
check the inflation pressure again and
make corrections according to the inflation
pressure table. Then reinitialize the
system.< Flat tire If you have a flat tire, the indicator lamp
symbol in the Check Control will light up in
red, and a message will appear. In addition,
a gong sounds.
If this occurs, reduce vehicle speed imme-
diately and stop the vehicle. Avoid hard
and sudden steering and braking maneu-
vers. Replace the damaged tire.
The spare tire provided with your
vehicle is equipped with the elec-
tronics required to support RDC operation;
once the spare tire is installed, the pressure
in this tire will also be monitored following
system initialization.
Have the tires changed at your BMW
center. Your BMW center has the informa-
tion needed for working with RDC and is
equipped with the necessary special
tools.
ference signals that may prevent the
system from operating as intended. The symbol will appear in yellow in the
Check Control panel and a message will
appear.
You will also see the same message
>in the event of a system fault
>if a wheel is mounted without the
appropriate electronics
>if, in addition to the spare tire, additional
wheels with RDC electronics are on board.
Please refer to the additional information
supplied in the Control Display, and have
the system inspected at your BMW center.
Self-leveling suspension*
In the event of malfunction
A Check Control message
appearing together with this symbol
indicates a malfunction in the self-
leveling suspension. Please take note of
the additional information in the Control
Display panel.
Stop and inspect the vehicle. If the rear of
the vehicle is visibly lower than the front,
possibly accompanied by a tilt noticeable
when you compare the left rear with the
right rear, you should respond by immedi-
ately proceeding to the nearest BMW
center. Drive with appropriate caution in
the meantime. The vehicle has reduced
ground clearance and driving comfort may
be noticeably reduced. Even if the attitude
of the vehicle is normal, you should consult
the nearest BMW center if the warning
lamp indicates a system fault.
Adaptive brake lamp The adaptive brake lamp indicates the
intensity with which you are applying your
brakes to drivers of following vehicles.
Page 141 of 208
Sound system
140
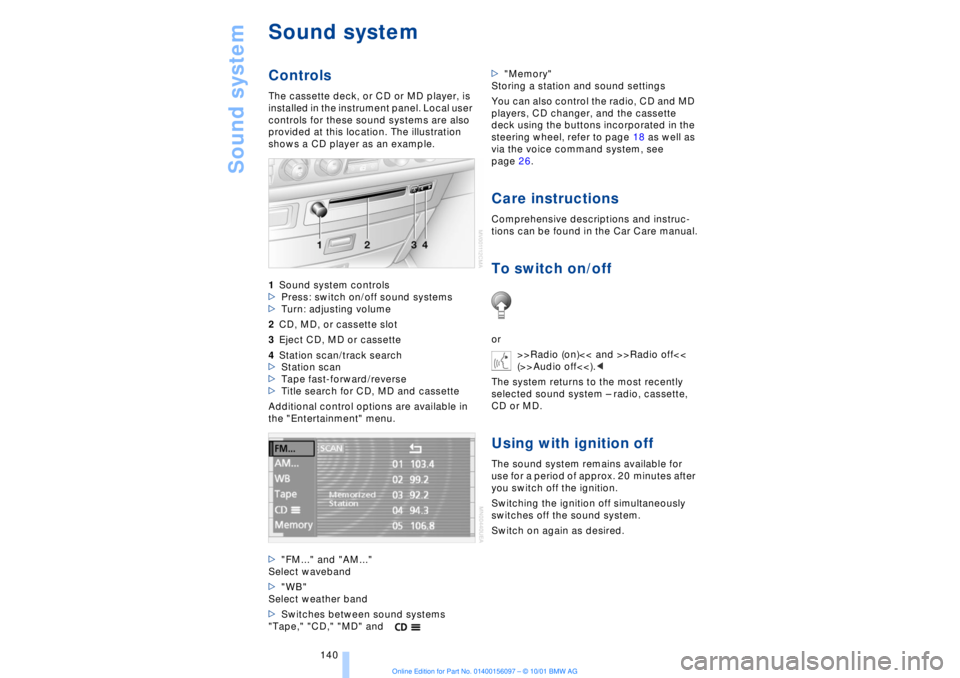
Sound systemControlsThe cassette deck, or CD or MD player, is
installed in the instrument panel. Local user
controls for these sound systems are also
provided at this location. The illustration
shows a CD player as an example.
1Sound system controls
>Press: switch on/off sound systems
>Turn: adjusting volume
2CD, MD, or cassette slot
3Eject CD, MD or cassette
4Station scan/track search
>Station scan
>Tape fast-forward/reverse
>Title search for CD, MD and cassette
Additional control options are available in
the "Entertainment" menu.
>"FM..." and "AM..."
Select waveband
>"WB"
Select weather band
>Switches between sound systems
"Tape," "CD," "MD" and>"Memory"
Storing a station and sound settings
You can also control the radio, CD and MD
players, CD changer, and the cassette
deck using the buttons incorporated in the
steering wheel, refer to page 18 as well as
via the voice command system, see
page 26.
Care instructionsComprehensive descriptions and instruc-
tions can be found in the Car Care manual.To switch on/offor
>>Radio (on)<< and >>Radio off<<
(>>Audio off<<).<
The system returns to the most recently
selected sound system Ð radio, cassette,
CD or MD.Using with ignition offThe sound system remains available for
use for a period of approx. 20 minutes after
you switch off the ignition.
Switching the ignition off simultaneously
switches off the sound system.
Switch on again as desired.
Page 163 of 208
Using your mobile phone
162 Before starting off place the BMW
mobile phone in the tray, see arrow.
You can then operate it with the in-car
controls. Terminate calls using the same
control feature with which the call was initi-
ated.<
Getting startedSwitching your BMW mobile phone
on and off
You can switch your BMW mobile
phone on and off by maintaining
extended pressure on the Key Pad.
Using the Voice Command system:
>>Telephone on<<.<
Enter lock codeIf, after switching on the telephone, you are
requested by a message from the Control
Display to enter the lock code:
Enter lock code, for instance 1234 .
Confirm your entry with the
key.To place a callEnter the desired phone number
Press.
The phone number appears in the Control
Display's status line. If a number that you
dialed earlier appears maintain pressure on
the
button.
The new phone number can now be dialed.
Using the voice command system:1.>>Dial (telephone) number<<
2.Enter the phone number
>To delete the entire number:
>>Delete (number)<< (>>Wrong<<,
>>Correction<<)
3.>>Done<< (>>Save<<, >>Dial<<).<
Always remember to enter the
complete telephone number,
including the area code, even if you are
currently in the same area as the number
that you wish to contact.<
End callPress
After conducting a call using the button in
the steering wheel or the voice command
system, you can terminate the call using
the button.Telephone directoryYou must enter your mobile phone's tele-
phone directory in the voice command
system before it will be available for access
using voice commands. This creates a
special voice command telephone direc-
tory. If changes are then made to the direc-
tory using the voice command system,
these modifications will apply exclusively
to the voice directory, and not to the direc-
tory in the mobile phone.Creating and updating voice
command telephone directory
1.>>Telephone (menu)<<
2.>>Load telephone book<<
(>>Update telephone book<<)<
The entries in the mobile phone's tele-
phone directory appear sequentially in the
Info Display.
You must assign a specific name to each
number that you wish to transfer to the
voice command telephone directory. These
numbers will no longer be requested during
updates.