Page 73 of 147

*
The conceptRDC monitors the tire pressures at all
four wheels while the vehicle is moving.
The system provides an alert")
73n
OverviewControlsMaintenanceRepairsDataIndex
Tire Pressure Monitor (RDC)
*
The conceptRDC monitors the tire pressures at all
four wheels while the vehicle is moving.
The system provides an alert whenever
the inflation pressure drops significantly
below the specified pressure in one or
more tires.
In order for the system to "learn" the
correct tire inflation pressure, check the
inflation pressures in all tires according
to the inflation pressure table on
page 25 and make corrections as
necessary. Then activate the system.
This indicator lamp in the instru-
ment cluster will inform you if
the tire pressure is not correct.
To activate the system1. Turn ignition key to position 2 (do not
start the engine)
2. Press the button long enough for the
yellow indicator lamp in the instru-
ment cluster to light up for a few
seconds
3. After a few minutes driving time,
RDC sets the current inflation pres-
sures in the tires as the target values
to be monitored.
You will only have to repeat this proce-
dure following a correction of the tire
inflation pressure. Otherwise, RDC
functions automatically when the igni-
tion key is in position 2, and thus oper-
ates whenever the vehicle is driven.
In the event of loss in inflation
pressureIf the inflation pressure has dropped
significantly over a long period of time
(which is normal for any tire), the yellow
indicator lamp will come on.
This alerts you to have the tires inflated
to the specified pressures as soon as
possible.
If you are prompted to check the
tire pressure shortly after a
correction has been made, this indi-
cates that the corrected values were
not accurate. Please check the inflation
pressure again and make corrections
according to the inflation pressure
table. Then activate the system once
again.<
Page 74 of 147

*
In the event of a flat tireIf there is a tire failure with loss of pres-
sure, the indicator lamp comes on with
a red lamp. In addition, an acoustic
signal is sound")
74n
Tire Pressure Monitor (RDC)
*
In the event of a flat tireIf there is a tire failure with loss of pres-
sure, the indicator lamp comes on with
a red lamp. In addition, an acoustic
signal is sounded.
If this occurs, reduce vehicle speed
immediately and stop the vehicle in a
safe location. Avoid hard brake applica-
tions. Do not oversteer. Replace the
wheel and flat tire.
The space-saver spare tire is
provided for temporary use only in
the case of a tire failure. It does not
have RDC electronics and is not moni-
tored. The spare tire
that has the same
dimensions as the tires already
mounted on the vehicle is equipped
with the necessary RDC electronics
and will be also monitored once the
tires have been mounted and the
system activated.<
The RDC cannot alert you to
severe and sudden tire damage
caused by external factors.<
Have the tires changed by your
BMW center.
Your BMW center has the information
needed for working with RDC and is
equipped with the necessary special
tools.<
System interferenceLocal devices using the same radio
frequency can interfere with the RDC.
The yellow indicator lamp will come on
during the malfunction.
The indicator lamp also comes on
>in the event of a system fault
>if a wheel is mounted without the
appropriate electronics
>if, in addition to the spare tire, addi-
tional wheels with RDC electronics
are on board.
Please contact your BMW center for
additional information.
Page 75 of 147

75n
OverviewControlsMaintenanceRepairsDataIndex
Flat Tire Monitor
*
The conceptAs you drive, the Flat Tire Monitor
keeps track of pressure levels in all four
tires in order to detect and warn of any
substantial pressure loss.
The system actually detects pressure
loss by monitoring differences in the
relative speeds of the four wheels. It
interprets variations outside specified
limits as severe pressure loss, and then
responds by generating a warning.
Initializing the systemInitializing is necessary to familiarize the
system with the correct inflation pres-
sure.
Repeat this process after any changes
in tire inflation pressure, tire rotation or
replacement. Do not carry out further
system initialization after adjusting the
inflation pressure and letting the system
"learn" the correct pressures.
1. Check the tire inflation pressures in
all the tires, comparing them with the
inflation pressure chart on page 25
and adjusting their pressure if neces-
sary
2. Turn the ignition key to position 2
3. Press the button as long as you need
to until the indicator lamp on the
instrument cluster lights up. After a
little while, the indicator lamp will go
out by itself
4. After a few minutes driving time, the
Flat Tire Monitor adopts the current
pressure levels as the reference, and
from that point on, can detect and
report a flat tire.
Page 76 of 147

76n
Flat Tire Monitor
*
To activate/deactivate the systemThe Flat Tire Monitor automatically
assumes operation whenever you turn
the ignition key to position 2. Unless
manually deactivated, it is always on
during normal vehicle operation.
To deactivate the system: press the
button, the yellow indicator lamp comes
on.
To activate the system: press the
button again, the indicator lamp goes
out.
You should deactivate the system
before driving with snow chains, as the
chains can generate spurious warnings
and/or prevent the system from
detecting actual pressure loss.
Flat tire warning
The red warning lamp in the
instrument cluster lights up to
warn of pressure loss and tire
failure. This visual alert is accompanied
by an acoustic warning signal. Reduce
your speed immediately, and steer and
brake gently as you bring the vehicle to
a stop.
To reset the warning lamp: after
replacing the damaged tire you will
need to reset the red warning lamp
manually: maintain pressure on the Flat
Tire Monitor button until the warning
lamp goes out. Then reinitialize the
system.
The Flat Tire Monitor cannot
provide you with advance warning
of sudden and severe tire damage
caused by external factors.
The system also does not detect the
gradual and minor loss of pressure that
all tires display over extended periods
of time.<
Check tire inflation pressures on a
regular basis, correcting them as
necessary, refer to page 24.
The system may respond to operation
on slippery or snow-covered road
surfaces with false warnings or delays
in detecting actual pressure loss.
Performance-oriented driving (slip at
the drive wheels, high rates of lateral
acceleration) can also increase the time
that the Flat Tire Monitor requires to
detect a flat.<
System malfunctionsThe yellow indicator lamp in the instru-
ment cluster lights up and remains on
until the problem is corrected.
Please refer the problem to your BMW
center.
Page 77 of 147

77n
OverviewControlsMaintenanceRepairsDataIndex
Parking lamps/Low beamsParking lamps
The front, rear and side vehicle
lighting is switched on. You can
use the parking lamps for
parking. For lighting on one side for
parking as an additional feature, refer to
page 78.
Low beams
When the ignition is switched off
while the low beams are on, the
headlamps go out and only the
parking lamps remain on.
FOLLOW ME HOME lamps:
When you activate the headlamp
flasher after parking the vehicle with the
lights turned off, the low-beam head-
lamps will come on for a short time. You
can also have this function deacti-
vated.<
LIGHTS ON warningWhen you open the driver's door, after
having turned the ignition key to posi-
tion 0, you will hear an acoustic signal
for a few seconds to remind you that
the lamps have not been switched off.Daytime driving lamps
*
If you desire, the light switch can be left
in the second position:
When the ignition is switched off, the
external lighting is also switched off.
You can have the activation
settings for the daytime driving
lamps programmed on your vehicle.<
Automatic headlight control
*
When the switch is set to this
position the system automati-
cally activates and cancels the
low beams in response to changes in
ambient light ( in tunnels, at dusk, etc.)
as well as rain and snow.
The vehicle's external lights
remain on constantly when you
switch on the front fog lamps after the
headlights have come on automati-
cally.<
Automatic headlight control
cannot serve as a substitute for
the driver's judgement in determining
when the vehicle lights should be
switched on. For example, the sensors
are not able to detect fog. To avoid
safety risks, you should respond to
these kinds of low-visibility situations
by switching the headlights on manu-
ally.< You can have the sensitivity of
your vehicle's automatic head-
light control adjusted.<
Page 78 of 147
78n
Instrument lighting
High beams/Standing lamps
Fog lamps
Turn the rotary dial to adjust the illumi-
nation intensity.
1 High beams (blue indicator lamp)
2 Headlamp flasher (blue indicator
lamp)
3 Standing lampsStanding lamps, left or rightAs an additional feature, you can illumi-
nate your vehicle on either side for
parking:
With the ignition key in position 0,
engage the lever in the appropriate
turn-signal position.
Front fog lamps
The green indicator lamp in the
instrument cluster lights up to
indicate that the front fog lamps
are on.
If the automatic headlight control
is on, the low beams will come on
automatically whenever you activate
the front fog lamps.<
Page 79 of 147
79n
OverviewControlsMaintenanceRepairsDataIndex
Interior lampsThe interior lamps operate automati-
cally.To switch the interior lamps on
and off manuallyPress button 1 briefly:
If you want the interior lamps to remain
off all the times, press and hold the
button for approx. 3 seconds.
Press the button briefly to revert to
normal operation.Front reading lamps
*
Switch on and off with the button 2
adjacent to each lamp.
Rear reading lampsSwitch on and off with the button adja-
cent to each lamp.
In order to prevent battery
discharge, all of the lamps in the
vehicle are automatically switched off
approx. 15 minutes after you turn the
ignition key to position 0.<
Page 80 of 147
80n
Air conditioning
*
1 Air onto the windshield and onto the
side windows
2 Air for the upper body area82
3 Air for the footwell 4 Air supply81
5 Temperature81
6 Air distribution817 Rear window defroster81
8 Air conditioning81
9 Recirculated-air mode81
 1
1 2
2 3
3 4
4 5
5 6
6 7
7 8
8 9
9 10
10 11
11 12
12 13
13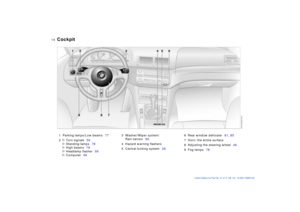 14
14 15
15 16
16 17
17 18
18 19
19 20
20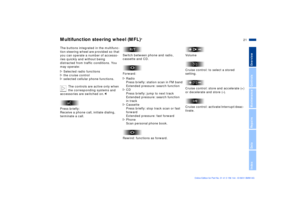 21
21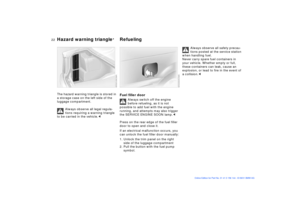 22
22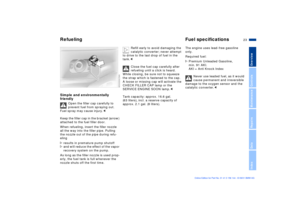 23
23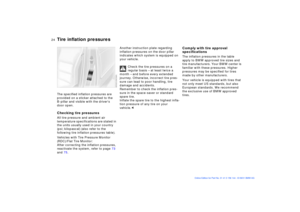 24
24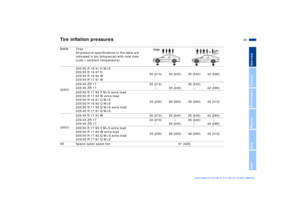 25
25 26
26 27
27 28
28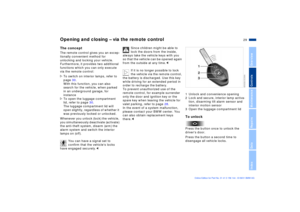 29
29 30
30 31
31 32
32 33
33 34
34 35
35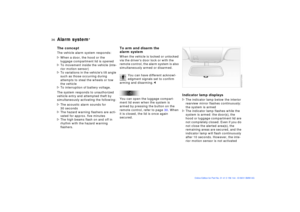 36
36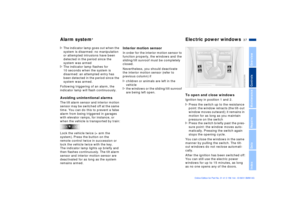 37
37 38
38 39
39 40
40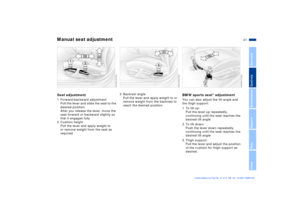 41
41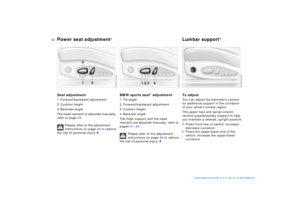 42
42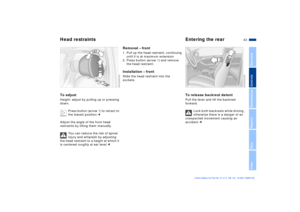 43
43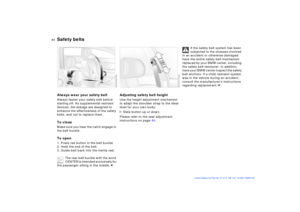 44
44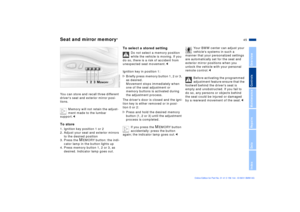 45
45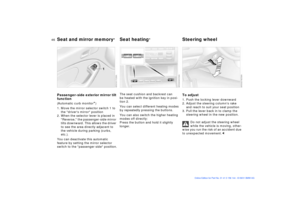 46
46 47
47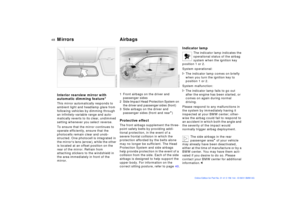 48
48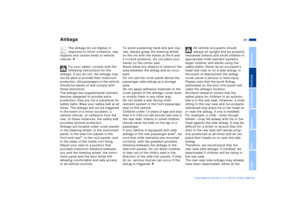 49
49 50
50 51
51 52
52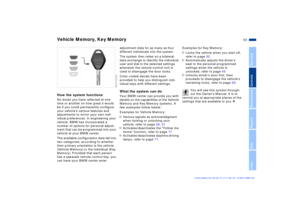 53
53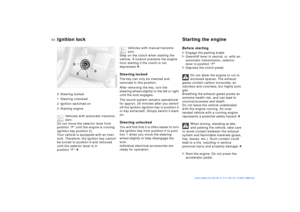 54
54 55
55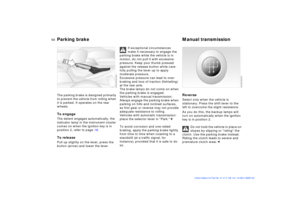 56
56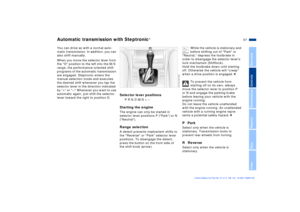 57
57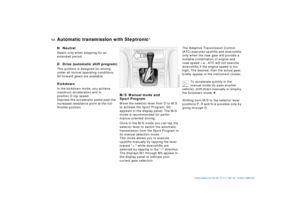 58
58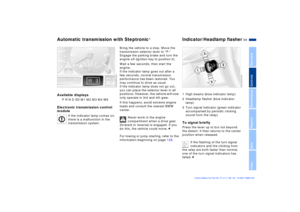 59
59 60
60 61
61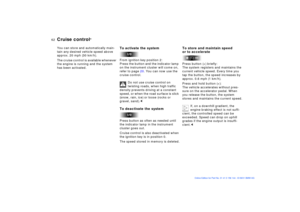 62
62 63
63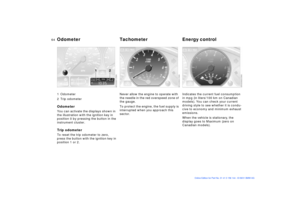 64
64 65
65 66
66 67
67 68
68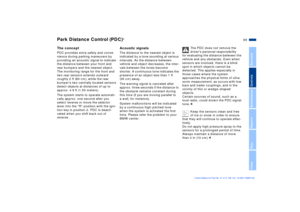 69
69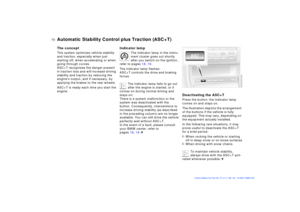 70
70 71
71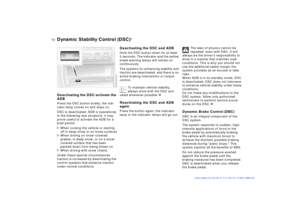 72
72 73
73 74
74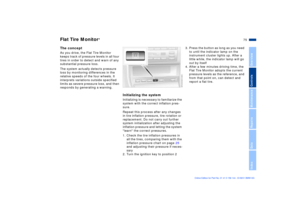 75
75 76
76 77
77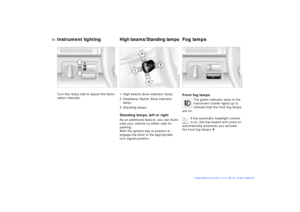 78
78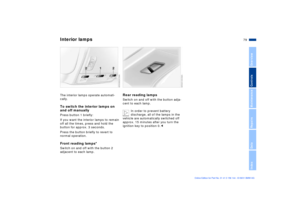 79
79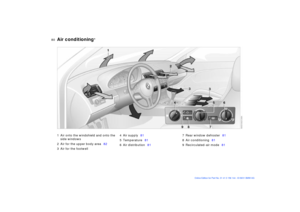 80
80 81
81 82
82 83
83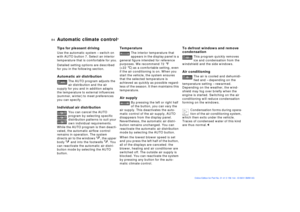 84
84 85
85 86
86 87
87 88
88 89
89 90
90 91
91 92
92 93
93 94
94 95
95 96
96 97
97 98
98 99
99 100
100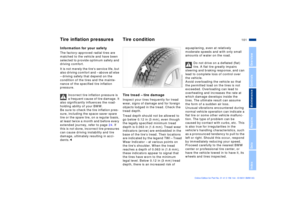 101
101 102
102 103
103 104
104 105
105 106
106 107
107 108
108 109
109 110
110 111
111 112
112 113
113 114
114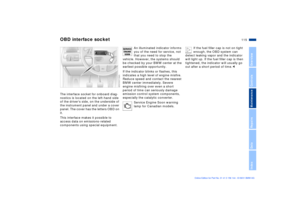 115
115 116
116 117
117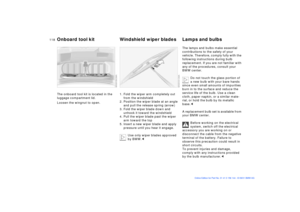 118
118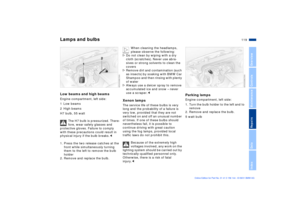 119
119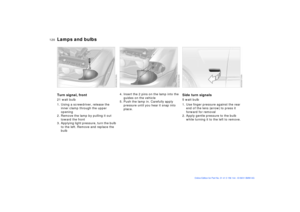 120
120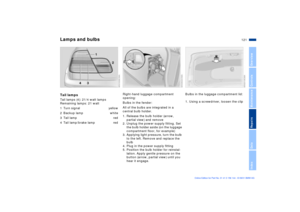 121
121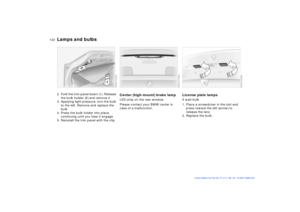 122
122 123
123 124
124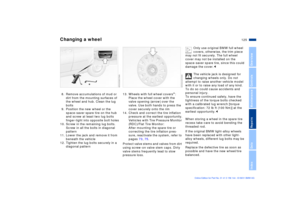 125
125 126
126 127
127 128
128 129
129 130
130 131
131 132
132 133
133 134
134 135
135 136
136 137
137 138
138 139
139 140
140 141
141 142
142 143
143 144
144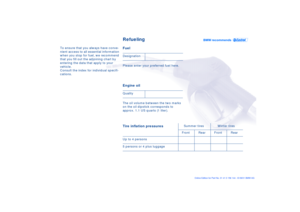 145
145 146
146
2 Headlamp flasher (blue indicator
lamp)
3")

