2002 BMW 330Ci COUPE tow
[x] Cancel search: towPage 6 of 147

Contents
Owner service procedures
Technical data
Index
Replacement procedures:
Onboard tool kit118
Windshield wiper blades118
Lamps and bulbs118
Changing a wheel123
Battery127
Fuses127
Assistance, giving and
receiving:
Jump-starting128
Towing the vehicle129Engine data132
Dimensions133
Weights134
Capacities135Everything from A to Z138
Page 36 of 147

36n
Alarm system
*
The conceptThe vehicle alarm system responds:
>When a door, the hood or the
luggage compartment lid is opened
>To movement inside the vehicle (inte-
rior motion sensor)
>To variations in the vehicle's tilt angle
such as those occurring during
attempts to steal the wheels or tow
the vehicle
>To interruption of battery voltage.
The system responds to unauthorized
vehicle entry and attempted theft by
simultaneously activating the following:
>The acoustic alarm sounds for
30 seconds
>The hazard warning flashers are acti-
vated for approx. five minutes
>The high beams flash on and off in
rhythm with the hazard warning
flashers.
To arm and disarm the
alarm systemWhen the vehicle is locked or unlocked
via the driver's door lock or with the
remote control, the alarm system is also
simultaneously armed or disarmed.
You can have different acknowl-
edgment signals set to confirm
arming and disarming.<
You can open the luggage compart-
ment lid even when the system is
armed by pressing the button on the
remote control, refer to page 30. When
it is closed, the lid is once again
secured.
Indicator lamp displays>The indicator lamp below the interior
rearview mirror flashes continuously:
the system is armed
>The indicator lamp flashes while the
system is armed: the door(s), the
hood or luggage compartment lid are
not completely closed. Even if you do
not close the alerted area(s), the
remaining areas are secured, and the
indicator lamp will flash continuously
after 10 seconds. However, the inte-
rior motion sensor is not activated
Page 57 of 147

57n
OverviewControlsMaintenanceRepairsDataIndex
Automatic transmission with Steptronic
*
You can drive as with a normal auto-
matic transmission. In addition, you can
also shift manually.
When you move the selector lever from
the "D" position to the left into the M/S
range, the performance-oriented shift
programs of the automatic transmission
are engaged. Steptronic enters the
manual selection mode and executes
the desired shift whenever you tap the
selector lever in the direction indicated
by "+" or "Ð." Whenever you want to use
automatic again, just shift the selector
lever toward the right to position D.
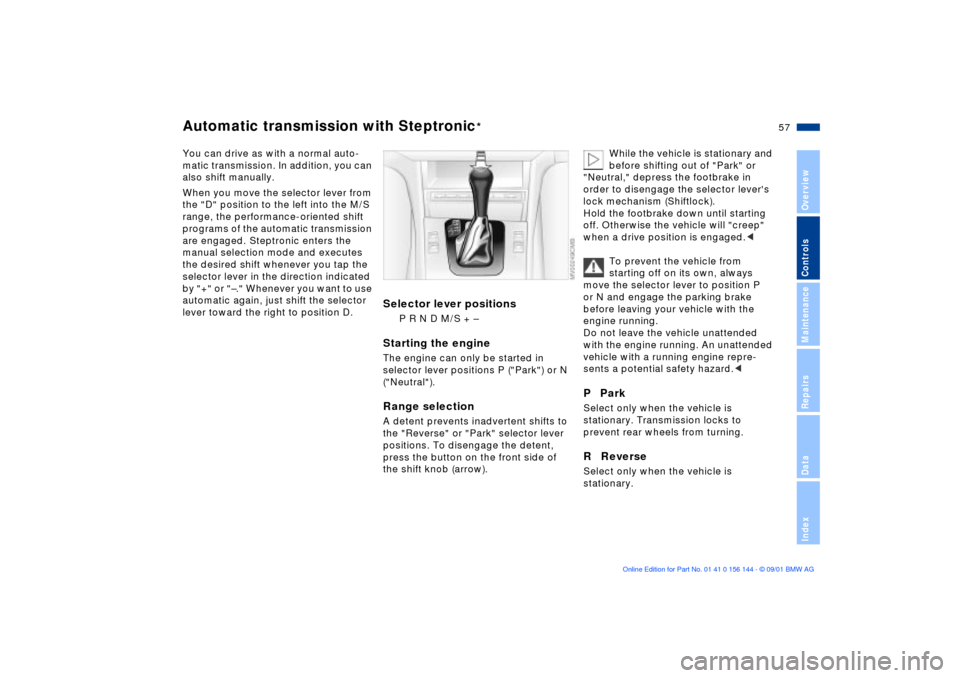
Selector lever positions
P R N D M/S + Ð
Starting the engineThe engine can only be started in
selector lever positions P ("Park") or N
("Neutral").Range selectionA detent prevents inadvertent shifts to
the "Reverse" or "Park" selector lever
positions. To disengage the detent,
press the button on the front side of
the shift knob (arrow).
While the vehicle is stationary and
before shifting out of "Park" or
"Neutral," depress the footbrake in
order to disengage the selector lever's
lock mechanism (Shiftlock).
Hold the footbrake down until starting
off. Otherwise the vehicle will "creep"
when a drive position is engaged.<
To prevent the vehicle from
starting off on its own, always
move the selector lever to position P
or N and engage the parking brake
before leaving your vehicle with the
engine running.
Do not leave the vehicle unattended
with the engine running. An unattended
vehicle with a running engine repre-
sents a potential safety hazard.<
P ParkSelect only when the vehicle is
stationary. Transmission locks to
prevent rear wheels from turning.R ReverseSelect only when the vehicle is
stationary.
Page 58 of 147

58n
Automatic transmission with Steptronic
*
N NeutralSelect only when stopping for an
extended period.D Drive (automatic shift program)This position is designed for driving
under all normal operating conditions.
All forward gears are available.KickdownIn the kickdown mode, you achieve
maximum acceleration and in
position D top speed.
Depress the accelerator pedal past the
increased resistance point at the full-
throttle position.
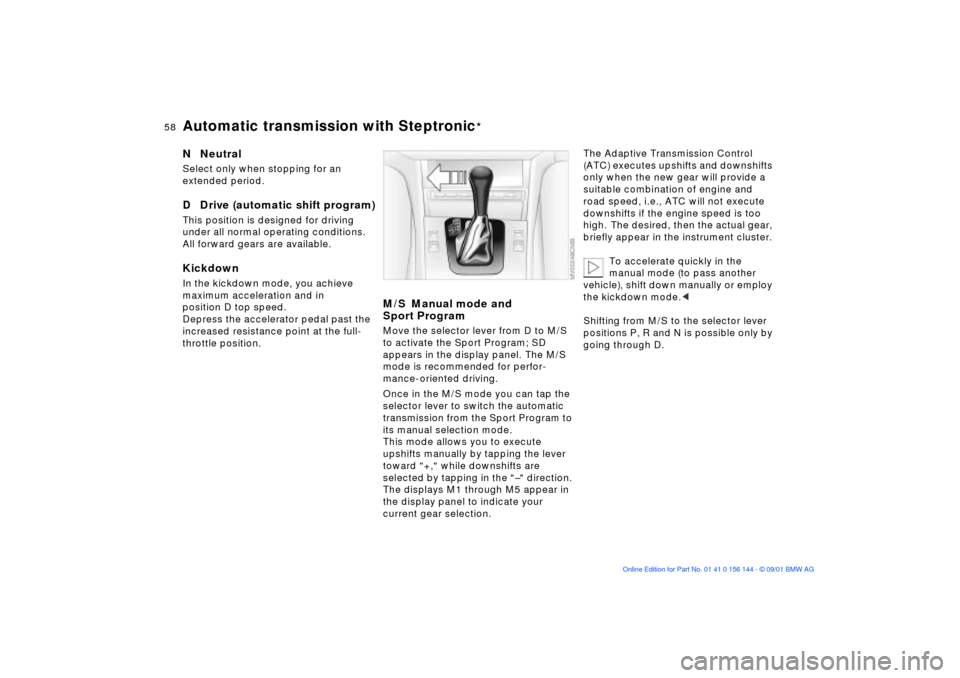
M/S Manual mode and
Sport ProgramMove the selector lever from D to M/S
to activate the Sport Program; SD
appears in the display panel. The M/S
mode is recommended for perfor-
mance-oriented driving.
Once in the M/S mode you can tap the
selector lever to switch the automatic
transmission from the Sport Program to
its manual selection mode.
This mode allows you to execute
upshifts manually by tapping the lever
toward "+," while downshifts are
selected by tapping in the "Ð" direction.
The displays M1 through M5 appear in
the display panel to indicate your
current gear selection.
The Adaptive Transmission Control
(ATC) executes upshifts and downshifts
only when the new gear will provide a
suitable combination of engine and
road speed, i.e., ATC will not execute
downshifts if the engine speed is too
high. The desired, then the actual gear,
briefly appear in the instrument cluster.
To accelerate quickly in the
manual mode (to pass another
vehicle), shift down manually or employ
the kickdown mode.<
Shifting from M/S to the selector lever
positions P, R and N is possible only by
going through D.
Page 59 of 147

59n
OverviewControlsMaintenanceRepairsDataIndex
Automatic transmission with Steptronic
*
Indicator/Headlamp ßasher
Available displays
P R N D SD M1 M2 M3 M4 M5
Electronic transmission control
module
If the indicator lamp comes on,
there is a malfunction in the
transmission system.
Bring the vehicle to a stop. Move the
transmission selector lever to "P."
Engage the parking brake and turn the
engine off (ignition key to position 0).
Wait a few seconds, then start the
engine.
If the indicator lamp goes out after a
few seconds, normal transmission
performance has been restored. You
may continue to drive as usual.
If the indicator lamp does not go out,
you can place the selector lever in all
positions. However, the vehicle will now
only operate in 3rd and 4th gear.
If this happens, avoid extreme engine
loads and consult the nearest BMW
center.
Never work in the engine
compartment when a drive gear
(forward or reverse) is engaged. If you
do this, the vehicle could move.<
For towing or jump-starting, refer to the
information beginning on page 128.
1 High beams (blue indicator lamp)
2 Headlamp flasher (blue indicator
lamp)
3 Turn signal indicator (green indicator
accompanied by periodic clicking
sound from the relay)To signal brieflyPress the lever up to but not beyond
the detent. It then returns to the center
position when released.
If the flashing of the turn signal
indicators and the clicking from
the relay are both faster than normal,
one of the turn signal indicators has
failed.<
Page 66 of 147

66n
Check Control Computer The following information and/or condi-
tions are indicated using symbols,
starting with the ignition key in
position 2, until the condition has been
corrected.
1 Check the low beams and high
beams, as well as the parking lamps
2 Door open
3 Luggage compartment lid open
4 Check tail or brake lamps
When you open the driver's door after
parking, a signal sounds to remind you
if the headlamps have not been
switched off.
Mode selectionWith ignition key in position 1 or 2, you
can request information from the
computer using the button in the turn
signal lever. By pressing the button
briefly toward the steering column, you
can call up a new function for display.
The displays appear in the following
order:
Time, outside temperature, average fuel
consumption, cruising range, average
vehicle speed.
Starting with ignition key position 1,
the last active setting is displayed.
ClockIf you wish to have a permanent time
display, you can make this adjustment
in the radio display (refer to the Radio
Owner's Manual).
You can adjust the clock and the time
display in the car radio as follows.
Page 69 of 147

69n
OverviewControlsMaintenanceRepairsDataIndex
Park Distance Control (PDC)
*
The conceptPDC provides extra safety and conve-
nience during parking maneuvers by
providing an acoustic signal to indicate
the distance between your front and
rear bumpers and the nearest object.
The monitoring range for the front and
two rear sensors extends outward
roughly 2 ft (60 cm), while the rear
bumper's two centrally located sensors
detect objects at distances of up to
approx. 4.9 ft (1.50 meters).
The system starts to operate automati-
cally approx. one second after you
select reverse or move the selector
lever into the "R" position with the igni-
tion key in position 2. PDC is deacti-
vated when you shift back out of
reverse.
Acoustic signalsThe distance to the nearest object is
indicated by a tone sounding at various
intervals. As the distance between
vehicle and object decreases, the inter-
vals between the tones become
shorter. A continuous tone indicates the
presence of an object less than 1 ft
(30 cm) away.
The warning signal is canceled after
approx. three seconds if the distance to
the obstacle remains constant during
this time (if you are moving parallel to
a wall, for instance).
System malfunctions will be indicated
by a continuous high-pitched tone
when the system is activated the first
time. Please refer the problem to your
BMW center.The PDC does not remove the
driver's personal responsibility
for evaluating the distance between the
vehicle and any obstacles. Even when
sensors are involved, there is a blind
spot in which objects cannot be
detected. This applies especially in
those cases where the system
approaches the physical limits of ultra-
sonic measurement, as occurs with tow
bars and trailer couplings, and in the
vicinity of thin or wedge-shaped
objects.
Certain sources of sound, such as a
loud radio, could drown the PDC signal
tone.<
Keep the sensors clean and free
of ice or snow in order to ensure
that they will continue to operate effec-
tively.
Do not apply high pressure spray to the
sensors for a prolonged period of time.
Always maintain a distance of more
than 4 in (10 cm).<
Page 81 of 147

81n
OverviewControlsMaintenanceRepairsDataIndex
Air conditioningAir supply
You can select blower speeds
from 1 to 4. The heating and
ventilation become more and
more effective as the air
supply settings are increased. In
position 0, the blower and the heater
are switched off. The outside air supply
is blocked in position 0.
Temperature
In order to increase the
temperature of the passenger
compartment, turn to the right
(red). The temperature of the
incoming air is kept constant.
Air distribution
You can direct air to flow onto
the windows , toward your
upper body or into the
footwell . All intermediate
settings are possible. In the setting,
there is a low flow of air onto the
windows to keep them free of conden-
sation.
Rear window defroster
When the rear window defroster
is activated, the indicator lamp
comes on. The rear window defroster
switches off automatically.
The rear window defroster auto-
matically assumes operation
within 5 minutes after the engine is
started at outside temperatures below
approx. 39 7 (+4 6).<
Air conditioning
The air is cooled and dehumidi-
fied and Ð depending on the
temperature setting Ð rewarmed.
Depending on the weather, the wind-
shield may fog over briefly when the
engine is started. Switching on the air
conditioning will reduce condensation
forming on the windows.
Condensation forms during opera-
tion of the air conditioning system,
which then exits under the vehicle.
Traces of condensed water of this kind
are thus normal.<
Recirculated-air mode
You can respond to unpleasant
external odors by temporarily
excluding the supply of outside air. The
system then recirculates the air
currently within the vehicle.
If the windows should fog over in
the recirculated-air mode, switch
this mode off and increase the air
supply as required.<