Page 46 of 132

AUDIO SYSTEM
4-5
4
Making basic settings Turning on/off the audio system
To turn the power on1. Make sure that the key is in the
“ACC” or “ON” position.
2. Push the “AUDIO” button once for
less than one second.
To turn the power offPush the “AUDIO” button once for one
second or more.Adjusting the audio system volume
Turn the volume control knob until the
desired audio system volume is dis-
played (e.g., “Vo:10”). The audio sys-
tem volume can be set between “0”
and “30”. After the adjustment is made,
the audio system returns to normal op-
eration and the current audio mode ap-
pears in the display.
Making mode settings General procedure
The following setting procedure applies
to the audio system and optional CD
changer.NOTE:_ In order to make settings in any of the
audio system modes, make sure that
the audio system is selected. If neces-
sary, push the “AUDIO” button for less
than one second. _1. Push the “AUDIO” button for less
than one second.
2. Repeatedly push the “SELECT”
button for less than one second
until the desired mode appears in
the display. With each press of the
button, the mode changes in the
following sequence.
E_5jc.book Page 5 Monday, January 22, 2001 12:12 PM
Page 47 of 132

AUDIO SYSTEM
4-6
4
3. While the selected mode is dis-
played (for about five seconds),
repeatedly push either side of the
up/down switch for less than one
second until the desired setting is
displayed.Selecting the output (speakers or
headsets)
1. Repeatedly push the “SELECT”
button for less than one second
until either “SP” (speakers) or “HS”
and “ ” (headsets) appear in the
display.
2. Push either side of the up/down
switch for less than one second to
change the setting.
NOTE:_ The speakers and headsets cannot be
used at the same time. _
Adjusting the bass level
1. Repeatedly push the “SELECT”
button for less than one second
until “BASS” appears at the bot-
tom of the display.
2. Repeatedly push either side of the
up/down switch for less than one
second until the desired level is
displayed. The bass level can be
set between “-6” and “+6”.
(Output)BASS TREBFAD
(Auto
volume)
(Intercom
volume)
Radio SP/HS
(Treble)
frequency(Fade )
1
2IC
AV
1
2This mode does not appear in the display when
the headsets are selected as the output.
This mode appears in the display only when one
of the radio frequency bands is selected as the au- dio source.
E_5jc.book Page 6 Monday, January 22, 2001 12:12 PM
Page 48 of 132
AUDIO SYSTEM
4-7
4
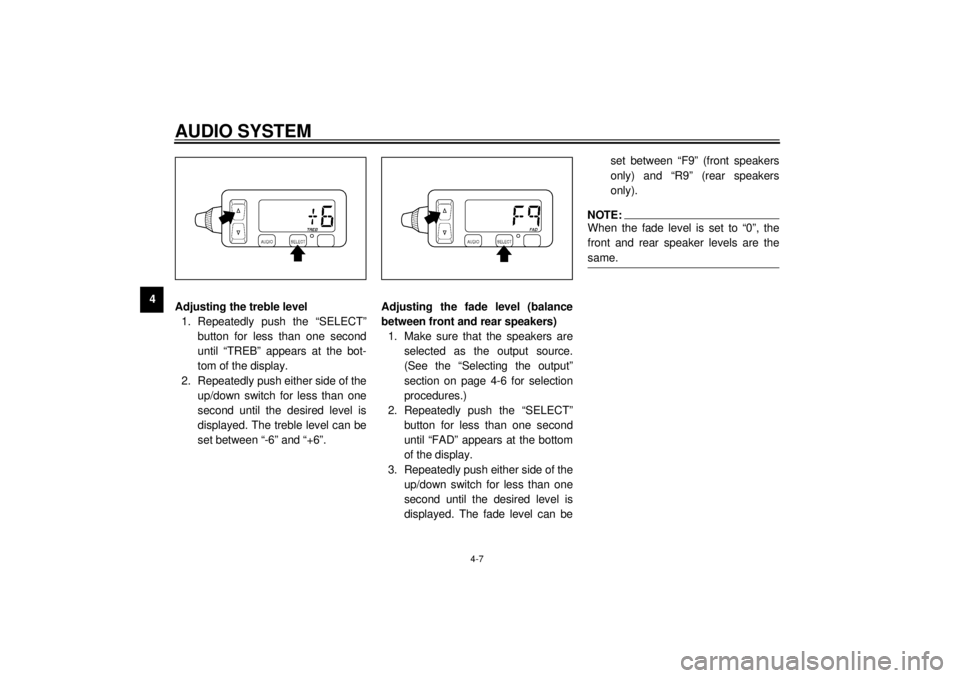
Adjusting the treble level
1. Repeatedly push the “SELECT”
button for less than one second
until “TREB” appears at the bot-
tom of the display.
2. Repeatedly push either side of the
up/down switch for less than one
second until the desired level is
displayed. The treble level can be
set between “-6” and “+6”.Adjusting the fade level (balance
between front and rear speakers)
1. Make sure that the speakers are
selected as the output source.
(See the “Selecting the output”
section on page 4-6 for selection
procedures.)
2. Repeatedly push the “SELECT”
button for less than one second
until “FAD” appears at the bottom
of the display.
3. Repeatedly push either side of the
up/down switch for less than one
second until the desired level is
displayed. The fade level can beset between “F9” (front speakers
only) and “R9” (rear speakers
only).
NOTE:_ When the fade level is set to “0”, the
front and rear speaker levels are the
same. _
E_5jc.book Page 7 Monday, January 22, 2001 12:12 PM
Page 49 of 132

AUDIO SYSTEM
4-8
4
Adjusting the intercom volume
1. Repeatedly push the “SELECT”
button for less than one second
until the intercom volume (e.g.,
“IC:10”) appears in the display.
2. Repeatedly push either side of the
up/down switch for less than one
second until the desired volume is
displayed. The intercom volume
can be set between “0” and “20”.Adjusting the auto volume
When riding the motorcycle, external
noise may override the audio system
output volume. The audio system fea-
tures an automatic volume control
function which compensates for exter-
nal noise.
1. Repeatedly push the “SELECT”
button for less than one second
until the auto volume (e.g., “AV: 3”)
appears in the display.
2. Repeatedly push either side of the
up/down switch for less than one
second until the desired volume is
displayed. The auto volume can
be set between “0” and “5”.Intercom operation
Provided both the rider and passenger
are wearing headsets, they can talk to
each other through the intercom at any
time.
E_5jc.book Page 8 Monday, January 22, 2001 12:12 PM
Page 50 of 132
AUDIO SYSTEM
4-9
4
Cassette deck operation
WARNING
_ l
It is dangerous to operate the
cassette deck while riding. Nev-
er take your hands off the han-
dlebars while riding.
l
Keep the volume at a low
enough level to be aware of traf-
fic conditions and ensure
safety.
_
CAUTION:_ l
Keep the cassette deck lid
closed at all times, except when
inserting or removing a cas-
sette.
l
Do not leave cassette tapes in
direct sunlight for a long period
of time.
l
Do not allow the inside of the
cassette deck to get wet. If this
happens, keep the cassette
deck lid open and dry out the
deck in the shade.
l
To clean the tape head, use a
de-magnetizing cleaning cas-
sette, but be sure to turn the
volume all the way down to
avoid speaker damage.
_
1. Cassette deck compartment
2. Eject (“ ”) button
3. Cassette deck lidE_5jc.book Page 9 Monday, January 22, 2001 12:12 PM
Page 51 of 132

AUDIO SYSTEM
4-10
4
Playing a cassette tape
1. Make sure that the audio system is
turned on. (See page 4-3.)
2. Insert a cassette tape into the cas-
sette compartment as shown.
“LOAD”, then “PLAY” appears in
the display. (If a cassette is al-
ready inserted, push the “AUDIO”
button until “PLAY” appears in the
display.) The tape starts playing.Skipping songs
While a cassette tape is playing, push
either side of the up/down switch once
for less than one second for each song
to be skipped. Pushing “ ” skips
songs in the forward direction. Pushing
“ ” skips songs in the reverse direc-
tion. “APC” (auto program control) and
the number of songs to be skipped
(e.g., “3”) appear in the display. When
skipping songs in reverse, a minus sign
appears in front of the number of songs
to be skipped (e.g., “-2”). (“-1” indicates
that the current song will be played
again.)
NOTE:_ l
The maximum number of songs
that can be skipped in either direc-
tion is 9.
l
To stop skipping songs, push the
up/down switch in the opposite di-
rection that songs are being
skipped.
_
E_5jc_Audio.fm Page 10 Thursday, January 25, 2001 3:20 PM
Page 52 of 132
AUDIO SYSTEM
4-11
4
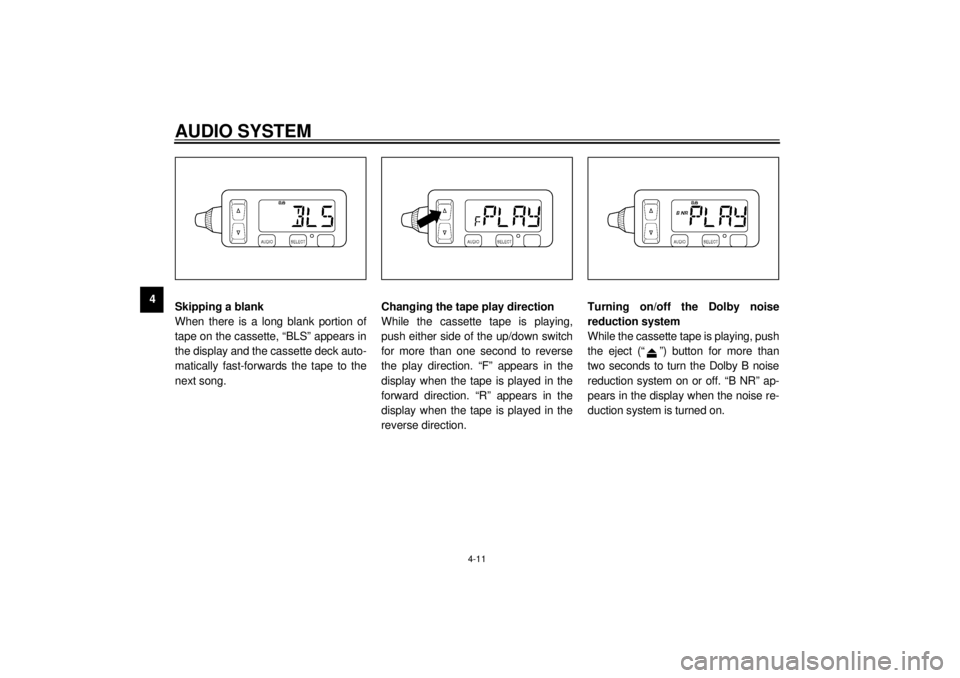
Skipping a blank
When there is a long blank portion of
tape on the cassette, “BLS” appears in
the display and the cassette deck auto-
matically fast-forwards the tape to the
next song.Changing the tape play direction
While the cassette tape is playing,
push either side of the up/down switch
for more than one second to reverse
the play direction. “F” appears in the
display when the tape is played in the
forward direction. “R” appears in the
display when the tape is played in the
reverse direction.Turning on/off the Dolby noise
reduction system
While the cassette tape is playing, push
the eject (“ ”) button for more than
two seconds to turn the Dolby B noise
reduction system on or off. “B NR” ap-
pears in the display when the noise re-
duction system is turned on.
E_5jc.book Page 11 Monday, January 22, 2001 12:12 PM
Page 53 of 132
AUDIO SYSTEM
4-12
4
NOTE:_ l
The Dolby noise reduction system
has been manufactured under li-
cense from Dolby Laboratories Li-
censing Corporation.
l
Dolby and the double “D” symbol
are registered trademarks of Dol-
by Laboratories Licensing Corpo-
ration.
_
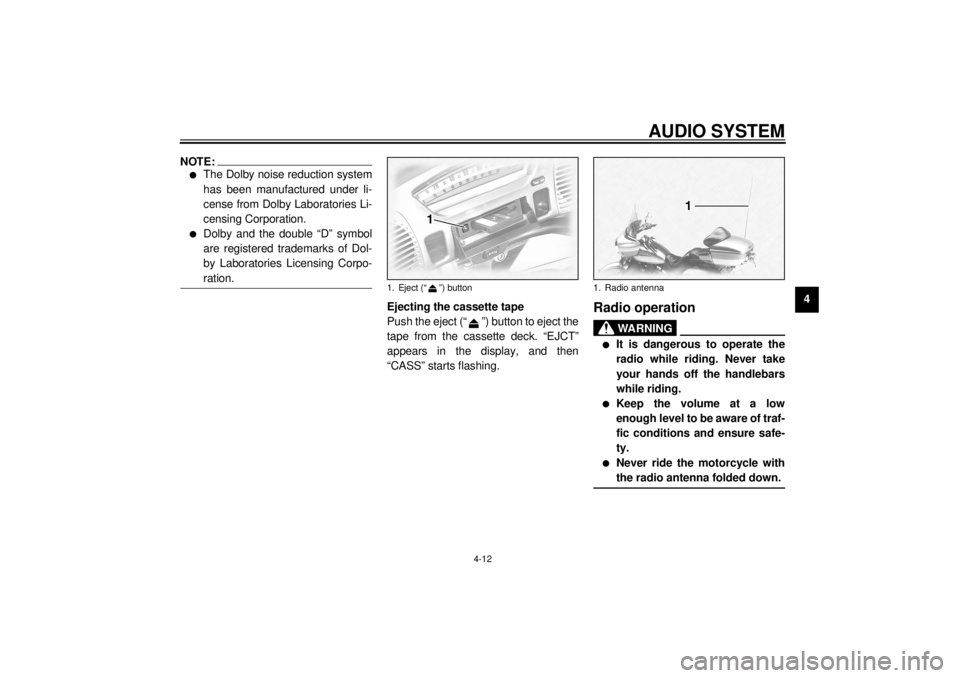
Ejecting the cassette tape
Push the eject (“ ”) button to eject the
tape from the cassette deck. “EJCT”
appears in the display, and then
“CASS” starts flashing.
Radio operation
WARNING
_ l
It is dangerous to operate the
radio while riding. Never take
your hands off the handlebars
while riding.
l
Keep the volume at a low
enough level to be aware of traf-
fic conditions and ensure safe-
ty.
l
Never ride the motorcycle with
the radio antenna folded down.
_
1. Eject (“ ”) button
1. Radio antenna
E_5jc.book Page 12 Monday, January 22, 2001 12:12 PM