2001 FORD F650 service
[x] Cancel search: servicePage 116 of 240
Emergency air brake
All vehicles are equipped with a dual brake system. In the unlikely event
of a failure of one system, the second system will function for emergency
stopping. These systems are all controlled by the brake pedal in the
same manner as for normal stops.
Do not continue to operate the vehicle with a failure of one of
the systems. Take the vehicle to your dealer for service
immediately.
Anti-lock braking system (if equipped)
For information on the anti-lock braking system (ABS), refer to
Hydraulic brakesin this chapter.
Driving with ABS
Maintain a steady brake pedal application; you do not need to pump or
remove your foot from the pedal. The ABS keeps the wheels rolling
during braking to maintain control and reduce stopping distances. For
information on the anti-lock braking system (ABS), refer toHydraulic
brakesin this chapter.
Parking brake
Do not use the gearshift selector in place of the parking brake.
Always set the parking brake fully AND make sure the gearshift
selector is in R (Reverse) for vehicles equipped with manual
transmission or N (Neutral) for vehicles with automatic transmission.
Unexpected and possible sudden vehicle movement may occur if
these precautions are not taken.
If the service brakes should fail to operate while the vehicle is in motion,
you can make an emergency stop with the parking brake. The stopping
distance, however, will be much greater than normal. Repairs should be
made immediately to an inoperative air brake system circuit.
Driving
116
Page 117 of 240
Parking brake control
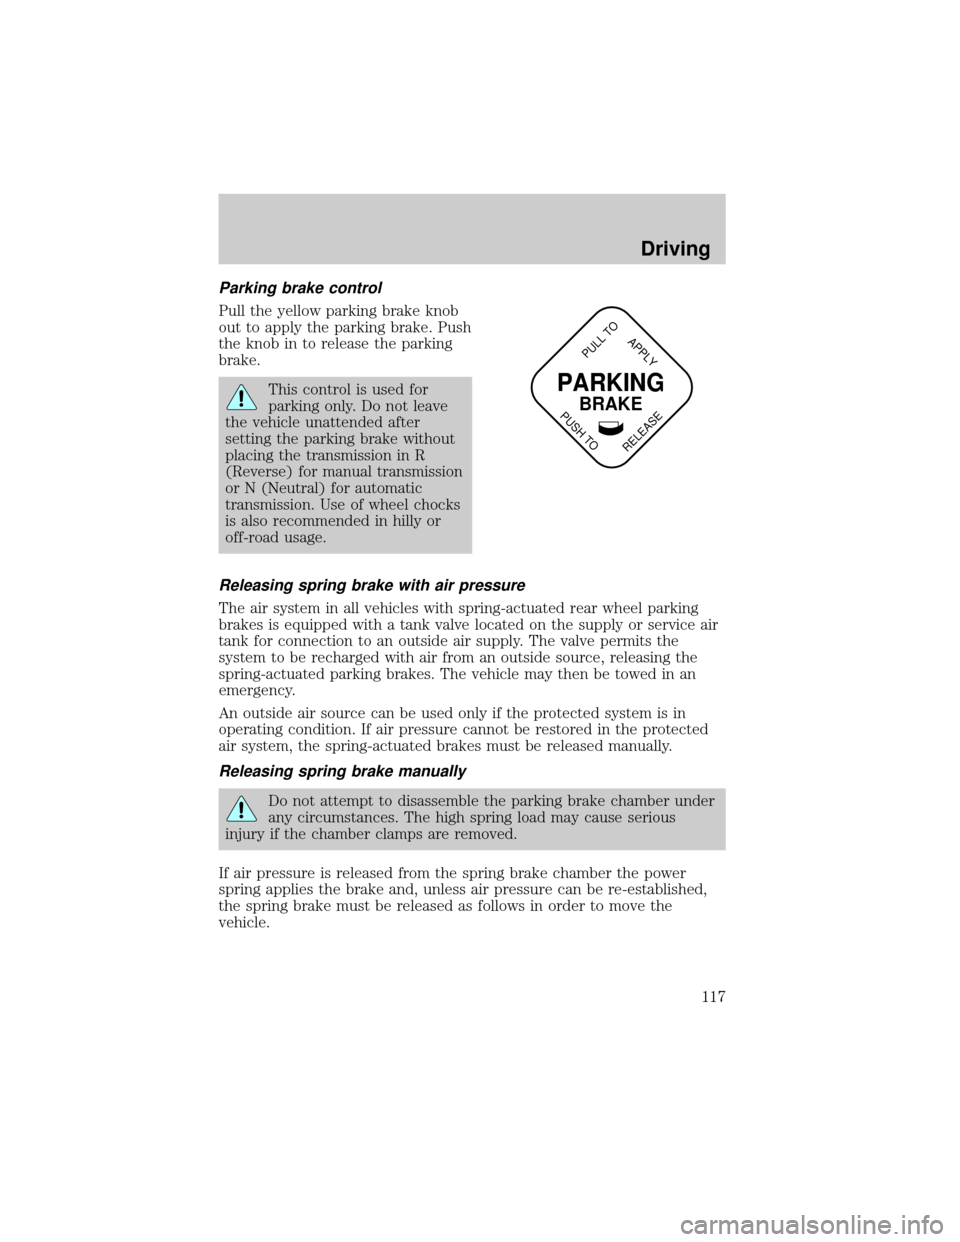
Pull the yellow parking brake knob
out to apply the parking brake. Push
the knob in to release the parking
brake.
This control is used for
parking only. Do not leave
the vehicle unattended after
setting the parking brake without
placing the transmission in R
(Reverse) for manual transmission
or N (Neutral) for automatic
transmission. Use of wheel chocks
is also recommended in hilly or
off-road usage.
Releasing spring brake with air pressure
The air system in all vehicles with spring-actuated rear wheel parking
brakes is equipped with a tank valve located on the supply or service air
tank for connection to an outside air supply. The valve permits the
system to be recharged with air from an outside source, releasing the
spring-actuated parking brakes. The vehicle may then be towed in an
emergency.
An outside air source can be used only if the protected system is in
operating condition. If air pressure cannot be restored in the protected
air system, the spring-actuated brakes must be released manually.
Releasing spring brake manually
Do not attempt to disassemble the parking brake chamber under
any circumstances. The high spring load may cause serious
injury if the chamber clamps are removed.
If air pressure is released from the spring brake chamber the power
spring applies the brake and, unless air pressure can be re-established,
the spring brake must be released as follows in order to move the
vehicle.
PARKING
BRAKE
PULL TO
RELEASE
APPLY
PUSH TO
Driving
117
Page 121 of 240
Reservoir selection
The number one service reservoir will at all times be selected as the
primary supply source for the MV-3. This is accomplished automatically
by the function of the dual circuit supply valve contained in the body of
the MV-3. Only in the event of a pressure drop of more than 207 kPa (30
psi) below that of the number two service reservoir will the dual circuit
supply valve shuttle and establish the front service reservoir as the
supply.
Exhaust brake (if equipped)
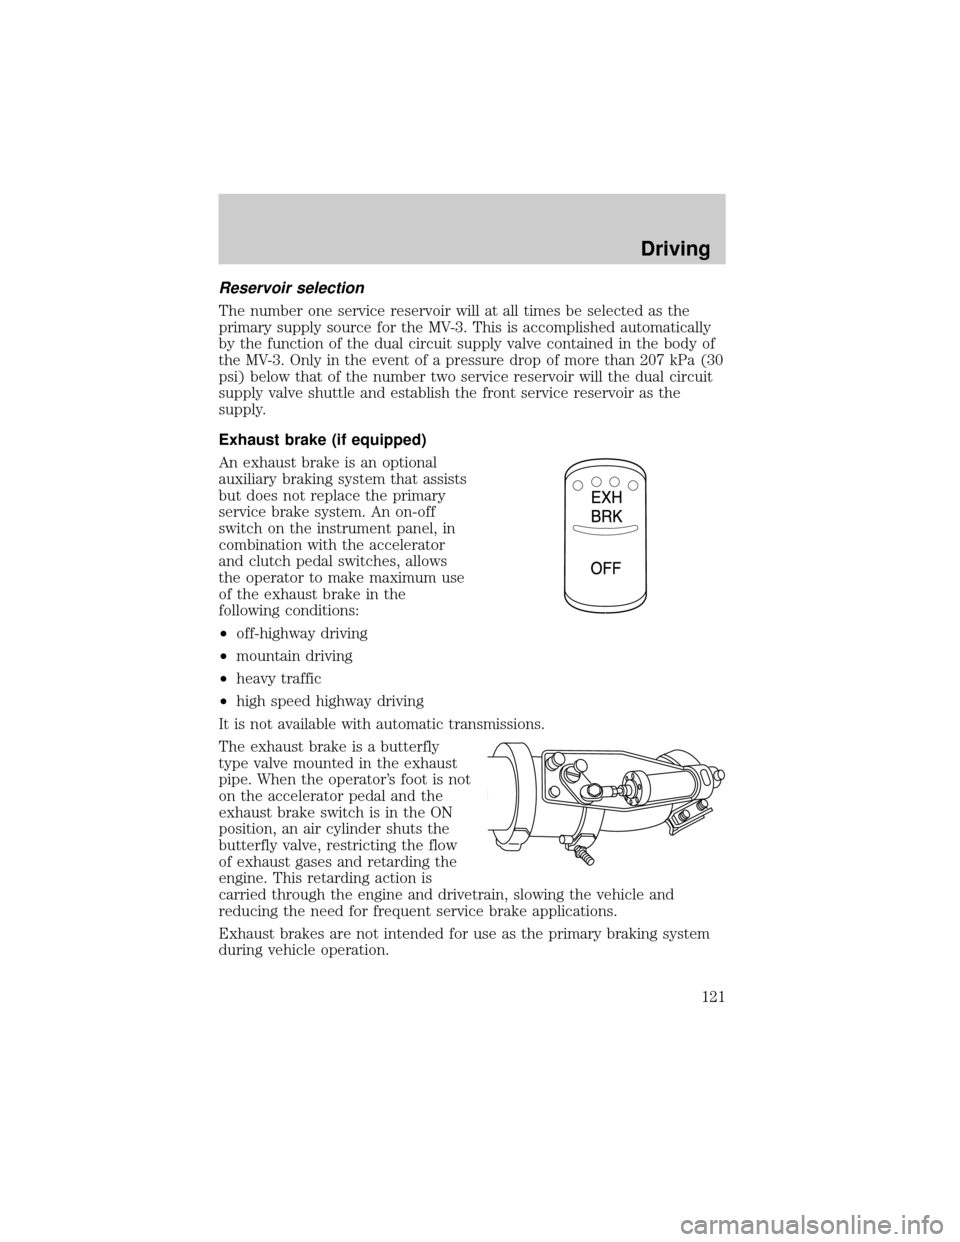
An exhaust brake is an optional
auxiliary braking system that assists
but does not replace the primary
service brake system. An on-off
switch on the instrument panel, in
combination with the accelerator
and clutch pedal switches, allows
the operator to make maximum use
of the exhaust brake in the
following conditions:
²off-highway driving
²mountain driving
²heavy traffic
²high speed highway driving
It is not available with automatic transmissions.
The exhaust brake is a butterfly
type valve mounted in the exhaust
pipe. When the operator's foot is not
on the accelerator pedal and the
exhaust brake switch is in the ON
position, an air cylinder shuts the
butterfly valve, restricting the flow
of exhaust gases and retarding the
engine. This retarding action is
carried through the engine and drivetrain, slowing the vehicle and
reducing the need for frequent service brake applications.
Exhaust brakes are not intended for use as the primary braking system
during vehicle operation.
Driving
121
Page 122 of 240
Operation
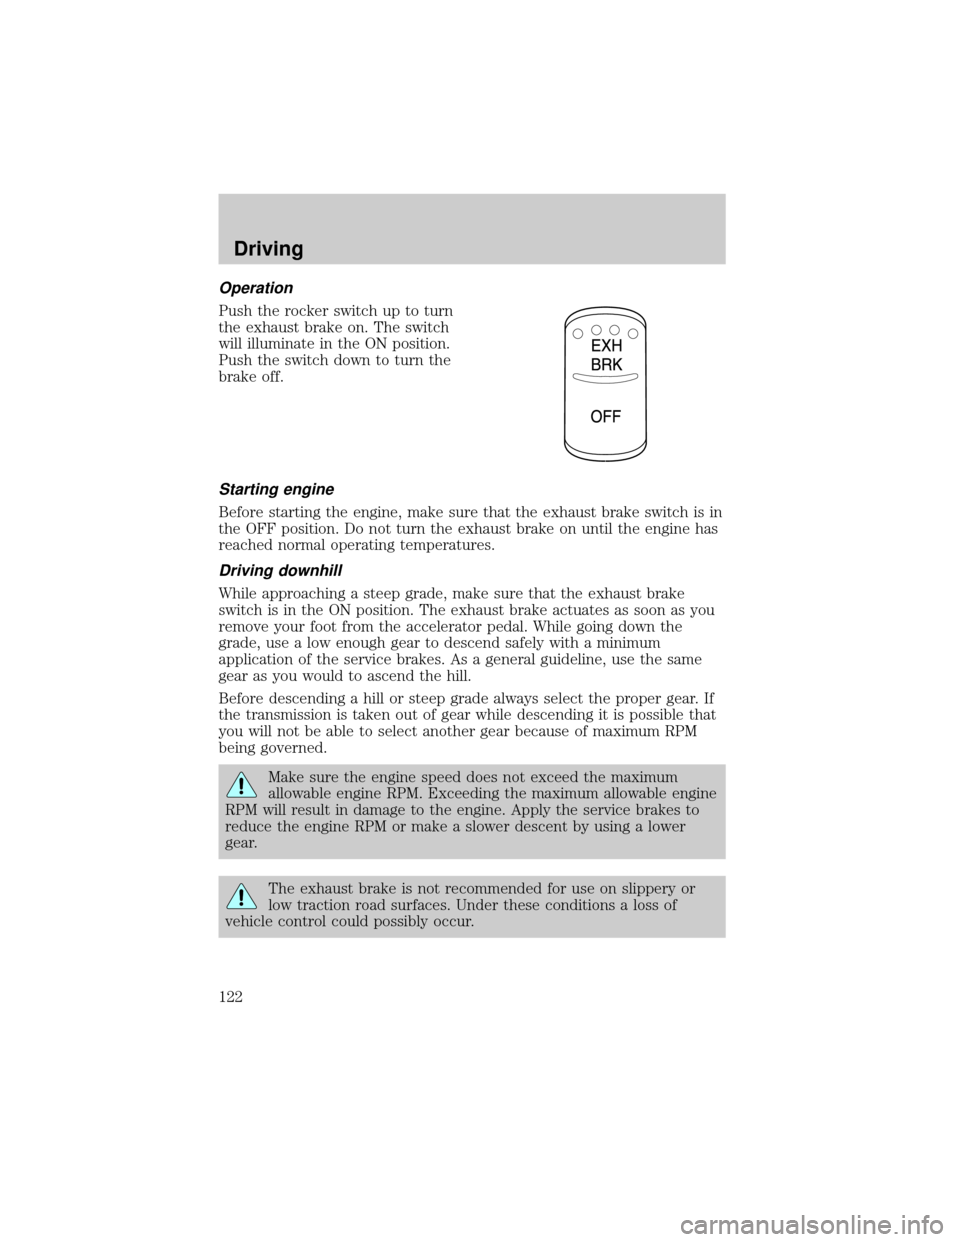
Push the rocker switch up to turn
the exhaust brake on. The switch
will illuminate in the ON position.
Push the switch down to turn the
brake off.
Starting engine
Before starting the engine, make sure that the exhaust brake switch is in
the OFF position. Do not turn the exhaust brake on until the engine has
reached normal operating temperatures.
Driving downhill
While approaching a steep grade, make sure that the exhaust brake
switch is in the ON position. The exhaust brake actuates as soon as you
remove your foot from the accelerator pedal. While going down the
grade, use a low enough gear to descend safely with a minimum
application of the service brakes. As a general guideline, use the same
gear as you would to ascend the hill.
Before descending a hill or steep grade always select the proper gear. If
the transmission is taken out of gear while descending it is possible that
you will not be able to select another gear because of maximum RPM
being governed.
Make sure the engine speed does not exceed the maximum
allowable engine RPM. Exceeding the maximum allowable engine
RPM will result in damage to the engine. Apply the service brakes to
reduce the engine RPM or make a slower descent by using a lower
gear.
The exhaust brake is not recommended for use on slippery or
low traction road surfaces. Under these conditions a loss of
vehicle control could possibly occur.
Driving
122
Page 123 of 240
Exhaust brake operating characteristics
When you remove your feet from both the accelerator and clutch pedals
and the exhaust brake switch is in the ON position, the exhaust brake is
activated. The following conditions should exist if the brake is operating
properly:
²A slight change in the sound of the engine when the exhaust brake is
activated.
²Exhaust smoke appears normal.
²Engine temperature remains in the normal operating range.
²Road speed usually decreases when the exhaust brake is applied
during a descent, except when the vehicle is carrying a heavy load or
the grade is extremely steep. In these instances, you may need to
apply the service brakes occasionally.
²During a descent, the tachometer usually shows a drop in RPM
depending on the grade and the vehicle load.
²Do not expect a retarding effect similar to sudden hard application of
the service brakes. The exhaust brake retards the vehicle with a
smooth braking effect.
²Depending on the grade and vehicle load, you may or may not feel the
retarding force acting against your body when the brake is applied.
The brake's retarding force is actually preventing the vehicle from
going much faster.
Make sure the exhaust brake is turned off before shutting off the engine.
Installing an exhaust or auxiliary brake should never allow the
engine to exceed maximum governed speeds under any
conditions. Refer to theStartingchapter.
Air brake reservoir draining
Failure to drain air brake reservoirs can result in a reduction or
loss of braking ability due to fluid accumulation in the reservoir
and/or possible freeze-up during cold weather.
Driving
123
Page 124 of 240
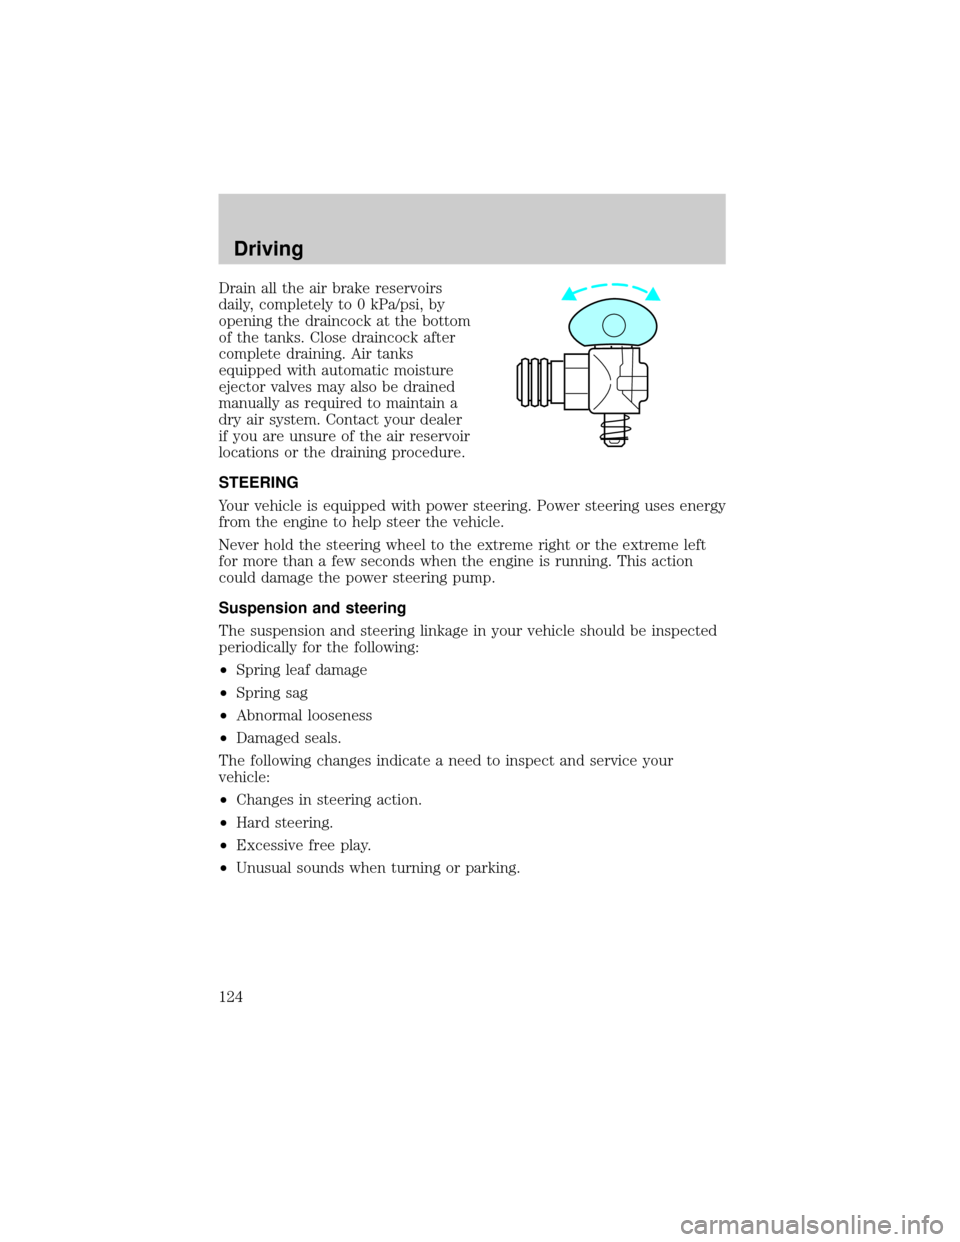
Drain all the air brake reservoirs
daily, completely to 0 kPa/psi, by
opening the draincock at the bottom
of the tanks. Close draincock after
complete draining. Air tanks
equipped with automatic moisture
ejector valves may also be drained
manually as required to maintain a
dry air system. Contact your dealer
if you are unsure of the air reservoir
locations or the draining procedure.
STEERING
Your vehicle is equipped with power steering. Power steering uses energy
from the engine to help steer the vehicle.
Never hold the steering wheel to the extreme right or the extreme left
for more than a few seconds when the engine is running. This action
could damage the power steering pump.
Suspension and steering
The suspension and steering linkage in your vehicle should be inspected
periodically for the following:
²Spring leaf damage
²Spring sag
²Abnormal looseness
²Damaged seals.
The following changes indicate a need to inspect and service your
vehicle:
²Changes in steering action.
²Hard steering.
²Excessive free play.
²Unusual sounds when turning or parking.
Driving
124
Page 134 of 240
These transmissions have no P (Park) position. Before leaving
the driver's seat, always shift into N (Neutral) and set the
parking brake. Shut the engine off and remove your ignition key.
Always use wheel chocks for hilly or off-road parking. Unexpected and
possibly sudden vehicle movement may occur if these precautions are
not taken.
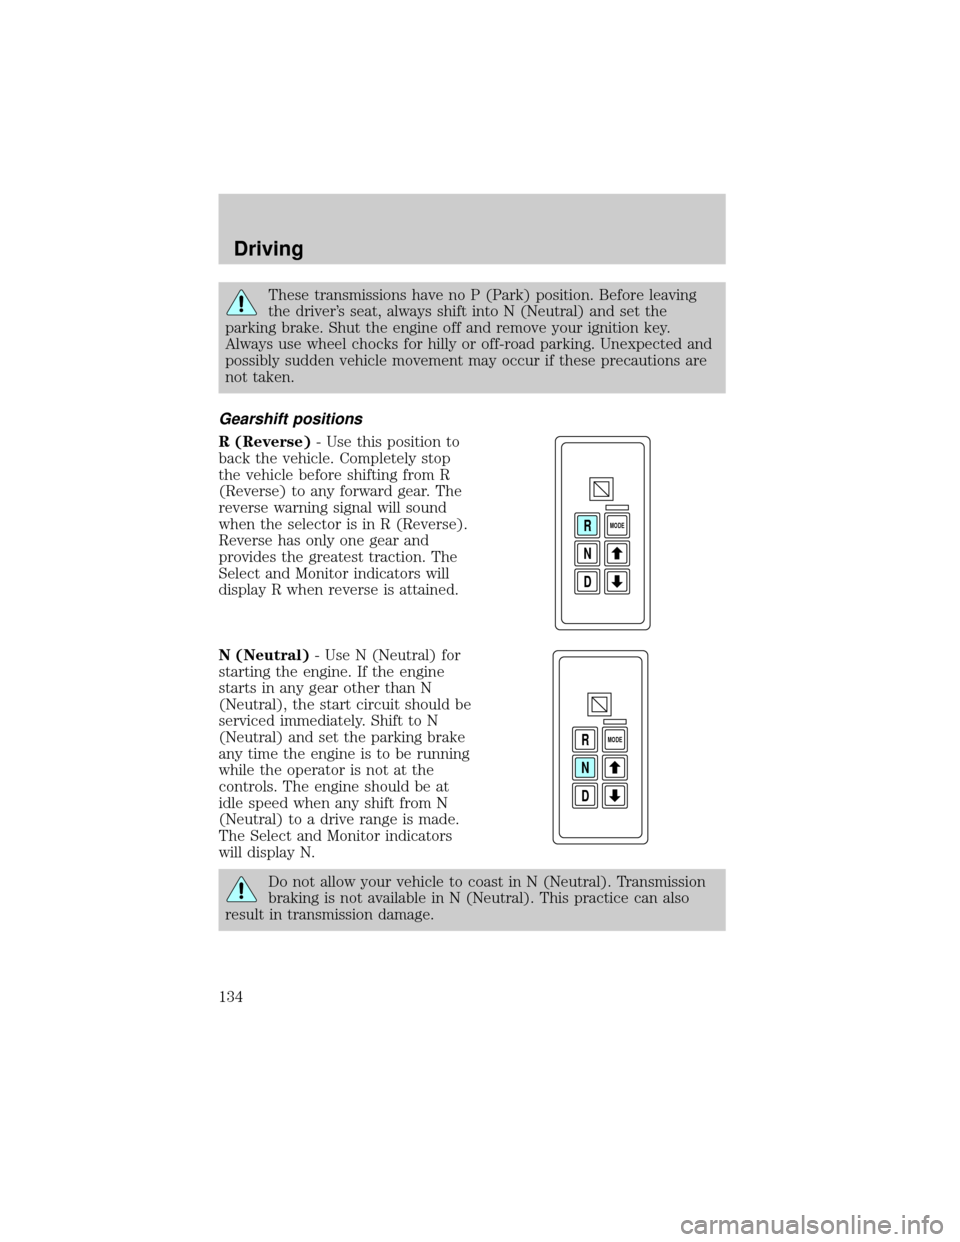
Gearshift positions
R (Reverse)- Use this position to
back the vehicle. Completely stop
the vehicle before shifting from R
(Reverse) to any forward gear. The
reverse warning signal will sound
when the selector is in R (Reverse).
Reverse has only one gear and
provides the greatest traction. The
Select and Monitor indicators will
display R when reverse is attained.
N (Neutral)- Use N (Neutral) for
starting the engine. If the engine
starts in any gear other than N
(Neutral), the start circuit should be
serviced immediately. Shift to N
(Neutral) and set the parking brake
any time the engine is to be running
while the operator is not at the
controls. The engine should be at
idle speed when any shift from N
(Neutral) to a drive range is made.
The Select and Monitor indicators
will display N.
Do not allow your vehicle to coast in N (Neutral). Transmission
braking is not available in N (Neutral). This practice can also
result in transmission damage.
D N R
MODE
D N R
MODE
Driving
134
Page 139 of 240
PTO operation with vehicle stationary
To operate the power take-off, stop the vehicle, idle the engine and set
the parking brake. Make sure the gear selector is in any forward drive
range, then engage the PTO. After the PTO is engaged for stationary
vehicle operation, move the range selector to N (Neutral). Increase the
engine speed until the desired power take-off operation speed is
obtained. To disengage the PTO after operation with the vehicle
standing, release the throttle, allow the drive equipment to come to a
stop, and then disengage the PTO.
When the PTO is operated with the vehicle stationary, the
transmission must be placed in N (Neutral). If the transmission
is not in N (Neutral) and is equipped with a remote throttle control, an
increase in engine speed can overpower the parking brake and cause
the vehicle to move, possibly resulting in personal and/or property
damage.
PTO operation while vehicle is moving
After the PTO is engaged for driven vehicle operation, shift to the desired
range and drive the vehicle. The speed of the PTO, during this period of
operation, will always maintain direct relation to vehicle speed. PTO speed
will decrease in relation to vehicle (transmission output) speed as shifts to
a higher gear occur. When operating the PTO while the vehicle is moving,
the PTO may be disengaged whenever it is no longer required. When there
is no load on the PTO gear, it can be pulled out of engagement.
Power take-off (PTO) operation with an Allison automatic
transmission (MD applications)
The PTO drive gear is engine driven and provides direct engine power. The
PTO can be operated when the vehicle is either stationary or moving.
The PTO gear is in constant mesh with the drive gear in the torque
converter housing. A friction clutch or constant drive is used to transmit
power to the PTO.
Power take-off (PTO) operation on vehicles equipped with a
Caterpillar 3126E engine
If your vehicle is equipped with a Caterpillar 3126E engine, the PTO will
only operate if the vehicle is in Neutral. This feature can be overriden by
a special service tool; see your dealer or service representative for more
information.
Driving
139