Page 13 of 240
High beams
Illuminates when the high beam
headlamps are turned on.
Anti-lock brake system (ABS)
Momentarily illuminates when the
ignition is turned to the ON position
and the engine is off. If the light
remains on after the vehicle is
started, continues to flash or fails to
illuminate, have the system serviced immediately. With the ABS light on,
the anti-lock brake system is disabled and normal braking is still effective
unless the brake warning light also remains illuminated.
Wait to start
Indicates the air intake heater is in
operation and special starting
procedures are required. Refer to
theStartingchapter.
If equipped with an air intake heater, DO NOT use ether or any
other starting fluids. The use of starting fluids (ether) in an
engine equipped with an air intake heater could result in damage
and/or personal injury.
ABS
WAIT
TO
START
Instrumentation
13
Page 22 of 240
Foglamp control (if equipped)
The headlamp control also operates
the foglamps. The foglamps can be
turned on only when the headlamp
control is in the
position and
the high beams are not turned on.
Pull headlamp control towards you
to turn foglamps on. The foglamp
indicator light
will illuminate.
AUXILIARY POWER POINT
The auxiliary power point is located
on the instrument panel.
Do not plug optional electrical
accessories into the cigarette lighter.
Use the power point.
CLIMATE CONTROL SYSTEM
Heater only system (if equipped)
Fan speed control
Controls the volume of air circulated
in the vehicle.
POWER POINT
OFF
Controls and features
22
Page 23 of 240

Temperature control
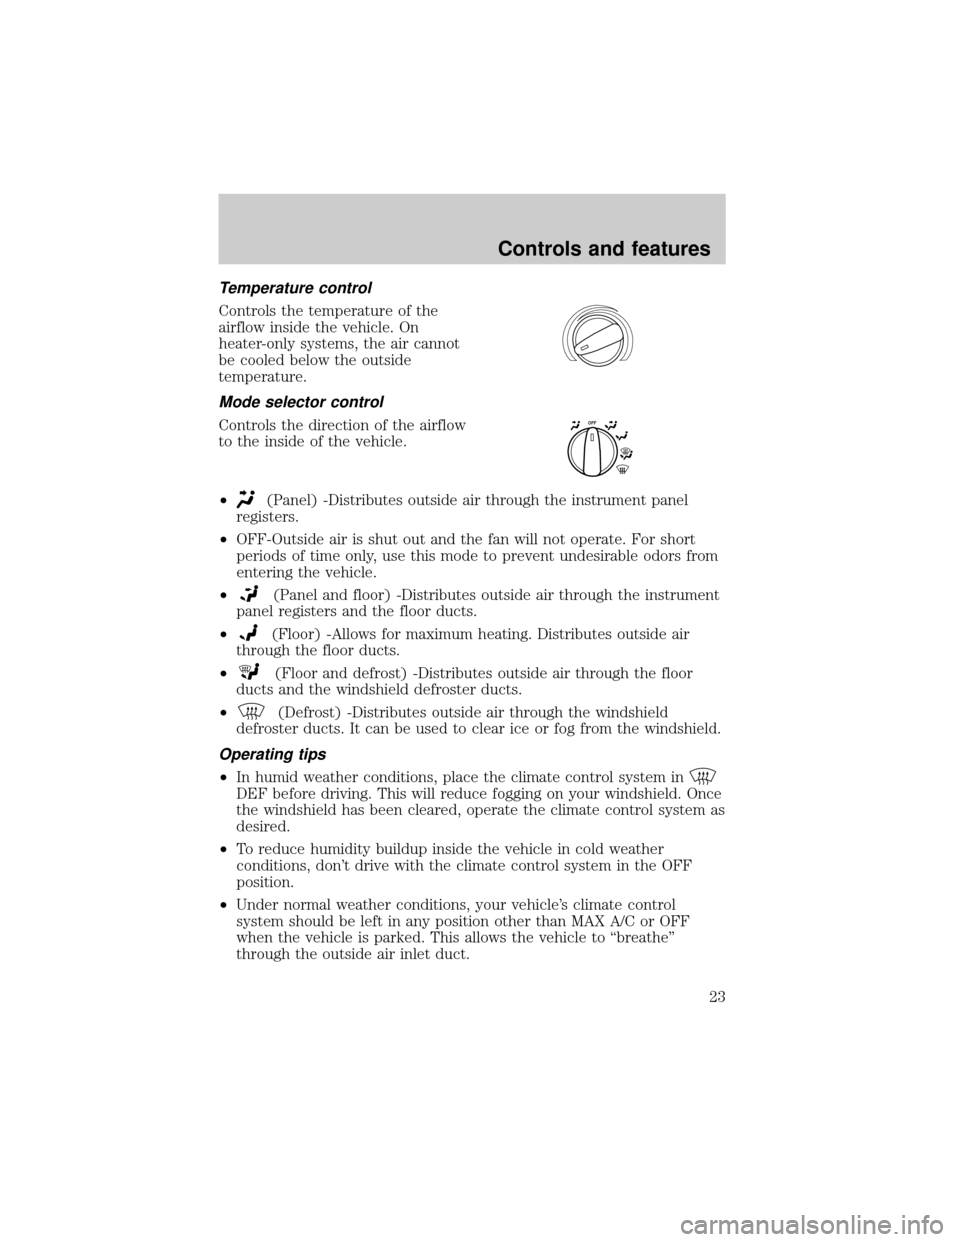
Controls the temperature of the
airflow inside the vehicle. On
heater-only systems, the air cannot
be cooled below the outside
temperature.
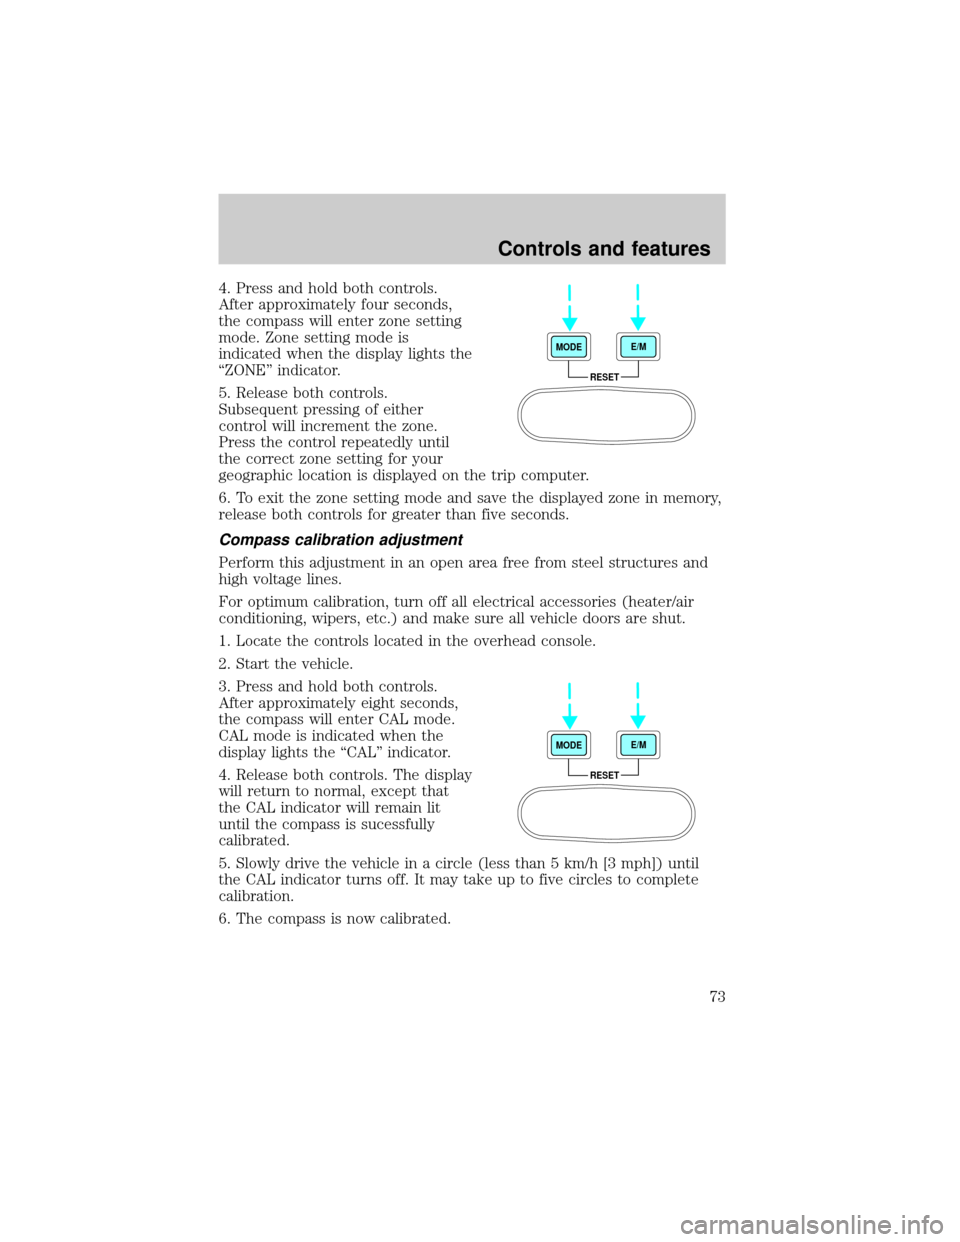
Mode selector control
Controls the direction of the airflow
to the inside of the vehicle.
²
(Panel) -Distributes outside air through the instrument panel
registers.
²OFF-Outside air is shut out and the fan will not operate. For short
periods of time only, use this mode to prevent undesirable odors from
entering the vehicle.
²
(Panel and floor) -Distributes outside air through the instrument
panel registers and the floor ducts.
²
(Floor) -Allows for maximum heating. Distributes outside air
through the floor ducts.
²
(Floor and defrost) -Distributes outside air through the floor
ducts and the windshield defroster ducts.
²
(Defrost) -Distributes outside air through the windshield
defroster ducts. It can be used to clear ice or fog from the windshield.
Operating tips
²In humid weather conditions, place the climate control system in
DEF before driving. This will reduce fogging on your windshield. Once
the windshield has been cleared, operate the climate control system as
desired.
²To reduce humidity buildup inside the vehicle in cold weather
conditions, don't drive with the climate control system in the OFF
position.
²Under normal weather conditions, your vehicle's climate control
system should be left in any position other than MAX A/C or OFF
when the vehicle is parked. This allows the vehicle to ªbreatheº
through the outside air inlet duct.
OFF
Controls and features
23
Page 73 of 240

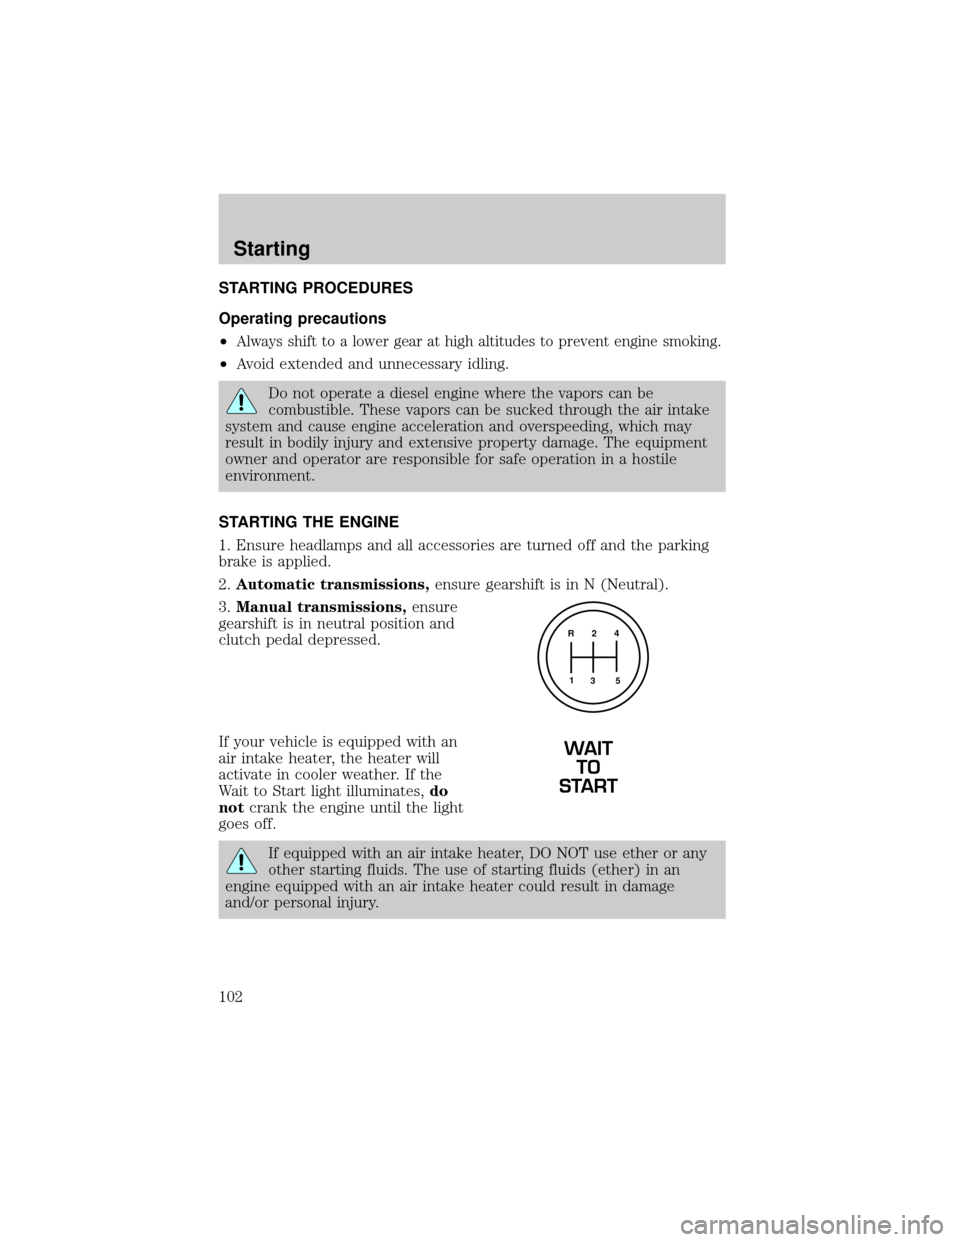
4. Press and hold both controls.
After approximately four seconds,
the compass will enter zone setting
mode. Zone setting mode is
indicated when the display lights the
ªZONEº indicator.
5. Release both controls.
Subsequent pressing of either
control will increment the zone.
Press the control repeatedly until
the correct zone setting for your
geographic location is displayed on the trip computer.
6. To exit the zone setting mode and save the displayed zone in memory,
release both controls for greater than five seconds.
Compass calibration adjustment
Perform this adjustment in an open area free from steel structures and
high voltage lines.
For optimum calibration, turn off all electrical accessories (heater/air
conditioning, wipers, etc.) and make sure all vehicle doors are shut.
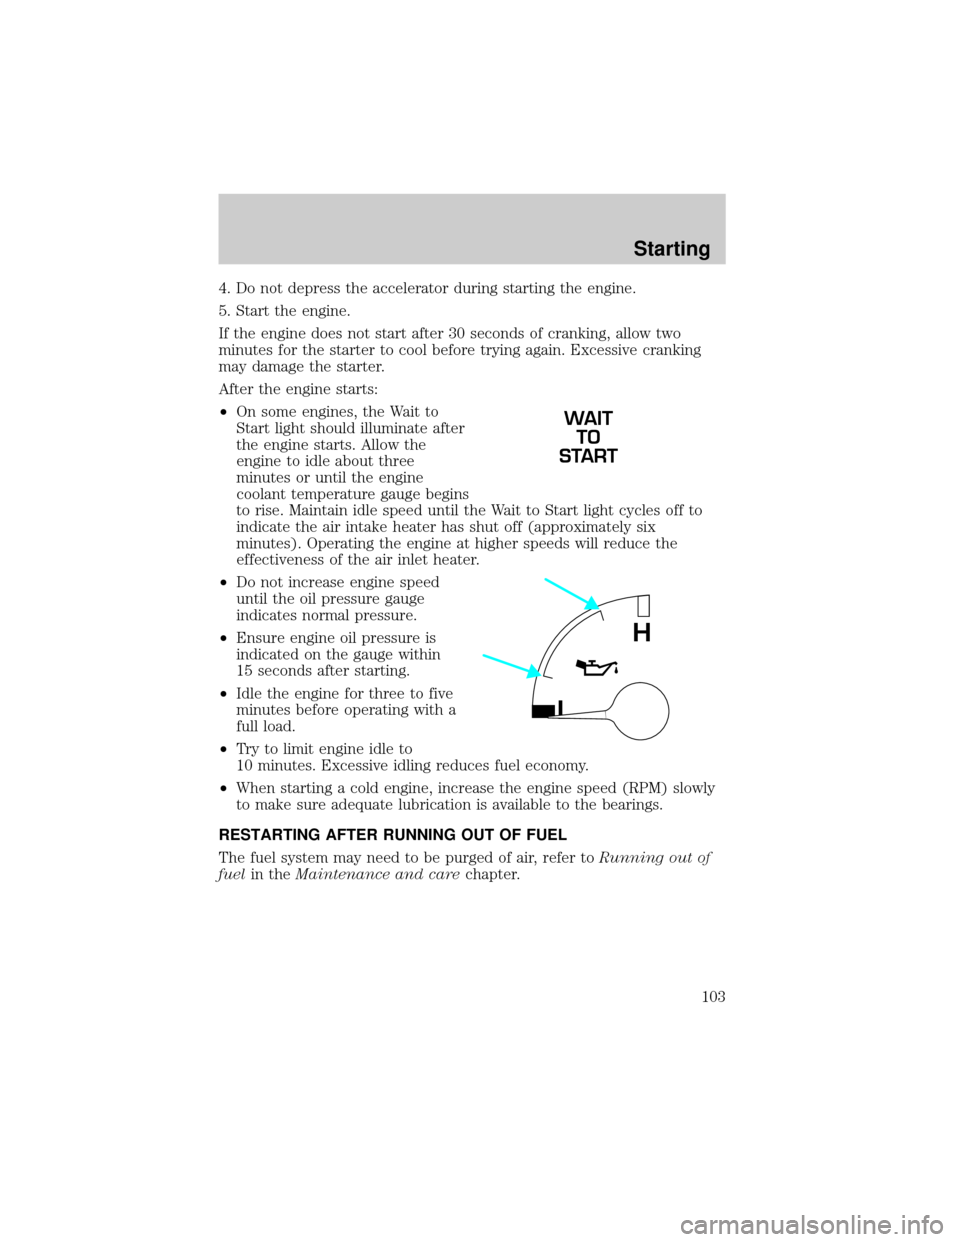
1. Locate the controls located in the overhead console.
2. Start the vehicle.
3. Press and hold both controls.
After approximately eight seconds,
the compass will enter CAL mode.
CAL mode is indicated when the
display lights the ªCALº indicator.
4. Release both controls. The display
will return to normal, except that
the CAL indicator will remain lit
until the compass is sucessfully
calibrated.
5. Slowly drive the vehicle in a circle (less than 5 km/h [3 mph]) until
the CAL indicator turns off. It may take up to five circles to complete
calibration.
6. The compass is now calibrated.
RESET MODEE/M
RESET MODEE/M
Controls and features
73
Page 102 of 240

STARTING PROCEDURES
Operating precautions
²
Always shift to a lower gear at high altitudes to prevent engine smoking.
²Avoid extended and unnecessary idling.
Do not operate a diesel engine where the vapors can be
combustible. These vapors can be sucked through the air intake
system and cause engine acceleration and overspeeding, which may
result in bodily injury and extensive property damage. The equipment
owner and operator are responsible for safe operation in a hostile
environment.
STARTING THE ENGINE
1. Ensure headlamps and all accessories are turned off and the parking
brake is applied.
2.Automatic transmissions,ensure gearshift is in N (Neutral).
3.Manual transmissions,ensure
gearshift is in neutral position and
clutch pedal depressed.
If your vehicle is equipped with an
air intake heater, the heater will
activate in cooler weather. If the
Wait to Start light illuminates,do
notcrank the engine until the light
goes off.
If equipped with an air intake heater, DO NOT use ether or any
other starting fluids. The use of starting fluids (ether) in an
engine equipped with an air intake heater could result in damage
and/or personal injury.
R 2 4
3 5 1
WAIT
TO
START
Starting
102
Page 103 of 240

4. Do not depress the accelerator during starting the engine.
5. Start the engine.
If the engine does not start after 30 seconds of cranking, allow two
minutes for the starter to cool before trying again. Excessive cranking
may damage the starter.
After the engine starts:
²On some engines, the Wait to
Start light should illuminate after
the engine starts. Allow the
engine to idle about three
minutes or until the engine
coolant temperature gauge begins
to rise. Maintain idle speed until the Wait to Start light cycles off to
indicate the air intake heater has shut off (approximately six
minutes). Operating the engine at higher speeds will reduce the
effectiveness of the air inlet heater.
²Do not increase engine speed
until the oil pressure gauge
indicates normal pressure.
²Ensure engine oil pressure is
indicated on the gauge within
15 seconds after starting.
²Idle the engine for three to five
minutes before operating with a
full load.
²Try to limit engine idle to
10 minutes. Excessive idling reduces fuel economy.
²When starting a cold engine, increase the engine speed (RPM) slowly
to make sure adequate lubrication is available to the bearings.
RESTARTING AFTER RUNNING OUT OF FUEL
The fuel system may need to be purged of air, refer toRunning out of
fuelin theMaintenance and carechapter.
WAIT
TO
START
L
H
Starting
103
Page 105 of 240

COLD WEATHER STARTING
Perform the following to assure efficient starting in cold weather:
²Use the proper grade oil for your climate. Refer to your engine
operator's manual for proper grade oil.
²Test the battery more frequently to assure ample power for starting.
²All electrical connections should be tight and in good condition to
prevent losses through loose or corroded connections.
USING THE ENGINE BLOCK HEATER (IF EQUIPPED)
An engine block heater warms the engine coolant, which improves
starting, warms up the engine faster and allows the heater-defroster
system to respond quickly. Use of an engine block heater is strongly
recommended if you live in a region where temperatures reach -23ÉC
(-10ÉF) or below.
For best results, plug the heater in at least three hours before starting
the vehicle. Using the heater for longer than three hours will not harm
the engine, so the heater can be plugged in the night before starting the
vehicle.
To prevent electrical shock, do not use your heater with
ungrounded electrical systems or two-pronged (cheater) adapters.
ENGINE SHUTDOWN SYSTEM (IF EQUIPPED)
This system is designed to help prevent engine damage that could result
from operating the engine during a prolonged period of low engine oil
pressure, high engine coolant temperature or low coolant level. If any of
these conditions occur, a warning light will illuminate and a chime will
sound warning the operator that the engine will shutdown in 30 seconds.
This is to allow time for the operator to move the vehicle off the road. If
additional time is required, the engine can be restarted and run each
time for approximately 30 seconds.
Do not attempt to use this restarting feature to drive the vehicle, serious
engine damage could result.
Starting
105
Page 147 of 240
Fuse/Relay
LocationFuse Amp
RatingPassenger Compartment Fuse
Panel Description
23 10A Electronic Flasher
24 15A Vacuum Pump, Air Dryer, ABS,
Fuel Heater Relay
25 10A Blower Motor Relay
26 10A Right Low Beam Headlamp
27 Ð Not Used
28 10A Left Low Beam Headlamp
29 10A Cluster, GEM, 7.3L Power Stroke
PCM (clutch switch input), APCM
(7.3L Power Stroke only),
Overhead Console (SuperCrewzer
only), Keyless Entry Module
(SuperCrewzer only), Traxx
(Fuel) Module (SuperCrewzer
only)
30 30A 7.3L Power Stroke PCM Diode,
7.3L Power Stroke Fuel Heater
31 15A Allison MD Transmission, Neutral
Start Relay and PCM (7.3L Power
Stroke only)
Relay 1 Ð Interior Lamps
Relay 2 Ð Not Used
Relay 3 Ð Horn
Relay 4 Ð One Touch Down
Relay 5 Ð Not Used
Roadside emergencies
147