2000 YAMAHA XVZ1300TF trunk
[x] Cancel search: trunkPage 12 of 121
DESCRIPTION
2-2
2
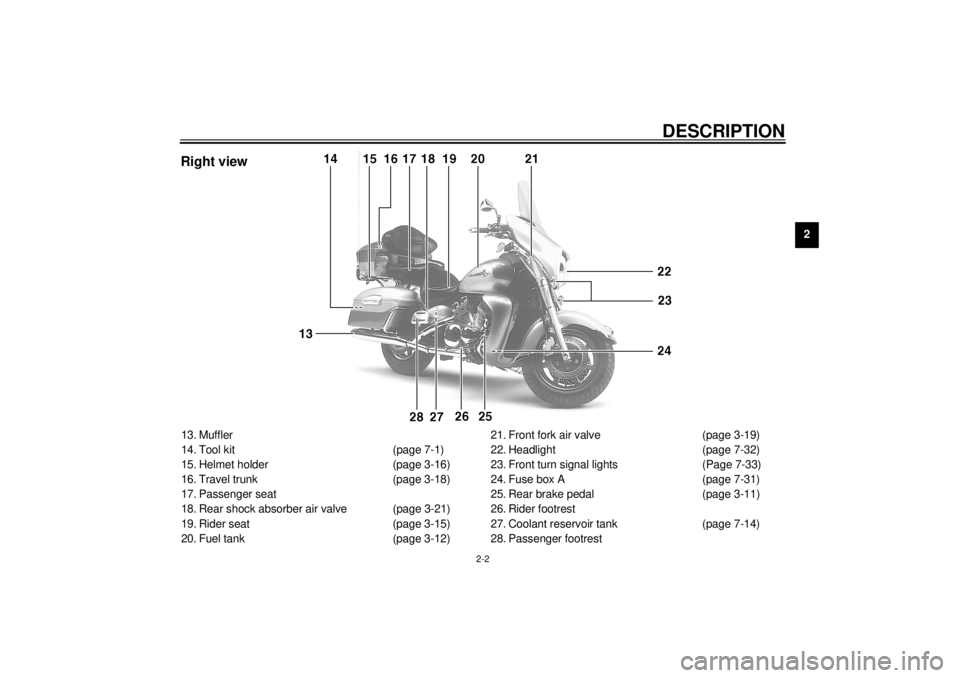
13. Muffler
14. Tool kit (page 7-1)
15. Helmet holder (page 3-16)
16. Travel trunk (page 3-18)
17. Passenger seat
18. Rear shock absorber air valve (page 3-21)
19. Rider seat (page 3-15)
20. Fuel tank (page 3-12)21. Front fork air valve (page 3-19)
22. Headlight (page 7-32)
23. Front turn signal lights (Page 7-33)
24. Fuse box A (page 7-31)
25. Rear brake pedal (page 3-11)
26. Rider footrest
27. Coolant reservoir tank (page 7-14)
28. Passenger footrestRight view
E_5jc_Description.fm Page 2 Saturday, October 16, 1999 1:07 PM
Page 14 of 121
3
INSTRUMENT AND CONTROL FUNCTIONS
Main switch/steering lock ...................................... 3-1
Indicator lights ...................................................... 3-3
Speedometer ........................................................ 3-5
Cruise control system ........................................... 3-7
Antitheft alarm (optional) ...................................... 3-8
Fuel gauge ............................................................ 3-9
Handlebar switches .............................................. 3-9
Clutch lever ......................................................... 3-10
Shift pedal ........................................................... 3-11
Front brake lever ................................................. 3-11
Rear brake pedal ................................................ 3-11
Fuel tank cap ...................................................... 3-12Fuel .................................................................... 3-13
Fuel tank breather hose ..................................... 3-13
Fuel cock ............................................................ 3-14
Starter (choke) knob .......................................... 3-15
Rider seat........................................................... 3-15
Helmet holders ................................................... 3-16
Saddlebags and travel trunk .............................. 3-17
Front fork adjustment ......................................... 3-19
Rear shock absorber adjustment ....................... 3-21
Sidestand ........................................................... 3-21
Sidestand/clutch switch operation check............ 3-22
Auxiliary DC jack and terminal ........................... 3-23
E_5jc_FunctionsTOC.fm Page 1 Saturday, October 16, 1999 1:07 PM
Page 31 of 121
INSTRUMENT AND CONTROL FUNCTIONS
3-17
3
EAU01866
Saddlebags and travel trunk
EWA00021
WARNING
@ l
Always be sure to close and
lock the saddlebags and travel
trunk securely before operating
the motorcycle.
l
Distribute weight evenly on
each side of the motorcycle.
l
Never exceed the maximum
loading limit of 9 kg in each sad-
dlebag and the travel trunk. Im-
proper loading or overloading
can cause vehicle handling
problems leading to an accident
or personal injury.
l
Read the Owner’s manual for
important loading and tire pres-
sure information.
l
Total weight of rider, passen-
ger, accessories and cargo
must not exceed the motorcycle
load capacity shown in the
Owner’s Manual.
l
Never ride above 120 km/h with
travel trunk and/or saddlebags
because handling could be af-
fected. This maximum speed
may be reduced by such factors
as improper loading, poor tire
or overall motorcycle condi-
tions, poor road surfaces or ad-
verse weather conditions.
@
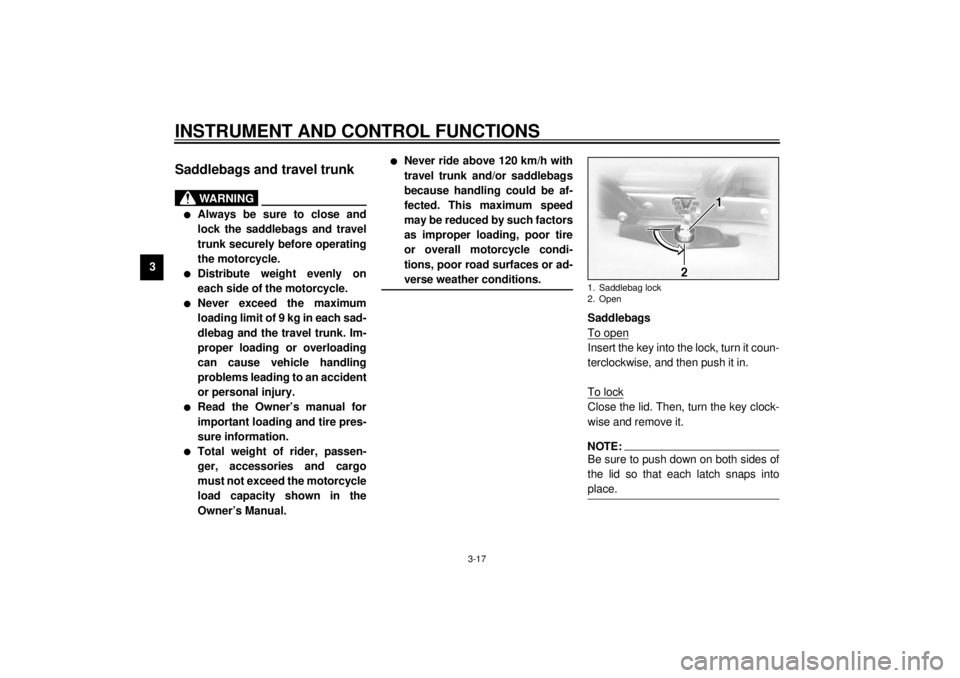
Saddlebags
To openInsert the key into the lock, turn it coun-
terclockwise, and then push it in.
To lockClose the lid. Then, turn the key clock-
wise and remove it.NOTE:@ Be sure to push down on both sides of
the lid so that each latch snaps into
place. @1. Saddlebag lock
2. Open
E_5jc_Functions.fm Page 17 Saturday, October 16, 1999 1:08 PM
Page 32 of 121

INSTRUMENT AND CONTROL FUNCTIONS
3-18
3
Travel trunk
To open
1. Insert the key into the lock, turn it
counterclockwise, and then push it
in.2. Lift up the lid so that it will rest in
place as shown when it is re-
leased.
ECA00029
CAUTION:@ Do not apply excessive pressure on
the travel trunk lid when it is open. @
1. Storage compartment
2. Storage pouch
1. Travel trunk lock
2. Open
1. Lid resting in opened position
2. Storage pouch
E_5jc_Functions.fm Page 18 Saturday, October 16, 1999 1:08 PM
Page 33 of 121

INSTRUMENT AND CONTROL FUNCTIONS
3-19
3
To lock
1. Lift up the lid completely, and then
close it.
NOTE:@ Be sure to push down on both sides of
the lid so that each latch snaps into
place. @2. Turn the key clockwise and re-
move it.
ECA00030
CAUTION:@ Be sure not to lock the key inside ei-
ther saddlebag or the travel trunk. @
EAU01878*
Front fork adjustmentThis front fork is equipped with a spring
preload adjuster.
EW000035
WARNING
@ Always adjust each fork leg to the
same setting. Uneven adjustment
can cause poor handling and loss of
stability. @Adjust spring preload as follows.
1. Put the motorcycle on the side-
stand.NOTE:@ There should be no weight on the
motorcycle when performing this job. @
E_5jc_Functions.fm Page 19 Saturday, October 16, 1999 1:08 PM
Page 54 of 121
AUDIO SYSTEM
4-16
4
CD changer (optional)
operation
WARNING
@ l
It is dangerous to operate the
CD changer while riding. Never
take your hands off the handle-
bars while riding.
l
Keep the volume at a low
enough level to be aware of traf-
fic conditions and ensure safe-
ty.
@An optional 6-disc CD changer can be
mounted in the travel trunk. Ask a
Yamaha dealer to install the genuine
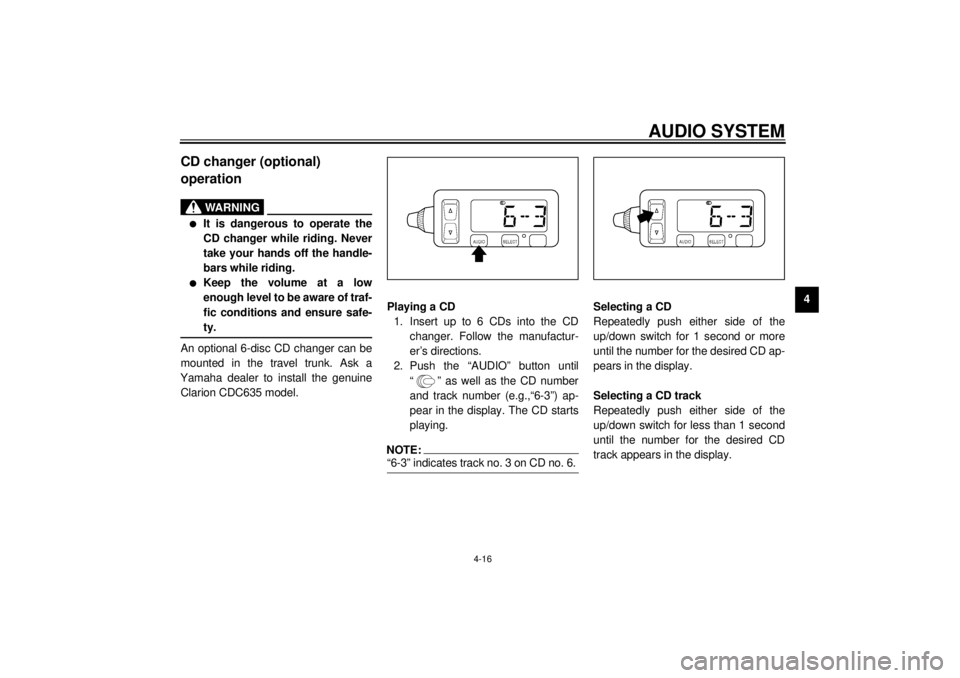
Clarion CDC635 model.Playing a CD
1. Insert up to 6 CDs into the CD
changer. Follow the manufactur-
er’s directions.
2. Push the “AUDIO” button until
“ ” as well as the CD number
and track number (e.g.,“6-3”) ap-
pear in the display. The CD starts
playing.
NOTE:@ “6-3” indicates track no. 3 on CD no. 6. @
Selecting a CD
Repeatedly push either side of the
up/down switch for 1 second or more
until the number for the desired CD ap-
pears in the display.
Selecting a CD track
Repeatedly push either side of the
up/down switch for less than 1 second
until the number for the desired CD
track appears in the display.
E_5jc_Audio.fm Page 16 Saturday, October 16, 1999 1:09 PM
Page 106 of 121

MOTORCYCLE CARE AND STORAGE
8-2
8
ECA00036
CAUTION:@ l
Avoid using strong acidic wheel
cleaners, especially on spoked
wheels. If you do use such
products for hard-to-remove
dirt, do not leave it on any long-
er than instructed, then thor-
oughly rinse it off with water,
immediately dry the area and
apply a corrosion protection
spray.
l
Improper cleaning can damage
windshields, cowlings, panels
and other plastic parts. Use
only a soft, clean cloth or
sponge with mild detergent and
water to clean plastic.
l
Do not use any harsh chemical
products on plastic parts. Be
sure to avoid using cloths or
sponges which have been in
contact with strong or abrasive
cleaning products, solvent or
thinner, fuel (gasoline), rust re-
movers or inhibitors, brake flu-
id, antifreeze or electrolyte.
l
Do not use high-pressure wash-
ers or steam-jet cleaners since
they cause water seepage and
deterioration in the following ar-
eas: seals (of wheel bearings,
swingarm bearings, forks and
brakes), electric components
(couplers, connectors, instru-
ments, switches, lights, audio
system and speakers), saddle-
bags, travel trunk, breather hos-
es and vents.
l
For motorcycles equipped with
a windshield: Do not use strong
cleaners or hard sponges as
they will cause dulling or
scratching. Some cleaning
compounds for plastic may
leave scratches on the wind-
shield. Test the product on a
small hidden part of the wind-
shield to make sure they do not
leave any marks. If the wind-
shield is scratched, use a quali-
ty plastic polishing compound
after washing.
@
E_5jc_Cleaning.fm Page 2 Saturday, October 16, 1999 1:12 PM
Page 120 of 121
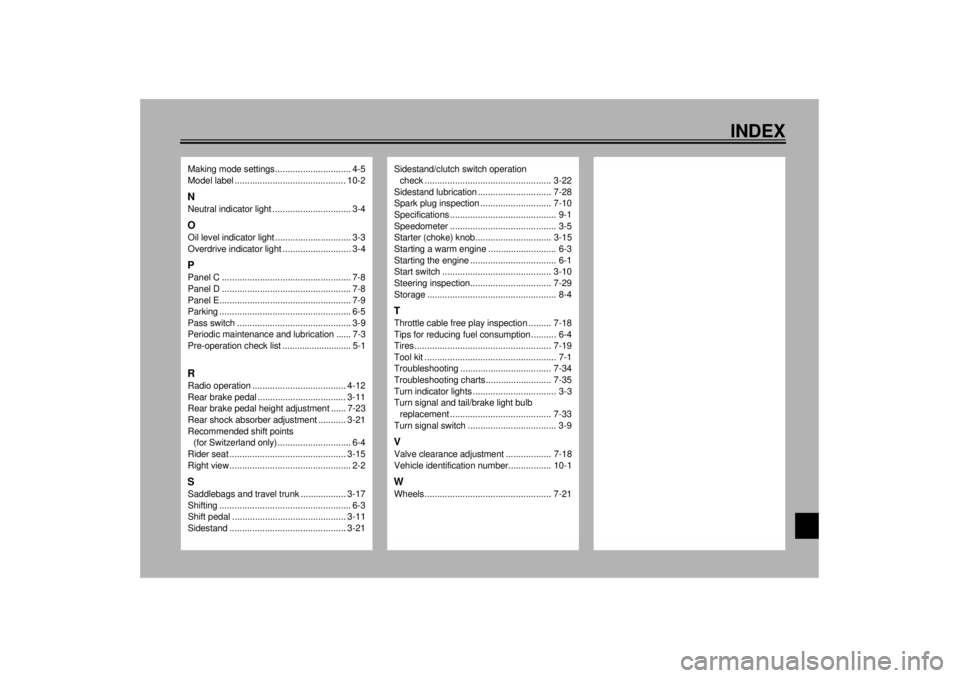
INDEX
Making mode settings.............................. 4-5
Model label ............................................ 10-2NNeutral indicator light ............................... 3-4OOil level indicator light .............................. 3-3
Overdrive indicator light ........................... 3-4PPanel C ................................................... 7-8
Panel D ................................................... 7-8
Panel E.................................................... 7-9
Parking .................................................... 6-5
Pass switch ............................................. 3-9
Periodic maintenance and lubrication ...... 7-3
Pre-operation check list ............................ 5-1RRadio operation ..................................... 4-12
Rear brake pedal ................................... 3-11
Rear brake pedal height adjustment ...... 7-23
Rear shock absorber adjustment ........... 3-21
Recommended shift points
(for Switzerland only)............................. 6-4
Rider seat .............................................. 3-15
Right view................................................ 2-2SSaddlebags and travel trunk .................. 3-17
Shifting .................................................... 6-3
Shift pedal ............................................. 3-11
Sidestand .............................................. 3-21
Sidestand/clutch switch operation
check .................................................. 3-22
Sidestand lubrication ............................. 7-28
Spark plug inspection ............................ 7-10
Specifications .......................................... 9-1
Speedometer .......................................... 3-5
Starter (choke) knob.............................. 3-15
Starting a warm engine ........................... 6-3
Starting the engine .................................. 6-1
Start switch ........................................... 3-10
Steering inspection................................ 7-29
Storage ................................................... 8-4TThrottle cable free play inspection ......... 7-18
Tips for reducing fuel consumption .......... 6-4
Tires...................................................... 7-19
Tool kit .................................................... 7-1
Troubleshooting .................................... 7-34
Troubleshooting charts .......................... 7-35
Turn indicator lights ................................. 3-3
Turn signal and tail/brake light bulb
replacement ........................................ 7-33
Turn signal switch ................................... 3-9VValve clearance adjustment .................. 7-18
Vehicle identification number................. 10-1WWheels .................................................. 7-21
E_5jcIX.fm Page 2 Saturday, October 16, 1999 1:12 PM