Page 19 of 121

INSTRUMENT AND CONTROL FUNCTIONS
3-5
3
EAU01775*
SpeedometerThis speedometer is equipped with:l
an odometer
l
two trip odometers
l
a fuel reserve trip meter
l
a clockOdometer and trip meter modes
Use the trip meters to estimate how far
you can ride on a tank of fuel.
Use the fuel reserve trip meter to see
the distance traveled from when the
fuel level dropped to the reserve level.
Selecting a mode
Push the “SELECT” button to change
between the odometer mode “ODO”
and the trip odometer modes “TRIP 1”
and “TRIP 2” in the following order:
“ODO”
® “TRIP 1”
® “TRIP 2”
®
“ODO”
If the fuel level indicator light comes on
(see page 3-4), the odometer display
will automatically change to the fuel re-
serve trip meter mode “TRIP F” and
start counting the distance traveled
from that point. Push the “SELECT”
button to change between the fuel re-
serve trip meter, trip odometers and
odometer modes in the following order:
“TRIP F”
® “TRIP 1”
® “TRIP 2”
®
“ODO”
® “TRIP F”Resetting a meter
To reset a trip odometer to 0.0, select it
by pushing the “SELECT” button and
push the “RESET” button. To reset the
fuel reserve trip meter, select it by
pushing the “SELECT” button and
push the “RESET” button. The display
will return to “TRIP 1”. If you do not re-
set the fuel reserve trip meter manual-
ly, it will automatically reset and return
to “TRIP 1” after refueling and traveling
5 km.NOTE:@ After resetting the fuel reserve trip
meter, the display always returns to the
“TRIP 1” mode, unless a different mode
had been previously selected; in that
case, the display automatically returns
to the prior mode. @
1. Speedometer
2. Odometer/tripmeter/clock
3. “RESET” button
4. “SELECT” buttonE_5jc_Functions.fm Page 5 Saturday, October 16, 1999 1:08 PM
Page 20 of 121
INSTRUMENT AND CONTROL FUNCTIONS
3-6
3 Clock mode
To change the display to the clock
mode, push the “SELECT” button for at
least two seconds.
To change the display back to the
odometer modes, push the “SELECT”
button.
To set the clock
1. Push both the “SELECT” and
“RESET” buttons for at least two
seconds.
2. When the hour digits start flashing,
push the “RESET” button to set
the hours.
3. Push the “SELECT” button and
the minute digits will start flashing.
4. Push the “RESET” button to set
the minutes.
5. Push the “SELECT” button to start
the clock.
NOTE:@ After setting the clock, be sure to push
the “SELECT” button before turning the
main switch to “OFF”, otherwise the
clock will not be set. @
E_5jc_Functions.fm Page 6 Saturday, October 16, 1999 1:08 PM
Page 42 of 121

AUDIO SYSTEM
4-4
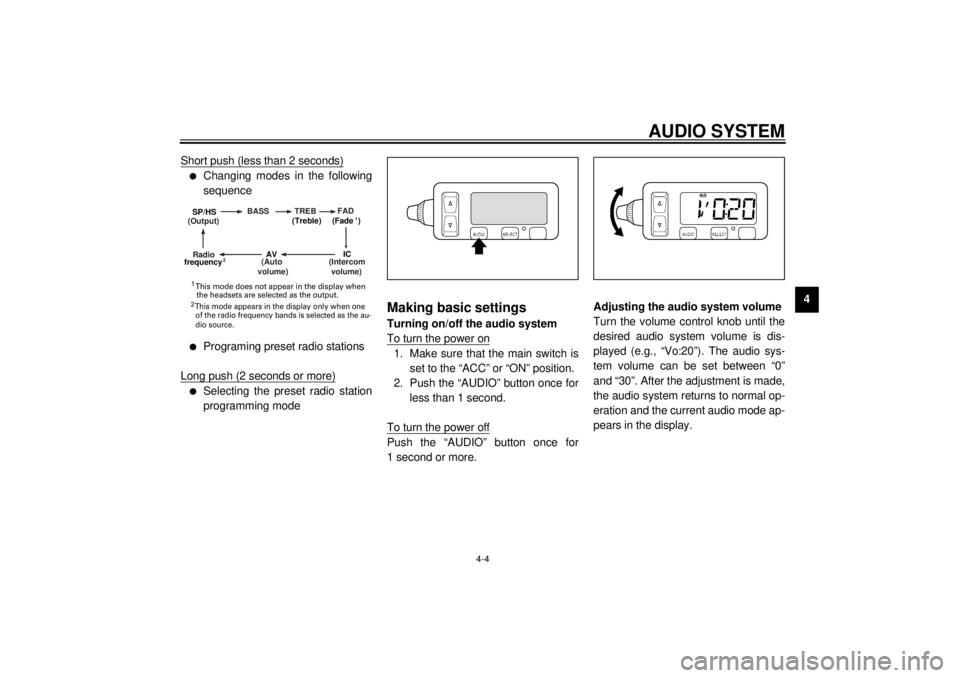
4 Short push (less than 2 seconds)
l
Changing modes in the following
sequence
l
Programing preset radio stations
Long push (2 seconds or more)
l
Selecting the preset radio station
programming mode
Making basic settingsTurning on/off the audio system
To turn the power on1. Make sure that the main switch is
set to the “ACC” or “ON” position.
2. Push the “AUDIO” button once for
less than 1 second.
To turn the power offPush the “AUDIO” button once for
1 second or more.Adjusting the audio system volume
Turn the volume control knob until the
desired audio system volume is dis-
played (e.g., “Vo:20”). The audio sys-
tem volume can be set between “0”
and “30”. After the adjustment is made,
the audio system returns to normal op-
eration and the current audio mode ap-
pears in the display.
(Output)BASS TREBFAD
(Auto
volume)
(Intercom
volume)
Radio SP/HS
(Treble)
frequency(Fade )
1
2
IC
AV
1
2 This mode does not appear in the display when
the headsets are selected as the output. This mode appears in the display only when one
of the radio frequency bands is selected as the au-
dio source.
E_5jc_Audio.fm Page 4 Saturday, October 16, 1999 1:09 PM
Page 52 of 121

AUDIO SYSTEM
4-14
4
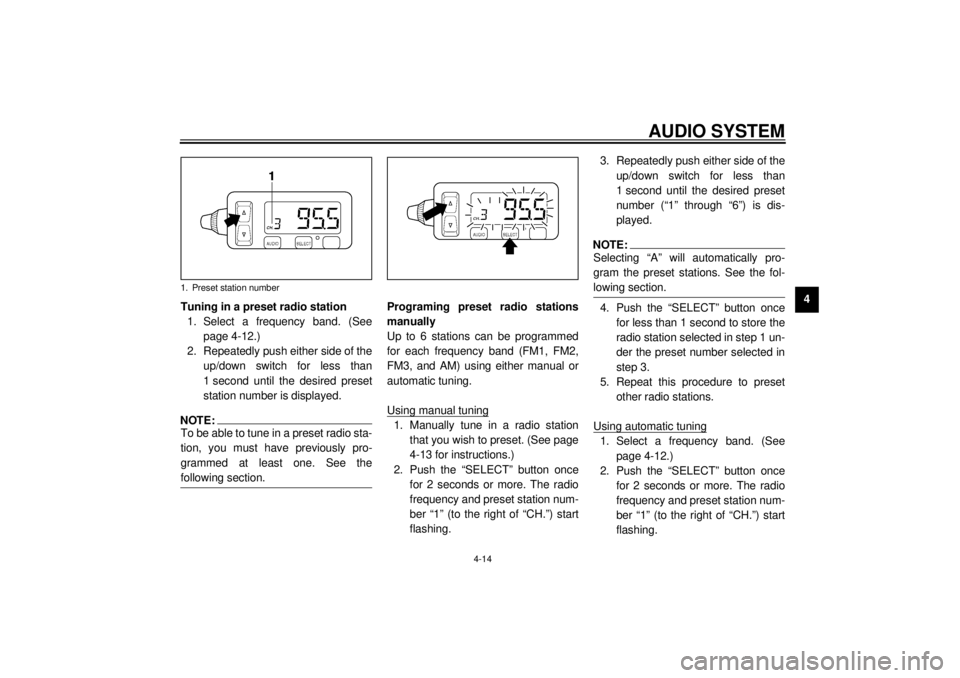
Tuning in a preset radio station
1. Select a frequency band. (See
page 4-12.)
2. Repeatedly push either side of the
up/down switch for less than
1 second until the desired preset
station number is displayed.
NOTE:@ To be able to tune in a preset radio sta-
tion, you must have previously pro-
grammed at least one. See the
following section. @
Programing preset radio stations
manually
Up to 6 stations can be programmed
for each frequency band (FM1, FM2,
FM3, and AM) using either manual or
automatic tuning.
Using manual tuning1. Manually tune in a radio station
that you wish to preset. (See page
4-13 for instructions.)
2. Push the “SELECT” button once
for 2 seconds or more. The radio
frequency and preset station num-
ber “1” (to the right of “CH.”) start
flashing.3. Repeatedly push either side of the
up/down switch for less than
1 second until the desired preset
number (“1” through “6”) is dis-
played.
NOTE:@ Selecting “A” will automatically pro-
gram the preset stations. See the fol-
lowing section. @4. Push the “SELECT” button once
for less than 1 second to store the
radio station selected in step 1 un-
der the preset number selected in
step 3.
5. Repeat this procedure to preset
other radio stations.
Using automatic tuning1. Select a frequency band. (See
page 4-12.)
2. Push the “SELECT” button once
for 2 seconds or more. The radio
frequency and preset station num-
ber “1” (to the right of “CH.”) start
flashing.
1. Preset station number
E_5jc_Audio.fm Page 14 Saturday, October 16, 1999 1:09 PM
Page 53 of 121

AUDIO SYSTEM
4-15
43. Push either side of the up/down
switch once for 1 second or more
to tune in a station automatically.
4. Repeatedly push either side of the
up/down switch for less than
1 second until the desired preset
number (“1” through “6”) is dis-
played.
5. Push the “SELECT” button once
for less than 1 second to store the
radio station selected in step 3 un-
der the preset number selected in
step 4.
6. Repeat this procedure to preset
other radio stations.Programing preset radio stations
automatically
Up to 6 stations can be programmed
automatically for each frequency band
(FM1, FM2, FM3, and AM) as follows.
NOTE:@ This function works best in areas with
strong radio signals. @1. Select a frequency band. (See
page 4-12.)
2. Push the “SELECT” button once
for 2 seconds or more. The radio
frequency and preset station num-
ber “1” (to the right of “CH.”) start
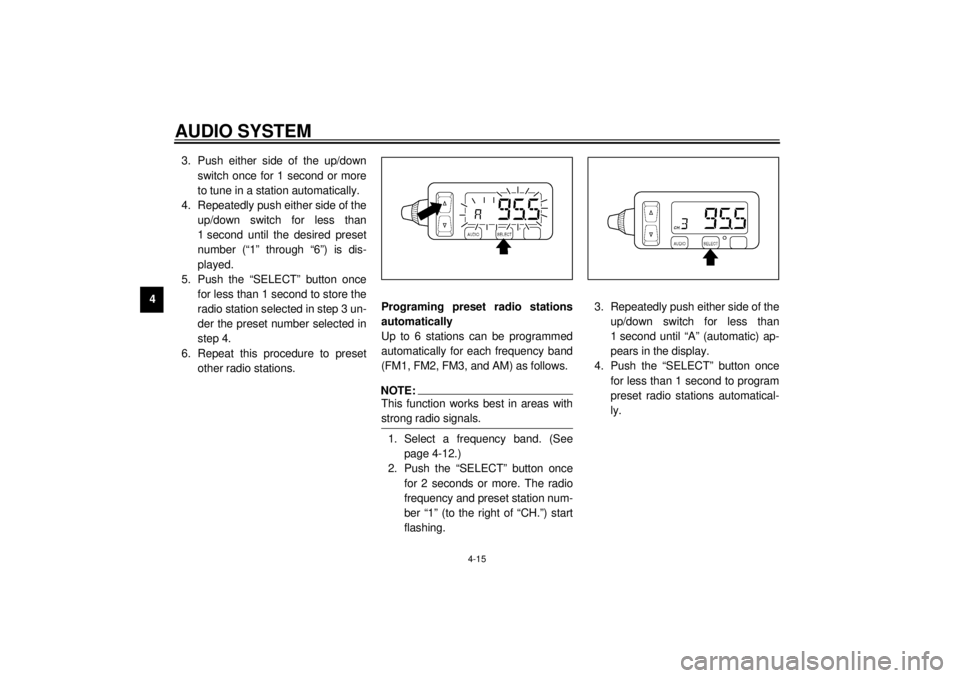
flashing.3. Repeatedly push either side of the
up/down switch for less than
1 second until “A” (automatic) ap-
pears in the display.
4. Push the “SELECT” button once
for less than 1 second to program
preset radio stations automatical-
ly.
E_5jc_Audio.fm Page 15 Saturday, October 16, 1999 1:09 PM