2000 YAMAHA XVZ1300TF radio
[x] Cancel search: radioPage 38 of 121
AUDIO SYSTEM
4
Location of parts ................................................................................ 4-1
Headsets (optional) ............................................................................ 4-2
Control unit ......................................................................................... 4-3
Making basic settings ......................................................................... 4-4
Making mode settings ........................................................................ 4-5
Cassette deck operation..................................................................... 4-8
Radio operation ................................................................................ 4-12
CD changer (optional) operation ...................................................... 4-16
Auxiliary audio source operation ...................................................... 4-17
E_5jc_AudioTOC.fm Page 1 Saturday, October 16, 1999 1:08 PM
Page 42 of 121
AUDIO SYSTEM
4-4
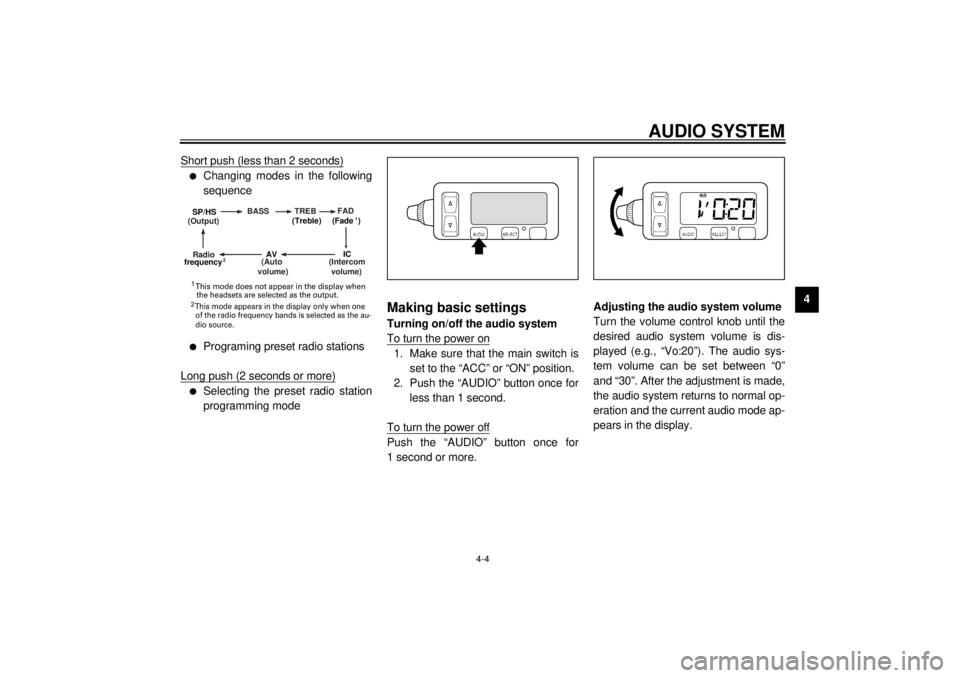
4 Short push (less than 2 seconds)
l
Changing modes in the following
sequence
l
Programing preset radio stations
Long push (2 seconds or more)
l
Selecting the preset radio station
programming mode
Making basic settingsTurning on/off the audio system
To turn the power on1. Make sure that the main switch is
set to the “ACC” or “ON” position.
2. Push the “AUDIO” button once for
less than 1 second.
To turn the power offPush the “AUDIO” button once for
1 second or more.Adjusting the audio system volume
Turn the volume control knob until the
desired audio system volume is dis-
played (e.g., “Vo:20”). The audio sys-
tem volume can be set between “0”
and “30”. After the adjustment is made,
the audio system returns to normal op-
eration and the current audio mode ap-
pears in the display.
(Output)BASS TREBFAD
(Auto
volume)
(Intercom
volume)
Radio SP/HS
(Treble)
frequency(Fade )
1
2
IC
AV
1
2 This mode does not appear in the display when
the headsets are selected as the output. This mode appears in the display only when one
of the radio frequency bands is selected as the au-
dio source.
E_5jc_Audio.fm Page 4 Saturday, October 16, 1999 1:09 PM
Page 43 of 121
AUDIO SYSTEM
4-5
4
Making mode settingsGeneral procedure
The following setting procedure applies
to the audio system and optional CD
changer.
1. Push the “AUDIO” button for less
than 1 second.
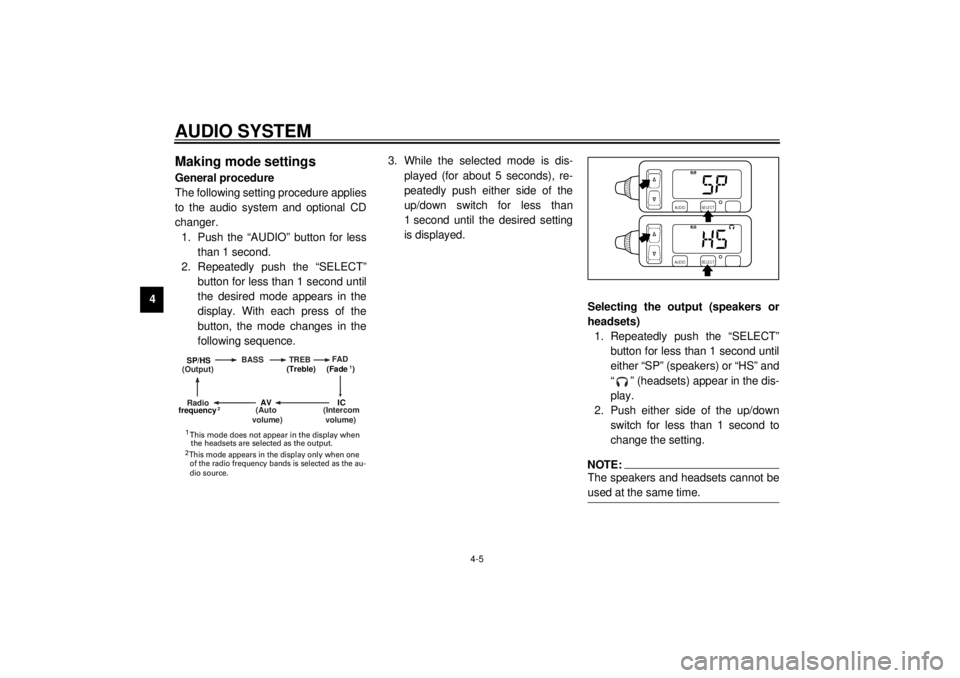
2. Repeatedly push the “SELECT”
button for less than 1 second until
the desired mode appears in the
display. With each press of the
button, the mode changes in the
following sequence.3. While the selected mode is dis-
played (for about 5 seconds), re-
peatedly push either side of the
up/down switch for less than
1 second until the desired setting
is displayed.
Selecting the output (speakers or
headsets)
1. Repeatedly push the “SELECT”
button for less than 1 second until
either “SP” (speakers) or “HS” and
“ ” (headsets) appear in the dis-
play.
2. Push either side of the up/down
switch for less than 1 second to
change the setting.
NOTE:@ The speakers and headsets cannot be
used at the same time. @
(Output)BASS TREBFAD
(Auto
volume)
(Intercom
volume)
Radio SP/HS
(Treble)
frequency(Fade )
1
2
IC
AV
1
2 This mode does not appear in the display when
the headsets are selected as the output. This mode appears in the display only when one
of the radio frequency bands is selected as the au-
dio source.
E_5jc_Audio.fm Page 5 Saturday, October 16, 1999 1:09 PM
Page 51 of 121
AUDIO SYSTEM
4-13
4
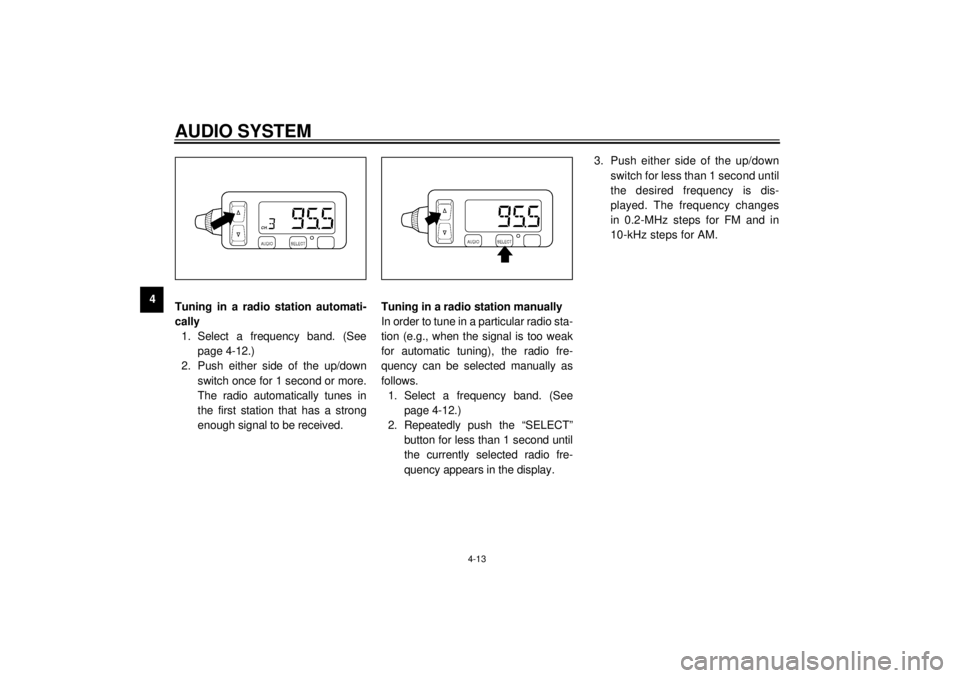
Tuning in a radio station automati-
cally
1. Select a frequency band. (See
page 4-12.)
2. Push either side of the up/down
switch once for 1 second or more.
The radio automatically tunes in
the first station that has a strong
enough signal to be received.Tuning in a radio station manually
In order to tune in a particular radio sta-
tion (e.g., when the signal is too weak
for automatic tuning), the radio fre-
quency can be selected manually as
follows.
1. Select a frequency band. (See
page 4-12.)
2. Repeatedly push the “SELECT”
button for less than 1 second until
the currently selected radio fre-
quency appears in the display.3. Push either side of the up/down
switch for less than 1 second until
the desired frequency is dis-
played. The frequency changes
in 0.2-MHz steps for FM and in
10-kHz steps for AM.
E_5jc_Audio.fm Page 13 Saturday, October 16, 1999 1:09 PM
Page 52 of 121
AUDIO SYSTEM
4-14
4
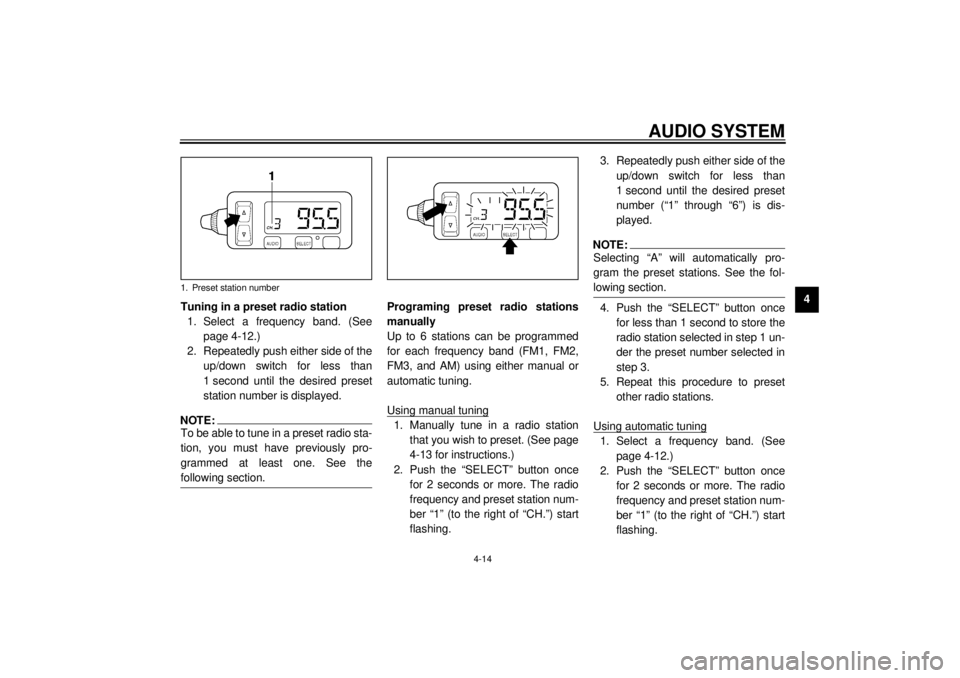
Tuning in a preset radio station
1. Select a frequency band. (See
page 4-12.)
2. Repeatedly push either side of the
up/down switch for less than
1 second until the desired preset
station number is displayed.
NOTE:@ To be able to tune in a preset radio sta-
tion, you must have previously pro-
grammed at least one. See the
following section. @
Programing preset radio stations
manually
Up to 6 stations can be programmed
for each frequency band (FM1, FM2,
FM3, and AM) using either manual or
automatic tuning.
Using manual tuning1. Manually tune in a radio station
that you wish to preset. (See page
4-13 for instructions.)
2. Push the “SELECT” button once
for 2 seconds or more. The radio
frequency and preset station num-
ber “1” (to the right of “CH.”) start
flashing.3. Repeatedly push either side of the
up/down switch for less than
1 second until the desired preset
number (“1” through “6”) is dis-
played.
NOTE:@ Selecting “A” will automatically pro-
gram the preset stations. See the fol-
lowing section. @4. Push the “SELECT” button once
for less than 1 second to store the
radio station selected in step 1 un-
der the preset number selected in
step 3.
5. Repeat this procedure to preset
other radio stations.
Using automatic tuning1. Select a frequency band. (See
page 4-12.)
2. Push the “SELECT” button once
for 2 seconds or more. The radio
frequency and preset station num-
ber “1” (to the right of “CH.”) start
flashing.
1. Preset station number
E_5jc_Audio.fm Page 14 Saturday, October 16, 1999 1:09 PM
Page 53 of 121
AUDIO SYSTEM
4-15
43. Push either side of the up/down
switch once for 1 second or more
to tune in a station automatically.
4. Repeatedly push either side of the
up/down switch for less than
1 second until the desired preset
number (“1” through “6”) is dis-
played.
5. Push the “SELECT” button once
for less than 1 second to store the
radio station selected in step 3 un-
der the preset number selected in
step 4.
6. Repeat this procedure to preset
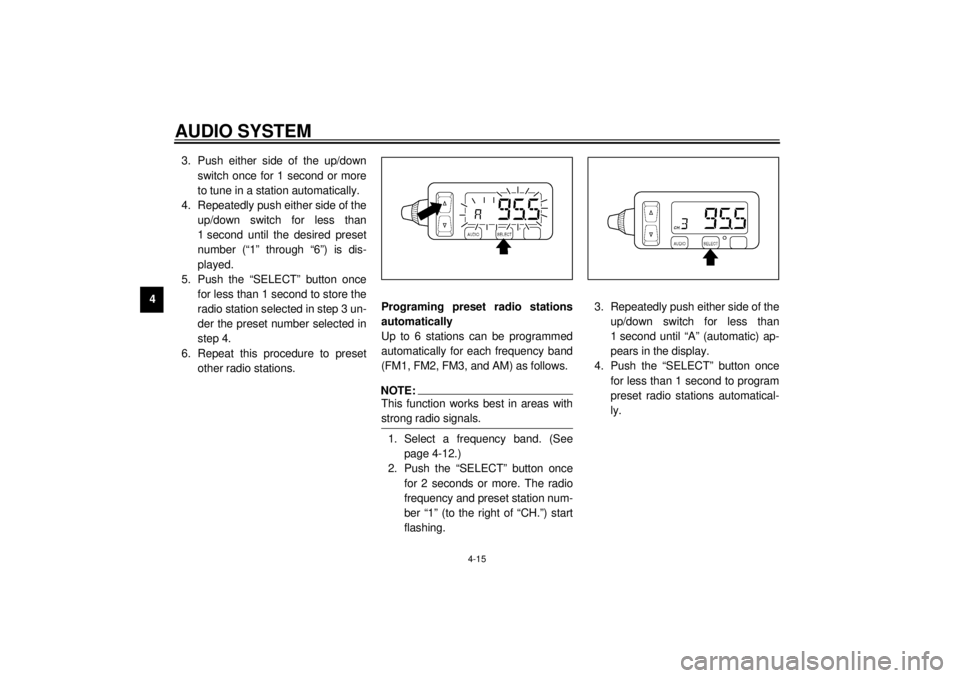
other radio stations.Programing preset radio stations
automatically
Up to 6 stations can be programmed
automatically for each frequency band
(FM1, FM2, FM3, and AM) as follows.
NOTE:@ This function works best in areas with
strong radio signals. @1. Select a frequency band. (See
page 4-12.)
2. Push the “SELECT” button once
for 2 seconds or more. The radio
frequency and preset station num-
ber “1” (to the right of “CH.”) start
flashing.3. Repeatedly push either side of the
up/down switch for less than
1 second until “A” (automatic) ap-
pears in the display.
4. Push the “SELECT” button once
for less than 1 second to program
preset radio stations automatical-
ly.
E_5jc_Audio.fm Page 15 Saturday, October 16, 1999 1:09 PM
Page 120 of 121
INDEX
Making mode settings.............................. 4-5
Model label ............................................ 10-2NNeutral indicator light ............................... 3-4OOil level indicator light .............................. 3-3
Overdrive indicator light ........................... 3-4PPanel C ................................................... 7-8
Panel D ................................................... 7-8
Panel E.................................................... 7-9
Parking .................................................... 6-5
Pass switch ............................................. 3-9
Periodic maintenance and lubrication ...... 7-3
Pre-operation check list ............................ 5-1RRadio operation ..................................... 4-12
Rear brake pedal ................................... 3-11
Rear brake pedal height adjustment ...... 7-23
Rear shock absorber adjustment ........... 3-21
Recommended shift points
(for Switzerland only)............................. 6-4
Rider seat .............................................. 3-15
Right view................................................ 2-2SSaddlebags and travel trunk .................. 3-17
Shifting .................................................... 6-3
Shift pedal ............................................. 3-11
Sidestand .............................................. 3-21
Sidestand/clutch switch operation
check .................................................. 3-22
Sidestand lubrication ............................. 7-28
Spark plug inspection ............................ 7-10
Specifications .......................................... 9-1
Speedometer .......................................... 3-5
Starter (choke) knob.............................. 3-15
Starting a warm engine ........................... 6-3
Starting the engine .................................. 6-1
Start switch ........................................... 3-10
Steering inspection................................ 7-29
Storage ................................................... 8-4TThrottle cable free play inspection ......... 7-18
Tips for reducing fuel consumption .......... 6-4
Tires...................................................... 7-19
Tool kit .................................................... 7-1
Troubleshooting .................................... 7-34
Troubleshooting charts .......................... 7-35
Turn indicator lights ................................. 3-3
Turn signal and tail/brake light bulb
replacement ........................................ 7-33
Turn signal switch ................................... 3-9VValve clearance adjustment .................. 7-18
Vehicle identification number................. 10-1WWheels .................................................. 7-21
E_5jcIX.fm Page 2 Saturday, October 16, 1999 1:12 PM