INSTRUMENT AND CONTROL FUNCTIONS
3-21
3
EAU01879*
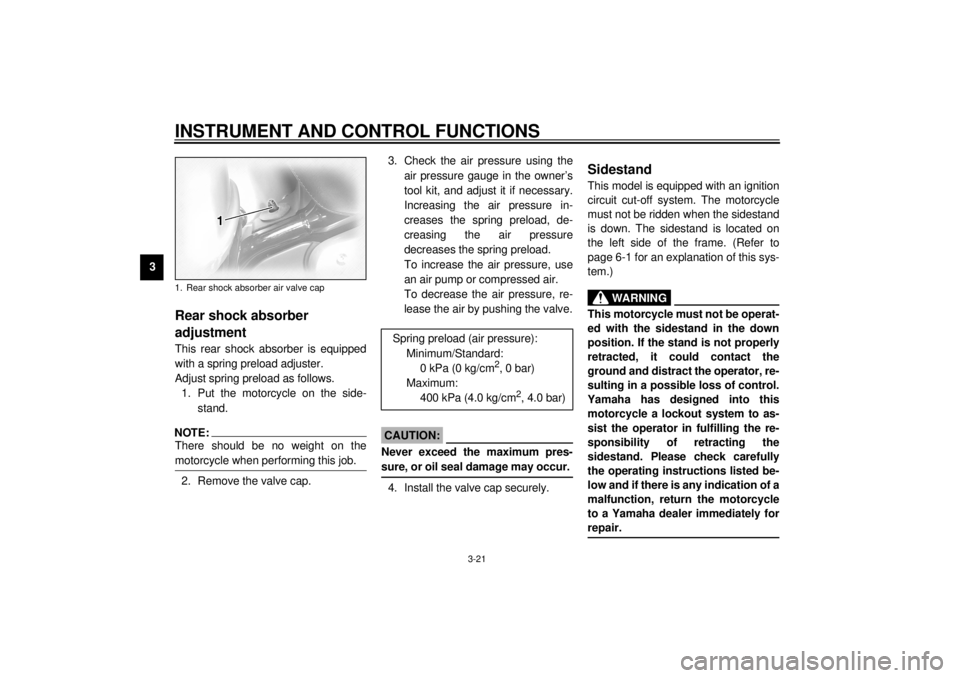
Rear shock absorber
adjustmentThis rear shock absorber is equipped
with a spring preload adjuster.
Adjust spring preload as follows.
1. Put the motorcycle on the side-
stand.NOTE:@ There should be no weight on the
motorcycle when performing this job. @2. Remove the valve cap.3. Check the air pressure using the
air pressure gauge in the owner’s
tool kit, and adjust it if necessary.
Increasing the air pressure in-
creases the spring preload, de-
creasing the air pressure
decreases the spring preload.
To increase the air pressure, use
an air pump or compressed air.
To decrease the air pressure, re-
lease the air by pushing the valve.
EC000012
CAUTION:@ Never exceed the maximum pres-
sure, or oil seal damage may occur. @4. Install the valve cap securely.
EAU00330
SidestandThis model is equipped with an ignition
circuit cut-off system. The motorcycle
must not be ridden when the sidestand
is down. The sidestand is located on
the left side of the frame. (Refer to
page 6-1 for an explanation of this sys-
tem.)
EW000044
WARNING
@ This motorcycle must not be operat-
ed with the sidestand in the down
position. If the stand is not properly
retracted, it could contact the
ground and distract the operator, re-
sulting in a possible loss of control.
Yamaha has designed into this
motorcycle a lockout system to as-
sist the operator in fulfilling the re-
sponsibility of retracting the
sidestand. Please check carefully
the operating instructions listed be-
low and if there is any indication of a
malfunction, return the motorcycle
to a Yamaha dealer immediately for
repair. @
1. Rear shock absorber air valve cap
Spring preload (air pressure):
Minimum/Standard:
0 kPa (0 kg/cm
2, 0 bar)
Maximum:
400 kPa (4.0 kg/cm
2, 4.0 bar)
E_5jc_Functions.fm Page 21 Saturday, October 16, 1999 1:08 PM
5-1
5
EAU01114
5-PRE-OPERATION CHECKSOwners are personally responsible for their vehicle’s condition. Your motorcycle’s vital functions can start to deteriorate
quickly and unexpectedly, even if it remains unused (for instance, if it is exposed to the elements). Any damage, fluid leak or
loss of tire pressure could have serious consequences. Therefore, it is very important that, in addition to a thorough visual in-
spection, you check the following points before each ride.
EAU00340
PRE-OPERATION CHECK LIST
ITEM CHECKS PAGE
Front brake• Check operation, fluid level and vehicle for fluid leakage.
• Fill with DOT 4 brake fluid if necessary.
7-23 ~ 7-26
Rear brake• Check operation, fluid level and vehicle for fluid leakage.
• Fill with DOT 4 brake fluid if necessary.
Clutch• Check operation, fluid level and vehicle for fluid leakage.
• Fill with DOT 4 brake fluid if necessary.7-22
Throttle grip and housing• Check for smooth operation.
• Lubricate if necessary.7-18
Engine oil• Check oil level.
• Fill with oil if necessary.7-11 ~ 7-13
Coolant reservoir tank• Check coolant level.
• Fill with coolant if necessary.7-14
Final gear oil• Check vehicle for leakage. 7-13
Wheels and tires• Check tire pressure, wear and for damage. 7-19 ~ 7-22
Brake and shift pedal
shafts• Check for smooth operation.
• Lubricate if necessary.7-27
Brake and clutch lever
pivots• Check for smooth operation.
• Lubricate if necessary.7-27
Sidestand pivot• Check for smooth operation.
• Lubricate if necessary.7-28
E_5jc_Preop.fm Page 1 Saturday, October 16, 1999 1:10 PM