2000 NISSAN QUEST ECU
[x] Cancel search: ECUPage 37 of 292
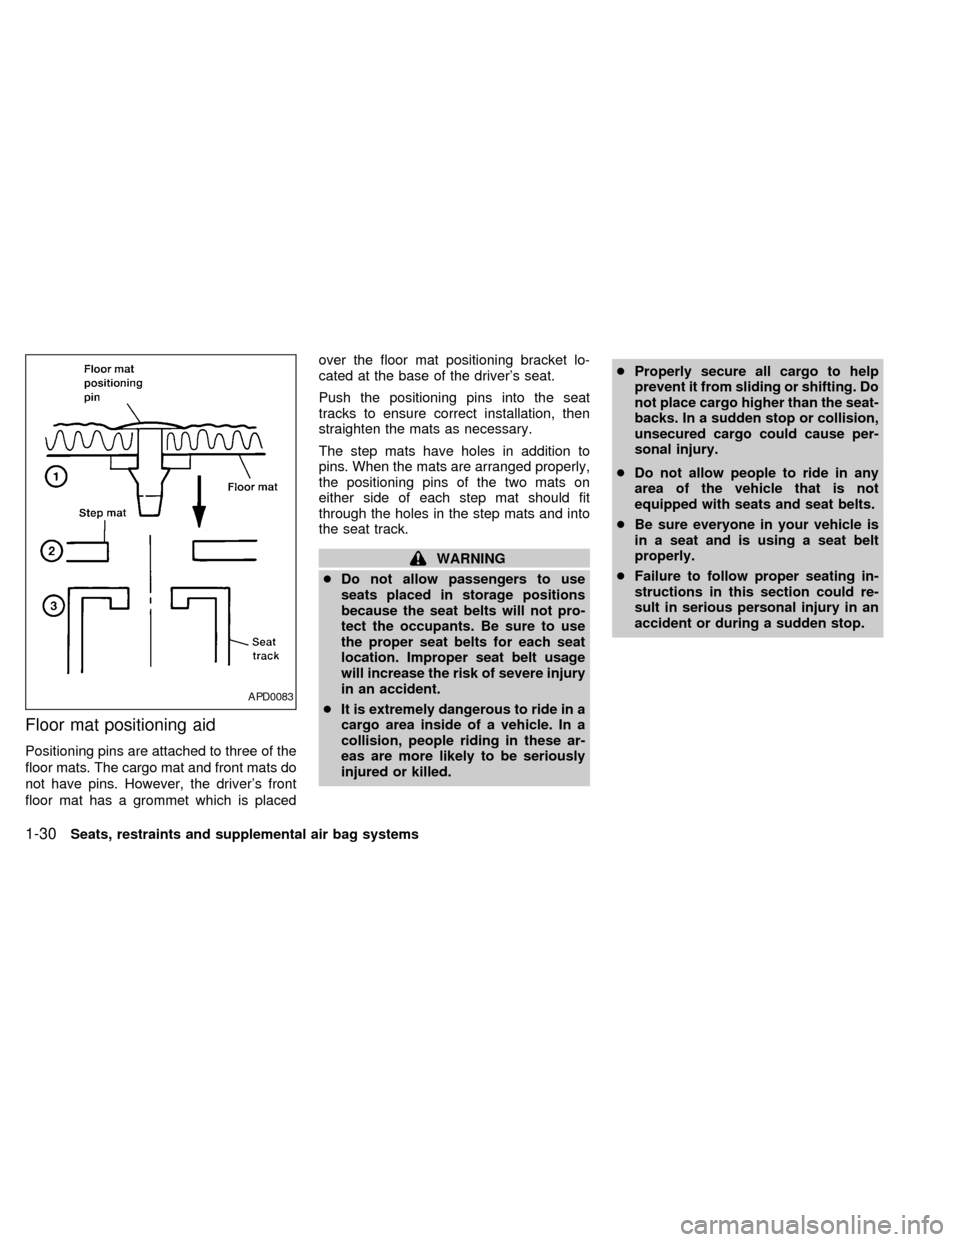
Floor mat positioning aid
Positioning pins are attached to three of the
floor mats. The cargo mat and front mats do
not have pins. However, the driver's front
floor mat has a grommet which is placedover the floor mat positioning bracket lo-
cated at the base of the driver's seat.
Push the positioning pins into the seat
tracks to ensure correct installation, then
straighten the mats as necessary.
The step mats have holes in addition to
pins. When the mats are arranged properly,
the positioning pins of the two mats on
either side of each step mat should fit
through the holes in the step mats and into
the seat track.
WARNING
cDo not allow passengers to use
seats placed in storage positions
because the seat belts will not pro-
tect the occupants. Be sure to use
the proper seat belts for each seat
location. Improper seat belt usage
will increase the risk of severe injury
in an accident.
cIt is extremely dangerous to ride in a
cargo area inside of a vehicle. In a
collision, people riding in these ar-
eas are more likely to be seriously
injured or killed.cProperly secure all cargo to help
prevent it from sliding or shifting. Do
not place cargo higher than the seat-
backs. In a sudden stop or collision,
unsecured cargo could cause per-
sonal injury.
cDo not allow people to ride in any
area of the vehicle that is not
equipped with seats and seat belts.
cBe sure everyone in your vehicle is
in a seat and is using a seat belt
properly.
cFailure to follow proper seating in-
structions in this section could re-
sult in serious personal injury in an
accident or during a sudden stop.
APD0083
1-30Seats, restraints and supplemental air bag systems
ZX
Page 52 of 292
WARNING
cAfter adjustment, release the adjust-
ment button and try to move the
shoulder belt anchor up and down to
make sure it is securely fixed in
position.
cThe shoulder belt anchor height
should be adjusted to the position
best for you. Failure to do so may
reduce the effectiveness of the en-
tire restraint system and increase
the chance or severity of injury in an
accident.
THREE-POINT TYPE SEAT BELT
WITH RETRACTOR FOR SECOND
ROW BUCKET SEATS
WARNING
cEvery person who drives or rides in
this vehicle should use a seat belt at
all times.
cDo not ride in a moving vehicle when
the seatback is reclined. This can be
dangerous. The shoulder belt willnot be against your body. In an acci-
dent you could be thrown into it and
receive neck or other serious inju-
ries. You could also slide under the
lap belt and receive serious internal
injuries.
cFor most effective protection when
the vehicle is in motion, the seat
should be upright. Always sit well
back in the seat and adjust the seat
belt properly.
Fastening the seat belt
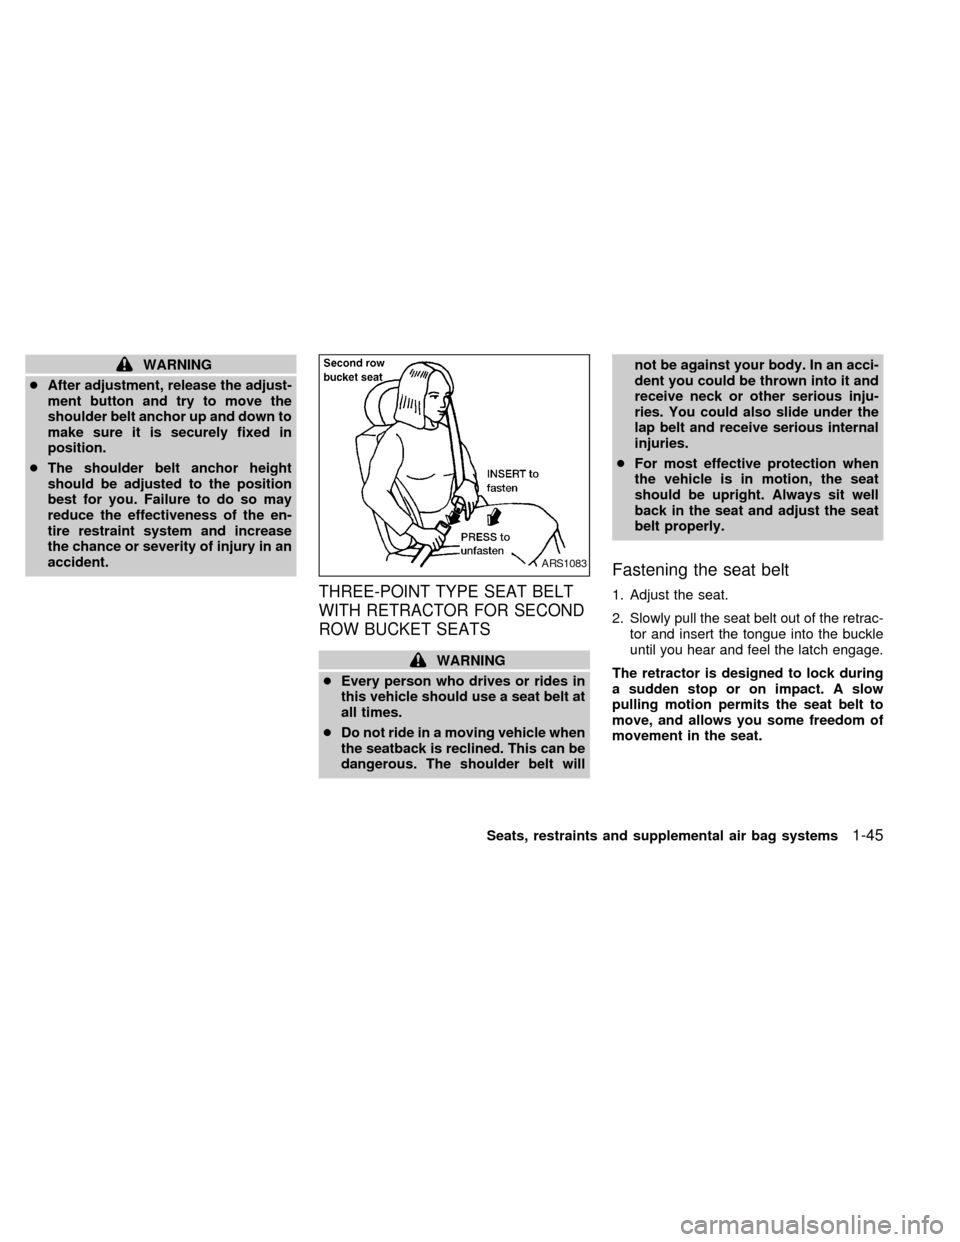
1. Adjust the seat.
2. Slowly pull the seat belt out of the retrac-
tor and insert the tongue into the buckle
until you hear and feel the latch engage.
The retractor is designed to lock during
a sudden stop or on impact. A slow
pulling motion permits the seat belt to
move, and allows you some freedom of
movement in the seat.
ARS1083
Seats, restraints and supplemental air bag systems1-45
ZX
Page 54 of 292
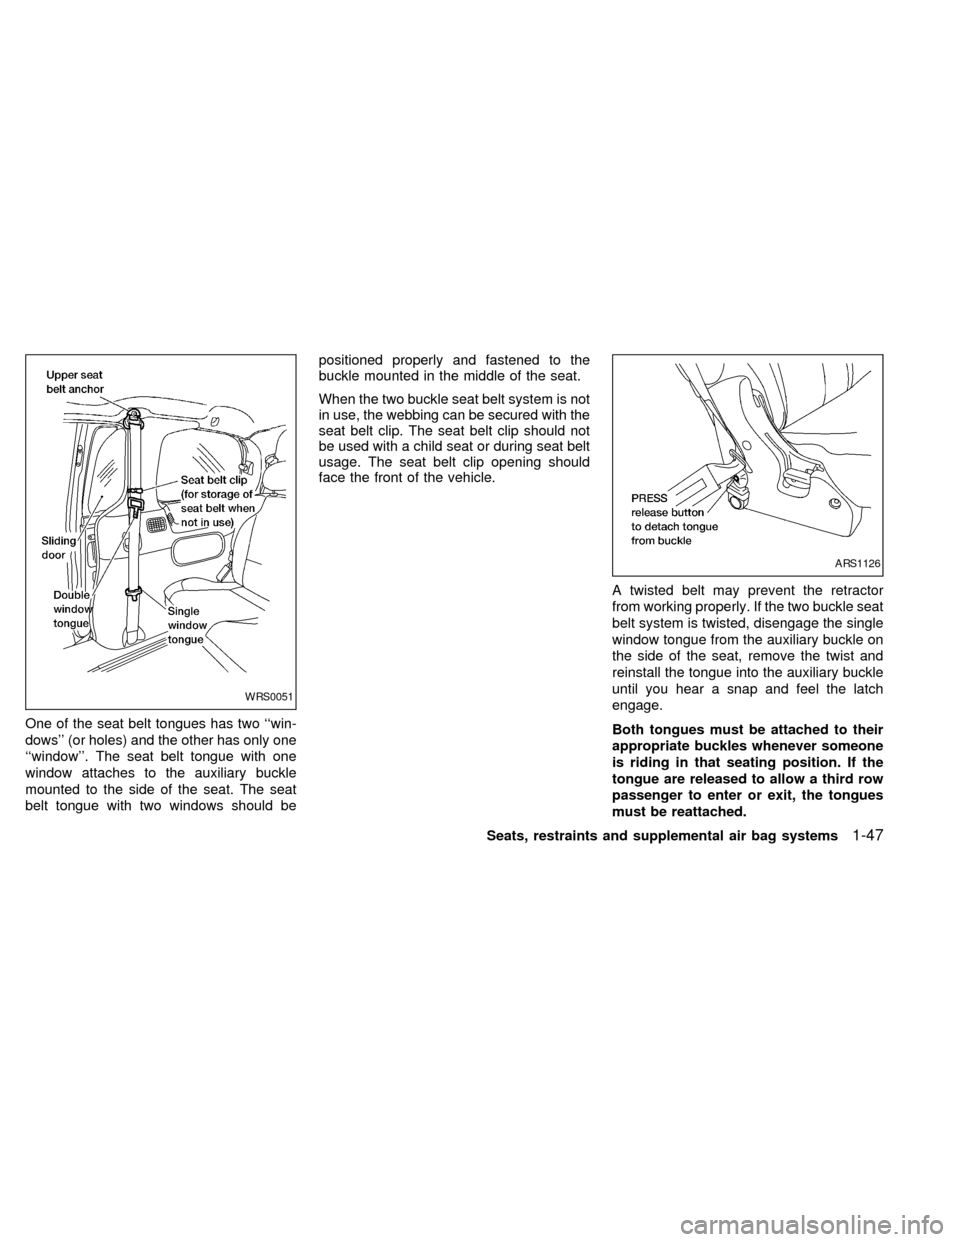
One of the seat belt tongues has two ``win-
dows'' (or holes) and the other has only one
``window''. The seat belt tongue with one
window attaches to the auxiliary buckle
mounted to the side of the seat. The seat
belt tongue with two windows should bepositioned properly and fastened to the
buckle mounted in the middle of the seat.
When the two buckle seat belt system is not
in use, the webbing can be secured with the
seat belt clip. The seat belt clip should not
be used with a child seat or during seat belt
usage. The seat belt clip opening should
face the front of the vehicle.
A twisted belt may prevent the retractor
from working properly. If the two buckle seat
belt system is twisted, disengage the single
window tongue from the auxiliary buckle on
the side of the seat, remove the twist and
reinstall the tongue into the auxiliary buckle
until you hear a snap and feel the latch
engage.
Both tongues must be attached to their
appropriate buckles whenever someone
is riding in that seating position. If the
tongue are released to allow a third row
passenger to enter or exit, the tongues
must be reattached.
WRS0051
ARS1126
Seats, restraints and supplemental air bag systems1-47
ZX
Page 62 of 292
cAn improperly installed child re-
straint could lead to serious injury in
an accident.
cIn general, child restraint systems
are designed to be installed with a
lap belt or the lap portion of a three-
point type seat belt.
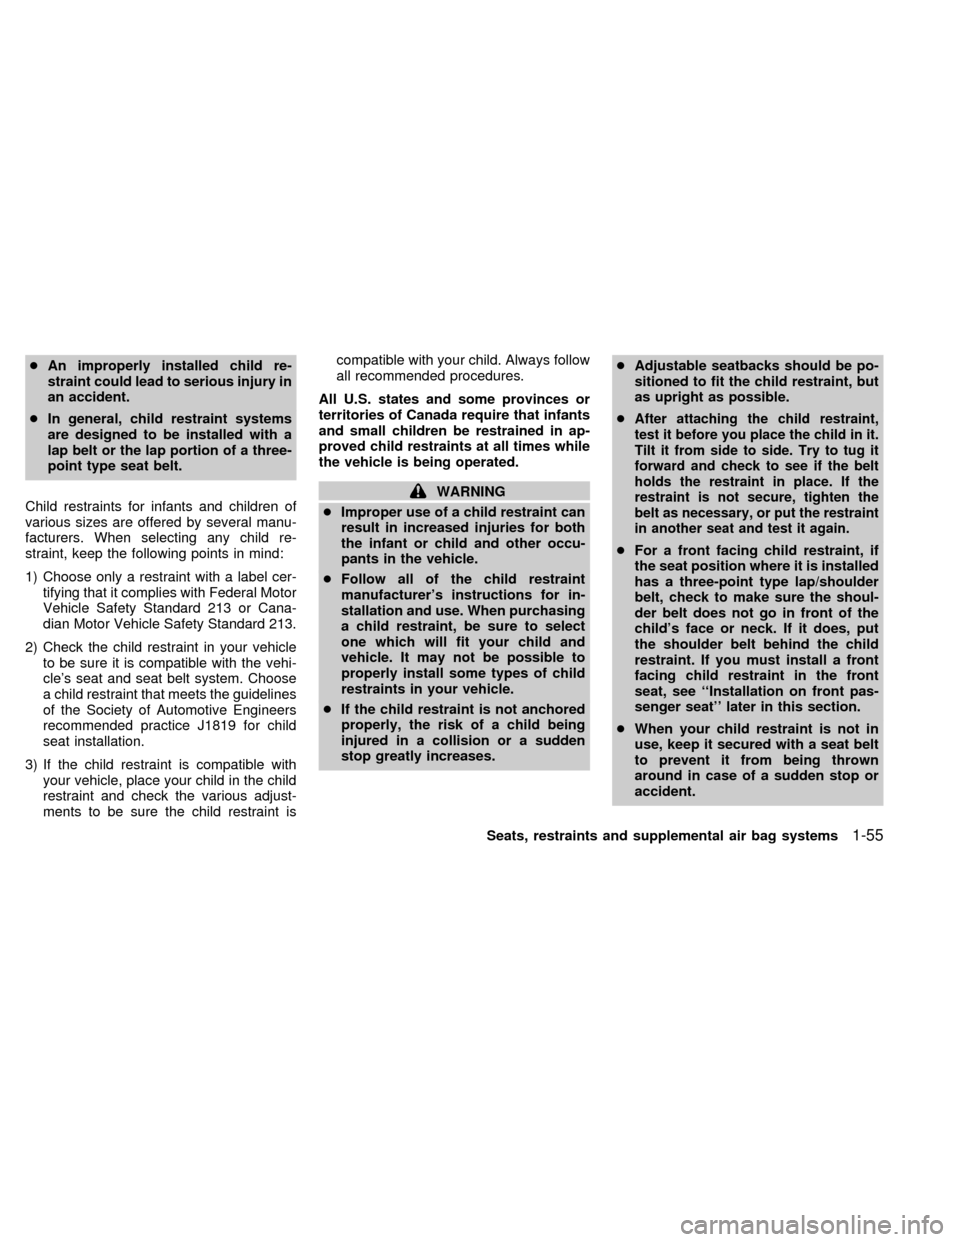
Child restraints for infants and children of
various sizes are offered by several manu-
facturers. When selecting any child re-
straint, keep the following points in mind:
1) Choose only a restraint with a label cer-
tifying that it complies with Federal Motor
Vehicle Safety Standard 213 or Cana-
dian Motor Vehicle Safety Standard 213.
2) Check the child restraint in your vehicle
to be sure it is compatible with the vehi-
cle's seat and seat belt system. Choose
a child restraint that meets the guidelines
of the Society of Automotive Engineers
recommended practice J1819 for child
seat installation.
3) If the child restraint is compatible with
your vehicle, place your child in the child
restraint and check the various adjust-
ments to be sure the child restraint iscompatible with your child. Always follow
all recommended procedures.
All U.S. states and some provinces or
territories of Canada require that infants
and small children be restrained in ap-
proved child restraints at all times while
the vehicle is being operated.
WARNING
cImproper use of a child restraint can
result in increased injuries for both
the infant or child and other occu-
pants in the vehicle.
cFollow all of the child restraint
manufacturer's instructions for in-
stallation and use. When purchasing
a child restraint, be sure to select
one which will fit your child and
vehicle. It may not be possible to
properly install some types of child
restraints in your vehicle.
cIf the child restraint is not anchored
properly, the risk of a child being
injured in a collision or a sudden
stop greatly increases.cAdjustable seatbacks should be po-
sitioned to fit the child restraint, but
as upright as possible.
c
After attaching the child restraint,
test it before you place the child in it.
Tilt it from side to side. Try to tug it
forward and check to see if the belt
holds the restraint in place. If the
restraint is not secure, tighten the
belt as necessary, or put the restraint
in another seat and test it again.
cFor a front facing child restraint, if
the seat position where it is installed
has a three-point type lap/shoulder
belt, check to make sure the shoul-
der belt does not go in front of the
child's face or neck. If it does, put
the shoulder belt behind the child
restraint. If you must install a front
facing child restraint in the front
seat, see ``Installation on front pas-
senger seat'' later in this section.
cWhen your child restraint is not in
use, keep it secured with a seat belt
to prevent it from being thrown
around in case of a sudden stop or
accident.
Seats, restraints and supplemental air bag systems
1-55
ZX
Page 64 of 292
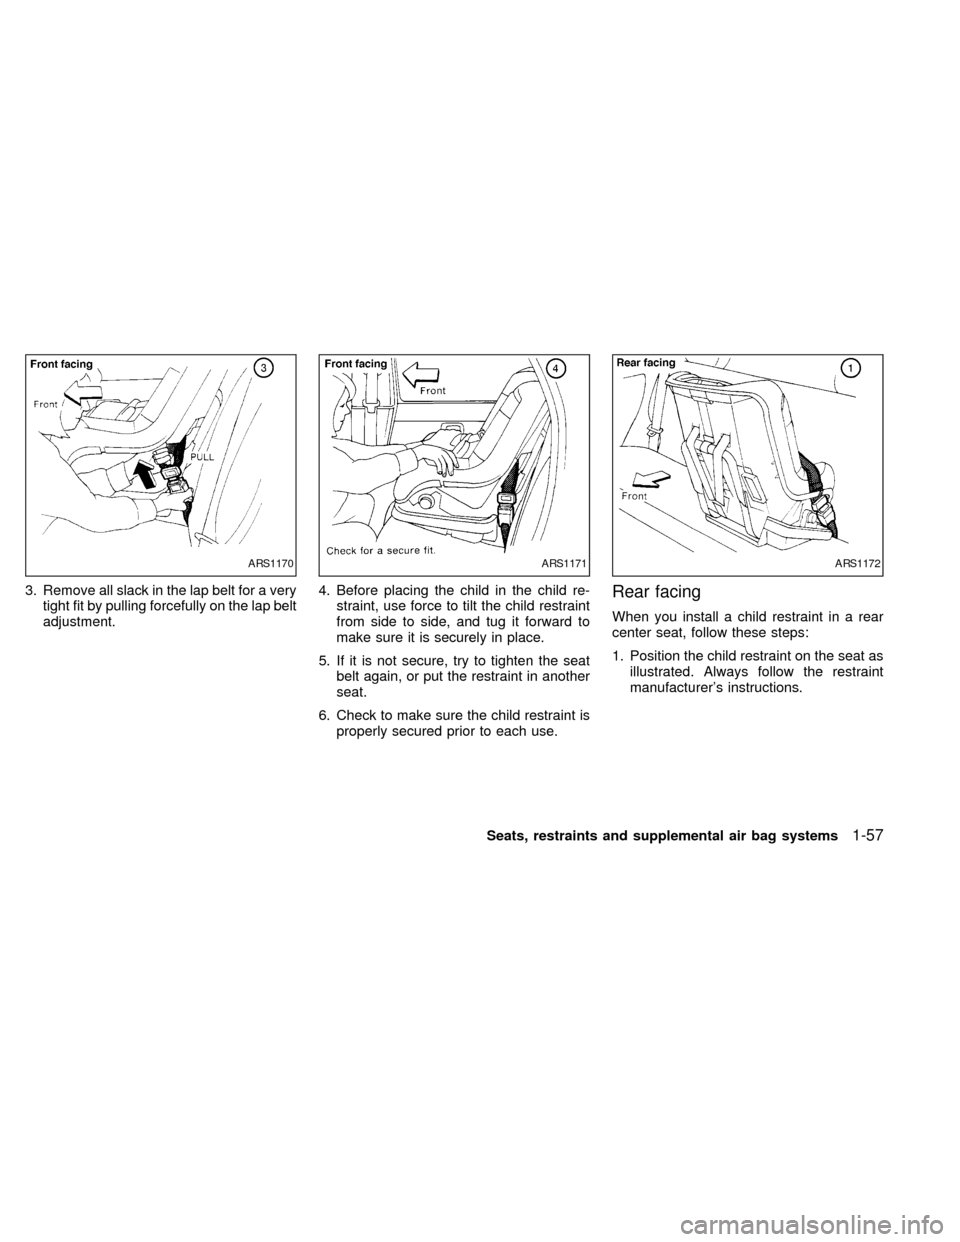
3. Remove all slack in the lap belt for a very
tight fit by pulling forcefully on the lap belt
adjustment.4. Before placing the child in the child re-
straint, use force to tilt the child restraint
from side to side, and tug it forward to
make sure it is securely in place.
5. If it is not secure, try to tighten the seat
belt again, or put the restraint in another
seat.
6. Check to make sure the child restraint is
properly secured prior to each use.Rear facing
When you install a child restraint in a rear
center seat, follow these steps:
1. Position the child restraint on the seat as
illustrated. Always follow the restraint
manufacturer's instructions.
ARS1170ARS1171ARS1172
Seats, restraints and supplemental air bag systems1-57
ZX
Page 65 of 292
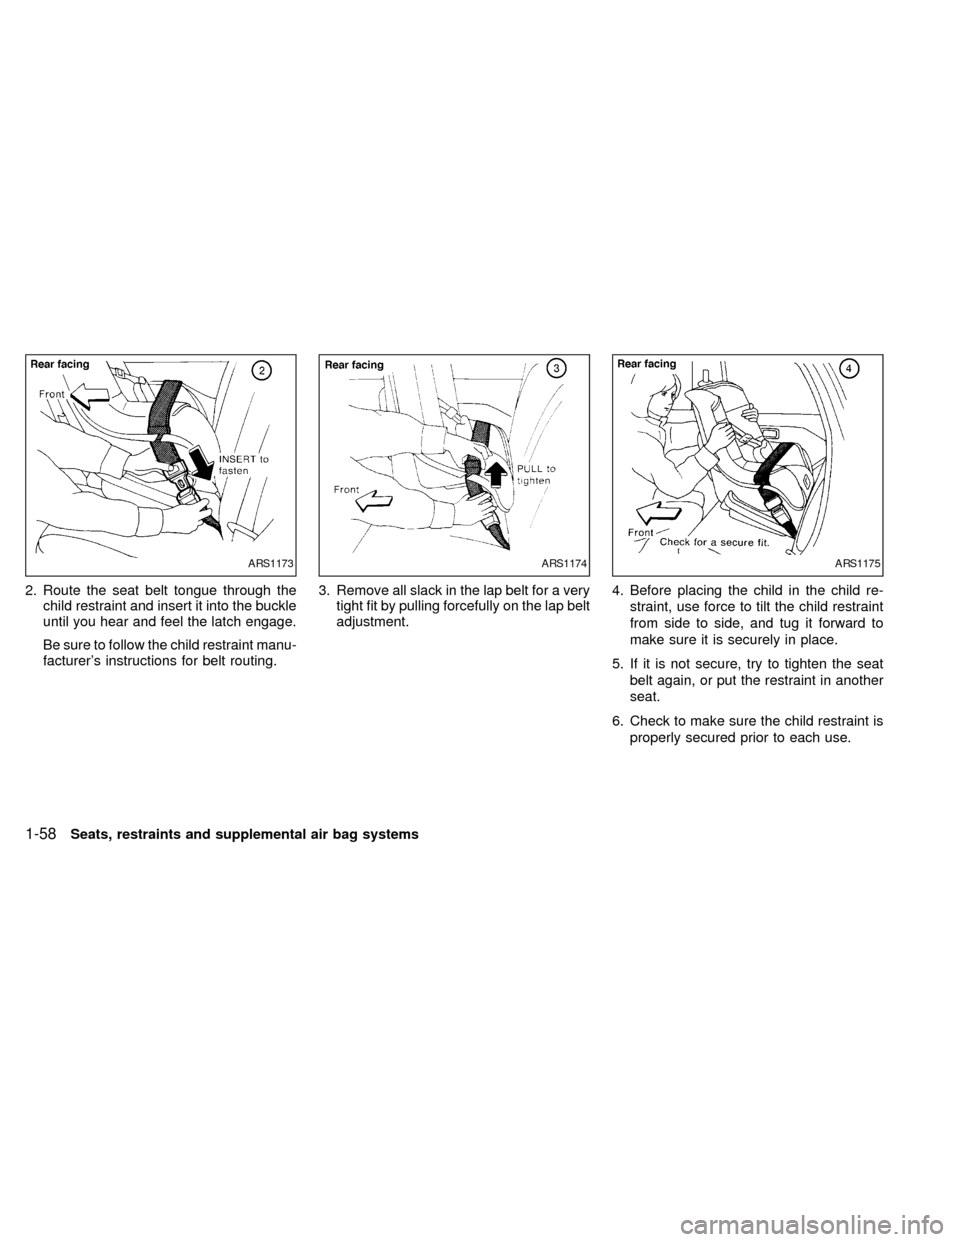
2. Route the seat belt tongue through the
child restraint and insert it into the buckle
until you hear and feel the latch engage.
Be sure to follow the child restraint manu-
facturer's instructions for belt routing.3. Remove all slack in the lap belt for a very
tight fit by pulling forcefully on the lap belt
adjustment.4. Before placing the child in the child re-
straint, use force to tilt the child restraint
from side to side, and tug it forward to
make sure it is securely in place.
5. If it is not secure, try to tighten the seat
belt again, or put the restraint in another
seat.
6. Check to make sure the child restraint is
properly secured prior to each use.
ARS1173ARS1174ARS1175
1-58Seats, restraints and supplemental air bag systems
ZX
Page 66 of 292
INSTALLATION ON SECOND
AND THIRD ROW OUTBOARD
POSITIONS
Front facing
The following instructions apply to second
row bucket seats, the second row bench
seat and the outboard positions of the three-
passenger bench seat.
WARNING
When installing a child restraint in the
two-passenger bench seat, if it is
placed in the seating position next to
the passenger side sliding door, be
sure both the auxiliary buckle and main
buckle are properly fastened. Failure to
do so could increase the chance and/or
severity of injury in an accident.
WARNING
cThe three-point belt in your vehicle
is equipped with locking mode re-
tractor which must be used when
installing a child restraint.
cFailure to use the retractor's locking
mode will result in the child restraint
not being properly secured. The re-
straint could tip over or otherwise be
unsecured and cause injury to the
child in a sudden stop or collision.
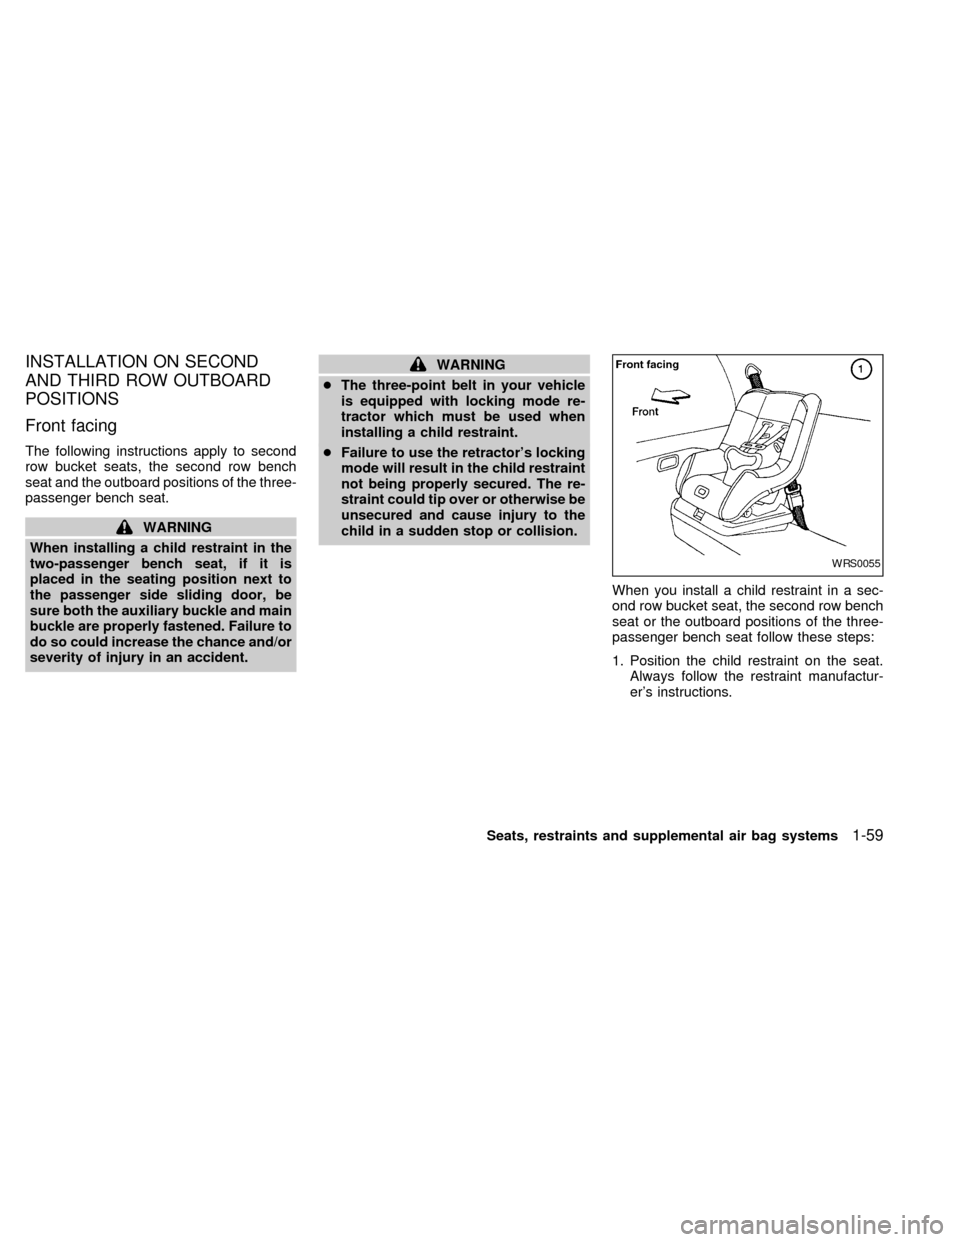
When you install a child restraint in a sec-
ond row bucket seat, the second row bench
seat or the outboard positions of the three-
passenger bench seat follow these steps:
1. Position the child restraint on the seat.
Always follow the restraint manufactur-
er's instructions.
WRS0055
Seats, restraints and supplemental air bag systems1-59
ZX
Page 68 of 292
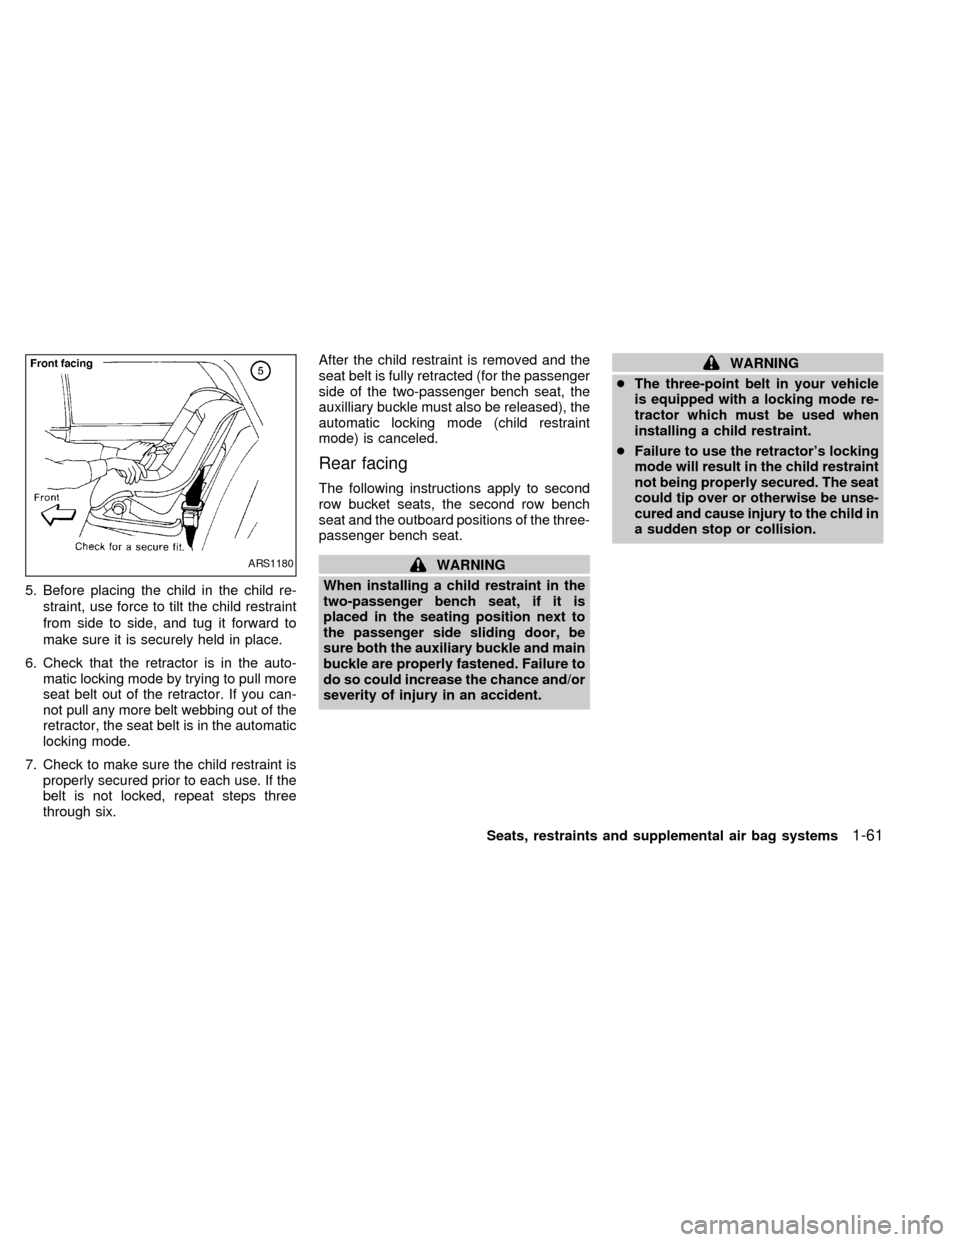
5. Before placing the child in the child re-
straint, use force to tilt the child restraint
from side to side, and tug it forward to
make sure it is securely held in place.
6. Check that the retractor is in the auto-
matic locking mode by trying to pull more
seat belt out of the retractor. If you can-
not pull any more belt webbing out of the
retractor, the seat belt is in the automatic
locking mode.
7. Check to make sure the child restraint is
properly secured prior to each use. If the
belt is not locked, repeat steps three
through six.After the child restraint is removed and the
seat belt is fully retracted (for the passenger
side of the two-passenger bench seat, the
auxilliary buckle must also be released), the
automatic locking mode (child restraint
mode) is canceled.
Rear facing
The following instructions apply to second
row bucket seats, the second row bench
seat and the outboard positions of the three-
passenger bench seat.
WARNING
When installing a child restraint in the
two-passenger bench seat, if it is
placed in the seating position next to
the passenger side sliding door, be
sure both the auxiliary buckle and main
buckle are properly fastened. Failure to
do so could increase the chance and/or
severity of injury in an accident.
WARNING
cThe three-point belt in your vehicle
is equipped with a locking mode re-
tractor which must be used when
installing a child restraint.
cFailure to use the retractor's locking
mode will result in the child restraint
not being properly secured. The seat
could tip over or otherwise be unse-
cured and cause injury to the child in
a sudden stop or collision.
ARS1180
Seats, restraints and supplemental air bag systems1-61
ZX