Page 66 of 352

Gauges
Trip Mete r
This meter shows the number of
miles (U.S.) or kilometers (Canada)driven since you last reset it.
There are two trip meters: Trip A and Trip B. Switch between these
displays by pressing the Select/
Reset button repeatedly. Each trip
meter works independently, so you can keep track of two different
distances.
To reset a trip meter, display it and then press and hold the Select/Reset
button until the number resets to
"0.0".
Temperatur e Gaug e
This shows the temperature of the engine's coolant. During normal
operation, the pointer should rise
from the bottom white mark to about the middle of the gauge. In severedriving conditions, such as very hot
weather or a long period of uphill driving, the pointer may rise to near
the upper white mark. If it reaches
the red (Hot) mark, pull safely to the side of the road. Turn to page 305 for
instructions and precautions on checking the engine's cooling
system.
Fue l Gaug e
This shows how much fuel you have. It is most accurate when the vehicle
is on level ground. It may showslightly more or less than the actual
amount when you are driving on
curvy or hilly roads.
The needle returns to the bottom after you turn off the ignition. The
gauge shows the fuel level reading
immediately after you turn the
ignition switch back ON (II).
Instrument s an d Control s
Page 67 of 352

Gauges
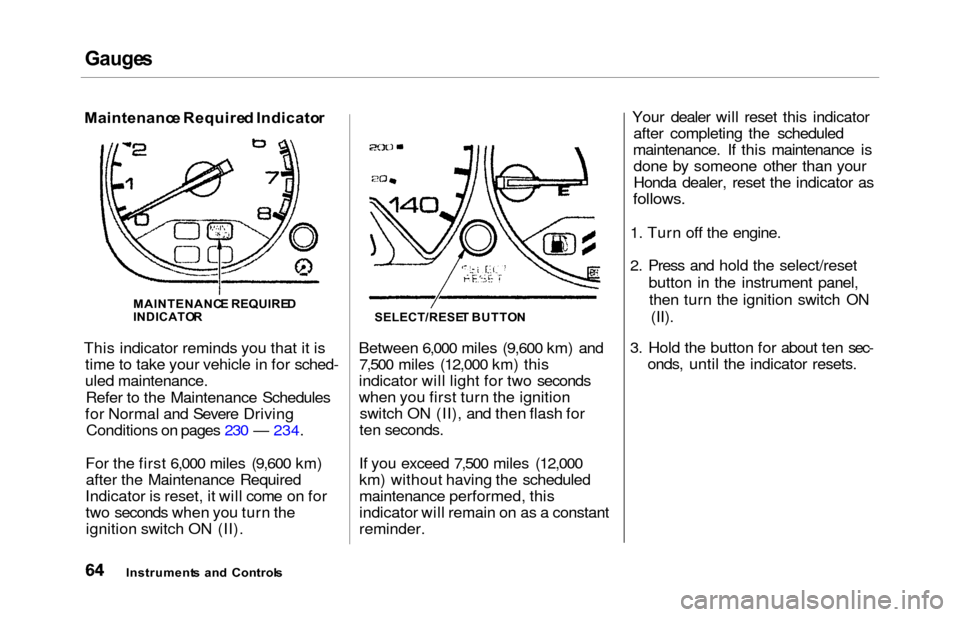
Maintenanc e Require d Indicato r
This indicator reminds you that it is time to take your vehicle in for sched-
uled maintenance.
Refer to the Maintenance Schedules
for Normal and Severe Driving Conditions on pages 230 — 234.
For the first 6,000 miles (9,600 km) after the Maintenance Required
Indicator is reset, it will come on for
two seconds when you turn the ignition switch ON (II). Between 6,000 miles (9,600 km) and
7,500 miles (12,000 km) this
indicator will light for two seconds
when you first turn the ignition switch ON (II), and then flash for
ten seconds.
If you exceed 7,500 miles (12,000
km) without having the scheduled
maintenance performed, this
indicator will remain on as a constant
reminder. Your dealer will reset this indicator
after completing the scheduled
maintenance. If this maintenance is done by someone other than your
Honda dealer, reset the indicator as
follows.
1. Turn off the engine.
2. Press and hold the select/reset
button in the instrument panel,then turn the ignition switch ON (II).
3. Hold the button for about ten sec- onds, until the indicator resets.
Instrument s an d Control s
MAINTENANC
E REQUIRE D
INDICATO RSELECT/RESE T BUTTO N
Page 68 of 352
Controls Nea r th e Steerin g Whee l
The two levers on the steering
column contain controls for driving
features you use most often. The left
lever controls the turn signals,
headlights, and high beams. The right lever controls the windshield
washers and wipers.
The switches for the hazard warning lights and rear window defogger are
located to the right of the steering
column.
The controls under the left air vent are for the TCS, the cruise control,
the power sliding doors and the
power mirrors.
The tilt adjustment lever on the underside of the steering columnallows you to tilt the steering wheel.
* To use the horn, press the pad around the "H" logo.
Instrument s an d Control s
POWER
SLIDIN G
DOO R TRACTIO
N
CONTRO L
SYSTE M WINDSHIEL
D
WIPERS/WASHER SSHIFT
LEVE RHAZAR DWARNIN G
LIGHT S
LIGHT CONTRO L
SWITC H
REA R WINDO W
DEFOGGE R
HORN
*TILT
ADJUSTMEN T
HEADLIGHTS /
TUR N SIGNAL S
CRUIS
E
CONTRO L
MIRRO R
CONTRO L
Page 69 of 352
Control
s Nea r th e Steerin g Whee l
Headlight s
The rotating switch on the left lever controls the lights. Turning this switch to the position turns
on the parking lights, taillights,
instrument panel lights, side-marker
lights, and rear license plate lights. Turning the switch to the
position turns on the headlights. If you leave the lights on with the
ignition switch in ACCESSORY (I) or LOCK (0), you will hear a
reminder chime when you open the driver's door.
To change between low beams and high beams, pull the turn signal lever
until you hear a click, then let go.
The blue high beam indicator will light (see page 61). To flash the high beams, pull the
turn signal lever back lightly, thenrelease it. The high beams will come
on and go off.
The high beams will stay on for as long as you hold the lever back, no
matter what position the headlightswitch is in.
Instrument s an d Control s
Page 70 of 352

Control
s Nea r th e Steerin g Whee lAutomatic Lightin g Of f Featur e
On EX model
The Automatic Lighting Off feature
turns off the headlights, parking
lights, taillights, side marker lights,
license plate lights and instrument panel lights within 15 seconds of
removing the key from the ignition switch and closing the driver's door.
This feature activates if you leave
the headlight switch in the or
position, remove the key, open,
then close the driver's door. If you remove the key from the
ignition switch with the headlight switch on, but do not open the door
and get out, the lights will turn off
after 10 minutes. The lights will turn on again when
you unlock or open the driver's door.If you unlock the door, but do notopen it within 15 seconds, the lights
will go off. With the driver's door open, you will hear a lights-on
reminder chime.
Daytim e Runnin g Light s
(Canadia n Models )
With the headlight switch off, the
high beam headlights come on withreduced brightness when you turn
the ignition switch to ON (II) and
release the parking brake. They
remain on until you turn the ignitionoff, even if you set the parking brake.
The headlights revert to normal operation when you turn them on
with the switch. Instrumen
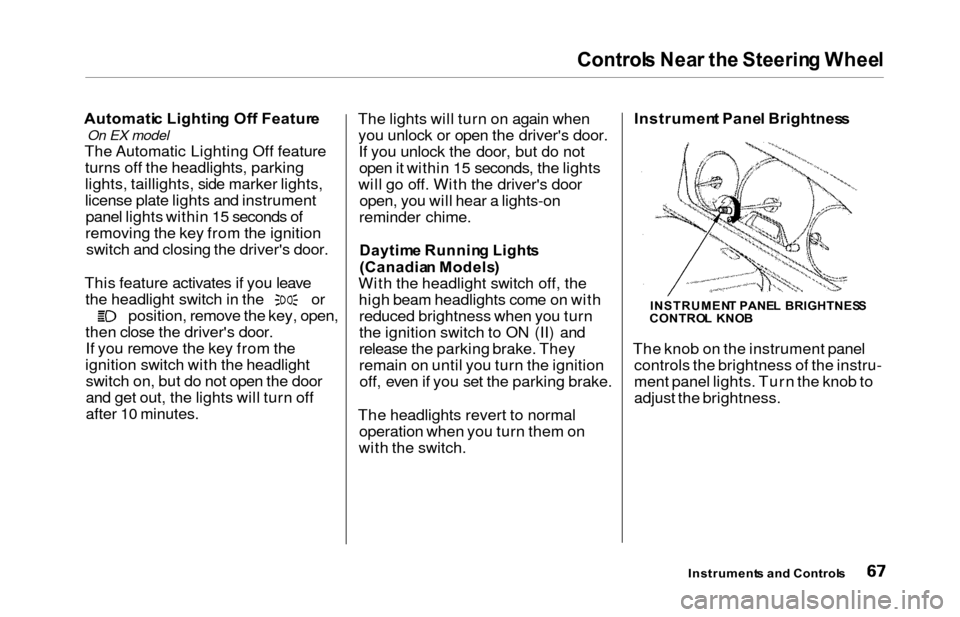
t Pane l Brightnes s
The knob on the instrument panel controls the brightness of the instru-
ment panel lights. Turn the knob to
adjust the brightness.
Instrument s an d Control s
INSTRUMEN T PANE L BRIGHTNES S
CONTRO L KNO B
Page 71 of 352
Controls Nea r th e Steerin g Whee l
Turn Signal s
Signal a turn or lane change with this
lever. Push down on the lever to signal a left turn, and up to signal a
right turn. If you push it up or down all the way, the turn signal continues
to blink even when you release the
lever. It shuts off automatically as
you complete the turn. To signal a lane change, push lightly
on the turn signal lever in the proper
direction and hold it. The lever will
return to the center position as soon as you release it. Windshiel
d Wiper s
The right lever controls the wind-
shield wipers and washers. The
rotary switch at the end of the lever
has three positions: INT: intermittent
: low speed
: high speed
Instrument s an d Control s
TURN SIGNA L LEVE R
Page 72 of 352
Controls Nea r th e Steerin g Whee l
In intermittent, the wipers operate
every few seconds. You can vary
how often the wipers sweep the
windshield by turning the INT TIME ring next to the rotary switch. Thesweep interval will change slightly
with speed; getting shorter as you drive faster. In low speed and highspeed, the wipers run continuously. If you turn the INT TIME ring to the
shortest delay, the wipers will
change from intermittent to low speed operation when vehicle speed
exceeds 12 mph (20 km/h).
To operate the wipers in mist mode,push the control lever down. The
wipers run at high speed until you release the lever. This gives you aquick way to clear the windshield.
Instrument s an d Control s
Page 73 of 352
Controls Nea r th e Steerin g Whee l
Windshiel d Washer s
To clean the windshield, pull back on the wiper control lever. The washersspray until you release the lever. The
wipers run at low speed while you're pulling the lever, then complete one
more sweep of the windshield after
you release it. Rea
r Windo w Wipe r an d Washe r
The rear window wiper switch is located next to the windshield wiper
switch.
To activate the rear windshield wiper, turn the switch "ON". If you wish to
use the wiper and washer, turn and
hold the switch one position up from
"ON".
Hazar d Warnin g
Push the button to the left of the
clock to turn on the hazard warning
lights (four-way flashers). This causes all four outside turn signals
and both indicators in the instrument
panel to flash. Use the hazard
warning lights if you need to park in a dangerous area near heavy traffic,
or if your vehicle is disabled.
Instrument s an d Control s