Page 17 of 256

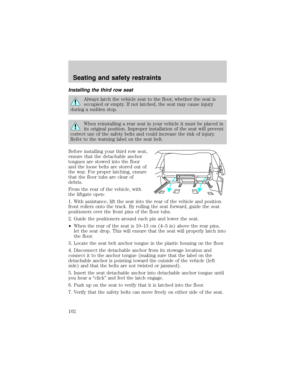
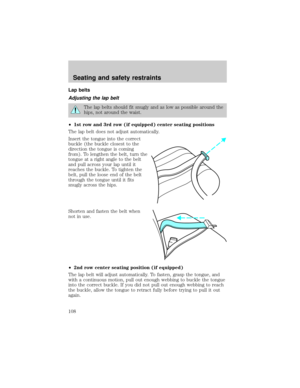
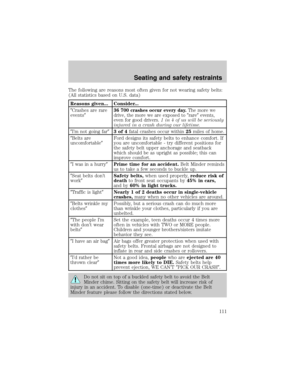
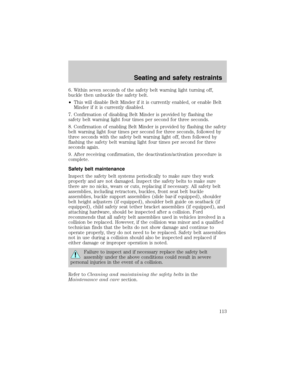
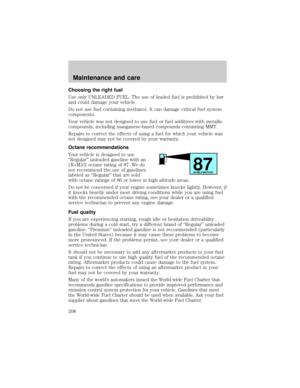
TRIP COMPUTER
The trip computer tells you about the condition of your vehicle through
a constant monitor of vehicle systems. You may select display features on
the trip computer for a display of status.
The appearance of your vehicle's trip computer may differ depending on
your vehicle's option package, but the functions are the same.
The trip computer only works when the ignition is in the ON position.
Trip computer features follow:
Selectable features
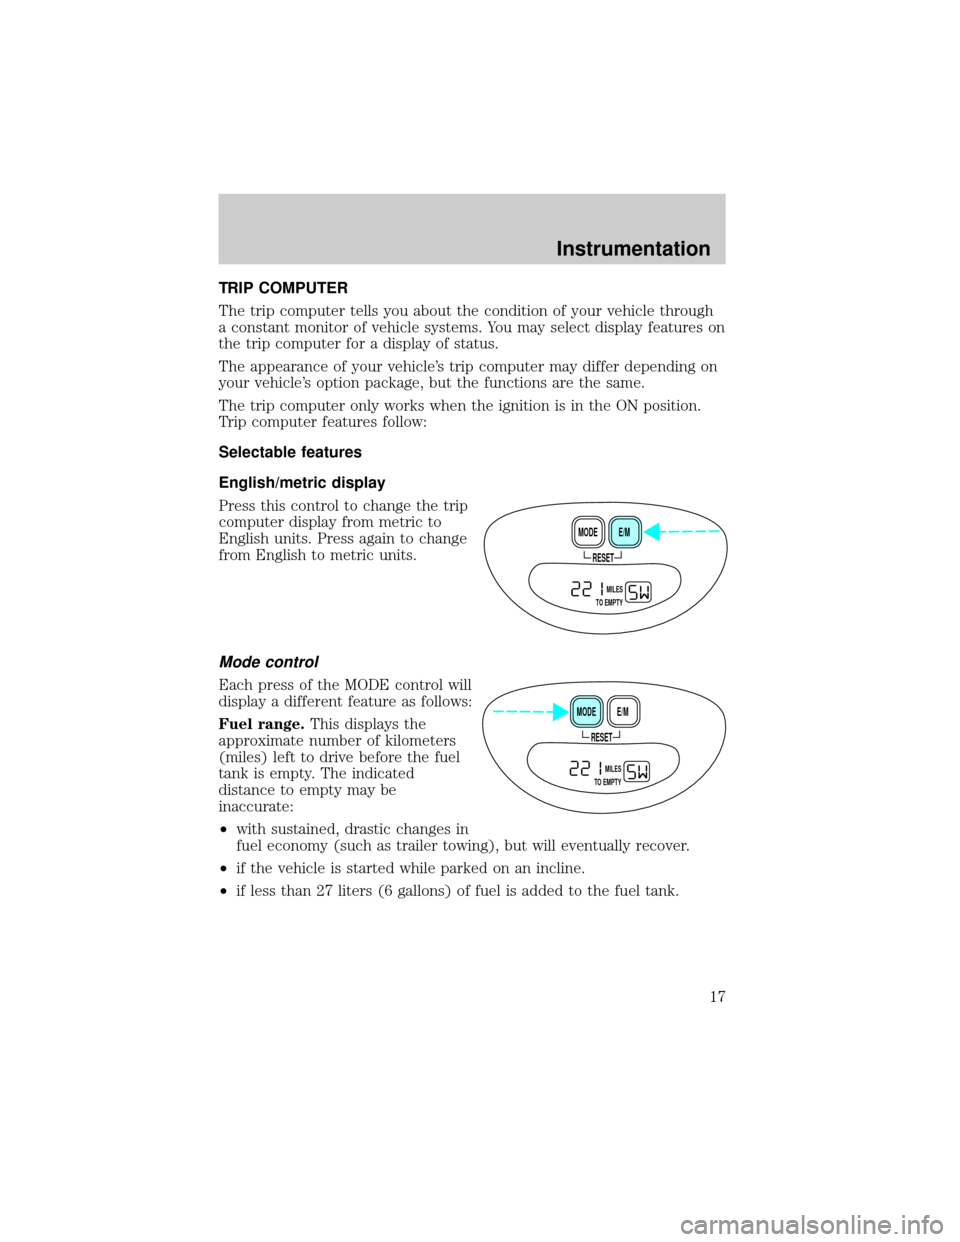
English/metric display
Press this control to change the trip
computer display from metric to
English units. Press again to change
from English to metric units.
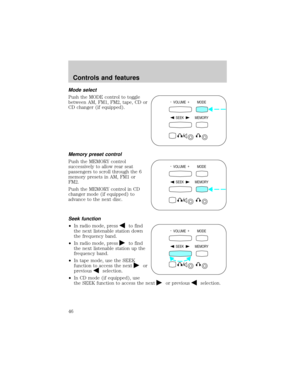
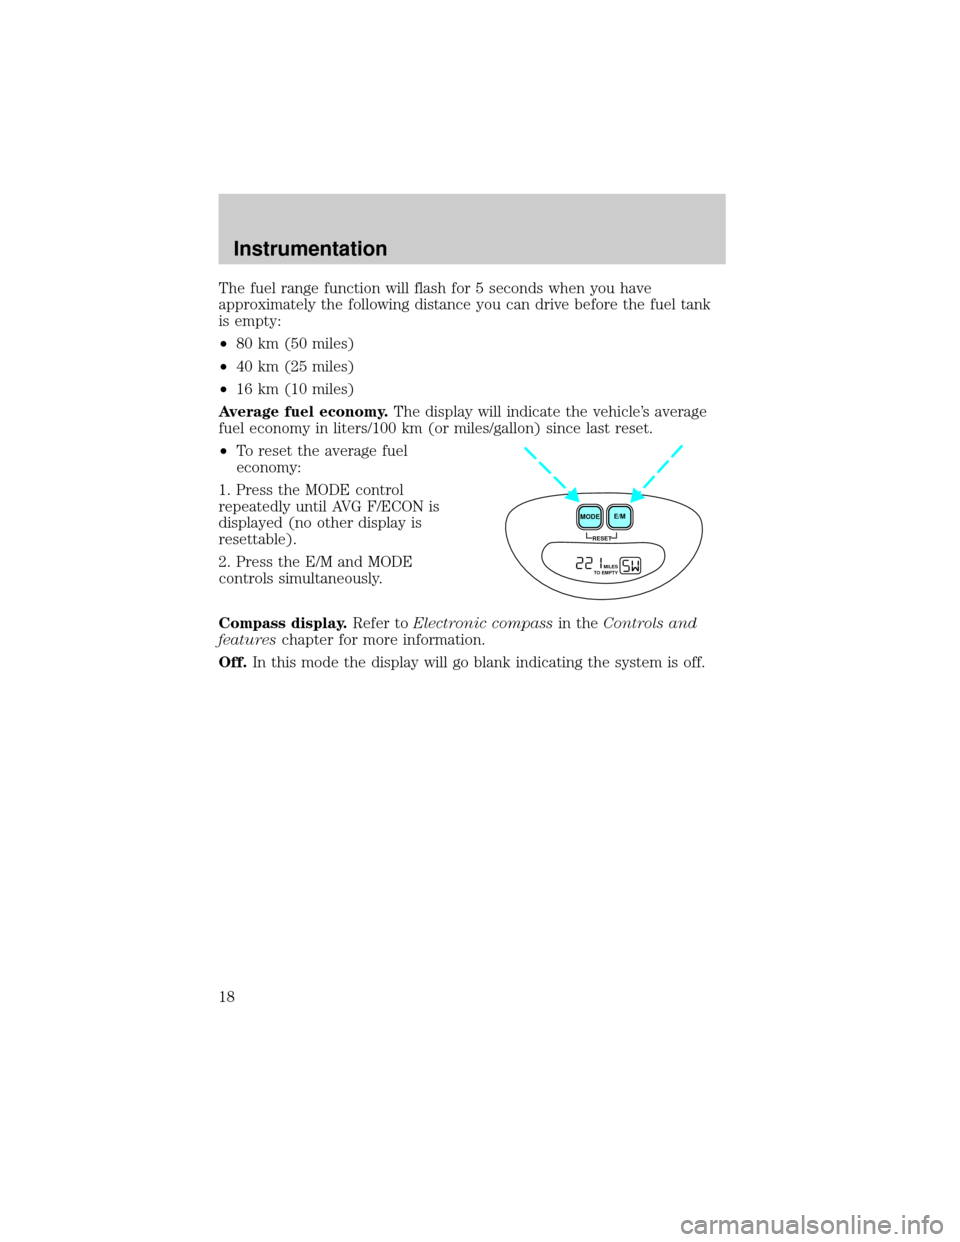
Mode control
Each press of the MODE control will
display a different feature as follows:
Fuel range.This displays the
approximate number of kilometers
(miles) left to drive before the fuel
tank is empty. The indicated
distance to empty may be
inaccurate:
²with sustained, drastic changes in
fuel economy (such as trailer towing), but will eventually recover.
²if the vehicle is started while parked on an incline.
²if less than 27 liters (6 gallons) of fuel is added to the fuel tank.
RESET
E/M MODE
MILES
TO EMPTY
RESET
E/M MODE
MILES
TO EMPTY
Instrumentation
17
Page 18 of 256
The fuel range function will flash for 5 seconds when you have
approximately the following distance you can drive before the fuel tank
is empty:
²80 km (50 miles)
²40 km (25 miles)
²16 km (10 miles)
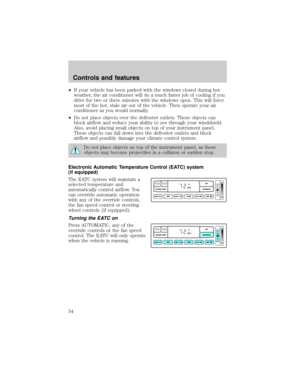
Average fuel economy.The display will indicate the vehicle's average
fuel economy in liters/100 km (or miles/gallon) since last reset.
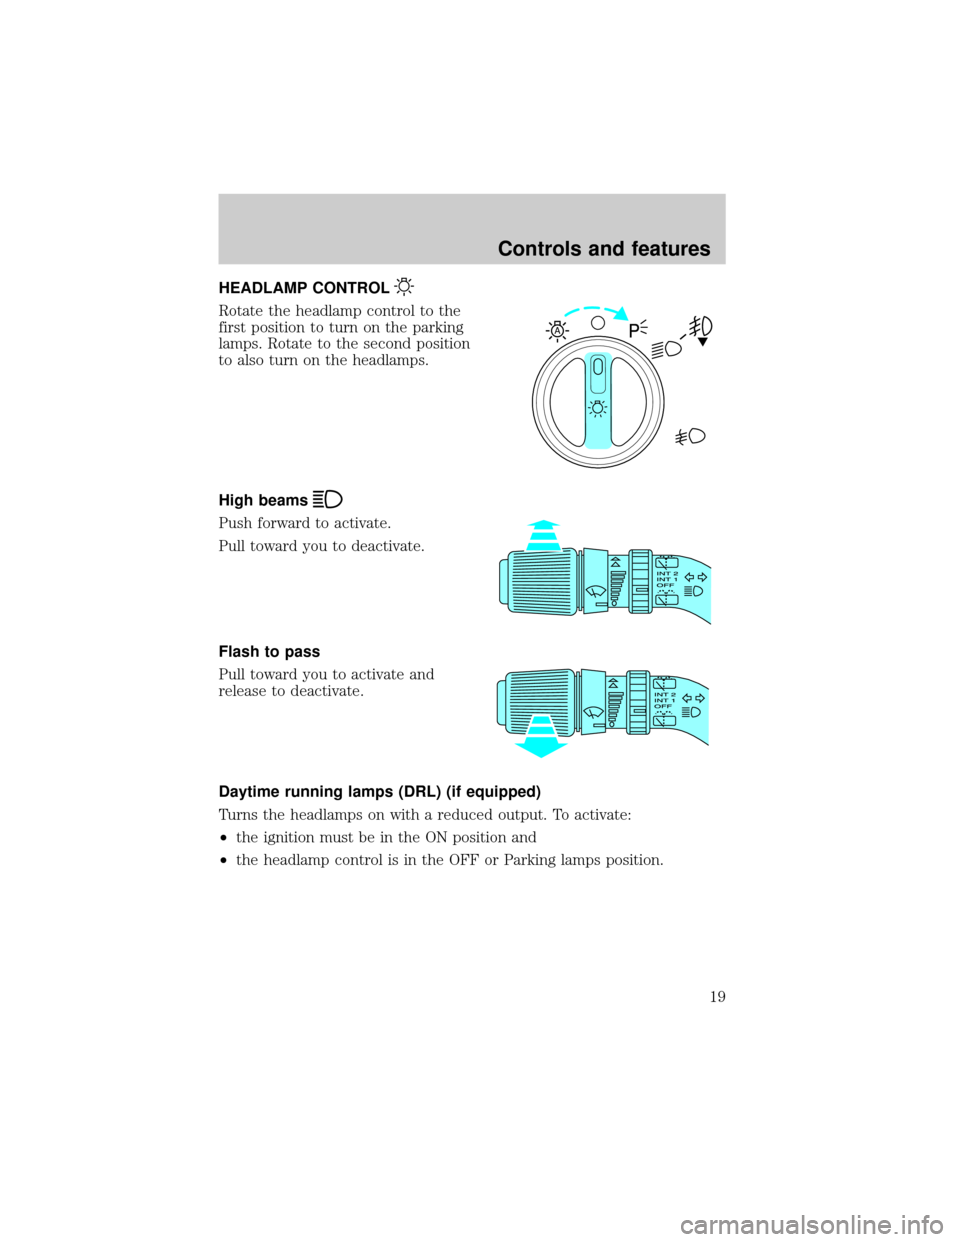
²To reset the average fuel
economy:
1. Press the MODE control
repeatedly until AVG F/ECON is
displayed (no other display is
resettable).
2. Press the E/M and MODE
controls simultaneously.
Compass display.Refer toElectronic compassin theControls and
featureschapter for more information.
Off.In this mode the display will go blank indicating the system is off.
RESET
E/M
MODE
MILES
TO EMPTY
Instrumentation
18
Page 19 of 256
HEADLAMP CONTROL
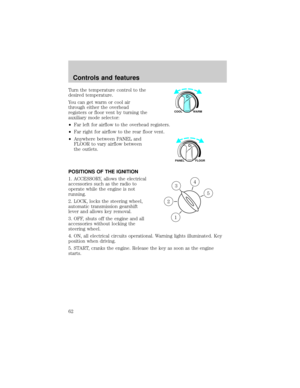
Rotate the headlamp control to the
first position to turn on the parking
lamps. Rotate to the second position
to also turn on the headlamps.
High beams
Push forward to activate.
Pull toward you to deactivate.
Flash to pass
Pull toward you to activate and
release to deactivate.
Daytime running lamps (DRL) (if equipped)
Turns the headlamps on with a reduced output. To activate:
²the ignition must be in the ON position and
²the headlamp control is in the OFF or Parking lamps position.
A
Controls and features
19
Page 20 of 256

Always remember to turn on your headlamps at dusk or during
inclement weather. The Daytime Running Light (DRL) System
does not activate your tail lamps and generally may not provide
adequate lighting during these conditions. Failure to activate your
headlamps under these conditions may result in a collision.
Foglamp control (if equipped)
The headlamp control also operates
the foglamps. The foglamps can be
turned on only when the headlamp
control is in the
position and
the high beams are not turned on.
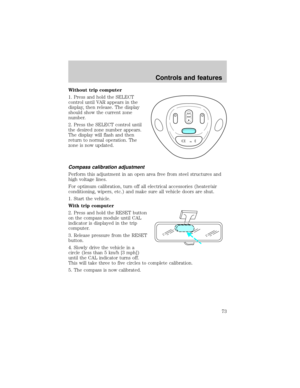
Pull headlamp control towards you
to turn foglamps on. The foglamp
indicator light
will illuminate.
PANEL DIMMER CONTROL
Use to adjust the brightness of the
instrument panel during headlamp
and parklamp operation.
²Rotate up to brighten.
²Rotate down to dim.
²Rotate to full up position (past
detent) to turn on interior lamps.
AUTOLAMP CONTROL
The autolamp system provides light
sensitive automatic on-off control of
the exterior lights normally
controlled by the headlamp control.
The autolamp system also keeps the
lights on for approximately 20
seconds after the ignition switch is
turned to OFF.
²To turn autolamps on, rotate the
control counterclockwise.
A
A
Controls and features
20
Page 21 of 256

²To turn autolamps off, rotate the control clockwise to OFF.
²Foglamps are not controlled by the autolamps. In order to turn on the
foglamps, you must turn the lamp switch to the
position and
pull toward you for fog.
POWER ADJUSTABLE FOOT PEDALS
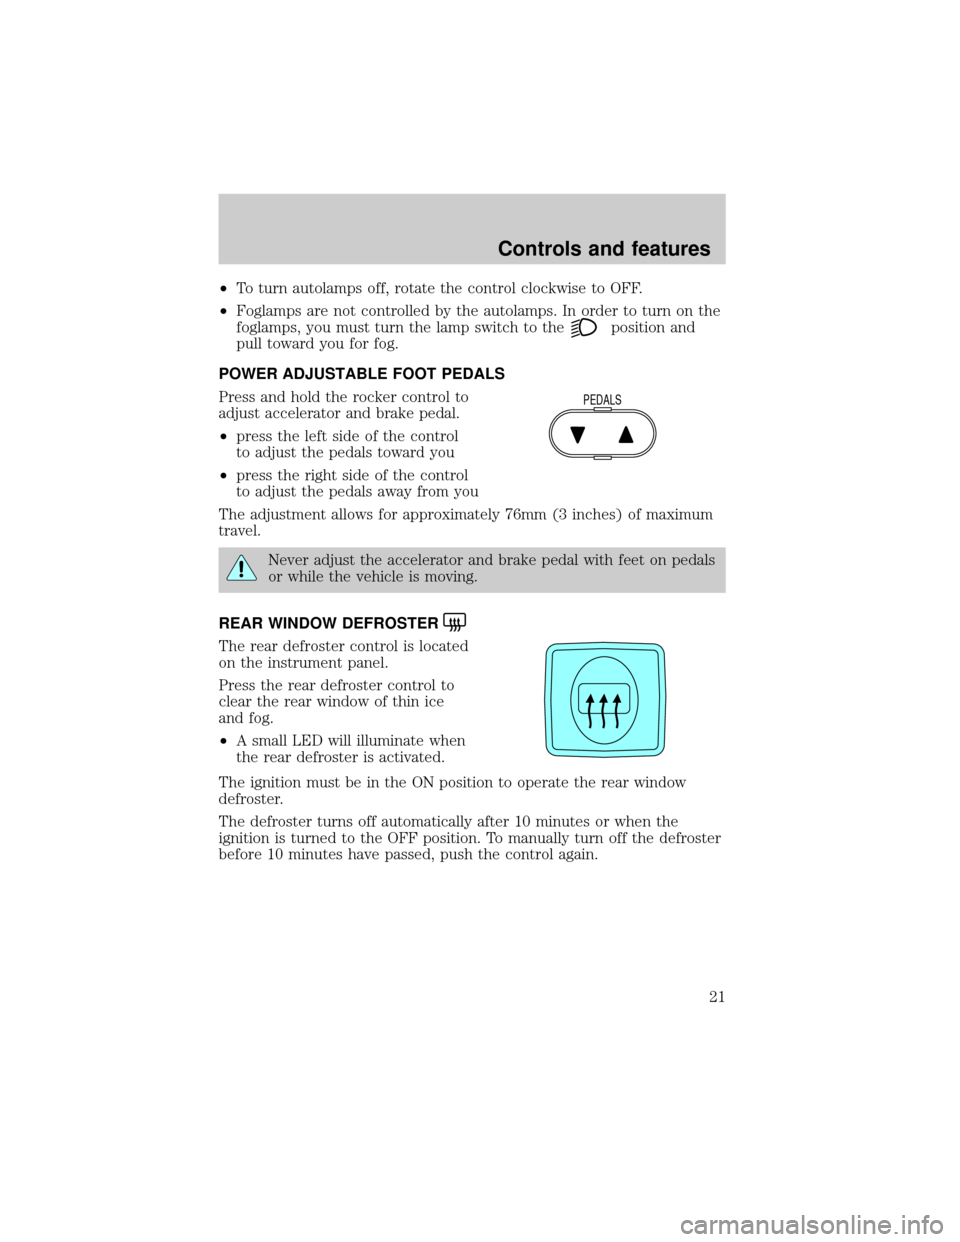
Press and hold the rocker control to
adjust accelerator and brake pedal.
²press the left side of the control
to adjust the pedals toward you
²press the right side of the control
to adjust the pedals away from you
The adjustment allows for approximately 76mm (3 inches) of maximum
travel.
Never adjust the accelerator and brake pedal with feet on pedals
or while the vehicle is moving.
REAR WINDOW DEFROSTER
The rear defroster control is located
on the instrument panel.
Press the rear defroster control to
clear the rear window of thin ice
and fog.
²A small LED will illuminate when
the rear defroster is activated.
The ignition must be in the ON position to operate the rear window
defroster.
The defroster turns off automatically after 10 minutes or when the
ignition is turned to the OFF position. To manually turn off the defroster
before 10 minutes have passed, push the control again.
PEDALS
Controls and features
21
Page 22 of 256

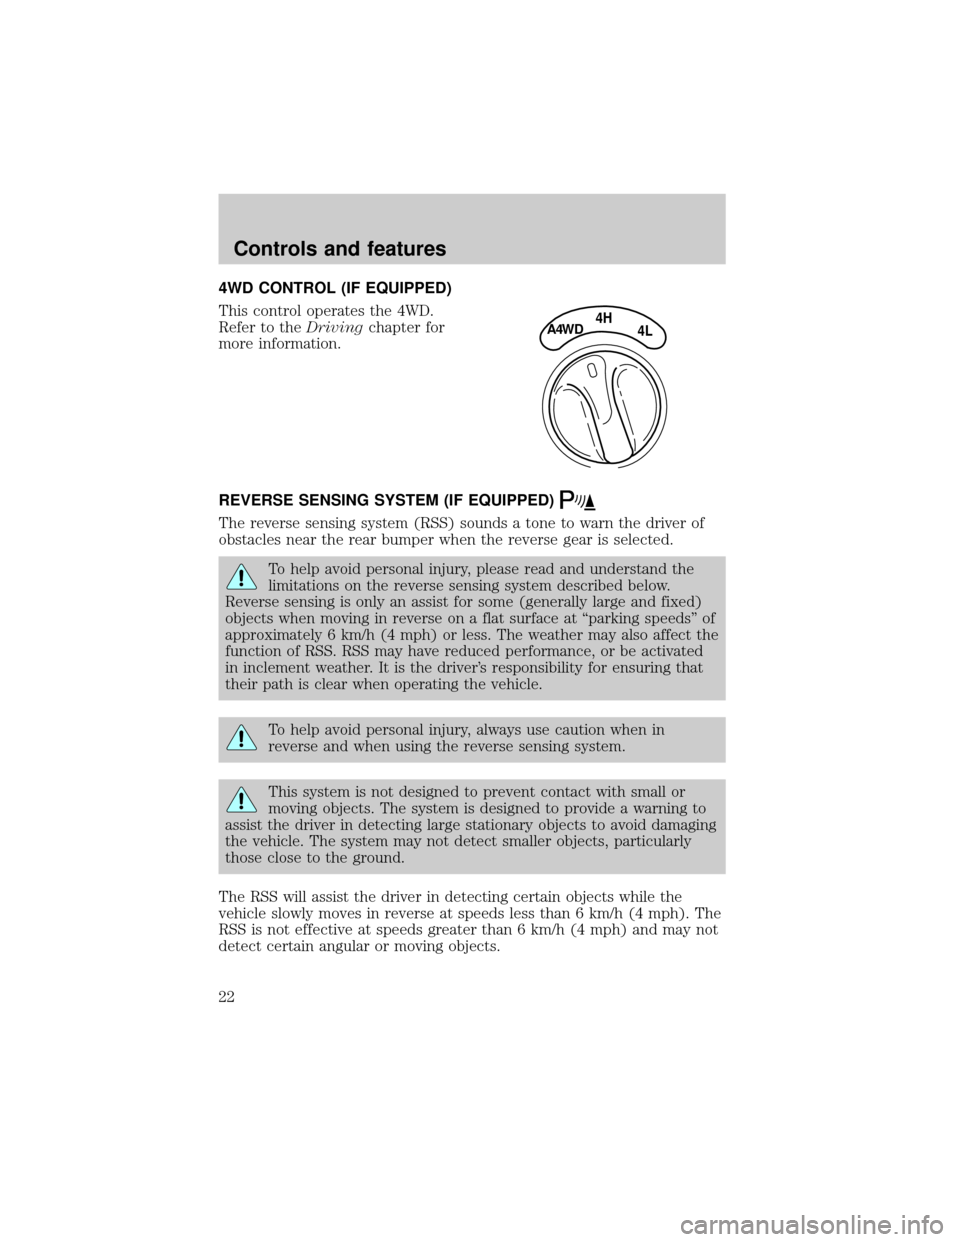
4WD CONTROL (IF EQUIPPED)
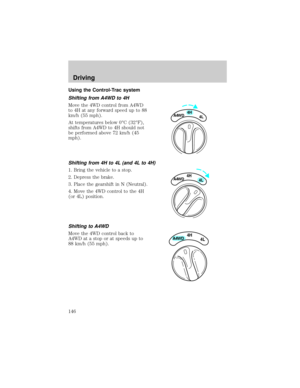
This control operates the 4WD.
Refer to theDrivingchapter for
more information.
REVERSE SENSING SYSTEM (IF EQUIPPED)
The reverse sensing system (RSS) sounds a tone to warn the driver of
obstacles near the rear bumper when the reverse gear is selected.
To help avoid personal injury, please read and understand the
limitations on the reverse sensing system described below.
Reverse sensing is only an assist for some (generally large and fixed)
objects when moving in reverse on a flat surface at ªparking speedsº of
approximately 6 km/h (4 mph) or less. The weather may also affect the
function of RSS. RSS may have reduced performance, or be activated
in inclement weather. It is the driver's responsibility for ensuring that
their path is clear when operating the vehicle.
To help avoid personal injury, always use caution when in
reverse and when using the reverse sensing system.
This system is not designed to prevent contact with small or
moving objects. The system is designed to provide a warning to
assist the driver in detecting large stationary objects to avoid damaging
the vehicle. The system may not detect smaller objects, particularly
those close to the ground.
The RSS will assist the driver in detecting certain objects while the
vehicle slowly moves in reverse at speeds less than 6 km/h (4 mph). The
RSS is not effective at speeds greater than 6 km/h (4 mph) and may not
detect certain angular or moving objects.
4HA4WD4L
Controls and features
22
Page 23 of 256

The reverse sensing system detects
obstacles within approximately 1.8
meters (5.9 ft.) of the rear bumper
with a decreased coverage area at
the outer corners of the bumper,
(refer to the figures for approximate
zone coverage areas). As you move
closer to the obstacle, the rate of
the tone increases. When the
distance to the obstacle is less than
25.0 cm (10 in.), the tone will sound
continuously. If the system detects a
stationary or receding object further
than 25.0 cm (10 in.) from the side
of the vehicle, the tone will sound
for only three seconds. Once the
system detects an object
approaching, the tone will sound
again.
A reverse sensing control allows the
driver to enable and disable the RSS
when the ignition is ON. The
reverse sensing control indicator
momentarily illuminates when the
ignition is turned ON.
The OFF indicator remains illuminated when the system is disabled. The
system defaults to ON every time the reverse gear is selected. Press the
control to disable or enable the system.
The indicator will remain illuminated to indicate a failure of the reverse
sensing system.
Always keep the sensors (located on the rear bumper/fascia) free
from dirt, snow and ice (do not clean the sensors with sharp
objects). These elements may cause the system to operate
inaccurately.
If the vehicle sustains damage to the rear bumper/fascia, leaving
it misaligned or bent, the sensing zone may be altered causing
inaccurate measurement of obstacles.
OFF
Controls and features
23
Page 24 of 256
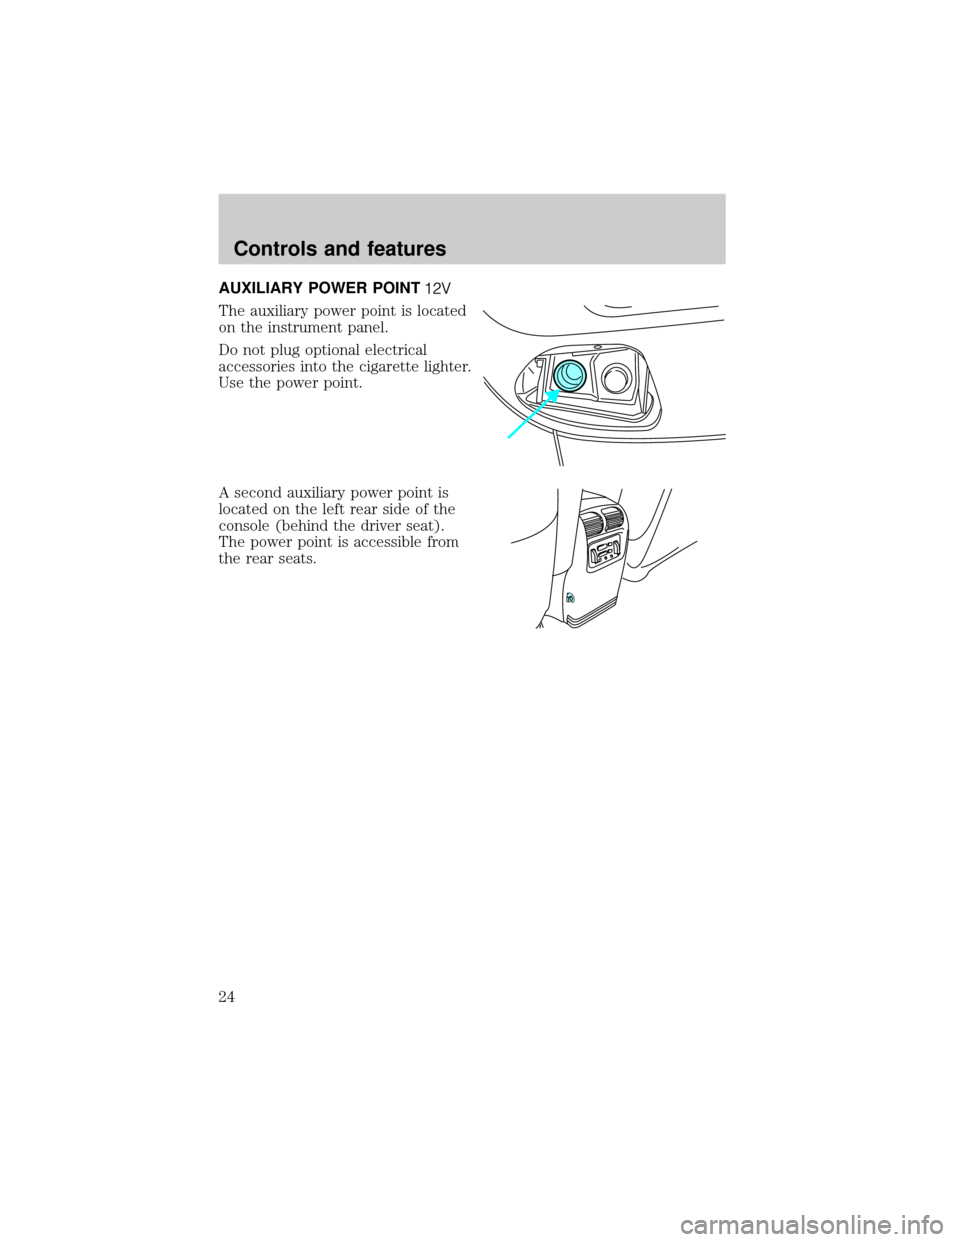
AUXILIARY POWER POINT
The auxiliary power point is located
on the instrument panel.
Do not plug optional electrical
accessories into the cigarette lighter.
Use the power point.
A second auxiliary power point is
located on the left rear side of the
console (behind the driver seat).
The power point is accessible from
the rear seats.
Controls and features
24