Page 65 of 256
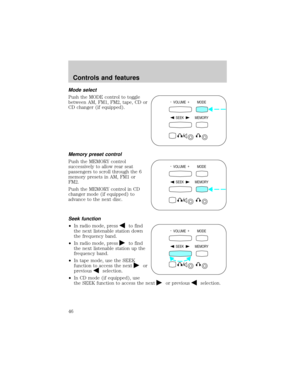
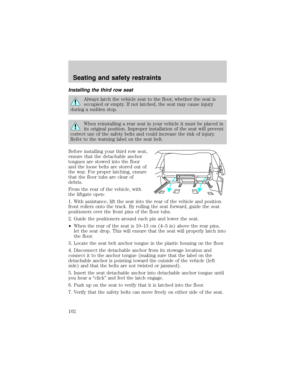
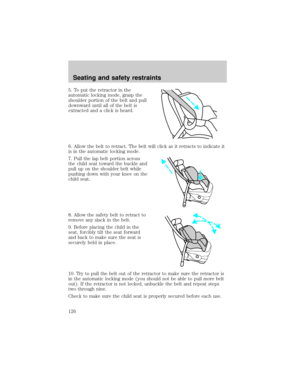
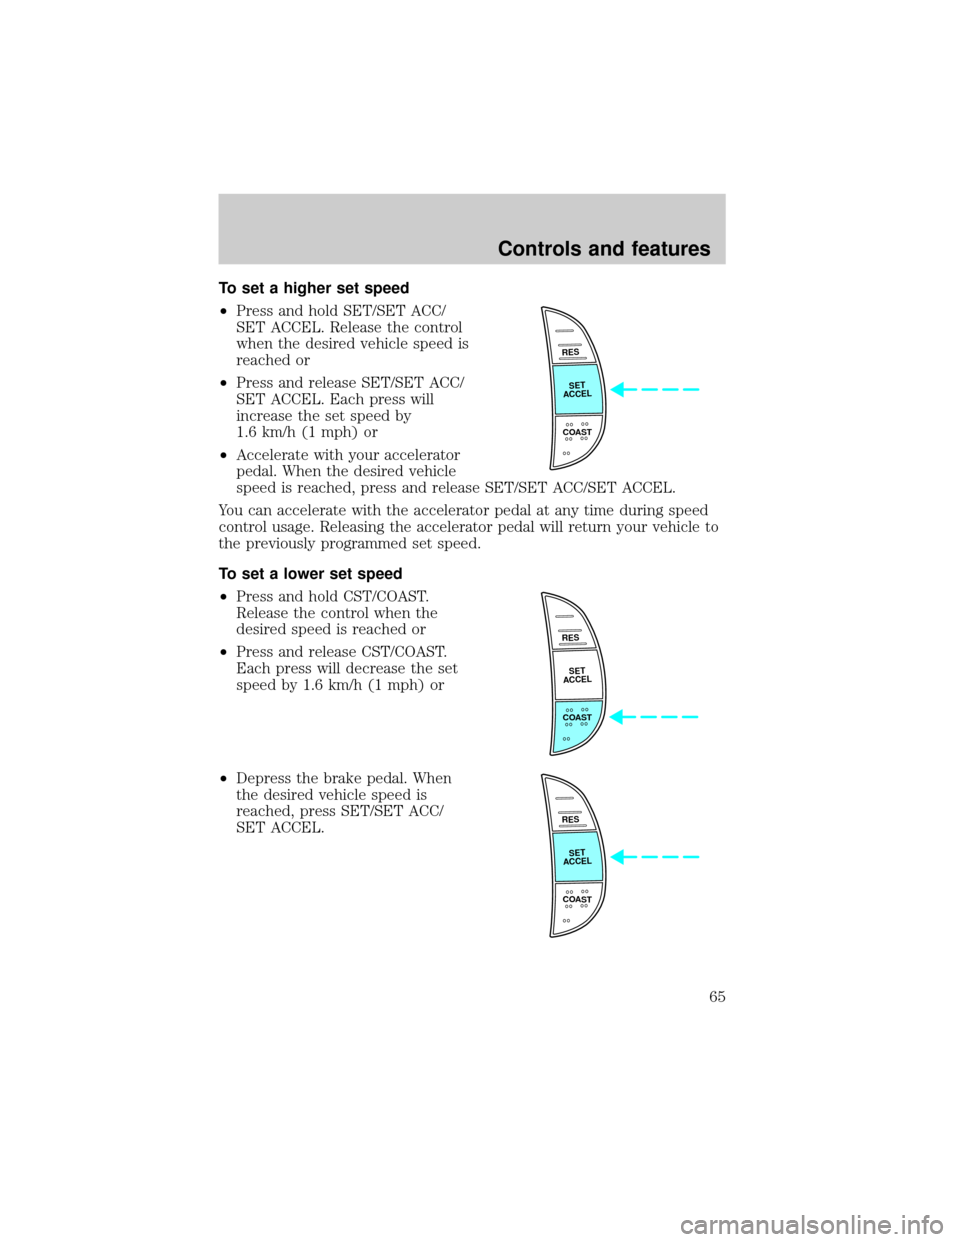
To set a higher set speed
²Press and hold SET/SET ACC/
SET ACCEL. Release the control
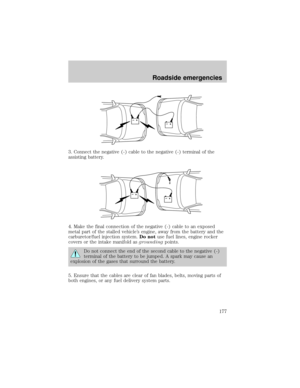
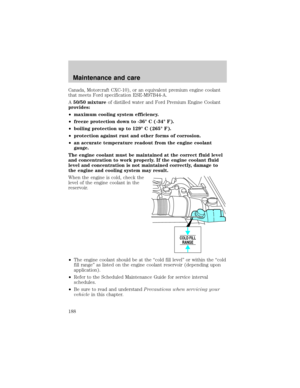
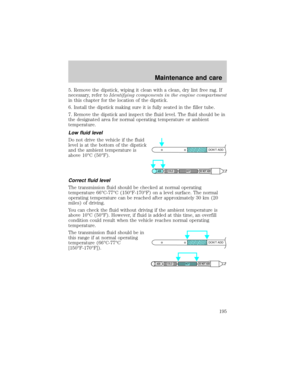
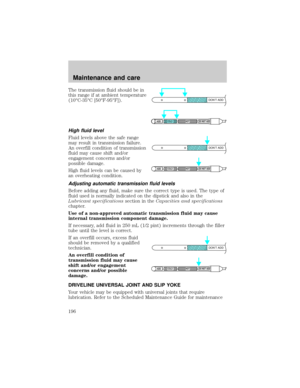
when the desired vehicle speed is
reached or
²Press and release SET/SET ACC/
SET ACCEL. Each press will
increase the set speed by
1.6 km/h (1 mph) or
²Accelerate with your accelerator
pedal. When the desired vehicle
speed is reached, press and release SET/SET ACC/SET ACCEL.
You can accelerate with the accelerator pedal at any time during speed
control usage. Releasing the accelerator pedal will return your vehicle to
the previously programmed set speed.
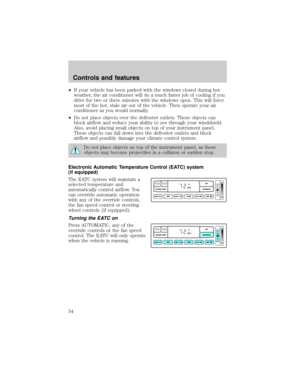
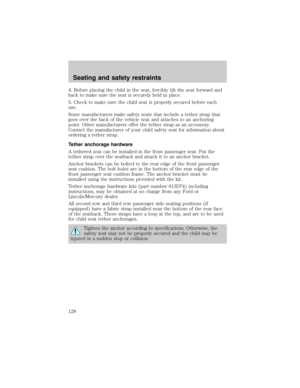
To set a lower set speed
²Press and hold CST/COAST.
Release the control when the
desired speed is reached or
²Press and release CST/COAST.
Each press will decrease the set
speed by 1.6 km/h (1 mph) or
²Depress the brake pedal. When
the desired vehicle speed is
reached, press SET/SET ACC/
SET ACCEL.
RES
SET
ACCEL
COAST
RES
SET
ACCEL
COAST
RES
SET
ACCEL
COAST
Controls and features
65
Page 66 of 256
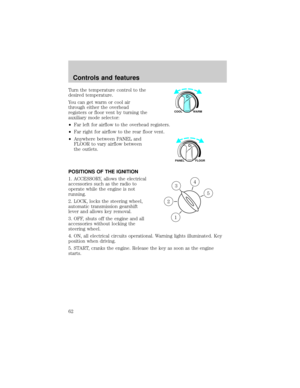
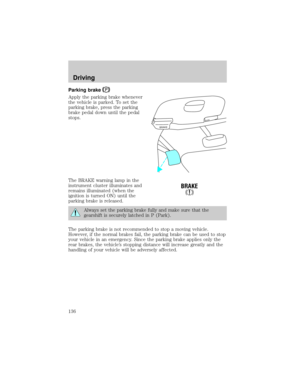
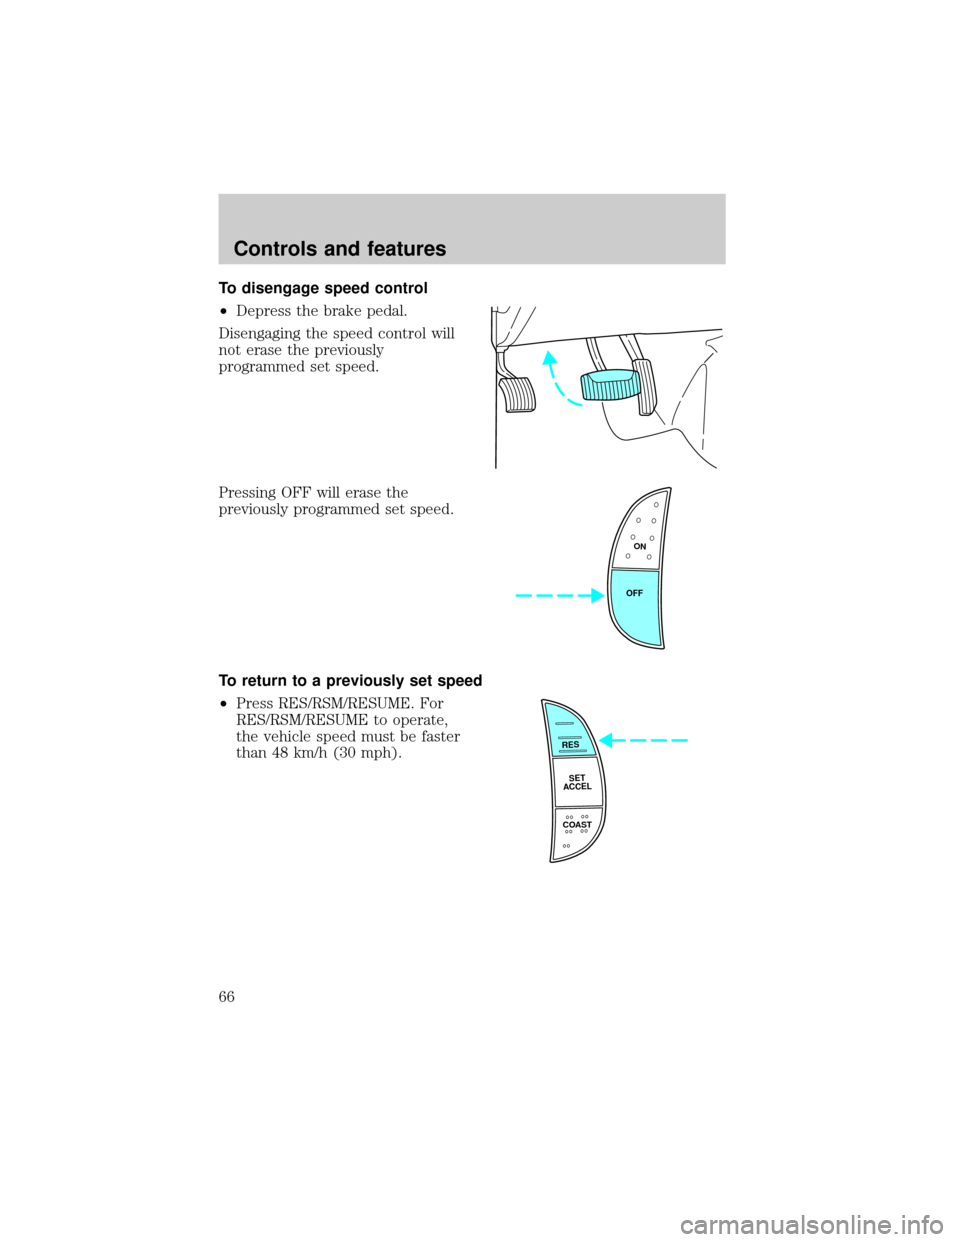
To disengage speed control
²Depress the brake pedal.
Disengaging the speed control will
not erase the previously
programmed set speed.
Pressing OFF will erase the
previously programmed set speed.
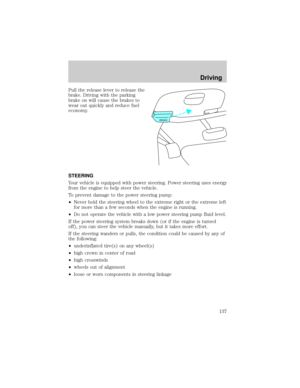
To return to a previously set speed
²Press RES/RSM/RESUME. For
RES/RSM/RESUME to operate,
the vehicle speed must be faster
than 48 km/h (30 mph).
ON
OFF
RES
SET
ACCEL
COAST
Controls and features
66
Page 67 of 256
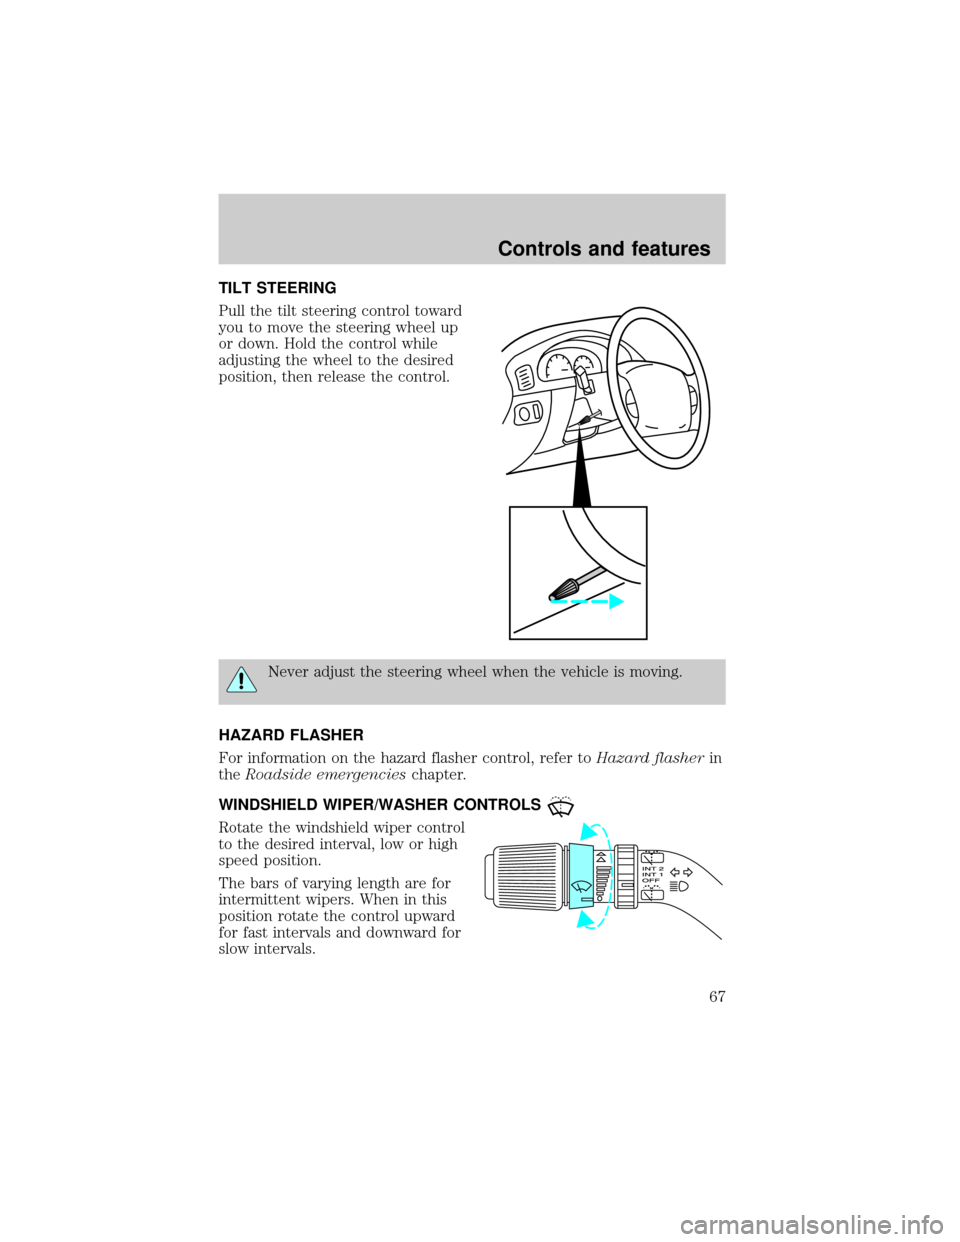
TILT STEERING
Pull the tilt steering control toward
you to move the steering wheel up
or down. Hold the control while
adjusting the wheel to the desired
position, then release the control.
Never adjust the steering wheel when the vehicle is moving.
HAZARD FLASHER
For information on the hazard flasher control, refer toHazard flasherin
theRoadside emergencieschapter.
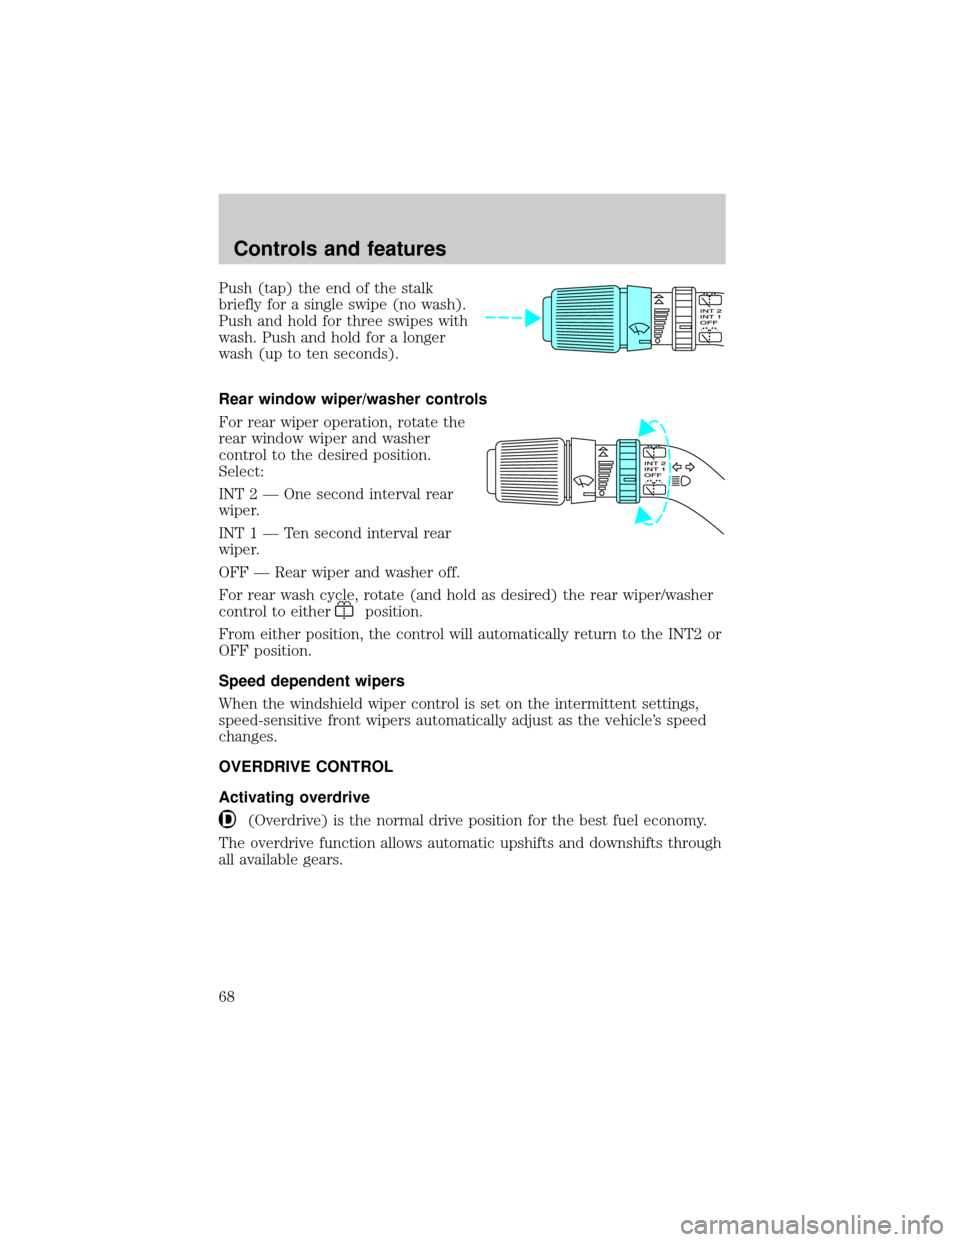
WINDSHIELD WIPER/WASHER CONTROLS
Rotate the windshield wiper control
to the desired interval, low or high
speed position.
The bars of varying length are for
intermittent wipers. When in this
position rotate the control upward
for fast intervals and downward for
slow intervals.
Controls and features
67
Page 68 of 256

Push (tap) the end of the stalk
briefly for a single swipe (no wash).
Push and hold for three swipes with
wash. Push and hold for a longer
wash (up to ten seconds).
Rear window wiper/washer controls
For rear wiper operation, rotate the
rear window wiper and washer
control to the desired position.
Select:
INT 2 Ð One second interval rear
wiper.
INT1ÐTensecond interval rear
wiper.
OFF Ð Rear wiper and washer off.
For rear wash cycle, rotate (and hold as desired) the rear wiper/washer
control to either
position.
From either position, the control will automatically return to the INT2 or
OFF position.
Speed dependent wipers
When the windshield wiper control is set on the intermittent settings,
speed-sensitive front wipers automatically adjust as the vehicle's speed
changes.
OVERDRIVE CONTROL
Activating overdrive
(Overdrive) is the normal drive position for the best fuel economy.
The overdrive function allows automatic upshifts and downshifts through
all available gears.
Controls and features
68
Page 69 of 256

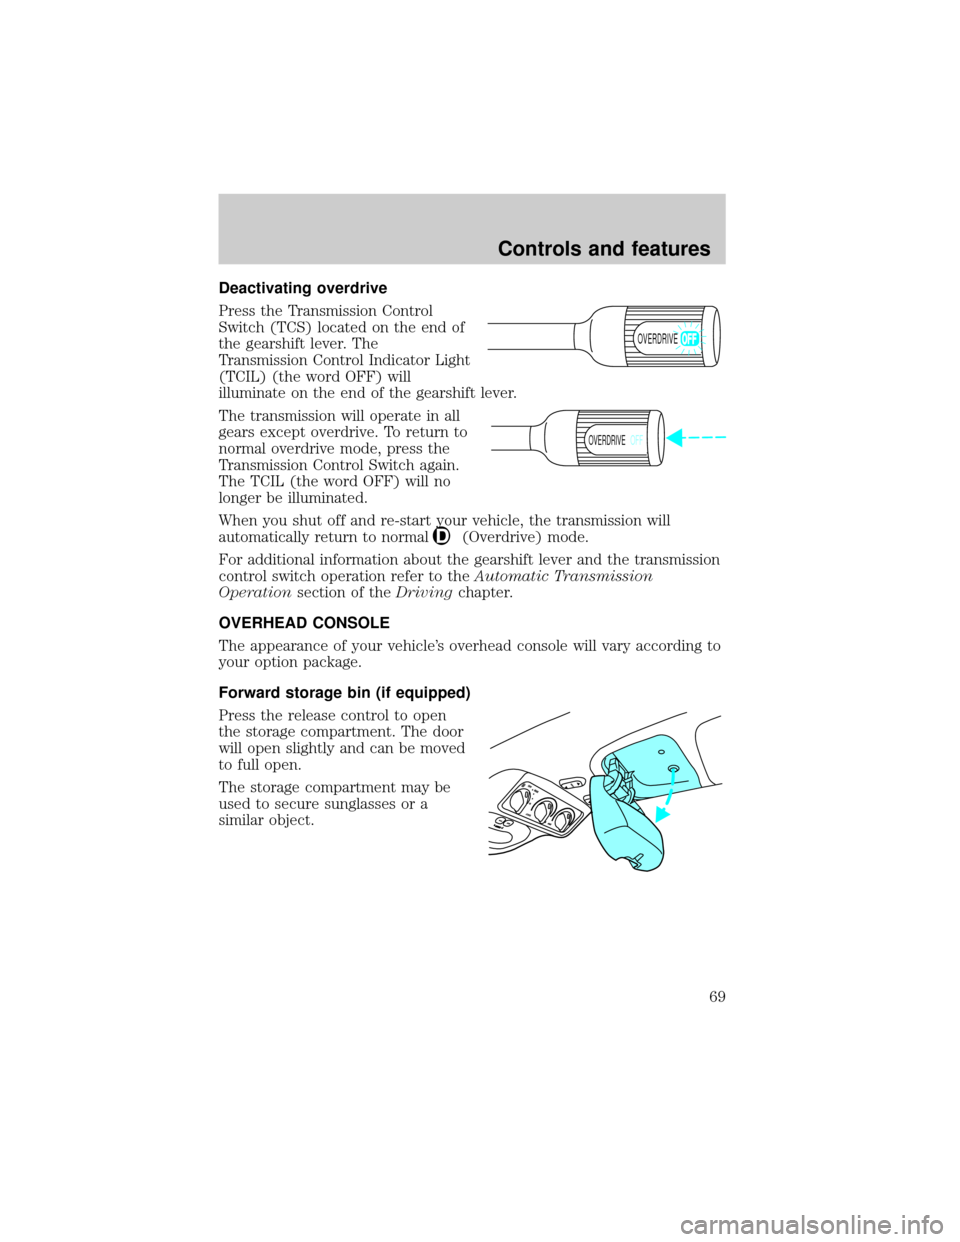
Deactivating overdrive
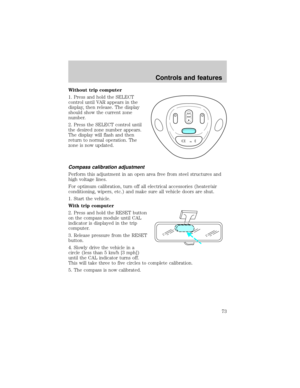
Press the Transmission Control
Switch (TCS) located on the end of
the gearshift lever. The
Transmission Control Indicator Light
(TCIL) (the word OFF) will
illuminate on the end of the gearshift lever.
The transmission will operate in all
gears except overdrive. To return to
normal overdrive mode, press the
Transmission Control Switch again.
The TCIL (the word OFF) will no
longer be illuminated.
When you shut off and re-start your vehicle, the transmission will
automatically return to normal
(Overdrive) mode.
For additional information about the gearshift lever and the transmission
control switch operation refer to theAutomatic Transmission
Operationsection of theDrivingchapter.
OVERHEAD CONSOLE
The appearance of your vehicle's overhead console will vary according to
your option package.
Forward storage bin (if equipped)
Press the release control to open
the storage compartment. The door
will open slightly and can be moved
to full open.
The storage compartment may be
used to secure sunglasses or a
similar object.
OVERDRIVE
OVERDRIVEOFF
Controls and features
69
Page 70 of 256
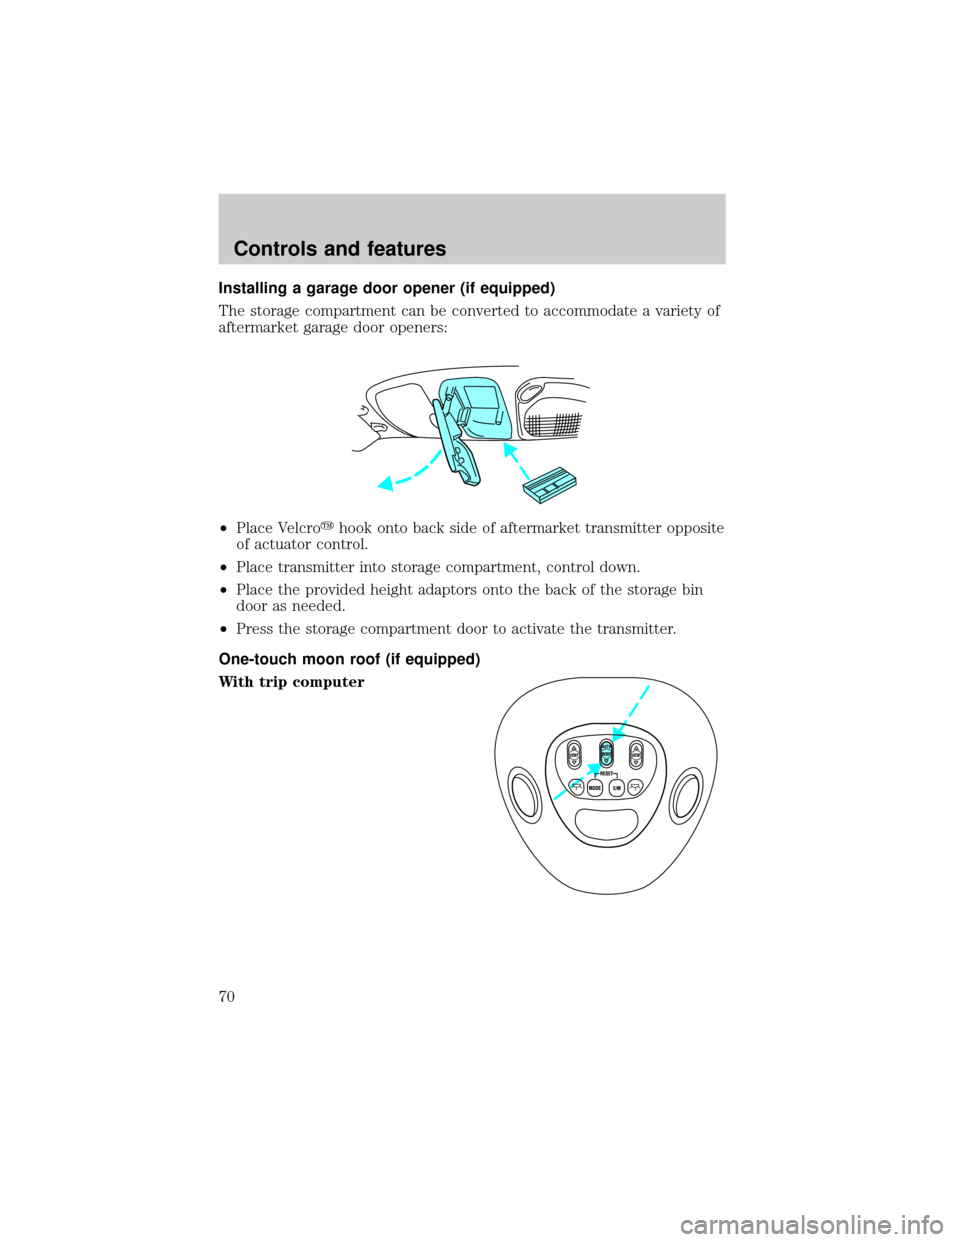
Installing a garage door opener (if equipped)
The storage compartment can be converted to accommodate a variety of
aftermarket garage door openers:
²Place Velcroyhook onto back side of aftermarket transmitter opposite
of actuator control.
²Place transmitter into storage compartment, control down.
²Place the provided height adaptors onto the back of the storage bin
door as needed.
²Press the storage compartment door to activate the transmitter.
One-touch moon roof (if equipped)
With trip computer
VENT VENTROOF
Controls and features
70
Page 71 of 256

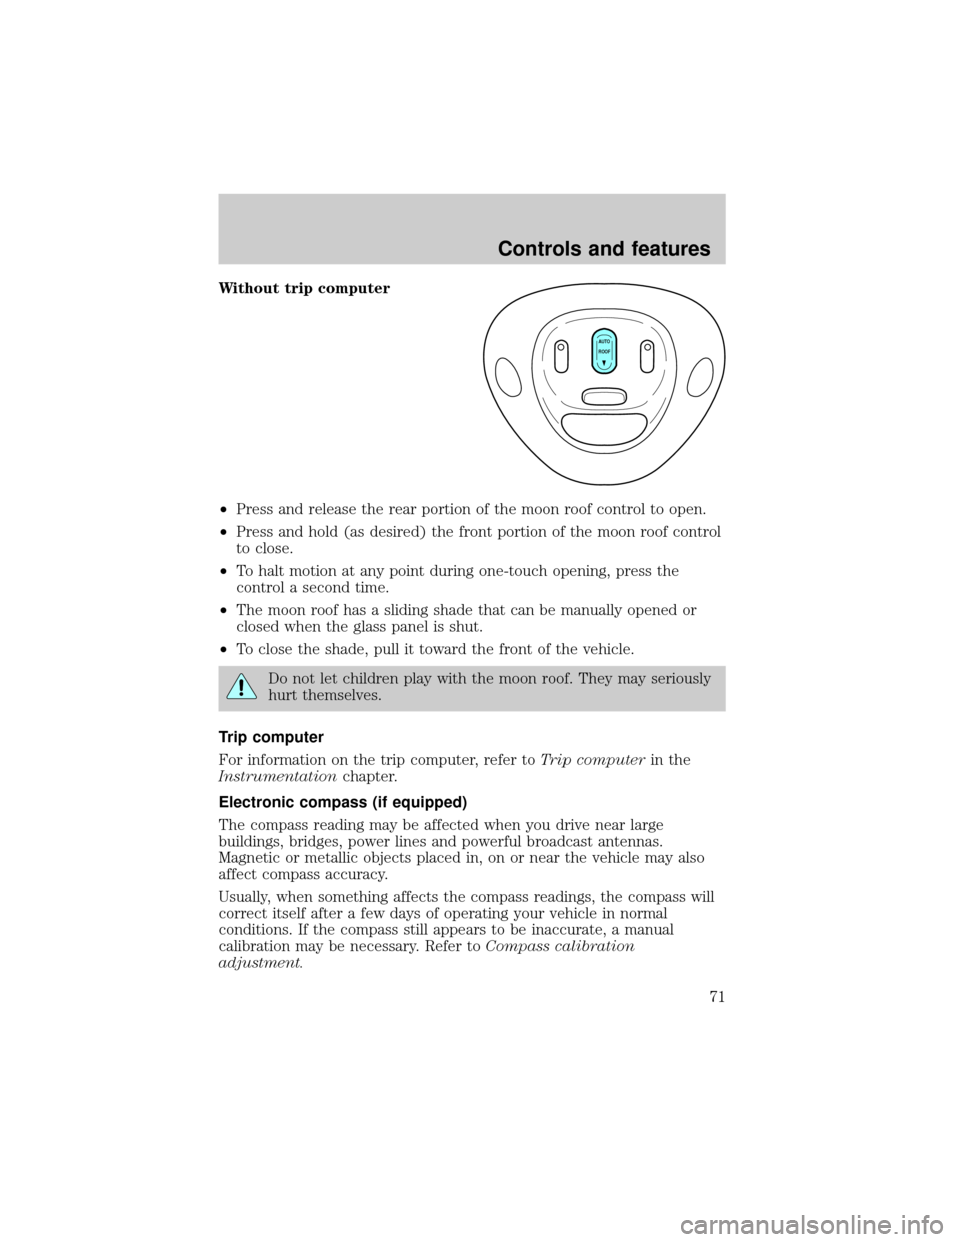
Without trip computer
²Press and release the rear portion of the moon roof control to open.
²Press and hold (as desired) the front portion of the moon roof control
to close.
²To halt motion at any point during one-touch opening, press the
control a second time.
²The moon roof has a sliding shade that can be manually opened or
closed when the glass panel is shut.
²To close the shade, pull it toward the front of the vehicle.
Do not let children play with the moon roof. They may seriously
hurt themselves.
Trip computer
For information on the trip computer, refer toTrip computerin the
Instrumentationchapter.
Electronic compass (if equipped)
The compass reading may be affected when you drive near large
buildings, bridges, power lines and powerful broadcast antennas.
Magnetic or metallic objects placed in, on or near the vehicle may also
affect compass accuracy.
Usually, when something affects the compass readings, the compass will
correct itself after a few days of operating your vehicle in normal
conditions. If the compass still appears to be inaccurate, a manual
calibration may be necessary. Refer toCompass calibration
adjustment.
AUTO
ROOF
Controls and features
71
Page 72 of 256
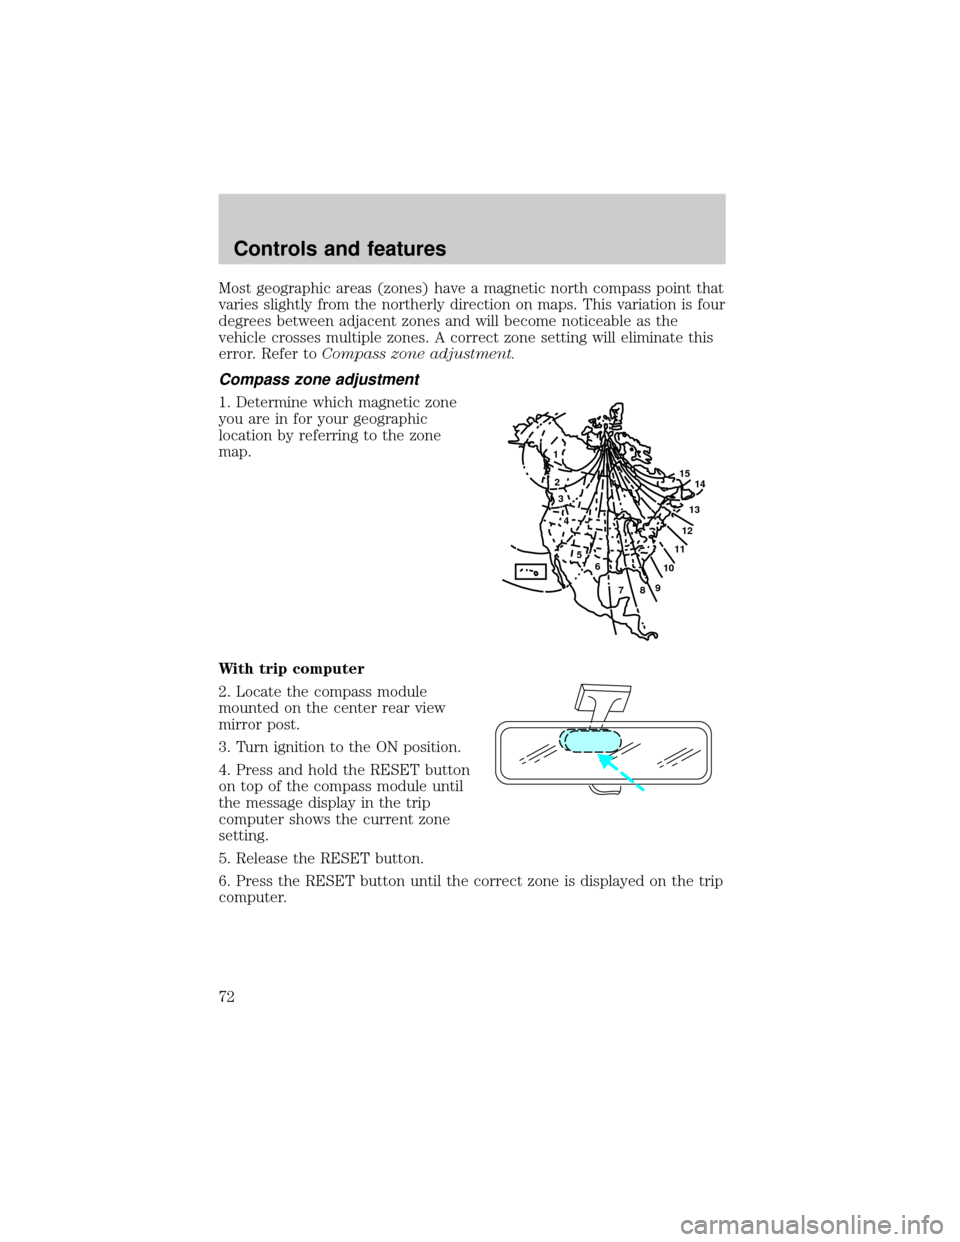
Most geographic areas (zones) have a magnetic north compass point that
varies slightly from the northerly direction on maps. This variation is four
degrees between adjacent zones and will become noticeable as the
vehicle crosses multiple zones. A correct zone setting will eliminate this
error. Refer toCompass zone adjustment.
Compass zone adjustment
1. Determine which magnetic zone
you are in for your geographic
location by referring to the zone
map.
With trip computer
2. Locate the compass module
mounted on the center rear view
mirror post.
3. Turn ignition to the ON position.
4. Press and hold the RESET button
on top of the compass module until
the message display in the trip
computer shows the current zone
setting.
5. Release the RESET button.
6. Press the RESET button until the correct zone is displayed on the trip
computer.
1
2
3
4
5
6
7891011121314 15
Controls and features
72