Page 75 of 189

75n
IndexDataTechnologyRepairsCar careControlsOverview
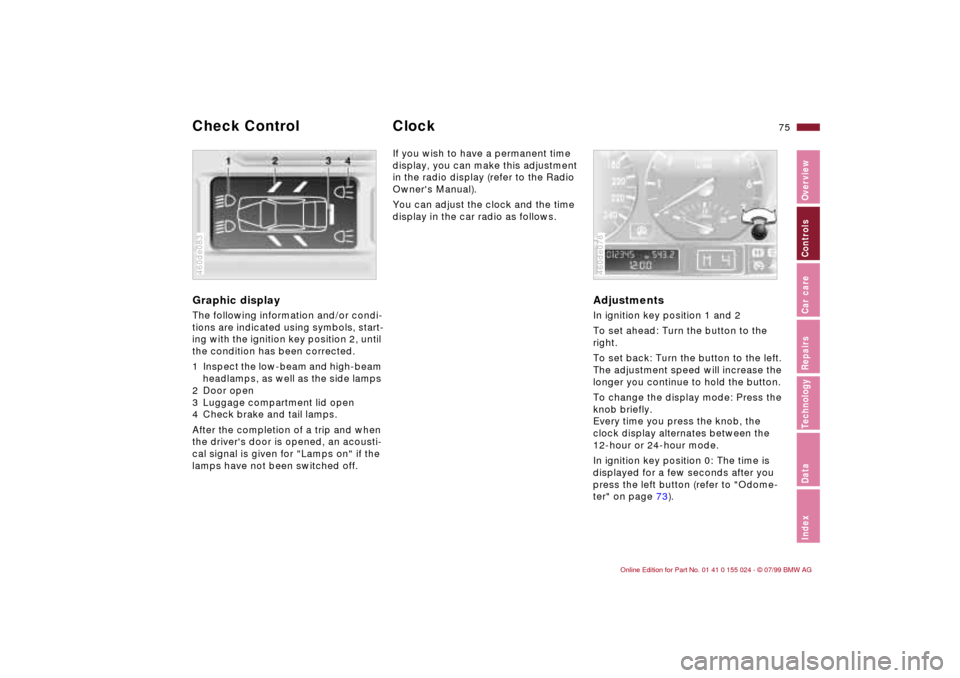
Graphic display The following information and/or condi-
tions are indicated using symbols, start-
ing with the ignition key position 2, until
the condition has been corrected.
1 Inspect the low-beam and high-beam
headlamps, as well as the side lamps
2 Door open
3 Luggage compartment lid open
4 Check brake and tail lamps.
After the completion of a trip and when
the driver's door is opened, an acousti-
cal signal is given for "Lamps on" if the
lamps have not been switched off.460de083
If you wish to have a permanent time
display, you can make this adjustment
in the radio display (refer to the Radio
Owner's Manual).
You can adjust the clock and the time
display in the car radio as follows.
AdjustmentsIn ignition key position 1 and 2
To set ahead: Turn the button to the
right.
To set back: Turn the button to the left.
The adjustment speed will increase the
longer you continue to hold the button.
To change the display mode: Press the
knob briefly.
Every time you press the knob, the
clock display alternates between the
12-hour or 24-hour mode.
In ignition key position 0: The time is
displayed for a few seconds after you
press the left button (refer to "Odome-
ter" on page 73).460de078
Check Control Clock
Page 92 of 189

92n
HiFi system Ð harman kardonSpecial acoustical effects are activated
or deactivated every time you press the
button.
When the system is activated, the im-
pression of a significantly larger pas-
senger compartment is created at all
seating areas, together with an im-
provement of the stereo effect.
When reception is weak, the system
frequently switches between stereo and
mono operation. Switch the feature off
if this occurs.460us287
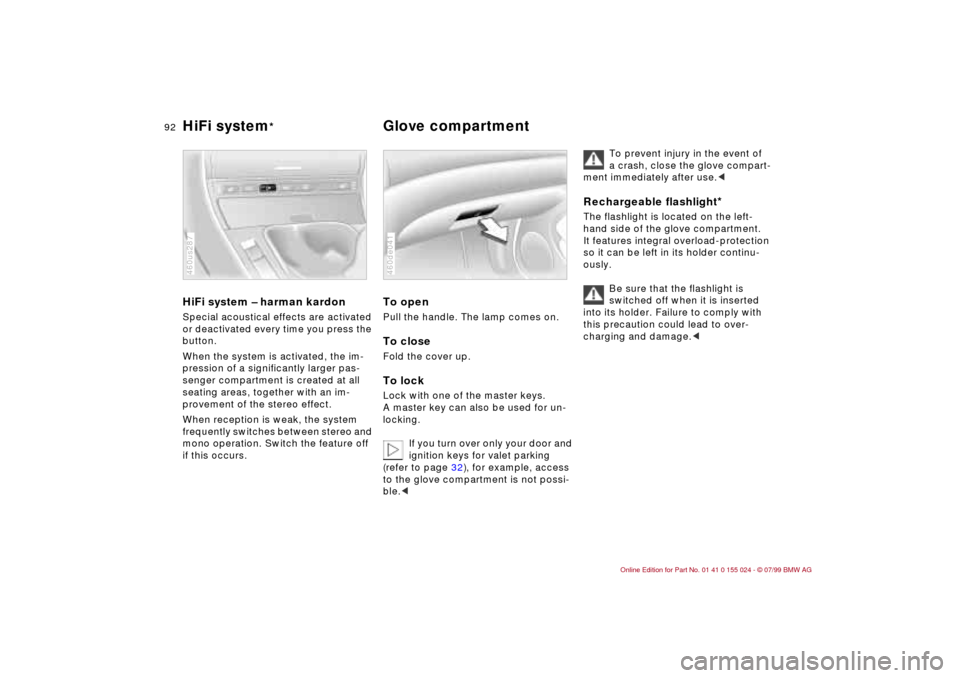
To openPull the handle. The lamp comes on.To closeFold the cover up.To lockLock with one of the master keys.
A master key can also be used for un-
locking.
If you turn over only your door and
ignition keys for valet parking
(refer to page 32), for example, access
to the glove compartment is not possi-
ble.<460de041
To prevent injury in the event of
a crash, close the glove compart-
ment immediately after use.<
Rechargeable flashlight
*
The flashlight is located on the left-
hand side of the glove compartment.
It features integral overload-protection
so it can be left in its holder continu-
ously.
Be sure that the flashlight is
switched off when it is inserted
into its holder. Failure to comply with
this precaution could lead to over-
charging and damage.<
HiFi system
* Glove compartment
Page 110 of 189

110n
Winter operationThe onset of winter is often accompa-
nied by rapid changes in weather.
Adaptations in driving style should be
accompanied by preparations on the
vehicle itself to ensure that your
progress through the winter remains
safe and trouble-free.CoolantBe sure that the coolant mixture con-
tains the year-round ratio of 50:50
water and extended-duty antifreeze/
corrosion protection. This mixture pro-
vides protection against freezing down
to approx. Ð 34 7 (Ð 37 6). Replace
the coolant every four years.LocksBMW door lock deicer can be used to
free them if frozen. This deicer also
contains lubricant.
After its use, treatment with BMW lock
barrel grease is recommended.Rubber seals and components To prevent the weather-stripping from
freezing, apply a spray-on rubber treat-
ment or silicone spray to the door, hood
and luggage compartment lid seals.
A full range of car care products is
available from your BMW center.<
Snow chains BMW snow chains
* can be mounted on
both summer and winter tires. Mount
them in pairs on the rear wheels only
and comply with the manufacturer's
safety precautions. Do not exceed a
maximum speed of 30 mph (50 km/h).
For best performance, deactivate the
DSC when snow chains are mounted.
Refer to page 79.
Starting offWhen starting from a full stop in deep
snow or for "rocking" the vehicle to free
it, we recommend that you deactivate
the DSC system. Refer to page 79.Driving on low-traction road
surfacesUse smooth, gentle pressure to control
the accelerator pedal. Avoid excessive
engine speeds and shift to the next
higher gear at an early point. On down-
grades or slopes, shift down to the next
lower gear at an early point. Maintain an
adequate distance between yourself
and the car ahead.
BrakesWinter road conditions substantially re-
duce the traction available between the
tires and the road surface. Remember
that braking distances will be signifi-
cantly longer as a result.
ABS is intended to prevent the wheels
from locking during brake applications,
thus helping to maintain vehicle stability
and steering response.
If the ABS does not respond in a critical
braking situation and the wheels lock:
Reduce the pressure on the brake pedal
until the wheels just start to roll again
while still maintaining enough force to
continue braking.
Following that, increase pedal pressure
again. Reduce the pressure as the
wheels lock, then reapply pressure.
Repeat this procedure. This type of
staggered braking will reduce the brak-
ing distance, and the vehicle still re-
mains responsive to steering. It allows
you to steer around hazards once you
have reduced the pressure on the brake
pedal.
Page 181 of 189

Everything from A to Z
181n
IndexDataTechnologyRepairsCar careControlsOverview
Clock75
refer also to the Radio
or Onboard Computer
Owner's Manual
Cockpit16
Coin holder, cup holder93
Combination switch68
Compression172
Computer76
Configure settings53
Consumption77
Consumption display74
Coolant110, 128, 175
antifreeze110
Coolant temperature
gauge74
Cooling system175
Cornering Brake Control
(CBC)21, 107
Cruise control71
Cruising range77
Curb weight174DDash lighting82
Dashboard16
Data
dimensions173
engine172
weights174
Daytime-driving lamp
switch82
Defrost position89Defroster, rear window90
Defrosting the windows89
Digital clock75
Dimensions173
Dipstick125
Disc brakes108
Displacement172
Display lighting82
Displays18
Distance warning78
Diversity Antenna164
Divided rear backrest97
Door key32
Door locks, care110
Doors
child-safety locks56
emergency operation34
unlocking and locking34
Draft-free ventilation90
Driving hints104
Driving in winter110
Driving lamps82
Dynamic Stability Control
(DSC)22, 79, 163
EElectric power windows44
Electrical accessories,
failure154
Electrical system176
Electronic vehicle
immobilizer33
Elements of operation16Emergency operation,
doors34
Energy Control73
Engine
starting61
Engine compartment122
Engine coolant128, 175
Engine data172
Engine oil
capacity175
consumption125
pressure20
quality126
specifications126
viscosity126
Engine oil level21, 22
check125
Engine speed172
Exterior mirrors52
FFailure messages75
Fault
ABS107
Fault displays75
Filler cap cover26
Filling capacities175
Filling the washer
reservoir175
First aid25
First-aid kit25
Fittings, towing and
tow-starting158Flashlight92
Flat tire113, 149
Fog lamps83
Folding rear backrest97
Footbrake108
Footwell lamps83
bulb replacement148
Front fog lamps83
bulb replacement145
Front seat-adjustment47
Frost protection,
radiator128
Fuel26
fuel injection172
Fuel consumption77
Fuel consumption
display74
Fuel filler door
releasing following an
electrical malfunction156
Fuel gauge74
Fuel quality26
Fuel reserve indicator
lamp74
Fuel tank capacity175
Fuel tank gauge74
Functional status168
Fuses154
GGasoline26
Gasoline gauge74
Glove compartment92
Page:
< prev 1-8 9-16 17-24