2000 BMW 323i SEDAN ECO mode
[x] Cancel search: ECO modePage 3 of 189

Preface
Congratulations, and thank you for choosing a BMW.
Thorough familiarity with your vehicle will provide you with enhanced control and
security when you drive it. We therefore have this request:
Please take the time to read this Owner's Manual and familiarize yourself with the
information that we have compiled for you before driving your new car. It contains
important data and instructions intended to assist you in gaining maximum use and
satisfaction from the unique range of technical features on your BMW. The manual
also contains information on care and maintenance designed to enhance operating
safety and contribute to maintaining the value of your BMW throughout an extended
service life.
This Owner's Manual should be considered a permanent part of this vehicle. It
should stay with the vehicle when sold to provide the next owner with important
operating, safety and maintenance information.
This manual is supplemented by a Service and Warranty Information Booklet
(US models) or a Warranty and Service Guide Booklet (Canadian models). We
recommend that you read these publications thoroughly.
Your BMW is covered by the following warranties:
Ð New Vehicle Limited Warranty
Ð Limited Warranty Rust Perforation
Ð Emissions System Defect Warranty
Ð Emissions Performance Warranty
Ð California Emissions Control System Limited Warranty
Detailed information about these warranties is listed in the Service and Warranty
Information Booklet (US models) and the Warranty and Service Guide Booklet
(Canadian models).
We wish you an enjoyable driving experience.
BMW AG
Page 21 of 189

21n
IndexDataTechnologyRepairsCar careControlsOverview
Indicator and warning lampsYellow: Stop immediately
Engine oil level
Comes on while driving: Stop
the vehicle and switch off the
engine immediately. The oil level is at
the absolute minimum.
For additional information: Refer to
page 125.
Do not continue driving until you
have topped up the engine oil. If
you continue to drive, the engine could
be damaged because of inadequate
lubrication.<
Red and yellow: Continue driving
cautiously
Cornering Brake Control (CBC) l
If the brake warning lamp comes
on together with the yellow indi-
cator lamps for ABS and DSC:
The entire ABS, CBC and DSC
control system has failed. Con-
tinue driving cautiously and
defensively. Avoid hard brake
applications. Please have the system
checked by your BMW center as soon as
possible.
For additional information: Refer to
pages 79 and 107.
CBC, ABS and DSC indicator
and warning lamps for Canadian
models.
Red: An important reminder
Parking brake
Comes on when the parking
brake is applied Ð an additional
acoustic signal sounds when starting
off.
For additional information: Refer to
page 63.
Brake warning lamp for Cana-
dian models.
Please fasten safety belts l
An acoustic warning signal
sounds simultaneously. Lights
up for a few seconds or until the safety
belt is fastened.
For additional information on safety
belts: Refer to page 54.
Airbags l
Please have the system in-
spected by your BMW center.
For additional information: Refer to
pages 56 and 163.
Page 34 of 189
34n
Central locking system Opening and closing Ð from outside The conceptThe central locking system is ready for
operation whenever the driver's door is
closed. The system engages and re-
leases the locks on the
>doors,
>luggage compartment lid and
>fuel filler door.
The central locking system can be
operated
>from outside via the door lock and
using the remote control
>from inside by pressing a button.
Activating it from inside does not lock
the fuel filler door (see page 38). When
the system is actuated from the out-
side, the antitheft system is activated
simultaneously. Both the door locks
and the safety lock buttons remain
locked. The alarm system
* is also
armed or disarmed.
If locked from the inside, the central
locking system unlocks automatically in
the event of an accident. In addition,
the hazard warning flashers and interior
lamps come on.
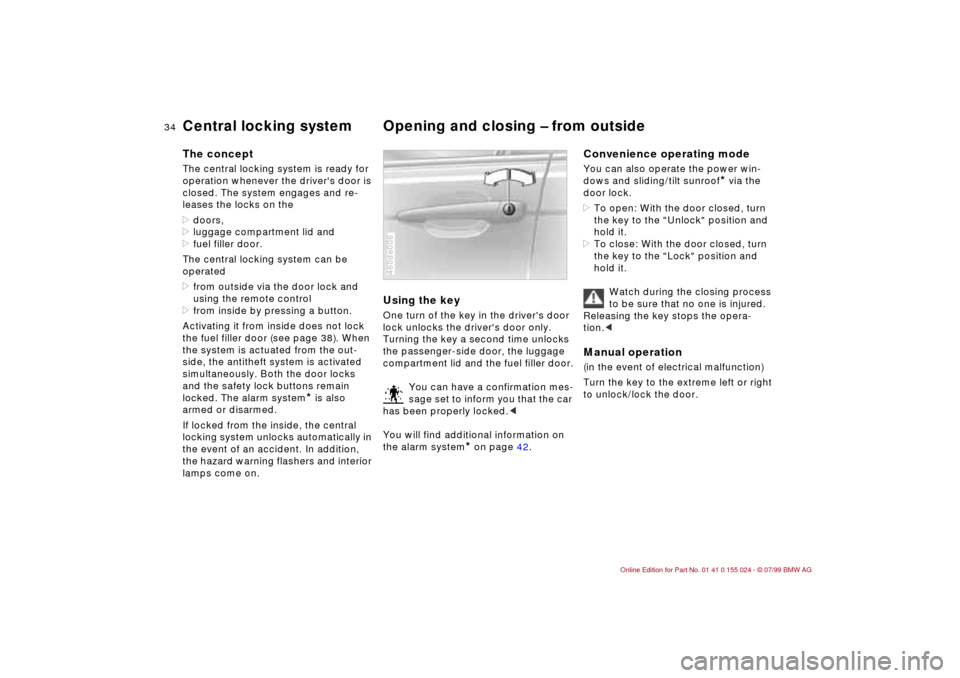
Using the keyOne turn of the key in the driver's door
lock unlocks the driver's door only.
Turning the key a second time unlocks
the passenger-side door, the luggage
compartment lid and the fuel filler door.
You can have a confirmation mes-
sage set to inform you that the car
has been properly locked.<
You will find additional information on
the alarm system
* on page 42.
460de006
Convenience operating modeYou can also operate the power win-
dows and sliding/tilt sunroof
* via the
door lock.
>To open: With the door closed, turn
the key to the "Unlock" position and
hold it.
>To close: With the door closed, turn
the key to the "Lock" position and
hold it.
Watch during the closing process
to be sure that no one is injured.
Releasing the key stops the opera-
tion.<
Manual operation (in the event of electrical malfunction)
Turn the key to the extreme left or right
to unlock/lock the door.
Page 37 of 189
37n
IndexDataTechnologyRepairsCar careControlsOverview
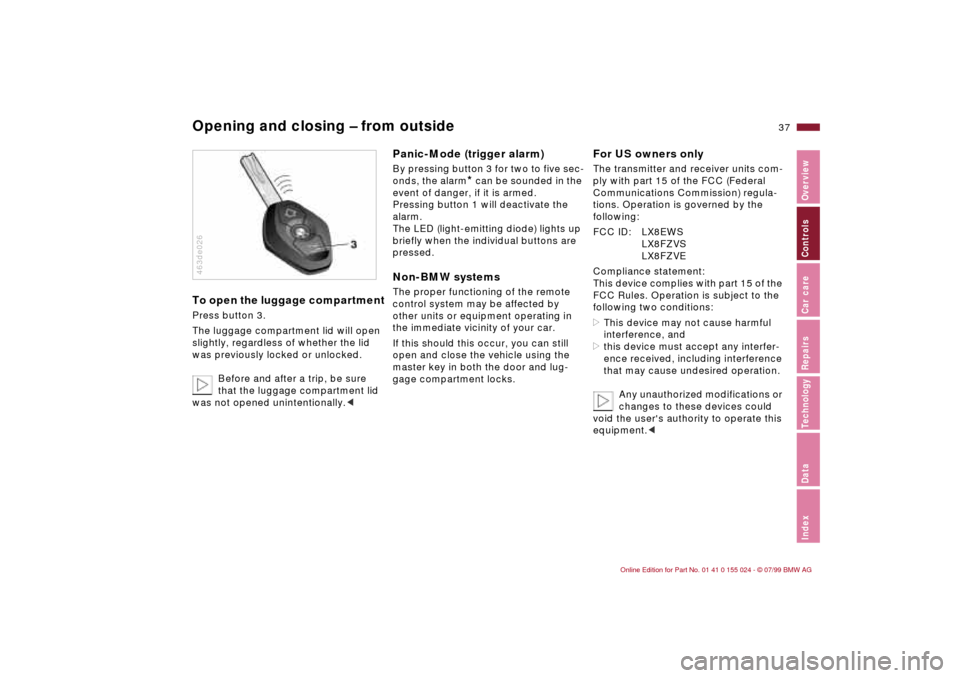
Opening and closing Ð from outsideTo open the luggage compartmentPress button 3.
The luggage compartment lid will open
slightly, regardless of whether the lid
was previously locked or unlocked.
Before and after a trip, be sure
that the luggage compartment lid
was not opened unintentionally.<463de026
Panic-Mode (trigger alarm)By pressing button 3 for two to five sec-
onds, the alarm
* can be sounded in the
event of danger, if it is armed.
Pressing button 1 will deactivate the
alarm.
The LED (light-emitting diode) lights up
briefly when the individual buttons are
pressed.
Non-BMW systemsThe proper functioning of the remote
control system may be affected by
other units or equipment operating in
the immediate vicinity of your car.
If this should this occur, you can still
open and close the vehicle using the
master key in both the door and lug-
gage compartment locks.
For US owners onlyThe transmitter and receiver units com-
ply with part 15 of the FCC (Federal
Communications Commission) regula-
tions. Operation is governed by the
following:
FCC ID: LX8EWS
LX8FZVS
LX8FZVE
Compliance statement:
This device complies with part 15 of the
FCC Rules. Operation is subject to the
following two conditions:
>This device may not cause harmful
interference, and
>this device must accept any interfer-
ence received, including interference
that may cause undesired operation.
Any unauthorized modifications or
changes to these devices could
void the user's authority to operate this
equipment.<
Page 43 of 189

43n
IndexDataTechnologyRepairsCar careControlsOverview
Alarm system
*
>If the indicator lamp flashes for
10 seconds when the system is dis-
armed: An attempted entry has been
detected in the period since the sys-
tem was armed.
Following triggering of an alarm, the in-
dicator lamp will flash continuously.Avoiding an unintentional alarmThe tilt alarm sensor and interior motion
sensor may be switched off at the same
time. You can do this to prevent a false
alarm from being triggered (in garages
with elevator ramps, for instance), or
when the vehicle is transported by
trailer or train:
Lock the vehicle twice (= arm the sys-
tem). Press button 2 on the remote con-
trol twice in succession or lock the
vehicle twice with the key (refer to
page 36).
The indicator lamp lights up briefly and
then flashes continuously. The tilt alarm
sensor and the interior motion sensor
are deactivated as long as the system is
armed.
Interior motion sensorThe transmitter and receiver of the inte-
rior motion sensor are located in a trim
panel in the vehicle's roof.
In order for the interior motion sensor to
function properly, the windows and
sliding/tilt sunroof must be completely
closed.
However, you should switch off the inte-
rior motion sensor (see previous column
under the heading "Avoiding an unin-
tentional alarm") if you wish to leave the
windows or sliding/tilt sunroof open.460de159
The tilt sensor and interior motion
sensor are deactivated if the con-
venience closing mode for the windows
and the sliding/tilt sunroof is interrupted
within the first 10 seconds and then
reinitiated. If this happens, you must
disarm the system and then re-arm it.<
Page 45 of 189
45n
IndexDataTechnologyRepairsCar careControlsOverview
Electric power windows Sliding/Tilt sunroof
*
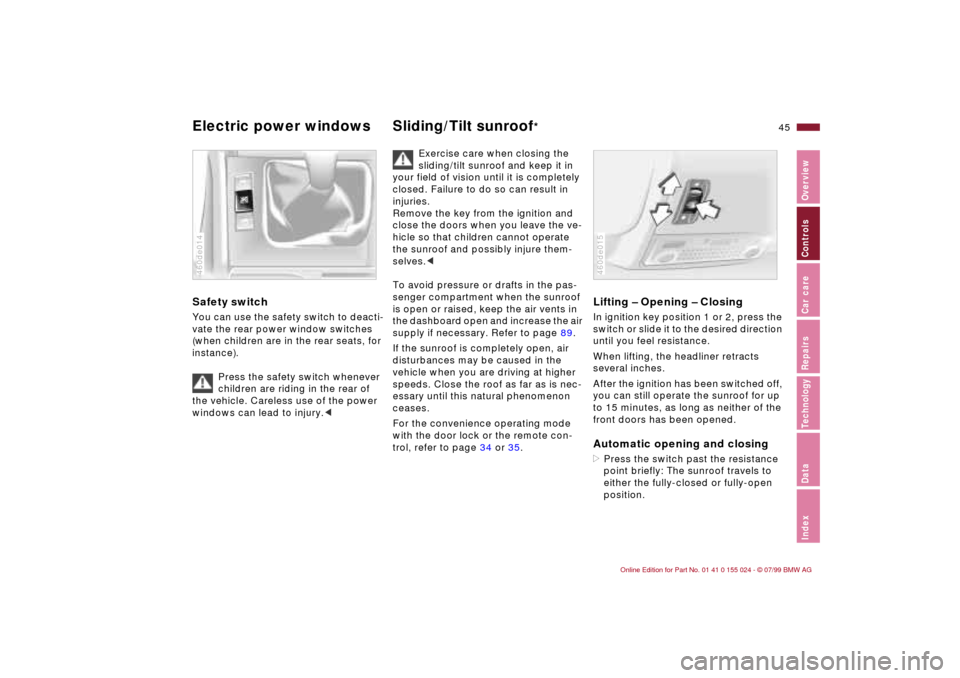
Safety switch You can use the safety switch to deacti-
vate the rear power window switches
(when children are in the rear seats, for
instance).
Press the safety switch whenever
children are riding in the rear of
the vehicle. Careless use of the power
windows can lead to injury.<460de014
Exercise care when closing the
sliding/tilt sunroof and keep it in
your field of vision until it is completely
closed. Failure to do so can result in
injuries.
Remove the key from the ignition and
close the doors when you leave the ve-
hicle so that children cannot operate
the sunroof and possibly injure them-
selves.<
To avoid pressure or drafts in the pas-
senger compartment when the sunroof
is open or raised, keep the air vents in
the dashboard open and increase the air
supply if necessary. Refer to page 89.
If the sunroof is completely open, air
disturbances may be caused in the
vehicle when you are driving at higher
speeds. Close the roof as far as is nec-
essary until this natural phenomenon
ceases.
For the convenience operating mode
with the door lock or the remote con-
trol, refer to page 34 or 35.
Lifting Ð Opening Ð ClosingIn ignition key position 1 or 2, press the
switch or slide it to the desired direction
until you feel resistance.
When lifting, the headliner retracts
several inches.
After the ignition has been switched off,
you can still operate the sunroof for up
to 15 minutes, as long as neither of the
front doors has been opened.Automatic opening and closing>Press the switch past the resistance
point briefly: The sunroof travels to
either the fully-closed or fully-open
position.460de015
Page 53 of 189
53n
IndexDataTechnologyRepairsCar careControlsOverview
Mirrors Car Memory, Key Memory Interior rearview mirror with
automatic dimming feature
*
By responding to the effects of ambient
light and the glare from following traffic,
this mirror automatically dims through
an infinitely-variable range.
The mirror switches to its clear, un-
dimmed mode whenever the transmis-
sion is placed in reverse gear (selector
lever in "Reverse").
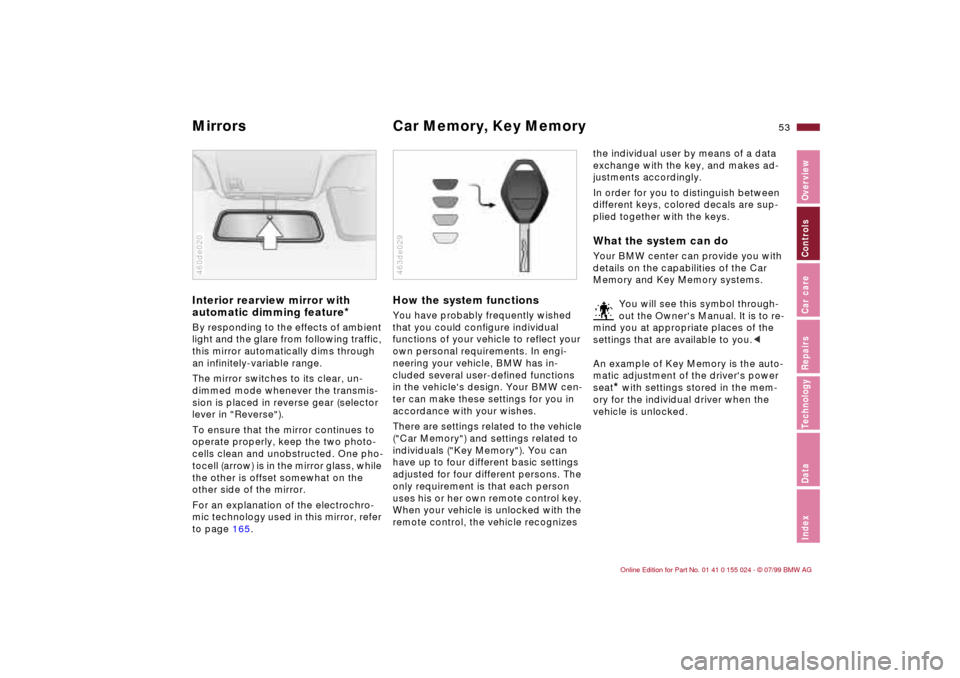
To ensure that the mirror continues to
operate properly, keep the two photo-
cells clean and unobstructed. One pho-
tocell (arrow) is in the mirror glass, while
the other is offset somewhat on the
other side of the mirror.
For an explanation of the electrochro-
mic technology used in this mirror, refer
to page 165.460de020
How the system functionsYou have probably frequently wished
that you could configure individual
functions of your vehicle to reflect your
own personal requirements. In engi-
neering your vehicle, BMW has in-
cluded several user-defined functions
in the vehicle's design. Your BMW cen-
ter can make these settings for you in
accordance with your wishes.
There are settings related to the vehicle
("Car Memory") and settings related to
individuals ("Key Memory"). You can
have up to four different basic settings
adjusted for four different persons. The
only requirement is that each person
uses his or her own remote control key.
When your vehicle is unlocked with the
remote control, the vehicle recognizes 463de029
the individual user by means of a data
exchange with the key, and makes ad-
justments accordingly.
In order for you to distinguish between
different keys, colored decals are sup-
plied together with the keys.What the system can doYour BMW center can provide you with
details on the capabilities of the Car
Memory and Key Memory systems.
You will see this symbol through-
out the Owner's Manual. It is to re-
mind you at appropriate places of the
settings that are available to you.<
An example of Key Memory is the auto-
matic adjustment of the driver's power
seat
* with settings stored in the mem-
ory for the individual driver when the
vehicle is unlocked.
Page 61 of 189
61n
IndexDataTechnologyRepairsCar careControlsOverview
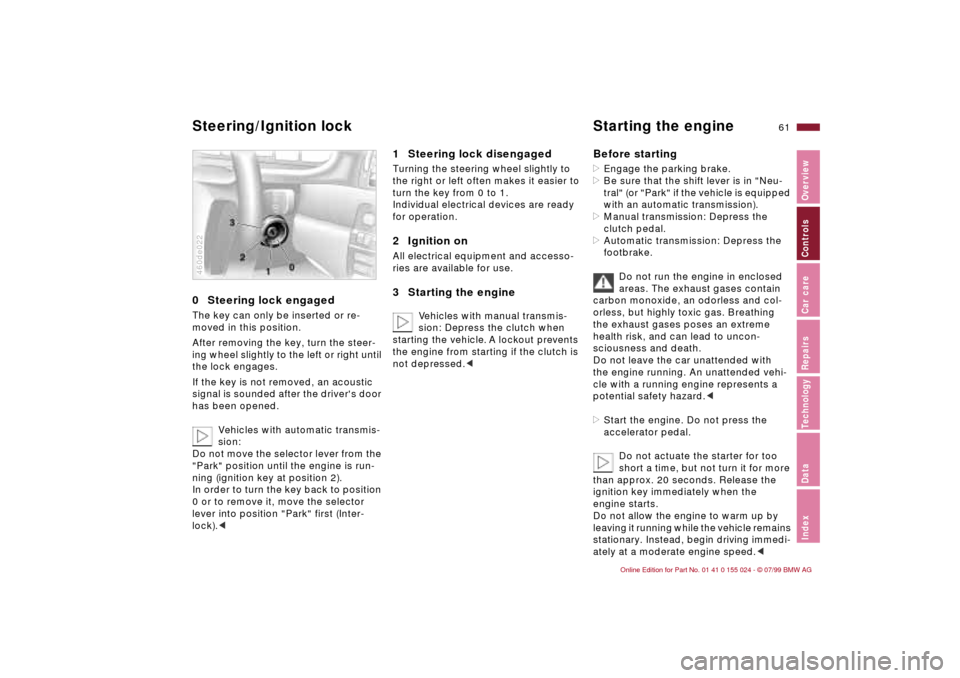
0 Steering lock engaged The key can only be inserted or re-
moved in this position.
After removing the key, turn the steer-
ing wheel slightly to the left or right until
the lock engages.
If the key is not removed, an acoustic
signal is sounded after the driver's door
has been opened.
Vehicles with automatic transmis-
sion:
Do not move the selector lever from the
"Park" position until the engine is run-
ning (ignition key at position 2).
In order to turn the key back to position
0 or to remove it, move the selector
lever into position "Park" first (Inter-
lock).<460de022
1 Steering lock disengaged Turning the steering wheel slightly to
the right or left often makes it easier to
turn the key from 0 to 1.
Individual electrical devices are ready
for operation.2 Ignition onAll electrical equipment and accesso-
ries are available for use.3 Starting the engine
Vehicles with manual transmis-
sion: Depress the clutch when
starting the vehicle. A lockout prevents
the engine from starting if the clutch is
not depressed.c
Before starting>Engage the parking brake.
>Be sure that the shift lever is in "Neu-
tral" (or "Park" if the vehicle is equipped
with an automatic transmission).
>Manual transmission: Depress the
clutch pedal.
>Automatic transmission: Depress the
footbrake.
Do not run the engine in enclosed
areas. The exhaust gases contain
carbon monoxide, an odorless and col-
orless, but highly toxic gas. Breathing
the exhaust gases poses an extreme
health risk, and can lead to uncon-
sciousness and death.
Do not leave the car unattended with
the engine running. An unattended vehi-
cle with a running engine represents a
potential safety hazard.<
>Start the engine. Do not press the
accelerator pedal.
Do not actuate the starter for too
short a time, but not turn it for more
than approx. 20 seconds. Release the
ignition key immediately when the
engine starts.
Do not allow the engine to warm up by
leaving it running while the vehicle remains
stationary. Instead, begin driving immedi-
ately at a moderate engine speed.<
Steering/Ignition lock Starting the engine