2000 BMW 323i SEDAN rear view mirror
[x] Cancel search: rear view mirrorPage 10 of 189

Contents
Overview
Controls and features
Cockpit16
Instrument cluster18
Indicator and warning lamps20
Multifunction steering wheel
(MFL)24
Hazard warning flashers25
Warning triangle25
First-aid kit25
Refueling26
Fuel specifications26
Tire inflation pressure27
Locks and security systems:
Keys32
Electronic vehicle
immobilizer33
Central locking system34
Opening and closing Ð from
outside34
Opening and closing Ð from
inside38
Luggage compartment lid39
Luggage compartment41
Alarm system42
Electric power windows44
Sliding/Tilt sunroof45
Adjustments:
Seats47
Seat and mirror memory50
Steering wheel51
Mirrors52
Car Memory, Key Memory53
Passenger safety systems:
Safety belts54
Child restraint systems55
Child-safety locks56
Airbags56
Child restraints59
Installing a child restraint
system60
Driving:
Steering/Ignition lock61
Starting the engine61
Switching off the engine62
Parking brake63
Manual transmission64
Automatic transmission with
Steptronic65
Turn signal indicator/Headlamp
flasher68
Wiper/Washer system/Rain
sensor68
Rear window defroster70
Cruise control71
Everything under control:
Odometer73
Tachometer73
Energy Control73
Fuel gauge74
Temperature gauge74
Service Interval Display74
Check Control75
Clock75
Onboard computer76
Technology for safety and
convenience:
Park Distance Control (PDC)78
Dynamic Stability Control
(DSC)79
Tire Pressure Control (RDC)80
Contents
Page 12 of 189

Contents
Owner service procedures
Advanced technology
Technical data
Replacement procedures:
Onboard tool kit142
Windshield wiper blades142
Lamps and bulbs142
Changing a wheel149
Battery152
Fuses154
Microfilter155
In case of electrical
malfunction:
Fuel filler door156
Sliding/Tilt sunroof156
Assistance, giving and
receiving:
Jump-starting157
Towing the vehicle158Adaptive Transmission Control
(ATC)162
Airbags163
Dynamic Stability Control
(DSC)163
Radio reception164
Safety belt tensioner164
Interior rearview mirror with
automatic dimming
feature165
Rain sensor166
Tire Pressure Control (RDC)167
Self-diagnostics168
Xenon lamps169Engine data172
Dimensions173
Weights174
Capacities175
Electrical system176
Ribbed V-belt176
Page 42 of 189

42n
Alarm system
*
The conceptThe vehicle's alarm system responds:
>When a door, the hood or the lug-
gage compartment lid is opened
>To movement inside the vehicle
(interior motion sensor)
>To a change of the vehicle's tilt Ð if
someone attempts to steal the wheels
or tow the vehicle without authoriza-
tion, for example
>If there is an interruption of battery
voltage.
The alarm system signals unauthorized
access to the vehicle or an attempted
theft in different ways:
>Sounding an acoustical alarm for
30 seconds
>The hazard warning flashers are acti-
vated for approx. five minutes.
To activate and deactivate the
alarm systemWhen the vehicle is locked or unlocked
by using a key or with the remote con-
trol, the alarm system is also simulta-
neously armed or disarmed.
The interior motion sensor is activated
approx. 30 seconds after you have fin-
ished locking the car.
If the alarm system has been armed
correctly, the hazard warning flashers
flash once. An acoustic warning signal
sounds at the same time.
You can have different acknow-
ledgment messages set to confirm
arming and disarming.<
You can also open the luggage com-
partment lid when the system is armed
by pressing button 3 of the remote con-
trol (refer to page 37). When it is closed,
the lid is once again secured.
Indicator lamp displaysThe indicator lamp is located under the
interior rearview mirror.
>When the indicator lamp flashes con-
tinuously: The system is armed.
>If the indicator lamp flashes during
arming of the system: The door(s),
the hood or luggage compartment lid
are not completely closed. Even if
you do not close the alerted area, the
system begins to monitor the remain-
ing areas, and the indicator lamp
flashes continuously after 10 sec-
onds. However, the interior motion
sensor is not activated.
>If the indicator lamp goes out when
the system is disarmed: No manipu-
lation or attempted intrusions have
been detected in the period since the
system was armed.460de105
Page 52 of 189

52n
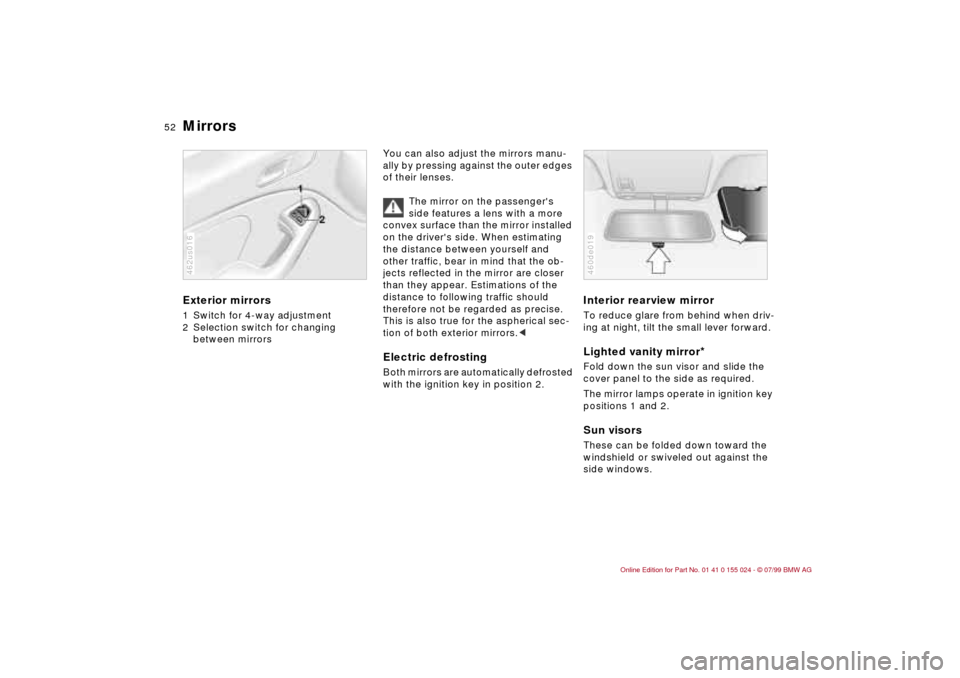
Mirrors Exterior mirrors1 Switch for 4-way adjustment
2 Selection switch for changing
between mirrors462us016
You can also adjust the mirrors manu-
ally by pressing against the outer edges
of their lenses.
The mirror on the passenger's
side features a lens with a more
convex surface than the mirror installed
on the driver's side. When estimating
the distance between yourself and
other traffic, bear in mind that the ob-
jects reflected in the mirror are closer
than they appear. Estimations of the
distance to following traffic should
therefore not be regarded as precise.
This is also true for the aspherical sec-
tion of both exterior mirrors.
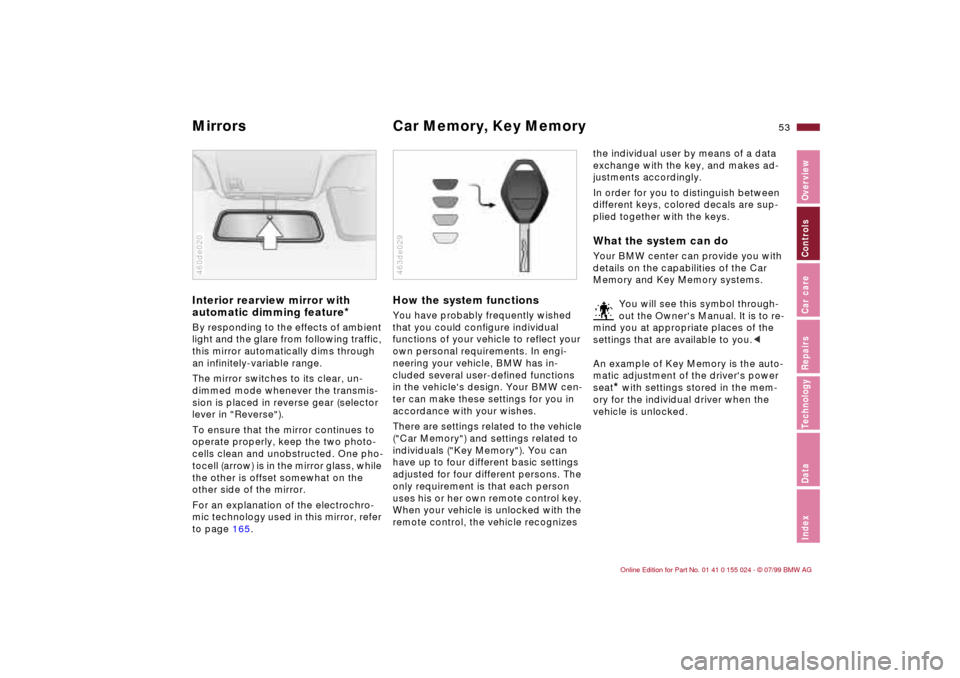
Interior rearview mirror To reduce glare from behind when driv-
ing at night, tilt the small lever forward.Lighted vanity mirror
*
Fold down the sun visor and slide the
cover panel to the side as required.
The mirror lamps operate in ignition key
positions 1 and 2.Sun visorsThese can be folded down toward the
windshield or swiveled out against the
side windows.460de019
Page 53 of 189

53n
IndexDataTechnologyRepairsCar careControlsOverview
Mirrors Car Memory, Key Memory Interior rearview mirror with
automatic dimming feature
*
By responding to the effects of ambient
light and the glare from following traffic,
this mirror automatically dims through
an infinitely-variable range.
The mirror switches to its clear, un-
dimmed mode whenever the transmis-
sion is placed in reverse gear (selector
lever in "Reverse").
To ensure that the mirror continues to
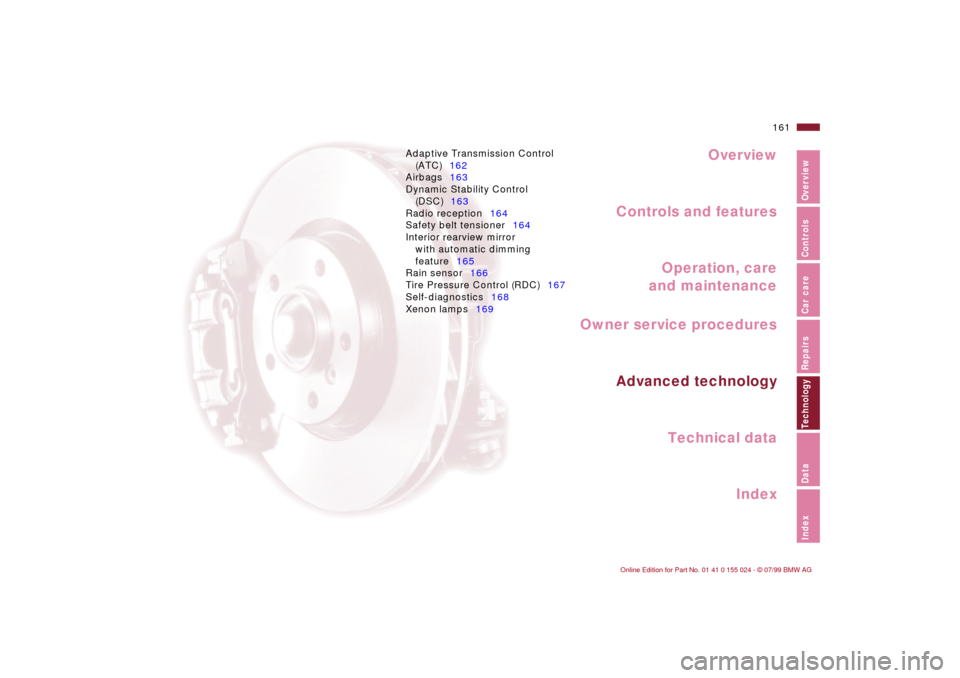
operate properly, keep the two photo-
cells clean and unobstructed. One pho-
tocell (arrow) is in the mirror glass, while
the other is offset somewhat on the
other side of the mirror.
For an explanation of the electrochro-
mic technology used in this mirror, refer
to page 165.460de020
How the system functionsYou have probably frequently wished
that you could configure individual
functions of your vehicle to reflect your
own personal requirements. In engi-
neering your vehicle, BMW has in-
cluded several user-defined functions
in the vehicle's design. Your BMW cen-
ter can make these settings for you in
accordance with your wishes.
There are settings related to the vehicle
("Car Memory") and settings related to
individuals ("Key Memory"). You can
have up to four different basic settings
adjusted for four different persons. The
only requirement is that each person
uses his or her own remote control key.
When your vehicle is unlocked with the
remote control, the vehicle recognizes 463de029
the individual user by means of a data
exchange with the key, and makes ad-
justments accordingly.
In order for you to distinguish between
different keys, colored decals are sup-
plied together with the keys.What the system can doYour BMW center can provide you with
details on the capabilities of the Car
Memory and Key Memory systems.
You will see this symbol through-
out the Owner's Manual. It is to re-
mind you at appropriate places of the
settings that are available to you.<
An example of Key Memory is the auto-
matic adjustment of the driver's power
seat
* with settings stored in the mem-
ory for the individual driver when the
vehicle is unlocked.
Page 69 of 189

69n
IndexDataTechnologyRepairsCar careControlsOverview
Wiper/Washer system1 Intermittent wipe or rain
sensor
*
Intermittent wipe:
You can use rotary dial 6 to select from
four wipe intervals.
In addition, the wipe interval automati-
cally adapts to variations in road speed.
Rain sensor:
The rain sensor is positioned on the
windshield, directly ahead of the inte-
rior rearview mirror. When the rain sen-
sor is activated, the windshield wiper is
controlled automatically, depending on
the degree of wetness of the windshield
(in both snow and rain). You do not
have to be concerned with switching
the windshield wiper on or off or adjust-
ing the wipe interval between intermit-
tent and full wipe. Instead, you can
concentrate fully on the traffic condi-
tions. This is especially important under
adverse weather conditions.
To activate the rain sensor:
In ignition key positions 1 or 2, move
the lever to position 1. The wipers travel
once across the windshield, regardless
of the weather.You can leave the lever permanently in
position 1, and then activate the rain
sensor in ignition key positions 1 or 2.
To do this,
>turn rotary dial 6 briefly or
>use the automatic windshield
washer 5.
To modify the sensitivity of the rain
sensor:
Turn rotary dial 6.
Turn the rain sensor off when
passing through an automatic car
wash. Failure to do so could result in
damage caused by undesired wiper
activation.<
2 Normal wiper speedWhen the vehicle is stationary, the wip-
ers switch automatically to intermittent
wipe (not on vehicles with rain sensor).3 Fast wiper speedWhen the vehicle is stationary, the wip-
ers operate at normal speed (not on
vehicles with rain sensor).5 Automatic windshield washer The system sprays washer fluid against
the windshield and activates the wipers
for a brief period.
If you pull the lever only briefly, the sys-
tem sprays washer fluid onto the wind-
shield without activating the wipers.
Page 161 of 189

Overview
Controls and features
Operation, care
and maintenance
Owner service procedures
Technical data
Index Advanced technology
161n
IndexDataTechnologyRepairsCar careControlsOverview
Adaptive Transmission Control
(ATC)162
Airbags163
Dynamic Stability Control
(DSC)163
Radio reception164
Safety belt tensioner164
Interior rearview mirror
with automatic dimming
feature165
Rain sensor166
Tire Pressure Control (RDC)167
Self-diagnostics168
Xenon lamps169
Technol-
Page 165 of 189

165n
IndexDataTechnologyRepairsCar careControlsOverview
Interior rearview mirror with automatic dimming feature
*
The interior rearview mirror with auto-
matic dimming feature reduces blinding
from following traffic by adapting the
intensity of the reflected images to cor-
respond to levels of light registered by
the unit's sensors. The mirror reverts to
its undimmed setting as soon as the
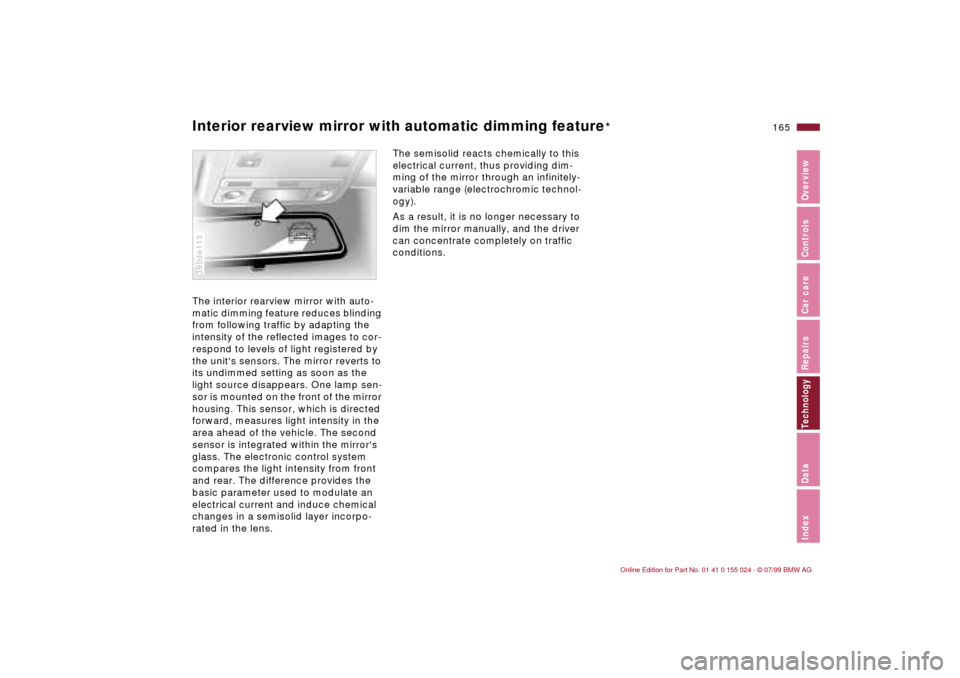
light source disappears. One lamp sen-
sor is mounted on the front of the mirror
housing. This sensor, which is directed
forward, measures light intensity in the
area ahead of the vehicle. The second
sensor is integrated within the mirror's
glass. The electronic control system
compares the light intensity from front
and rear. The difference provides the
basic parameter used to modulate an
electrical current and induce chemical
changes in a semisolid layer incorpo-
rated in the lens.390de113
The semisolid reacts chemically to this
electrical current, thus providing dim-
ming of the mirror through an infinitely-
variable range (electrochromic technol-
ogy).
As a result, it is no longer necessary to
dim the mirror manually, and the driver
can concentrate completely on traffic
conditions.