2000 AUDI ALLROAD change time
[x] Cancel search: change timePage 83 of 306
CONTROLS AND
EQUIPMENT---------------------
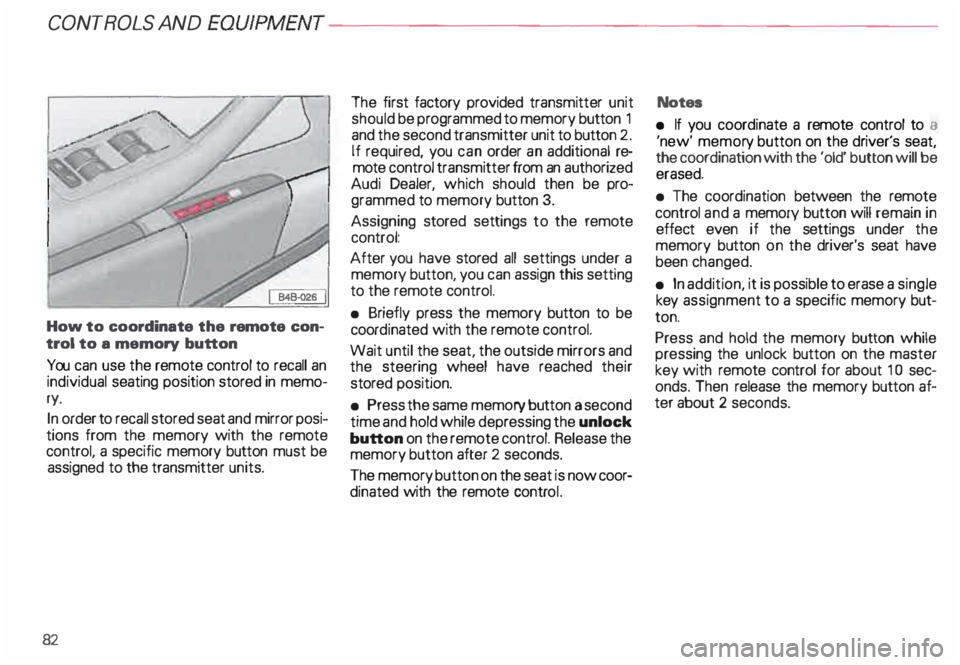
How to coordinate the remote con
trol to a memory button
You can use the remote control to recall an
individual seating position stored in memo
ry.
In order to recall stored seat and mirror posi
tions from the memory with the remote
control, a specific memory button must be
assigned to the transmitter units.
82 The
first factory provided transmitter unit
should be programmed to memory button 1
and the second transmitter unit to button 2.
If required, you can order an additional re
mote control transmitter from an authorized
Audi Dealer, which should then be pro
grammed to memory button 3.
Assigning stored settings to the remote
control:
After you have stored all settings under a
memory button, you can assign this setting
to the remote control.
• Briefly press the memory button to be
coord inated with the remote control.
Wait until the seat, the outside mirrors and
the steering wheel have reached their
stored position.
• Press the same memory button a second
time and hold while depressing the unlock
button on the remote control. Release the
memory button after 2 seconds.
The memory button on the seat is now coor
dinated with the remote control. Notes
• If you coordinate a remote control to a
'new' memor y button on the driver's seat,
the coordination with the 'old' button will be
erased.
• The coordination between the remote
control and a memory button will remain in
effect even if the settings under the
memory button on the driver's seat have
been changed.
• In addition, it is possible to erase a single
key assignment to a specific memory but
ton.
Press and hold the memory button while
pressing the unlock button on the master
key with remote control for about 1 0 sec
onds. Then release the memory button af
ter about 2 seconds.
Page 85 of 306
CONTROLS AND EQ
UIPMEN T---------------------
Retrieving using the
memory buttons
• With the passenger's door open, de
press and release the desired memory but
ton. The seat will automatically adjust to the
stored position.
• If the door has been closed, you must
then depress and hold the memory button
until the seat has reached its stored posi
tion.
Note
You can not reca ll the stored seat adjust
ment for the front passenger's seat using
the remote control in the master key.
84 Emergency
Off
In an emergency, you can interrupt
any retrieval procedure by
• pressing the '"STOP'" button (see il
lustration on page 81 and 83). or
• tapping one of the memory buttons.
Pushing the"ON/OFF"button to the OFF
position only switches off the Memory. The
stored settings will not be erased.
It's a good idea to turn the Memory off if the
vehicle is going to be used temporarily by a
driver whose driving position will not be
memorized.
The advantage is that the personal settings
that have already been memorized will re
main intact and will not change each time
the vehicle is unlocked using the remote
control. Note
The memory function is switched off when
the STOP button is pressed. The word
''OFF" lights up if the headlights are
switched on. However, the programmed
seat, outside mirrors and steering wheel
positions remain stored in the memory.
Page 119 of 306
CONTROLS AND
EQUIPMENT-----------------------------------------
Setting the time I date
• Pull the knob to set the hour. The hour
display will flash. Set the desired hour dis
play by turning the knob clockwise or coun
terclockwise.
• To set the minutes, pull the knob out
as often as needed to make the minutes dis
play flash. You can then set the minutes dis
play by turning the knob clockwise or coun
terclockwise.
• To set the date, pull the knob out as
often as needed to make the day, month or
year display flash. You can then set the day,
month or year display by turning the knob
clockwise or counterclockwise.
Yo ur clock will be set once the display stops
flashing after you operate the setting knob.
118 Changing
time zones
If you enter a new time zone, simply change
the hour display to the correct time -see
"Setting the time I date".
Tu rning the date display on and off
• Pull out the knob as often as needed to
make the date display flash.
o Turn the knob counterclockwise to deac
tivate the display, or clockwise to activate it.
The setting will be accepted as soon as the
display stop flashing after you operate the
setti ng knob.
3 - Warning and indicator lights
See page 122. 4
- Engine coolant -¥
-
temperature gauge
The needle in the coolant temperature
gauge will indicate the temperature of the
coolant when the ignition is switched on.
Engine cold
Avoid high engine speeds and heavy
throttle when the needle is still at the left of
the dial.
Normal temperature
During normal running, the needle will re
main somewhere in the middle of the dial.
If the engine is working hard at high outside
temperatures, the needle may also go fur
ther to the right, but this Is no cause for
concern as long as the coolant tem
perature warning light does not
flash.
Page 127 of 306
CONTROLS
AND EQUIPMENT---------------------
If there is an ABS problem:
o The ABS warning light to come
on. The vehicle can still be braked,
however, the ABS will not work. See
your authorized Audl Dealer as soon
as possible.
• The ABS warning light and the
brake warning light come on to
gether. The ABS will not work and
you will notice a change in braking
characteristics and performance.
�W ARNING
If both warning lights (ABS and
BRAKE warning light) come on at
the same time, the rear wheels
could lock up first under hard
braking. Rear wheel brake lock-up
can cause loss of vehicle control
and an accident. Have your vehicle
repaired immediately by your au
thorized Audi Dealer or a qualified
workshop. Drive slowly and avoid
sudden, hard brake application.
12 6 If
the ABS fails, the ESP warning light will
come on. See page and pages 202 -205.
Electronic differential lock (EDL)
The electronic differential lock works in con
junction with the ABS system. A fault in the
ABS causes therefore a malfunction of the
electr onic differential lock.
For more details on how the EDL works, go
to page 204.
Brake
USA models:
BRAKE
Canada models:
(Q))
The light comes on while the engine is
cranking. It goes out after the engine has
been started and the parking brake is fully
released. This is your assurance that the
brake warning light is functioning properly. A If the brake warning light does ¥ not light up when the engine is
cra nking or the parking brake is ap
plied, there may be a malfunction in
the electrical system. In this case,
contact your Audi Dealer.
When the light comes on, an audible warn
ing signal is also given.
�W ARNING
• If both warning lights (ABS and
BRAKE warning light) come on at
the same time, the rear wheels
could lock up first under hard
braking. Rear wheel brake lock-up
can cause loss of vehicle control
and an accident. Have your vehicle
repaired immediately by your au
thorized Audi Dealer or a qualified
workshop. Drive slowly and avoid
sudden, hard brake application.
Page 140 of 306

--------------------CONTROLS AND
EQUIPMEN T
When the red blinking symbols appear,
three warning tones will sound at the same
time. These symbols represent Danger.
• Do not continue to operate the
vehicle. The problem muat be lo
cated and corrected immediately.
Pull off the road to a safe area, well away
from traffic, stop the engine and operate the
emergency flasher. Use other warning de
vices to alert motorists. Contact your autho
rized Audi Dealer or a qualified workshop.
In the event of multiple malfunctions, the
symbols will blink successively in two-sec
ond interva ls. The symbols will continue to
blink until the malfunction is corrected.
Note If a malfunction is detected while you are
using the Navigation System, the Naviga
tion System display will be switched off for
a few seconds and the Priority 1 Warning
symbol will appear. After that, the symbol
will change into the Priority 2 display, and
the Navigation System will be visible once
again.
As long there is a Priority 1 malfunction
present, Priority 2 malfunctions will not be
displayed. Ye
llow Symbols (priority 2)
Brake light is defective
Headlight and/or taillight is defective
B rake pads worn
Windshield wiper fluid reserv oir
level is too low (moving symbol)
Fuel level is low (@)
�
0 Battery
voltage is too low/too high 0
Check engine oil level
Engine oil sensor defective �ENSOR
Speed warning (USA Models)
Speed warning (Canada Models)
Dynamic headlight dimmer
control not functioning 9
8
When the yellow symbols appear, only one
warning tone will sound at the same time.
These symbols represent a Warn ing.
Have the malfunction displayed corrected
as soon as possible. In the event of mul tiple
malfunctions, the symbols will appear suc
cessively in two-second intervals.
139
Page 146 of 306

Cancelling speed limit
Press the test button for at least 1 second
when the yehicle is moving at a speed
above 3 miles (5 km/h). The display will
show the warning symbol crossed through
to confirm that the speed limit has been
cleared.
Speed warning 2
82
When the ignition is switc hed off, the driver
can store a permanent speed limit
warning in the unit. The
warning is shown in the display as de
scribed. The warning symbol only goes out
once the road speed has fallen below the
stored value again.
We recommend to store this speed limit
v:' arning if you wish to be reminded of a par
ticular speed limit in addition to speed limit
warning 1. (For instance when driving in
countries with general speed limits or if a
particular speed should not be exceeded
when winter tires are fitted, etc.)
Selecting speed limit
• Press the test button briefly with the
ignition switched off. The mileage re
corder display will then light up.
• Press the test button again and hold for
at least 2 seconds. The speed limit currently
set appears in the disp lay.
• To change the speed limit, press the top
or bottom of the function selector switch for
the trip computer (see arrow illustration).
The speed limit displayed will then increase
or decrease by 6 miles (1 0 km/h ) at a time. CONT
ROLS AND EQUIPMENT
• A few seconds after the button is re
leased, the display lighting goes out again.
Cancelling speed limit
P _ress the .test button briefly with the igni
tion sw1tched off; the display will light
up. Press the test button again for at least
2 seconds: the display will show the .speed
limit currently set. Now press and hold the
"R eset" button for the trip computer until
the crossed-out warning symbol appears.
145
Page 154 of 306
Ride height adjustment (4 Level Air Suspension)
......., _____ ___ �--
-�
�. 842· 8!18 ..J
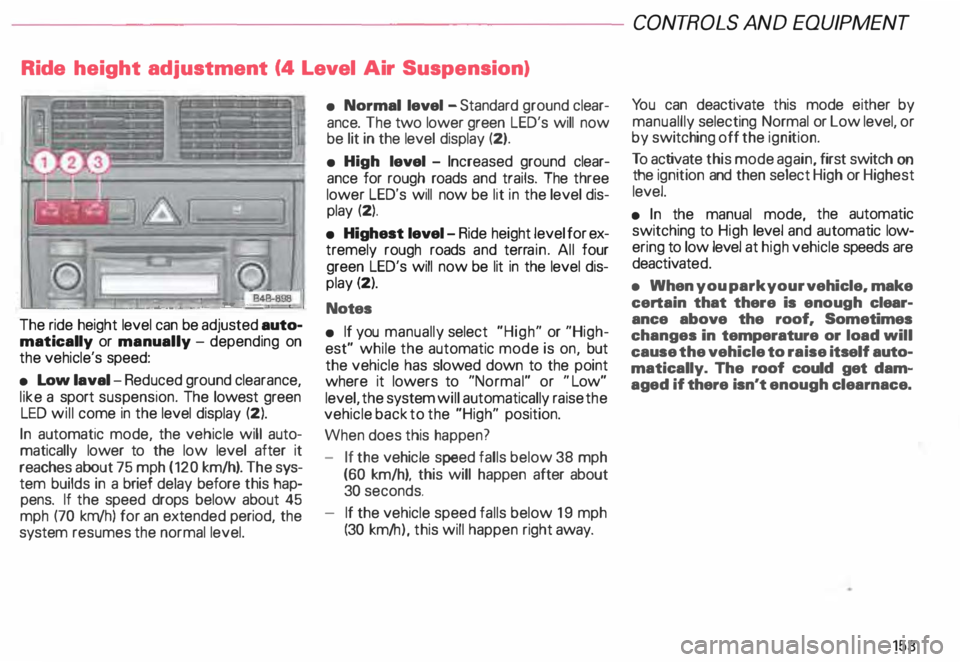
The ride height level can be adjusted auto
matically or manually -depending on
the vehicle's speed:
• Low laval -Reduced ground clearance,
like a sport suspension. The lowest green
LED will come in the level display (2).
In automatic mode, the vehicle will auto
matically lower to the low level after it
reaches about 75 mph (120 km/h). The sys
tem builds in a brief delay before this hap
pens. If the speed drops below about 45
mph (70 km/h) for an extended period, the
system resumes the normal level. •
Normal level -Standard ground clear
ance. The two lower green LED's will now
be lit in the level display (2).
• High level -Increased ground clear
ance for rough roads and trails. The three
lower LED's will now be lit in the level dis
play (2).
• Highest level-Ride height level for ex
tremely rough roads and terrain. All four
green LED's will now be lit in the level dis
play (2).
Notes
• If you manually select "High" or "High
est" while the automatic mode is on, but
the vehicle has slowed down to the point
where it lowers to "Normal" or "Low"
level, the system will automatically raise the
vehicle back to the "High" position.
When does this happen?
- If the vehicle speed falls below 38 mph
(60 km/h), this will happen after about
30 seconds.
- If the vehicle speed falls below 19 mph
(30 km/ h), this will happen right away. CONT
ROLS AND EQUIPMEN T
Yo u can deactivate this mode either by
manuallly selecting Normal or Low level, or
by switching off the ignition.
To activate this mode again, first switch on
the ignition and then select High or Highest
level.
• In the manual mode, the automatic
switching to High level and automatic low
ering to low level at high vehicle speeds are
deactivat ed.
• When you park your vehicle. make
certain that there is enough clear
ance above the roof. Sometimes
changes in temperature or load will
cause the vehicle to raise itself auto
matically. The roof could get dam
aged if there isn't enough clearnace.
153
Page 156 of 306
---------------------CONTROLS AND EQUIPMEN T
Notes continued
• At excessive loads (for example, over
heating caused by frequent changes in the
ride height when the vehicle is stationary),
the system is temporarily deactivated for
safety reasons. The system will return to
full operation once it has cooled down.
• The system automatically switches to
the normal level if the ESP automatically
shuts off (see page 205). If this happens,
switch the ignition off, and then on again.
Now you can select the desired level once
again.
Jack mode
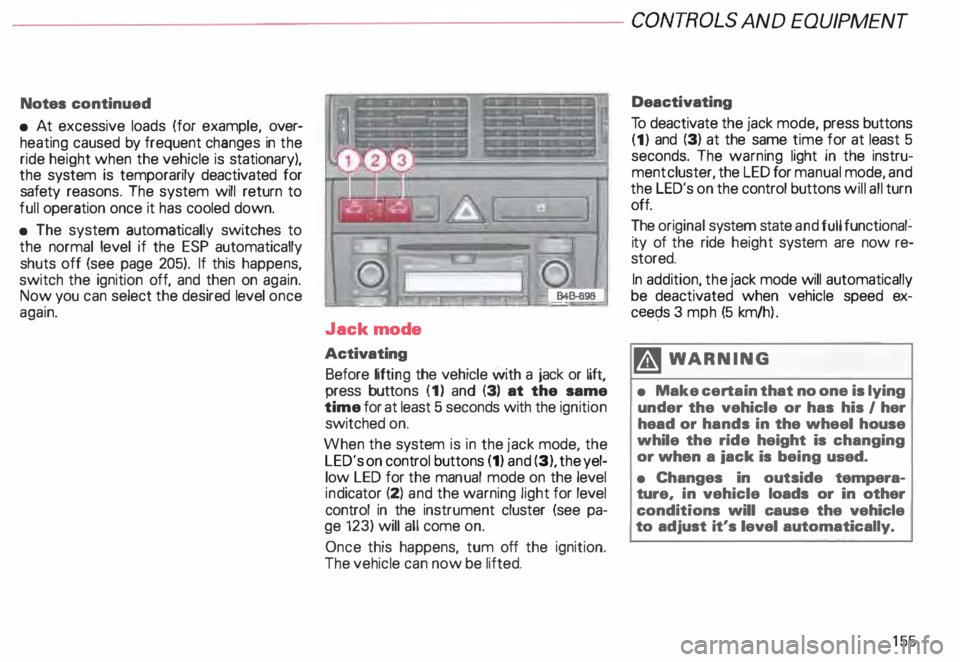
Activating Before lifting the vehicle with a jack or lift,
press buttons (1) and (3) at the same
time for at least 5 seconds with the ignition
switched on.
When the system is in the jack mode, the
LED's on control buttons (1) and (3), the yel
low LED for the manual mode on the level
ind icator (2) and the warning light for level
control in the instrument cluster (see pa
ge 123) will all come on.
Once this happens, tum off the ignition.
The vehicle can now be lifted. Deactivating
To deactivate the jack mode, press buttons
(1) and (3) at the same time for at least 5
seconds. The warning light in the instru
ment cluster, the LED for manual mode, and
the LED's on the control buttons will all turn
off.
The original system state and full functional�
ity of the ride height system are now re
stored.
In addition, the jack mode will automatically
be deactivated when vehicle speed ex
ceec;ls 3 mph (5 km/h ).
�W ARNING
• Make certain that no one is lying
under the vehicle or has his I her
head or hands in the wheel house
while the ride height is changing
or when a iack is being used.
• Changes in outside tempera
ture, in vehicle loads or in other
conditions will cause the vehicle
to adjust it's level automatically.
155