2000 AUDI ALLROAD center console
[x] Cancel search: center consolePage 107 of 306
CONT
ROLS AND EQUIPMEN T---------------------
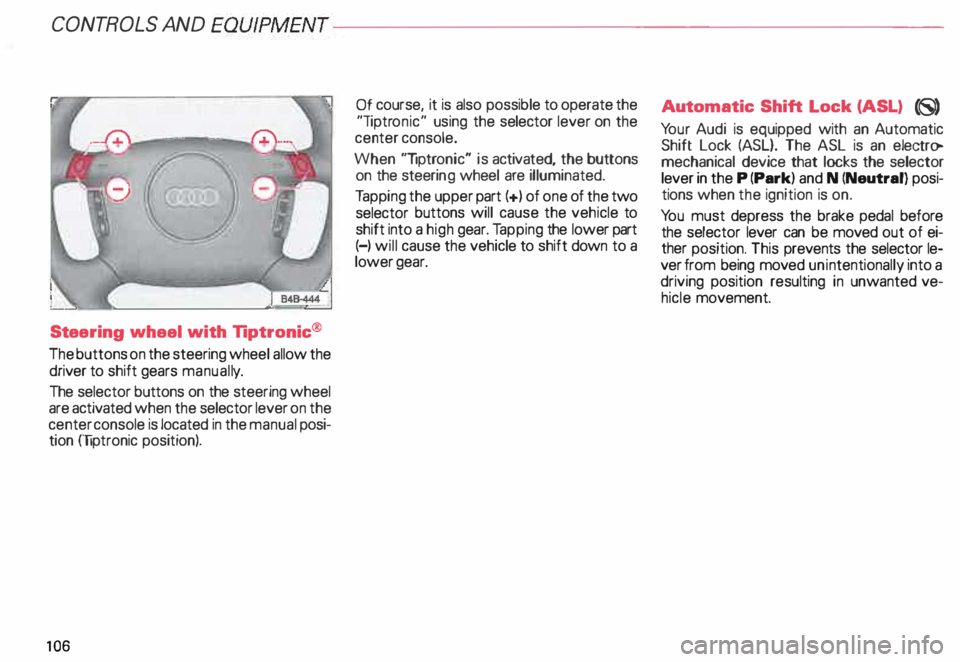
Steering wheel with Tiptronic ®
The buttons on the steering wheel allow the
driver to shift gears manuall y.
The selector buttons on the steering wheel
are activated when the selector lever on the
center console is located in the manual posi
tion (liptronic position).
10 6 Of
course, it is also possible to operate the
"liptr onic" using the selector lever on the
center console.
When "liptronic" is activated, the buttons
on the steeri ng wheel are illuminated.
Ta pping the upper part(+) of one of the two
selector buttons will cause the vehicle to
shift into a high gear. Tapping the lower part
(-) will cause the vehicle to shift down to a
lower gear. Aut
omatic Shift Lock (ASL) (8)
Yo ur Audi is equipped with an Automatic
Shift Lock (ASL}. The ASL is an electro
mechanical device that locks the selector
lever in the P (Park) and N (Neutral) posi
tions when the ignition is on.
Yo u must depress the brake pedal before
the selector lever can be moved out of ei
ther position. This prevents the selector le
ver from being moved unintentionally into a
driving position resulting in unwanted ve
hicle movement.
Page 132 of 306
Menu
display
Some functions on your vehicle can be set,
activated and controlled by means of me
nus when the ignition is on. You can also
use these menus to select the information
that the DIS will display for your (for exam
ple: the trip computer).
The entire DIS concept provides a conve
nient way for you to stay informed of the
current operating status of your vehicle and
to ·, know when to perform preventative
maintenance.
The following pages describe how to obtain
information, change menu-driven settings
and call up additional data.
The "Example of operation" on page 135 il
lu strates how to use the menus in a typical
setti ng operati on. This model procedure
can also be adapted for other types of set
tings. The
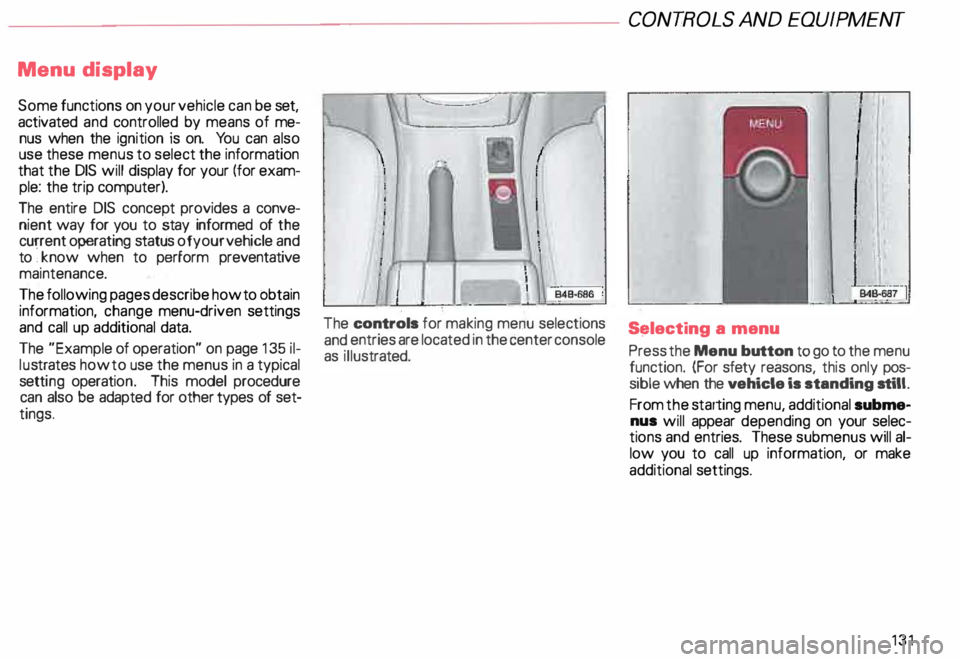
controls for making menu selections
and entries are located in the center console
as illus trated. CONT
ROLS AND EQUIP MENT
S�lecting a menu
Press the Menu button to go to the menu
function. (For sfety reasons, this only pos
sible when the vehicle is standing still.
From the starting menu, additional subme
nus will appear depending on your selec
tions and entries. These submenus will al
low you to call up information, or make
additional settings.
131
Page 134 of 306
--------------------CONTROLS
AND EQUIPMENT
Display types
The following functions are assigned to the
display types in the starting menu:
Menu off
- Trip computer
- Auto Check System I radio data
- Outside temperature
- Speed warning
- Door and rear lid waming
- Message display I display of selector le-
ver's positions (Automatic transmission)
- Navigation display*
The Navigation System* can be operated
using the switches in the center console -
see separate operator manual for the Navi
gation System* Check
- Service -see page 121 .
Set
- Comput er-see page 146.
Cl ock- see page 117 and 135.
Radio info. -see page 138.
- Speed warn. -see page 144.
Help
The help function will assist you in selecting
the correct entry.
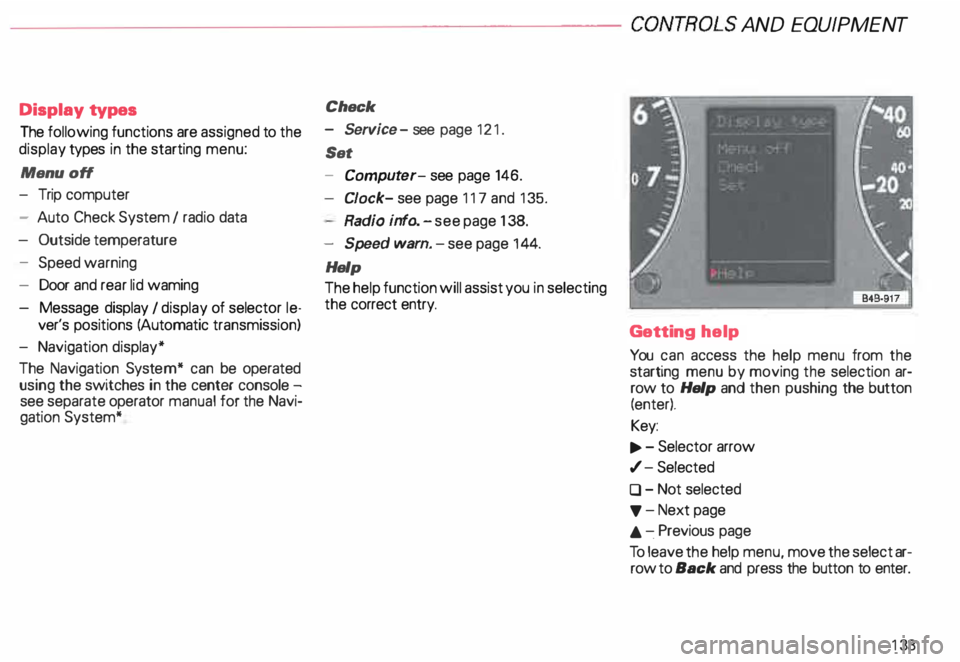
Getting help
You can access the help menu from the
starting menu by moving the selection ar
row to Help and then pushing the button
(enter).
Key:
.., . - Selector arrow
,/- Selected
0 - Not selected
'f' -Next page
.&. -.Previous page
To leave the help menu, move the select ar
row to Back and press the button to enter.
133
Page 136 of 306
Go
back to a higher menu level
After obtaining information or making a set
ting, if you wish to return to the next higher
menu level, rotate the button to move the
selection arrow to Back and then press the
butt on. Example
of operation
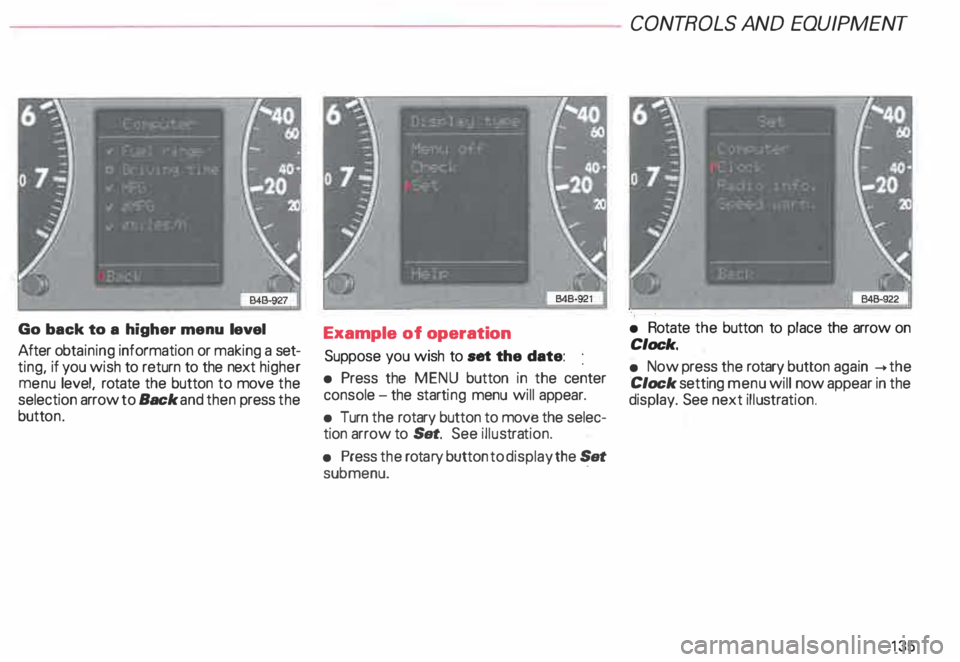
Suppose you wish to set the date:
• Press the MENU button in the center
console -the starti ng menu will appear.
• Turn the rotary button to move the selec
tion arrow to Set. See illustra tion.
• Press the rota ry button to display the Set
submenu. · CONT
ROLS AND EQUIPMENT
• Rotate the button to place the arrow on
Clock.
• Now press the rotary button again __.the
Clock setting menu will now appear in the
display. See next illustra tion.
135
Page 150 of 306
Front
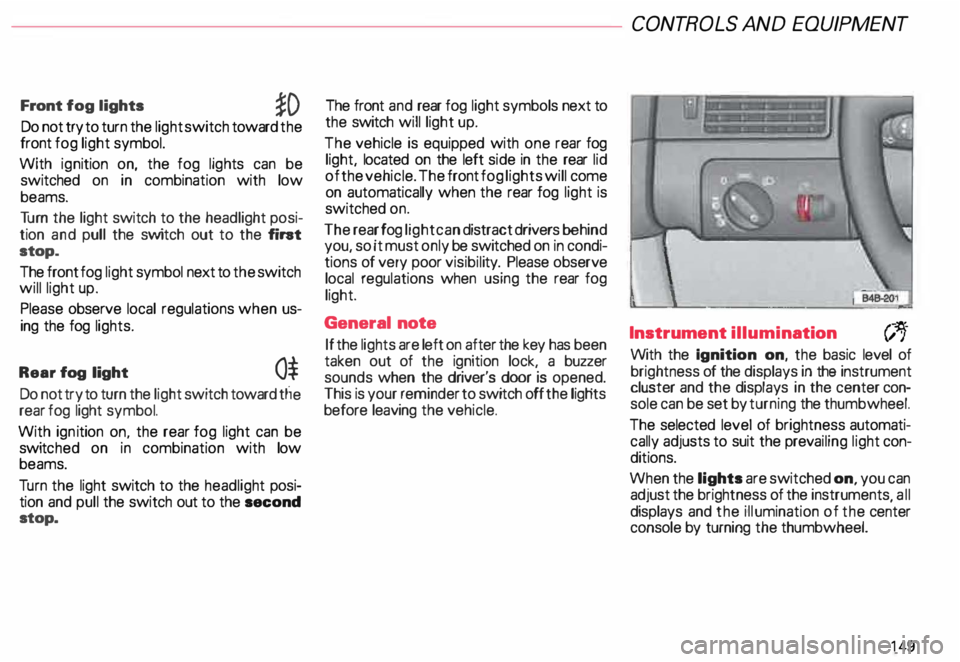
fog lights
�D
Do not try to turn the light switch toward the
front fog light symbol.
With ignition on, the fog lights can be
switched on in combination with low
beams.
Tu rn the light switch to the headlight posi
tion and pull the switch out to the fint
stop.
The front fog light symbol next to the switch
will light up.
Please observe local regulations when us
ing the fog lights.
Rear fog light
0$
Do not try to turn the light switch toward tlie
rear fog light symbol.
With ignition on. the rear fog light can be
switc hed on in combination with low
beams.
Tu rn the light switch to the headlight posi
tion and pull the switch out to the second
stop. The front
and rear fog light symbols next to
the switch will light up.
The vehicle is equipped with one rear fog
light, located on the left side in the rear lid
of the vehicle. The front fog lights will come
on automatically when the rear fog light is
switched on.
The rear fog light can distract drivers behind
you, so it must only be switched on in condi
tions of very poor visibil ity. Please observe
local regulations when using the rear fog
light.
General note
If the lights are left on after the key has been
taken out of the ignition lock, a buzzer
sounds when the driver's door is opened.
This is your reminder to switch off the ligHts
before leaving the vehicle. CONT
ROLS AND EQUIPMEN T
Instrument illumination
(;,.
With the Ignition on, the basic level of
brightness of the displays in the instrument
cluster and the displays in the center con
sole can be set by turning the thumbwheel.
The selected level of brightness automati
cally adjusts to suit the prevailing light con
ditions.
When the lights are switched on, you can
adjust the brightness of the instruments all
displays and the illumination of the ce�ter
console by turning the thumbwheel.
149
Page 151 of 306

CONTROLS AND
EQUIPMENT--------------------
1 and 4-Electrically heated ... 8
seats• utJ
The heating elements in both seats can be
turned on and regulated separately with the
two thumb wheel switches.
With the ignition on, the seat cushion and
backrest of the front seats can be heated
electrically.
15 0 1
- Use this thumb wheel switch to activate
and regulate the heating elements in the
driver's seat.
4- Use this thumbwheel switch to activate
and regulate the heating elements in the
front passenger's seat.
From position 0, roll thumbwheel upward to
activate the heating elements.
Select the desired temperature setting be
tween positions 1-6. When the heating ele
ments are activated, the numbers on the
thumb wheel will light up.
The steering wheel heating* is
swit ched on automatically when the seat
heating is switched on. The temperature.
however, remains at a constant preset level
and cannot be regulated with the thumb
wheel (1).
Note
To prevent possible damage to the heating
elements, do not kneel on the seats or in
any other way apply a heavy load to relative
ly small areas of the seat. The
heating elements* for the left and right
seating positions of the rear seat bench are
switched on and off and regulated by the
thumbwheel in the center console:
a - left
b- right
The rear seat heating* only operates when
a sensor registers the weight of the occu
pant on the seat.
Select the desired temperature setting be
tween positions 1-6. When the heating ele
ments are activated, the numb ers on the
thumbwheel will light up.
Page 163 of 306
CONTROLS AND EQUIPMENT---------------------
Cli
mate controls
�W ARNING
• For clear visibility and safe driv
ing, it is extremely important that
you follow the operating instruc
tions on the proper use and func
tion of the ventilation/heating, de
fogg ing{defr osting and air condi
tioning system in this manual. If in
doubt, consult your authorized
Audi Dealer.
• Good visibility comas with
clean windows free of fog, con
densation and frost.
• Maximum heating output and
fast defro sting will occur only af
ter the engine has reached operat
ing temperature. Wait until you
have good visibility before moving
your vehicle.
16 2 The
air conditioner is fully auto
matic, and is designed to maintain a com
fortable and uniform climate inside the ve
hicle .
The temperature of the air supplied to the in
terior, the fan speed, air distribution and vol
ume of air delivery are regulated automati
cally.
This automatic climate control program can
also be adjusted manually by the driver and
the front passenger.
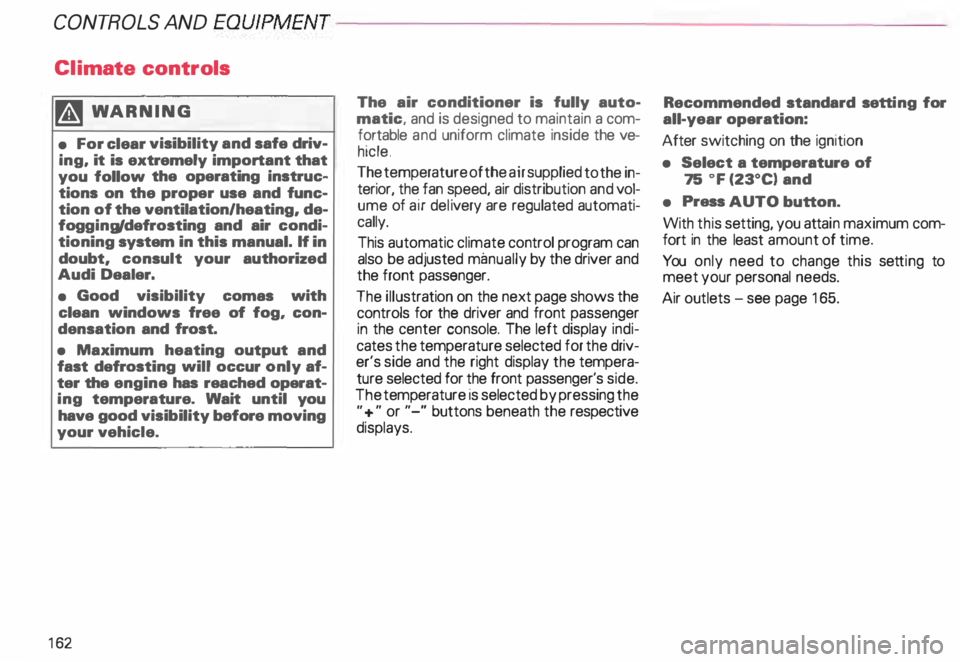
The illustration on the next page shows the
controls for the driver and front passenger
in the center console. The left display indi
cates the temperature selected for the driv
er's side and the right display the tempera
ture selected for the front passenger's side.
The temperature is selected by pressing the
"+" or "-" buttons beneath the respective
displays. Recommended
standard setting for
all-year operation:
After switching on the ignition
• Select a temperature of
75 oF (23°C) and
• Press AUTO button.
With this setting, you attain maximum com
fort in the least amount of time.
You only need to change this setting to
meet your personal needs.
Air outlets - see page 165.
Page 165 of 306

CONTROLS AND
EQUIPMENT---------------------
C... -Air recirculation
In the air recirculation mode, the supply of
outside air is blocked and the air in the pas
senger compartment is recirculated. This
helps to prevent pollutant-conta ining out
side air from entering the passenger
compartment. It is best not to use this set
ting for exte nded periods of time.
If the windows begin to fog or ice
up, select the ® program setting as
soon as possible.
�W ARNING
• You will not receive any fresh
outside air when air recirculation
is on. Do not use this setting over
long periods of time because stale
air contributes to fatigue and re
duced driver alertness.
• If the windows fog up, press the
air recirculation button again im
mediately to switch off the air re
circulation function or select de
frost.
16 4 ECON -
Economy
The air conditioner compressor can be
turned off to save fuel. However, the com
fort level that the system can achieve in this
mode limited.
If the interior of the vehicle gets too hot, or
if the windows begin to fog or ice up, press
the ECON button again to tum the compres
sor on again and switch back to AUTO .
OFF -Switching air conditioner oft
The air conditioner can be switched off by
pressing the button briefly. This cuts off the
supply of air from the outside.
To reactivate the air conditioner,
press the AUTO button or one of the blower,
temperature or air distribution selector but
tons, or press OFF again.
It is not normally necessary to switch off the
air condition er.
- + Fan speed
The automatically selected fan speed (vol
ume of air delivery) can be reduced or in
creased manually by operati ng these but
tons. The selected fan speed is shown by a
segment display above the buttons. 4iiJ
-Rear window defogger
See page 151.
Air distribution selector
buttons
The automatically programmed air distribu
tion can be altered manually with the but
tons {},� . and {).. The buttons can be op
erated singly or in combination.
To return to the automatically programmed
air distribution, switch off the selected
manual functions separately or by pressing
the "AUTO" or ® butto ns.
iJ -Air directed to windows
Unlike setting ®, this setting directs all
the air to outlets 1 and 2.
1 :s::
1 -
Air
from dashboard outlets
-
and rear of center console
All the air comes from outlets 3 and 4.
0 -Air to footwall&
All the air comes from outlets 5 and from
the outlets under the front seats.