1999 NISSAN FRONTIER ECU
[x] Cancel search: ECUPage 142 of 247
If you have a flat tire, follow the instructions
below:
Stopping the vehicle
1. Safely move the vehicle off the road and
away from traffic.
2. Turn on the hazard warning flashers.
3. Park on a level surface and apply the
parking brake. Shift the manual transmis-
sion into R (Reverse), or the automatic
transmission into P (Park).
WARNING
I
The transfer control lever
must be in the 2H, 4H or 4L position.
I
Never place the transfer control lever
in the N (Neutral) position. Other-
wise, the vehicle could roll unexpect-
edly even if the manual transmission
is in gear or the automatic transmis-
sion is in the P (Park) position. This
could result in serious personal in-
jury or property damage.
4. Turn off the engine.
5. Raise the hood to warn other traffic and
to signal professional road assistancepersonnel that you require assistance.
6. Have all passengers get out of the ve-
hicle and stand in a safe place away from
traffic and clear of the vehicle.
WARNING
I
Make sure that the parking brake is
securely applied and the manual
transmission is shifted into R (Re-
verse), or the automatic transmis-
sion into P (Park).
I
Never change tires when the vehicle
is on a slope, ice or a slippery area.
This is hazardous.
I
Never change tires if oncoming traf-
fic is close to your vehicle. Wait for
professional road assistance.
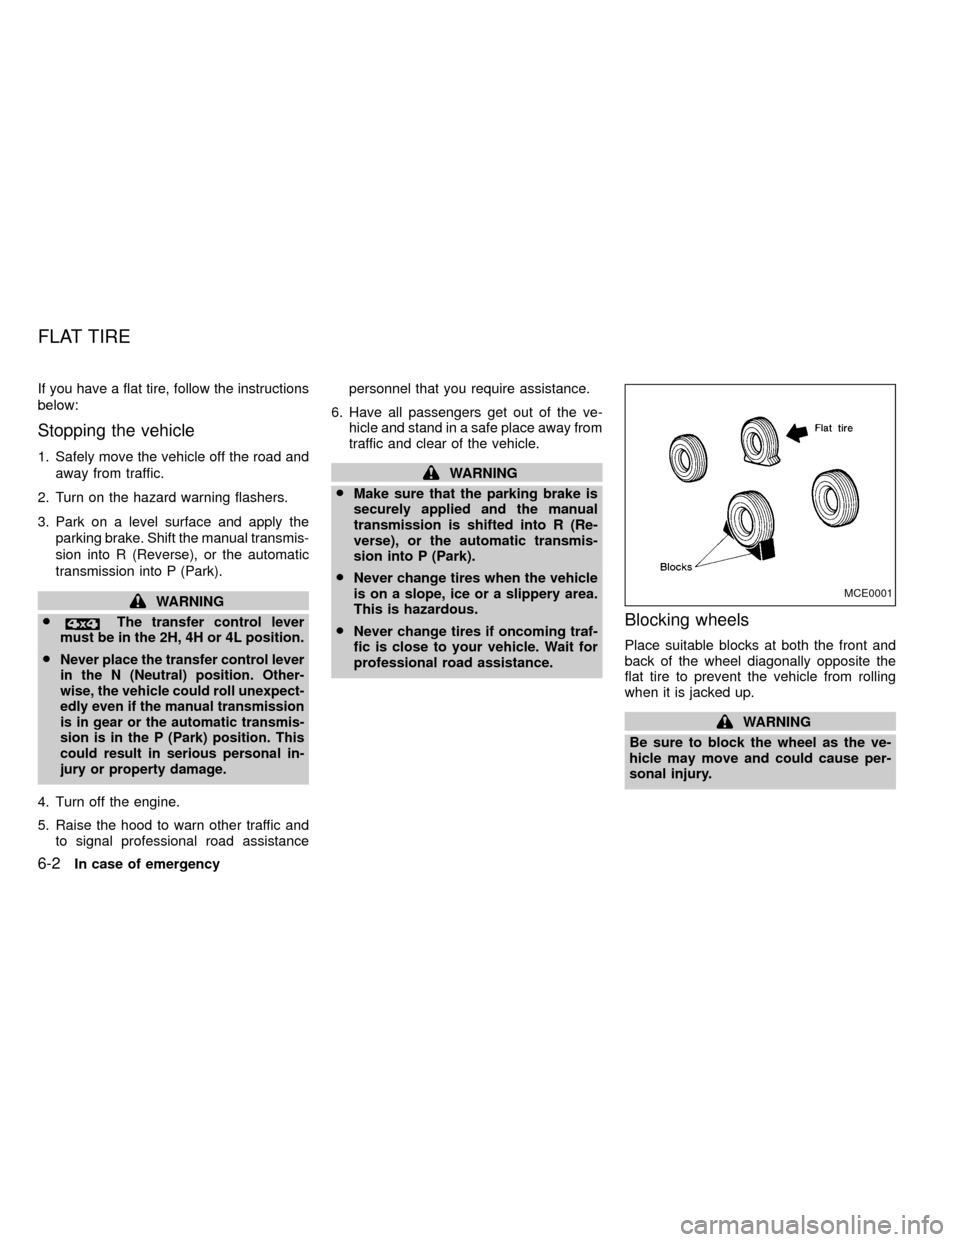
Blocking wheels
Place suitable blocks at both the front and
back of the wheel diagonally opposite the
flat tire to prevent the vehicle from rolling
when it is jacked up.
WARNING
Be sure to block the wheel as the ve-
hicle may move and could cause per-
sonal injury.
MCE0001
FLAT TIRE
6-2In case of emergency
ZX
Page 147 of 247
it-yourself'' section of this owner's
manual.
1. Clean any mud or dirt from the surface
between the wheel and hub.
2. Carefully put the spare tire on and tighten
the wheel nuts finger tight.
3. With the wheel nut wrench, tighten the
wheel nuts alternately and evenly until
they are tight.
4. Lower the vehicle slowly until the tire
touches the ground. Then, with the wheel
nut wrench, tighten the wheel nuts se-
curely in the sequence as illustrated.
Lower the vehicle completely.
As soon as possible, tighten the wheel
nuts to the specified torque with a torque
wrench.
Wheel nut tightening torque:
87 to 108 ft-lb (118 to 147 N×m)
The wheel nuts must be kept tightened to
specification at all times. It is recom-
mended that wheel nuts be tightened to
specification at each lubrication interval.
Adjust tire pressure to the COLD pres-
sure.COLD pressure:
After vehicle has been parked for three
hours or more or driven less than 1 mile
(1.6 km).
COLD tire pressures are shown on the
tire placard affixed to the inside of the
glove box lid.
IRetighten the wheel nuts when the
vehicle has been run for 600 miles
(965 km).
5. Securely store the flat tire and jacking
equipment in the vehicle.
WARNING
IAlways make sure that the spare tire
and jacking equipment are properly
secured after use. Such items can
become dangerous projectiles in an
accident or sudden stop.
IThe spare tire is designed for emer-
gency use. See specific instructions
under the heading ``Wheels and
tires'' in the ``Do-it-yourself'' section
of this manual.
In case of emergency
6-7
ZX
Page 151 of 247
When towing your vehicle, U.S. States, Ca-
nadian provinces and local regulations for
towing must be followed. Incorrect towing
equipment could damage your vehicle. Tow-
ing instructions are available from an autho-
rized NISSAN dealer. Local service operators
are generally familiar with the applicable laws
and procedures for towing. To assure proper
towing and to prevent accidental damage to
your vehicle, NISSAN recommends having a
service operator tow your vehicle. It is advis-
able to have the service operator carefully
read the following precautions:
WARNING
INever ride in a vehicle that is being
towed.
INever get under your vehicle after it
has been lifted by a tow truck.
CAUTION
IWhen towing, make sure that the
transmission, axles, steering system
and powertrain are in working con-
dition. If any unit is damaged, a dolly
must be used.IWhen towing with the front wheels
on the ground:
Turn the ignition key to the OFF
position and secure the steering
wheel in a straight-ahead position
with a rope or similar device. Never
place the ignition key in the LOCK
position. This will result in damage
to the steering lock mechanism.
IWhen towing with the rear wheels on
the ground:
Release the parking brake and move
the gearshift lever to the N (Neutral)
position.
On automatic transmission models,
to move the shift lever to N (Neutral),
turn the ignition key to the ACC po-
sition. After moving the shift lever to
N (neutral), be sure to turn the igni-
tion key to the OFF position.
IFor four-wheel drive models:
Set the free-running hubs to the free
position. See ``
Auto-lock free-
running hubsº or ``Manual-lock
free-running hubsº as appropriate in
the ``Starting and driving'' section.Move the transfer case shift lever
into the 2H position and the trans-
mission shift lever into the N (Neu-
tral) position.
IAttach safety chains for all towing.
TOW TRUCK TOWING
In case of emergency6-11
ZX
Page 162 of 247
When performing any inspection or mainte-
nance work on your vehicle, always take
care to prevent serious accidental injury to
yourself or damage to the vehicle. The
following are general precautions which
should be closely observed.
WARNING
IPark the vehicle on a level surface,
apply the parking brake securely and
block the wheels to prevent the ve-
hicle from moving. For a manual
transmission, move the shift lever to
N (Neutral). For an automatic trans-
mission, move the shift lever to P
(Park).
IBe sure the ignition key is OFF when
performing any parts replacement or
repairs.
IIf you must work with the engine
running, keep your hands, clothing,
hair and tools away from moving
fans, belts, and any other moving
parts.
IIt is advisable to remove ties and any
jewelry, such as rings, watches, etc.,
before working on your vehicle.IAlways wear eye protection when-
ever you work on your vehicle.
IIf you must run the engine in an
enclosed space such as a garage, be
sure there is proper ventilation for
exhaust gases.
INever get under the vehicle while it
is supported only by a jack. If it is
necessary to work under the vehicle,
support it with safety stands.
IKeep smoking materials, flame and
sparks away from fuel and battery.
IOn gasoline engine models with the
Multiport Fuel Injection (MFI) sys-
tem, the fuel filter or fuel lines
should be serviced by an authorized
NISSAN dealer because the fuel
lines are under high pressure even
when the engine is off.
CAUTION
IDo not work under the hood while
the engine is hot. Turn the engine off
and wait until it cools down.INever connect or disconnect either
the battery or any transistorized
component connector while the igni-
tion is on.
IAvoid contact with used motor oil.
Improperly disposed motor oil
and/or other vehicle fluids can hurt
the environment. Always conform to
local regulations for disposal of ve-
hicle fluid.
This ``Do-it-yourself'' section gives instruc-
tions regarding only those items which are
relatively easy for an owner to perform.
You should be aware that incomplete or
improper servicing may result in operating
difficulties or excessive emissions, and
could affect your warranty coverage.If in
doubt about any servicing, have it done
by an authorized NISSAN dealer.
MAINTENANCE
PRECAUTIONS
8-2Do-it-yourself
ZX
Page 166 of 247
If the cooling system frequently requires
coolant, have it checked by an autho-
rized NISSAN dealer.CHANGING ENGINE COOLANT
IMajor cooling system repairs should be
performed by an authorized NISSAN
dealer. The service procedures can be
found in the appropriate NISSAN Ser-
vice Manual.
IImproper servicing can result in reduced
heater performance and engine over-
heating.
WARNING
ITo avoid the danger of being
scalded, never change the coolant
when the engine is hot.
INever remove the radiator cap when
the engine is hot. Serious burns
could be caused by high pressure
fluid escaping from the radiator.
1. Open the radiator drain valve. Open the
drain plugs on the engine block.
2.
Open the radiator cap to drain the coolant.
3. Flush the cooling system by running
fresh water through the radiator.
4. Close the radiator drain valve and drain
plug on the engine block securely.5. See ``Capacities and recommended
fuel/lubricants'' in the ``Technical and
consumer information'' section for cool-
ing system capacity. Fill the radiator
slowly with the proper mixture of coolant
and water. Fill the reservoir tank slowly
up to the MAX level.
8-6Do-it-yourself
ZX
Page 171 of 247
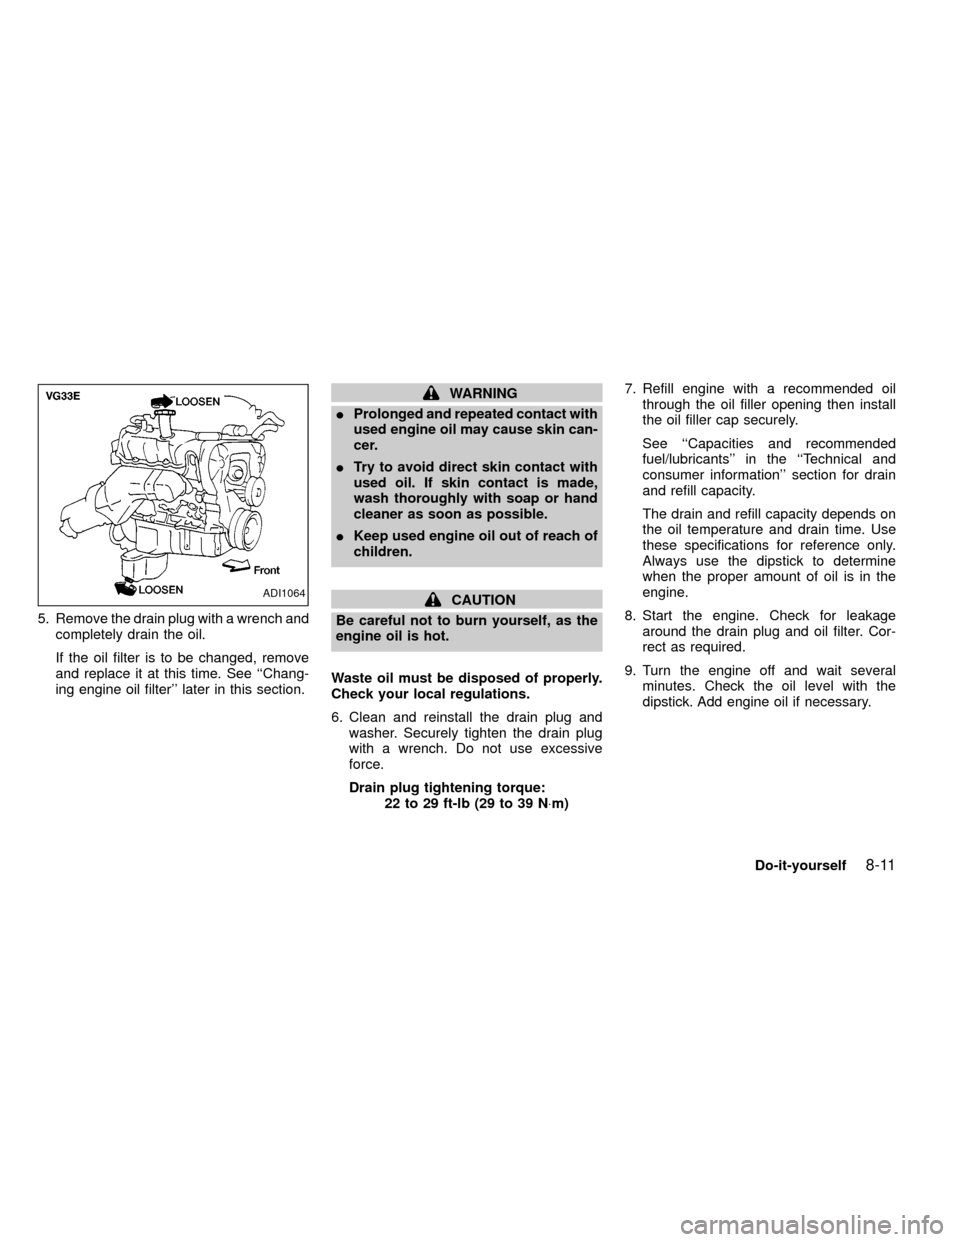
5. Remove the drain plug with a wrench and
completely drain the oil.
If the oil filter is to be changed, remove
and replace it at this time. See ``Chang-
ing engine oil filter'' later in this section.
WARNING
IProlonged and repeated contact with
used engine oil may cause skin can-
cer.
ITry to avoid direct skin contact with
used oil. If skin contact is made,
wash thoroughly with soap or hand
cleaner as soon as possible.
IKeep used engine oil out of reach of
children.
CAUTION
Be careful not to burn yourself, as the
engine oil is hot.
Waste oil must be disposed of properly.
Check your local regulations.
6. Clean and reinstall the drain plug and
washer. Securely tighten the drain plug
with a wrench. Do not use excessive
force.
Drain plug tightening torque:
22 to 29 ft-lb (29 to 39 N×m)7. Refill engine with a recommended oil
through the oil filler opening then install
the oil filler cap securely.
See ``Capacities and recommended
fuel/lubricants'' in the ``Technical and
consumer information'' section for drain
and refill capacity.
The drain and refill capacity depends on
the oil temperature and drain time. Use
these specifications for reference only.
Always use the dipstick to determine
when the proper amount of oil is in the
engine.
8. Start the engine. Check for leakage
around the drain plug and oil filter. Cor-
rect as required.
9. Turn the engine off and wait several
minutes. Check the oil level with the
dipstick. Add engine oil if necessary.ADI1064
Do-it-yourself8-11
ZX
Page 176 of 247
Follow the manufacturer's instructions for
the mixture ratio.
CAUTION
Do not substitute engine anti-freeze
coolant for window washer solution.
This may result in damage to the paint.IKeep the battery surface clean and dry.
Any corrosion should be washed off with
a solution of baking soda and water.
IMake certain the terminal connections
are clean and securely tightened.
I
If the vehicle is not to be used for 30 days
or longer, disconnect the negative (þ)
battery terminal cable to prevent dis-
charge.
WARNING
IDo not expose the battery to flames
or electrical sparks. Hydrogen gas
generated by battery action is explo-
sive. Do not allow battery fluid to
contact your skin, eyes, fabrics, or
painted surfaces. After touching a
battery or battery cap, do not touch
or rub your eyes. Thoroughly wash
your hands. If the acid contacts your
eyes, skin or clothing, immediately
flush with water for at least 15 min-
utes and seek medical attention.
IWhen working on or near a battery,
always wear suitable eye protection
and remove all jewelry.
IKeep the battery out of the reach of
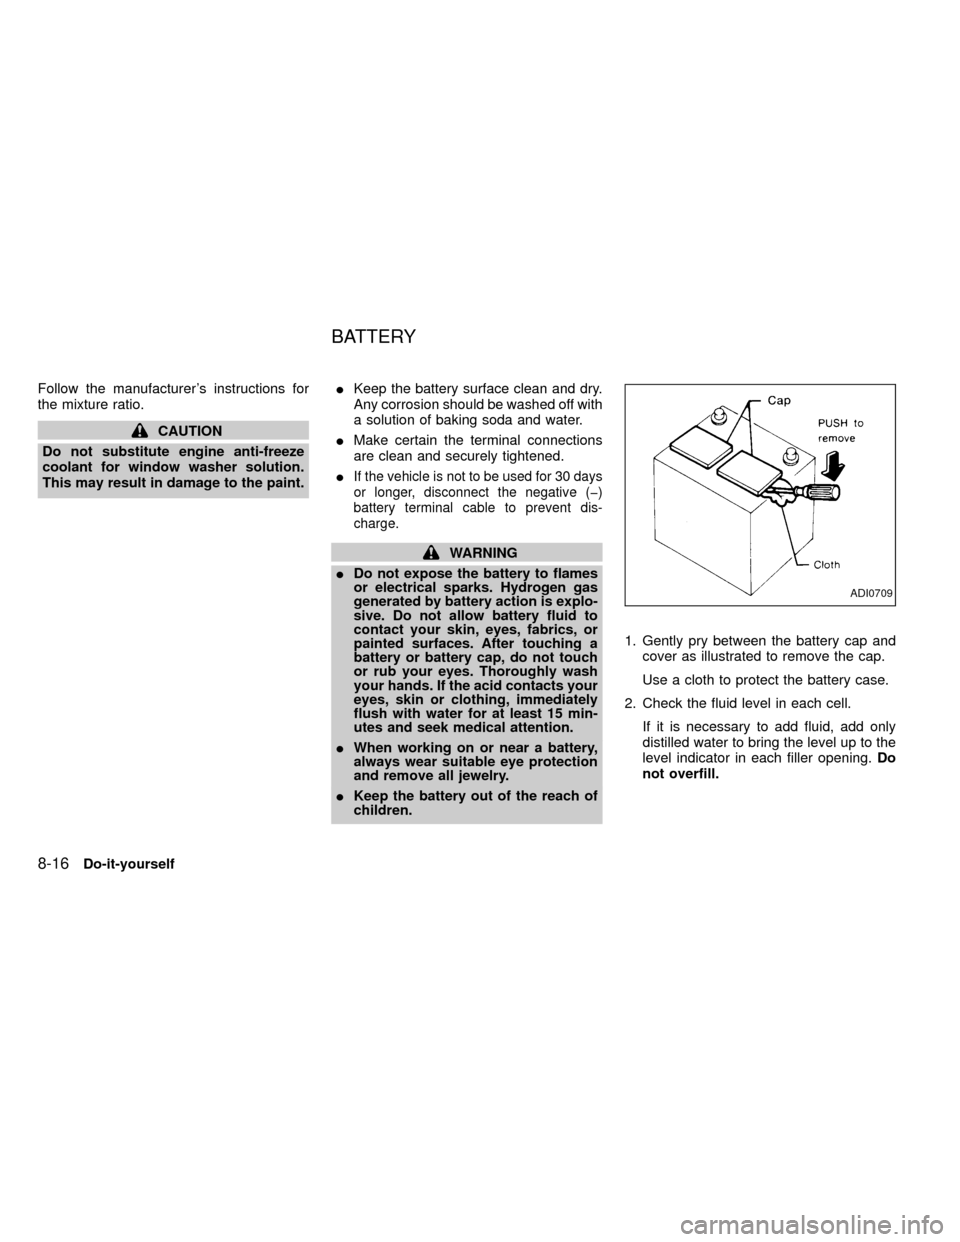
children.1. Gently pry between the battery cap and
cover as illustrated to remove the cap.
Use a cloth to protect the battery case.
2. Check the fluid level in each cell.
If it is necessary to add fluid, add only
distilled water to bring the level up to the
level indicator in each filler opening.Do
not overfill.
ADI0709
BATTERY
8-16Do-it-yourself
ZX
Page 179 of 247
WARNING
Be sure the engine and ignition switch
are off and that the parking brake is
engaged securely.
CAUTION
Be sure to use the correct socket to
remove the plugs. An incorrect socket
can cause damage.
KA24DE Engine
Platinum-tipped spark plug
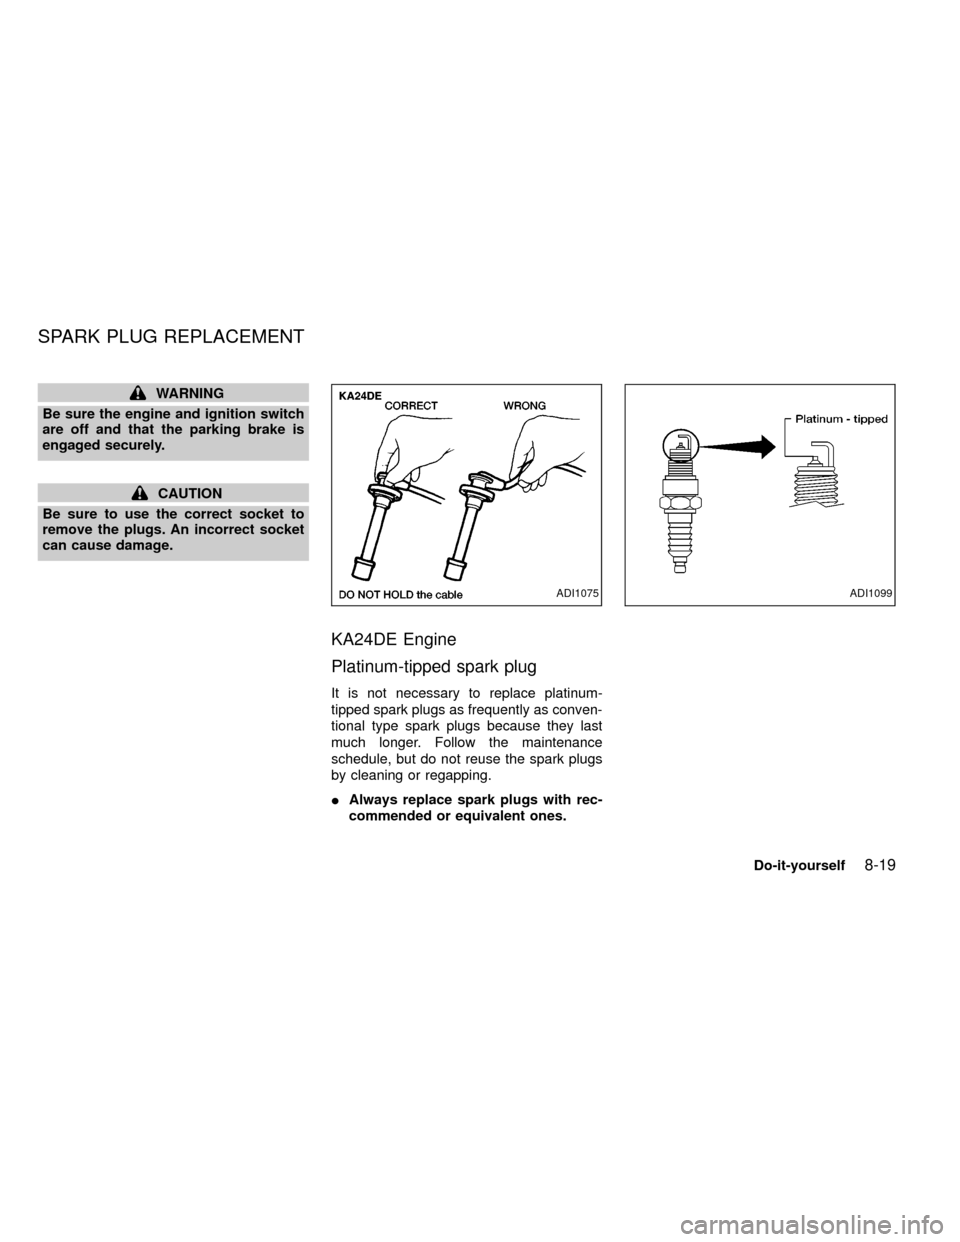
It is not necessary to replace platinum-
tipped spark plugs as frequently as conven-
tional type spark plugs because they last
much longer. Follow the maintenance
schedule, but do not reuse the spark plugs
by cleaning or regapping.
IAlways replace spark plugs with rec-
commended or equivalent ones.
ADI1075ADI1099
SPARK PLUG REPLACEMENT
Do-it-yourself8-19
ZX