Page 1006 of 1529
SEATS
DESCRIPTION AND OPERATION 76-5-9
DESCRIPTION AND OPERAT ION
Heated seat component location
1Heater module2Seat heater switches
Page 1007 of 1529
SEATS
76-5-10 DESCRIPTION AND OPERATION
Heated seat block diagram (electric
seats)
1Passenger compartment fuse box
2Left seat heater switch
3Left seat heater module
4Left seat cushion heater element
5Left seat squab heater element 6Right seat heater switch
7Right seat heater module
8Right seat cushion heater element
9Right seat squab heater element
Page 1008 of 1529

SEATS
DESCRIPTION AND OPERATION 76-5-11
Description - heated seats
Heated seats
The heated seat system is available on both manual seats and electric seats. The electrical sub-system consists of
the following components:
lSeat heater switches.
lSeat heater elements.
lTemperature control unit (if electric seats are fitted).
lTemperature sensor (if electric seats are fitted).
lThermostat (if manual seats are fitted).
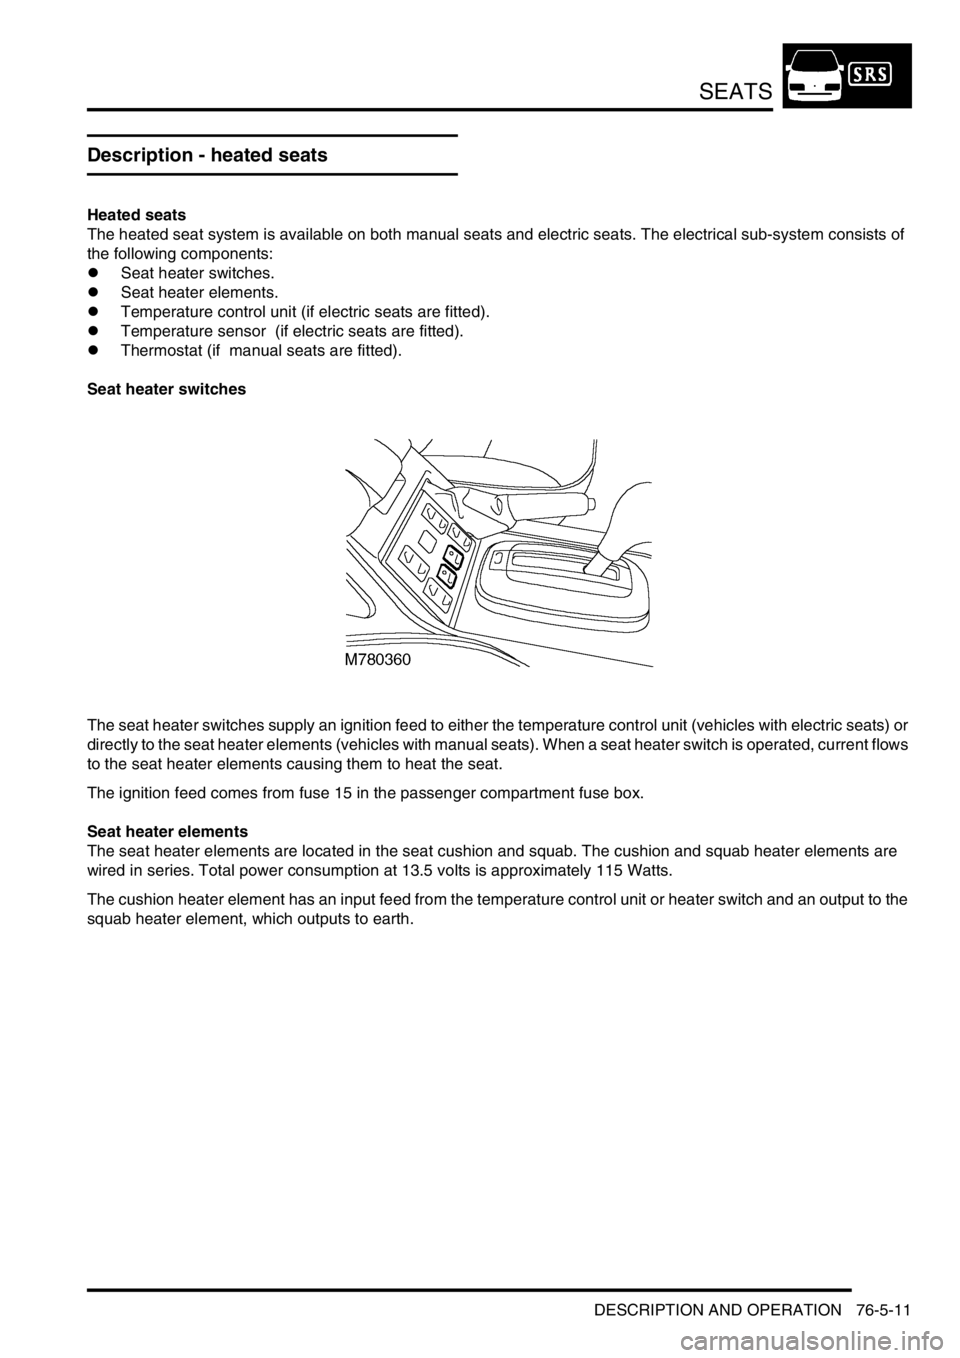
Seat heater switches
The seat heater switches supply an ignition feed to either the temperature control unit (vehicles with electric seats) or
directly to the seat heater elements (vehicles with manual seats). When a seat heater switch is operated, current flows
to the seat heater elements causing them to heat the seat.
The ignition feed comes from fuse 15 in the passenger compartment fuse box.
Seat heater elements
The seat heater elements are located in the seat cushion and squab. The cushion and squab heater elements are
wired in series. Total power consumption at 13.5 volts is approximately 115 Watts.
The cushion heater element has an input feed from the temperature control unit or heater switch and an output to the
squab heater element, which outputs to earth.
Page 1009 of 1529
SEATS
76-5-12 DESCRIPTION AND OPERATION
Temperature control unit
The temperature control unit is only fitted to vehicles with electric seats. Feed back of the seat temperature is via a
Negative Temperature Coefficient (NTC) sensor within the seat cushion. Resistance of this sensor changes with the
temperature of the seat cushion allowing the temperature control unit to lower or raise the voltage to the seat heater
elements to raise or lower their temperature.
An ignition feed is supplied via the seat heater switch. The temperature sensor supplies an input. Output is a supply
to the cushion heater element and an earth.
Thermostat
On vehicles with non electric seats, the temperature is controlled by a thermostat located in the seat cushion. The
thermostat interrupts the power supply when it reaches a pre-determined temperature.
Page 1010 of 1529
SEATS
DESCRIPTION AND OPERATION 76-5-13
Operation - heated seats
When the seat heater switch is operated, power is supplied to the heater elements in the seat, causing the seat to
heat up. On vehicles fitted with non electric seats, the thermostat switches the power supply to the heater elements
on and off. On vehicles fitted with electric seats, the temperature control unit senses seat temperature via the sensor
in the cushion and regulates voltage to the seat heater elements to maintain a constant temperature.
On both electric and non electric seats, the heater elements increase and then maintain the seat at a temperature
between 26 and 36 °C (79 and 97 °F).
Page 1017 of 1529

SEATS
76-5-20 REPAIRS
Cover - cushion - front seat
$% 78.30.01/81
Remove
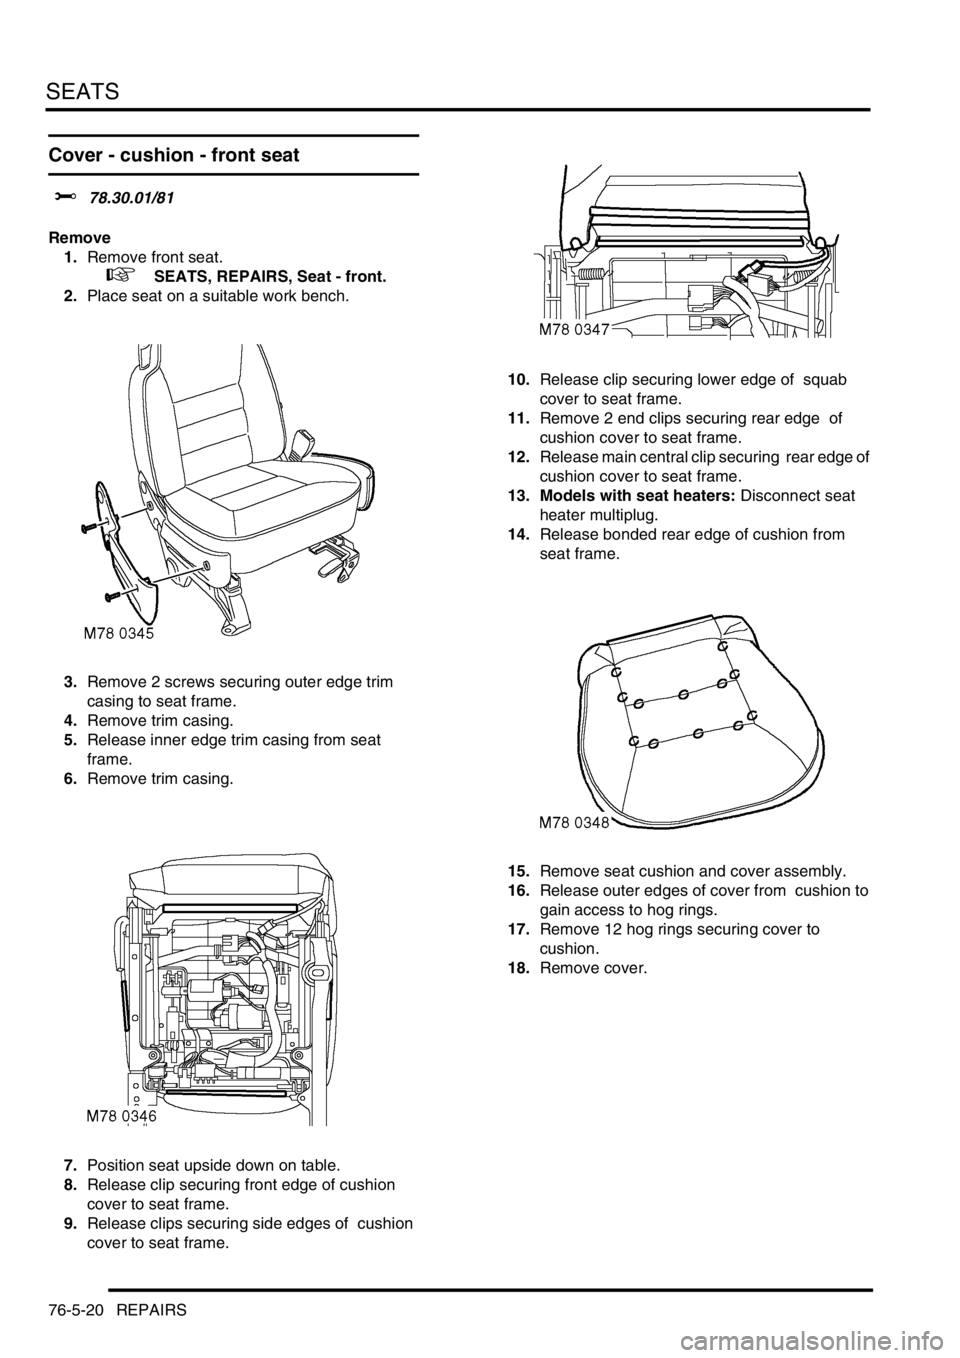
1.Remove front seat.
+ SEATS, REPAIRS, Seat - front.
2.Place seat on a suitable work bench.
3.Remove 2 screws securing outer edge trim
casing to seat frame.
4.Remove trim casing.
5.Release inner edge trim casing from seat
frame.
6.Remove trim casing.
7.Position seat upside down on table.
8.Release clip securing front edge of cushion
cover to seat frame.
9.Release clips securing side edges of cushion
cover to seat frame. 10.Release clip securing lower edge of squab
cover to seat frame.
11.Remove 2 end clips securing rear edge of
cushion cover to seat frame.
12.Release main central clip securing rear edge of
cushion cover to seat frame.
13. Models with seat heaters: Disconnect seat
heater multiplug.
14.Release bonded rear edge of cushion from
seat frame.
15.Remove seat cushion and cover assembly.
16.Release outer edges of cover from cushion to
gain access to hog rings.
17.Remove 12 hog rings securing cover to
cushion.
18.Remove cover.
Page 1018 of 1529

SEATS
REPAIRS 76-5-21
Refit
1.Fit cover to cushion.
2.Fit and clamp hog rings securing cover to
cushion.
3.Fit outer edges of cover over cushion.
4.Fit cushion and cover assembly to seat frame.
5. Models with seat heaters: Connect seat
heater multiplug.
6.Secure rear edge of cushion cover with clip.
7.Fit end clips over rear edge of cushion cover.
8.Secure lower edge of squab cover to seat
frame.
9.Secure edges of cushion cover with clips.
10.Secure front edge of cushion cover with clip.
11.Position seat correct way up on work bench.
12.Secure inner edge trim casing to seat frame.
13.Fit outer edge trim casing to seat frame and
secure with screws.
14.Fit front seat.
+ SEATS, REPAIRS, Seat - front.
Heating element - cushion - front seat
$% 78.30.24
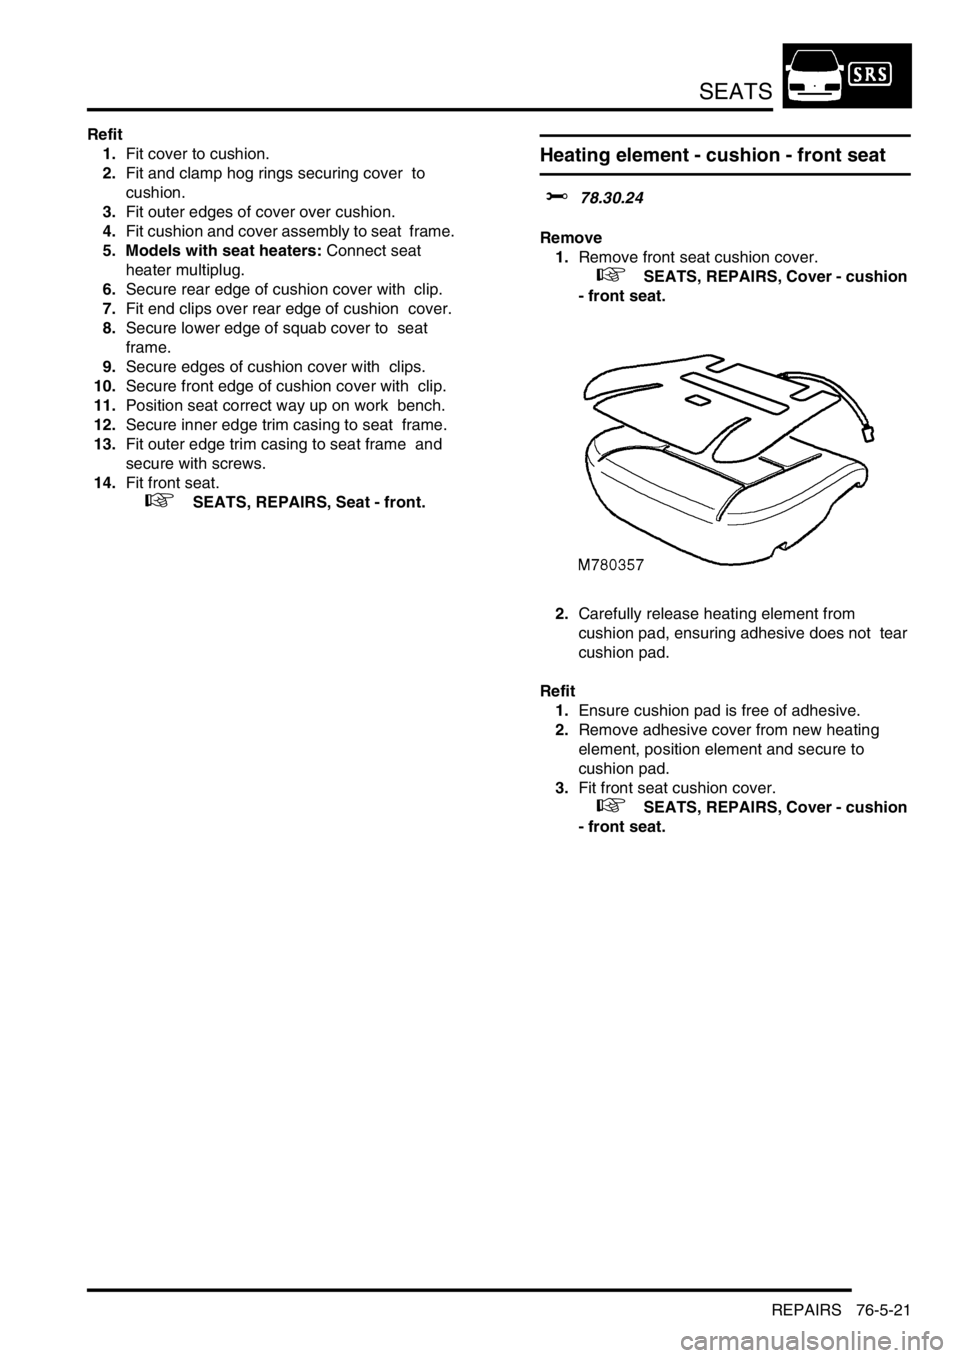
Remove
1.Remove front seat cushion cover.
+ SEATS, REPAIRS, Cover - cushion
- front seat.
2.Carefully release heating element from
cushion pad, ensuring adhesive does not tear
cushion pad.
Refit
1.Ensure cushion pad is free of adhesive.
2.Remove adhesive cover from new heating
element, position element and secure to
cushion pad.
3.Fit front seat cushion cover.
+ SEATS, REPAIRS, Cover - cushion
- front seat.
Page 1158 of 1529
HEATING AND VENTILATION
DESCRIPTION AND OPERATION 80-1
HEATING A ND VENT ILATION DESCRIPTION AND OPERAT ION
Heating and ventilation component
layout
RH drive shown, LH drive similar
1Control panel
2Outlet vent
3Rear footwell ducts4Front footwell duct
5Air inlet duct
6Heater assembly