1998 PONTIAC BONNEVILLE run flat
[x] Cancel search: run flatPage 2 of 395
B
v
The 1998 Pontiac Bonneville Owner’s Manual
1-1
2-1
3-1
4-1
5- 1
6-1
7- 1
8- 1
Seats and Restraint Systems
This section tells you how to use your seats and safety belts prop\
erly. It also explains the “SRS” system.
Features and Controls
This section explains how to start and operate your vehicle.
Comfort Controls and Audio Systems
This section tells you how to adjust the ventilation and comfort co\
ntrols and how to operate your audio system.
Your Driving and the Road
Here you’ll find helpful information and tips about the road\
and how to drive under different conditions.
Problems on the Road
This section tells what to do if you have a problem while driving, such as a flat tire or overheated engine, etc.
Service and Appearance Care
Here the manual tells you how to keep your vehicle running properly and looking good.
Maintenance Schedule
This section tells you when to perform vehicle maintenance and what \
fluids and lubricants to use.
Customer Assistance Information
This section tells you how to contact Pontiac for assistance a\
nd how to get service and owner publications.
It also gives you information
on “Reporting Safety Defects” on page 8-10.
9-1 Index
Here’s an alphabetical listing of almost every subject in this manual. You can use it to quickly find
something you want
to read.
i
Page 51 of 395
To remove the child restraint, just unbuckle the vehicle’s
safety belt. It will be ready to work
for an adult or larger
child passenger.
Securing a Child Restraint in the Right
Front
Seat Position
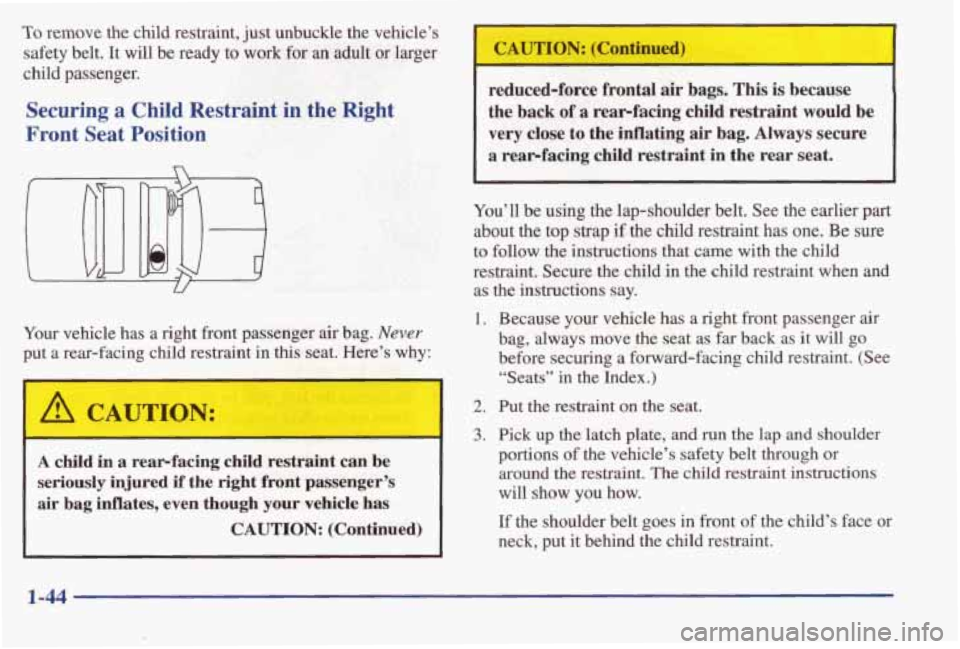
Your vehicle has a right front passenger air bag. Never
put a rear-facing child restraint in this seat. Here’s why:
I A CAUTION:
reduced-force frontal air bags. This is because
the back of a rearfacing child restraint
would be
very close
to the inflating air bag. Always secure
a rearfacing child restraint in the rear seat.
A child in a rearfacing child restraint can be
seriously injured if the right front passenger’s
air bag inflates, even though
your vehicle has
CAUTION: (Continued)
You’ll be using the lap-shoulder belt. See the earlier part
about the top strap if. the child restraint has one. Be sure
to follow the instructions that came with the child
restraint. Secure the child
in the child restraint when and
as the instructions
say.
1. Because your vehicle has a right front passenger air
bag, always move the seat as
far back as it will go
before securing a forward-facing child restraint. (See
“Seats” in the Index.)
’ 2. Put the restraint on the seat.
3. Pick up the latch plate, and run the lap and shoulder
portions
of the vehicle’s safety belt through or
around the restraint. The child restraint instructions
will show you
how.
If the shoulder belt goes in front of the child’s face or
neck, put it behind the child restraint.
1-44
Page 58 of 395
Section 2 Features and Controls
Here you can learn about the many standard and optional featur\
es on your vehicle, and information on starting,
shifting and braking.
Also explained are the instrument panel and the warning systems that tell you if everything is
working properly
-- and what to do if you have a problem.
2-2
2-4 2-
10
2- 14
2-15
2-16
2-18
2- 19
2-20
2-21
2-23
2-24
2-28
2-29 2-32
2-33 2-33 Keys
Door Locks
Remote Keyless Entry (Option)
TnXnk
Theft
Universal Theft-Deterrent (Option)
PASS-Key@
I1
New Vehicle “Break-In”
Ignition Positions
Starting
Your Engine
Engine Coolant Heater (If Equipped) Automatic Transaxle Operation
Computer Command Ride (Option)
Shifting Into PARK (P)
Shifting Out
of PARK (P)
Parking Over Things That Burn Engine Exhaust 2-34
2-35
2-35
2-36
2-36
2-43
2-46
2-48 2-5
1
2-53
2-54
2-55
2-56 2-62
2-74
2-77
2-79 Running
Your Engine While You’re Parked
Windows Horn
Tilt Wheel
Turn SignaYMultifunction Lever
Exterior Lamps
Interior Lamps
Mirrors Storage Compartments
Sun Visors
Air Inflator System (Option)
Sunroof (Option)
Instrument Panel
Warning Lights, Gages and Indicators Head-Up Display (Option)
Driver Information Center (Option)
Electronic Compass (Option)
2-1
Page 109 of 395
Rear Storage Compartment
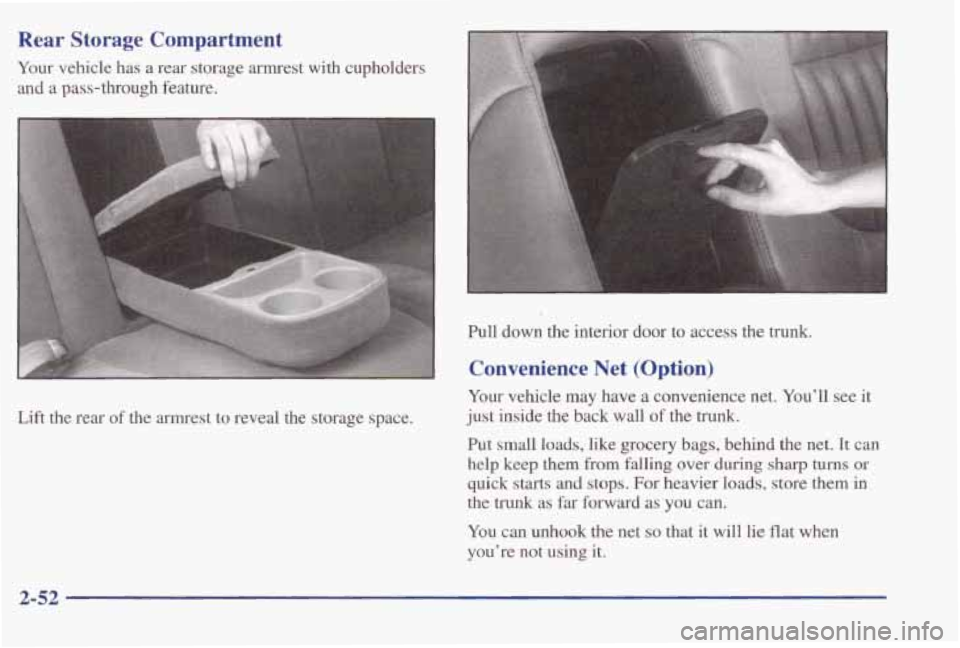
Your vehicle has a rear storage armrest with cupholders
and
a pass-through feature.
Lift the rear of the armrest to reveal the storage space. Pull down the interior door to access the
trunk.
Convenience Net (Option)
Your
vehicle may have a convenience net. You’ll see it
just inside the back wall
of the trunk.
Put small loads, like grocery bags, behind the net. It can
help keep
them from falling over during sharp turns or
quick starts and stops. For heavier loads, store them in
the
trunk as far forward as you can.
You can unhook the net so that it will lie flat when
you’re
not using it.
2-52
Page 111 of 395
Air 'Inflator System (Option)
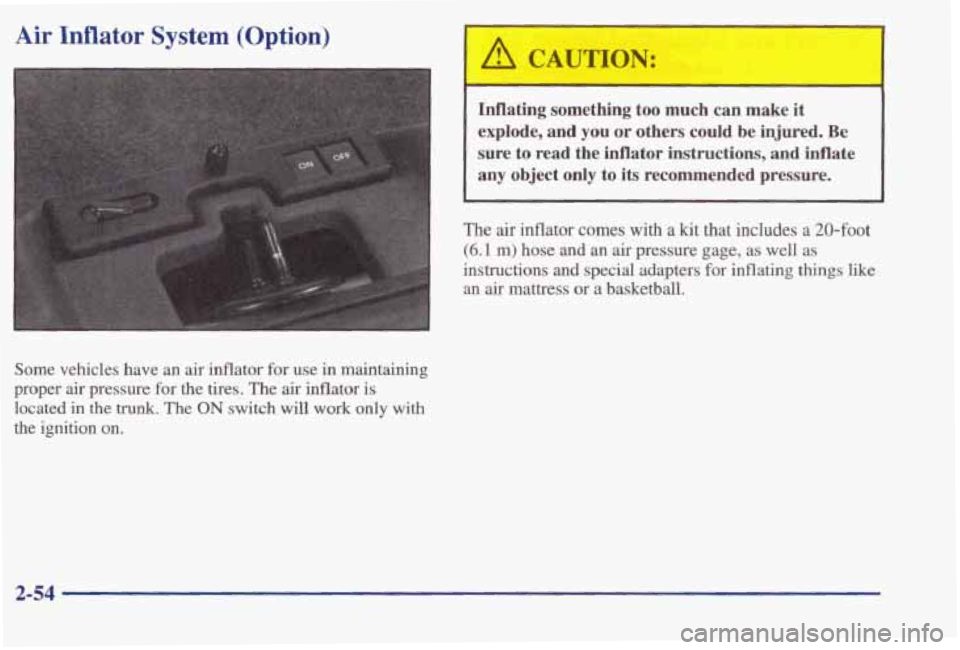
Some vehicles have an air inflator for use in maintaining
proper air pressure
for the tires. The air inflator is
located
in the trunk. The ON switch will work only with
the ignition on.
A CAUTION:
Inflating something too much can make it
explode,
and you or others could be injured. Be
sure to read the inflator instructions, and inflate
any object only to its recommended pressure.
The air inflator comes with a kit that includes a 20-foot
(6.1 m) hose and an air pressure gage, as well as
instructions and special adapters for inflating things like
an air mattress or a basketball.
2-54
Page 139 of 395
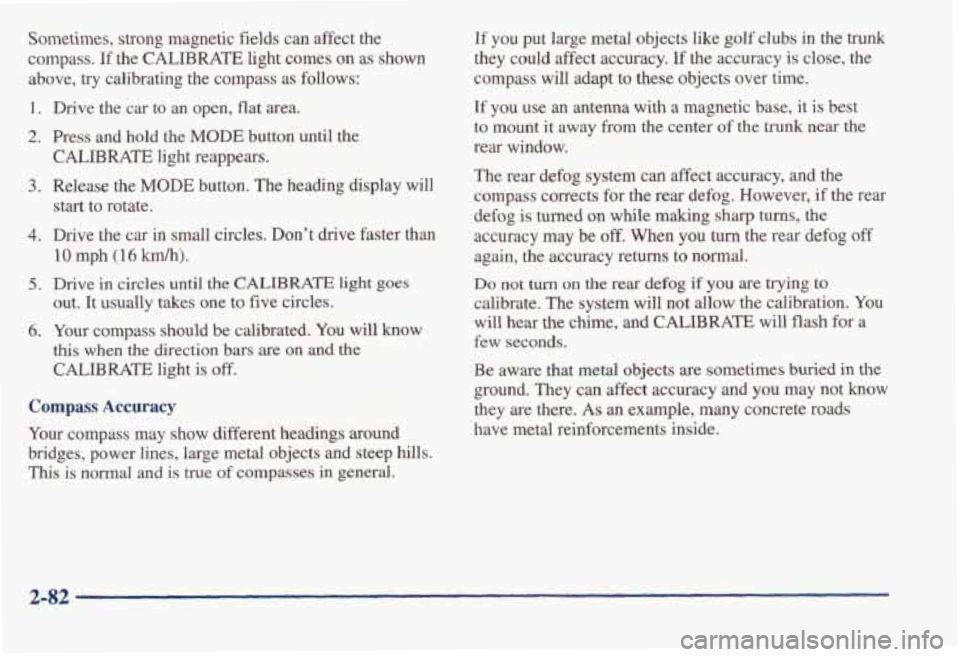
Sometimes, strong magnetic fields can affect the
compass.
If the CALIBRATE light comes on as shown
above,
try calibrating the compass as follows:
1. Drive the car to an open, flat area.
2. Press and hold the MODE button until the
CALIBRATE light reappears.
start to rotate.
3. Release the MODE button. The heading display will
4. Drive the car in small circles. Don't drive faster than
10 mph (16 km/h).
out. It usually takes one to five circles.
this when the direction bars are on and the
CALIBRATE light is off.
5. Drive in circles until the CALIBRATE light goes
6. Your compass should be calibrated. You will know
Compass Accuracy
Your compass may show different headings around
bridges, power lines, large metal objects and steep hills.
This is noma1 and is true of compasses in general.
If you put large metal objects like golf clubs in the trunk
they could affect accuracy. If the accuracy is close, the
compass will adapt to
these objects over time.
If you use an antenna with a magnetic base, it is best
to mount it away from the center of the trunk near the
rear window.
The rear defog system can affect accuracy, and the
compass corrects for the rear defog. However,
if the rear
defog is turned on while making
sharp turns, the
accuracy may be
off. When you turn the rear defog off
again, the accuracy returns to normal.
Do not turn on the rear defog if you are trying to
calibrate. The system will not allow the calibration.
You
will hear the chime, and CALIBRATE will flash for a
few seconds.
Be aware that metal objects are sometimes buried in the
ground. They
can affect accuracy and you may not know
they are there.
As an example, many concrete roads
have
metal reinforcements inside.
2-82
Page 202 of 395
Run your engine only as long as you must. This saves fuel. When you run the engine, make it go a little faster
than just idle. That is, push the accelerator slightly. This
uses less fuel for .the heat that you get and it keeps the
battery charged. You will need
a well-charged battery to
restart the vehicle, and possibly for signaling later on
with your headlamps. Let the heater run for a while.
Then, shut the engine
off and close the window almost
all the way to preserve the heat. Start the engine again and repeat this only when you feel really uncomfortable
from the cold. But do
it as little as possible. Preserve the
fuel as long as you can. To help keep warm, you can get
out
of the vehicle and do some fairly vigorous exercises
every half hour
or so until help comes.
Loading Your Vehicle
;"
7
TIRE-LOADING INFORMATION
OCCUPANTS
VEHICLE CAP. WT.
FRT. CTR.
RR. TOTAL LBS. KG
MAX. LOADING & GVWR SAME AS VEHICLE
CAPACITY WEIGHT
XXX COLD TIRE
TIRE SIZE SPEED PRESSURE
RTG PSVKPa
FRT.
RR.
SPA.
IF TIRES ARE HOT, ADD 4PS1/28KPa
SEE OWNER'S MANUAL FOR ADDITIONAL
, INFORMATION
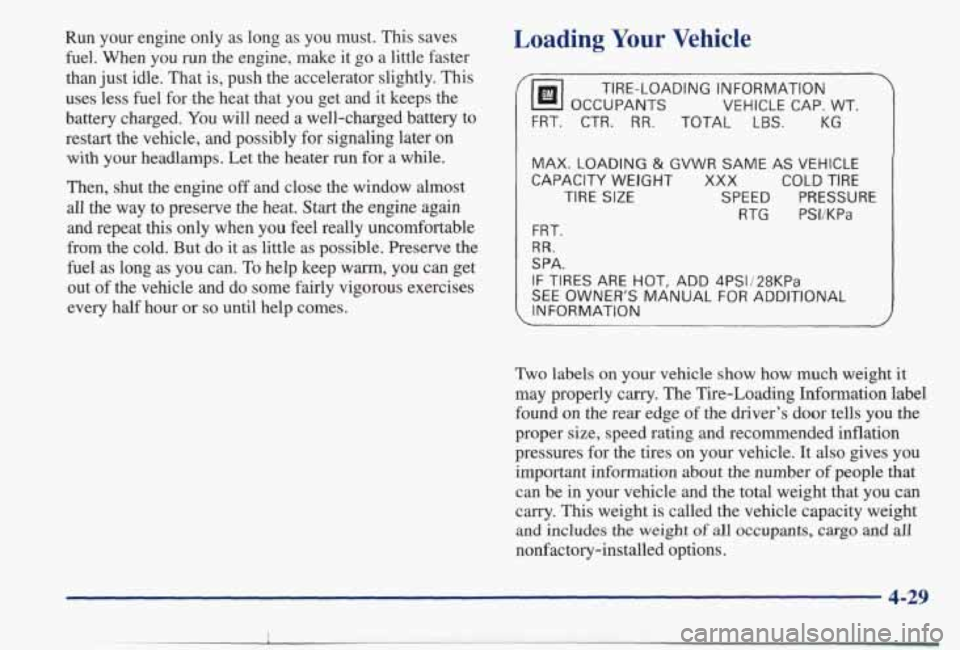
Two labels on your vehicle show how much weight it
may properly carry. The Tire-Loading Information label
found on
the rear edge of the driver's door tells you the
proper size, speed rating and recommended inflation
pressures for the tires on your vehicle. It also gives you
important information about the number
of people that
can be in your vehicle and the total weight that you can
carry. This weight is called the vehicle capacity weight
and includes the weight of all occupants, cargo and all
nonfactory-installed options.
4-29
Page 248 of 395
Storing the Flat Tire and Tools
A CAUTION:
- -
Storing a jack, a tire or other equipment in the passenger compartment
of the vehicle could
cause injury. In a sudden stop or collision, loose
equipment could strike someone. Store
all these
in the proper place.
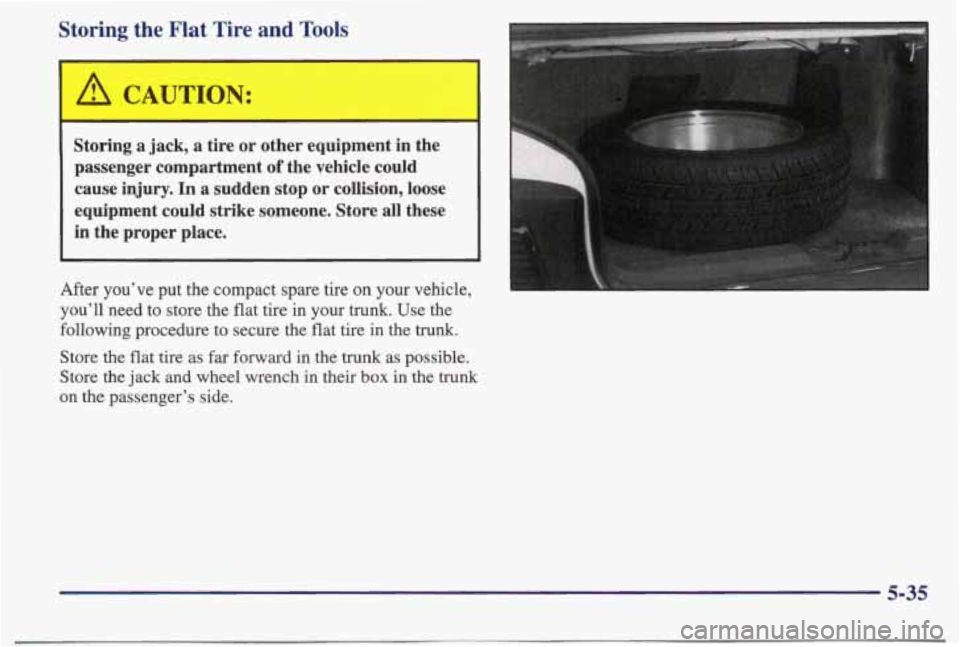
After you’ve put the compact spare tire on your vehicle,
you’ll need to store the flat tire in your trunk. Use the \
following procedure to secure the flat tire in the trunk.
Store the flat tire
as far forward in the trunk as possible.
Store
the jack and wheel wrench in their box in the trunk
on the passenger’s side.
5-35