1998 PONTIAC BONNEVILLE brake
[x] Cancel search: brakePage 6 of 395
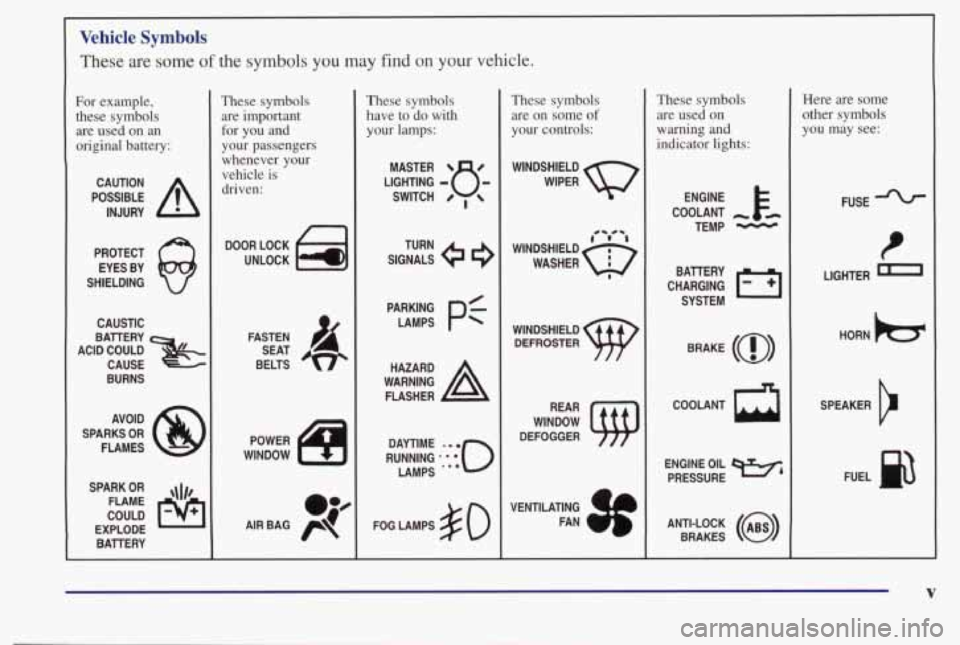
Vehicle Symbols
These are some of the symbols you may find on your vehicle.
For example,
these symbols are used on an
original battery:
POSSIBLE A
CAUTION
INJURY
PROTECT EYES BY
SHIELDING
Q
CAUSTIC
ACID COULD BAllERY
CAUSE -~~-. .
BURNS
AVOID
SPARKS
OR
FLAMES
SPARK
OR ,\I/,
COULD FLAME
EXPLODE BAllERY
I
These symbols are important
for you and
your passengers
whenever your
vehicle is
driven:
DOOR LOCK
UNLOCK
n
POWER
WINDOW
oJ4
AIR BAG p
These symbols
have to do with your lamps:
SIGNALS e3
TURN
FOG LAMPS
# 0
These symbols are on some
of
your controls:
WINDSHIELD
WIPER
WINDSHIELD
DEFROSTER
DEFOGGER
VENTILATING FAN
( rc?: A
These symbols are used on
warning
and
indicator lights:
COOLANT -
TEMP -
CHARGING I-1
BAllERY
SYSTEM
BRAKE
(a)
R
Here are some
other symbols
you may see:
FUSE
LIGHTER
n
HORN )b.
ENGINE OIL e,
PRESSURE
V
SPEAKER
b
FUEL
Page 76 of 395
See your dealer or a locksmith who can service the
PASS-Key
I1 to have a new key made.
If you’re ever driving and the SECURITY light comes
on and remains on, you will be able to restart your
engine if you turn it off. Your PASS-Key
I1 system,
however, is not working properly and must be serviced by your dealer. Your vehicle is not protected by the
PASS-Key I1 system.
If you lose or damage a PASS-Key I1 ignition key,
see your dealer
or a locksmith who can service
PASS-Key
11 to have a new key made. In an
emergency, call the Pontiac Roadside Assistance Center
at
1 -800-ROADSIDJ or 1-800-762-3743.
In Canada, call 1-800-268-6800.
New Vehicle “Break-In”
NOTICE:
Your vehicle doesn’t need an elaborate
“break-in.” But it will perform better in the
long run
if you follow these guidelines:
0
0
0
Don’t drive at any one speed -- fast or
slow
-- for the first 500 miles (805 km).
Don’t make full-throttle starts.
Avoid making hard stops for the first
200 miles (322 km) or so. During this time
your new brake linings aren’t yet broken
in. Hard stops with new linings can mean
premature wear and earlier replacement.
Follow this breaking-in guideline every
time you get new brake linings.
Don’t tow a trailer during break-in.
See “Towing
a Trailer’’ in the Index for
more information.
2-19
Page 81 of 395
Automatic Transaxle Operation
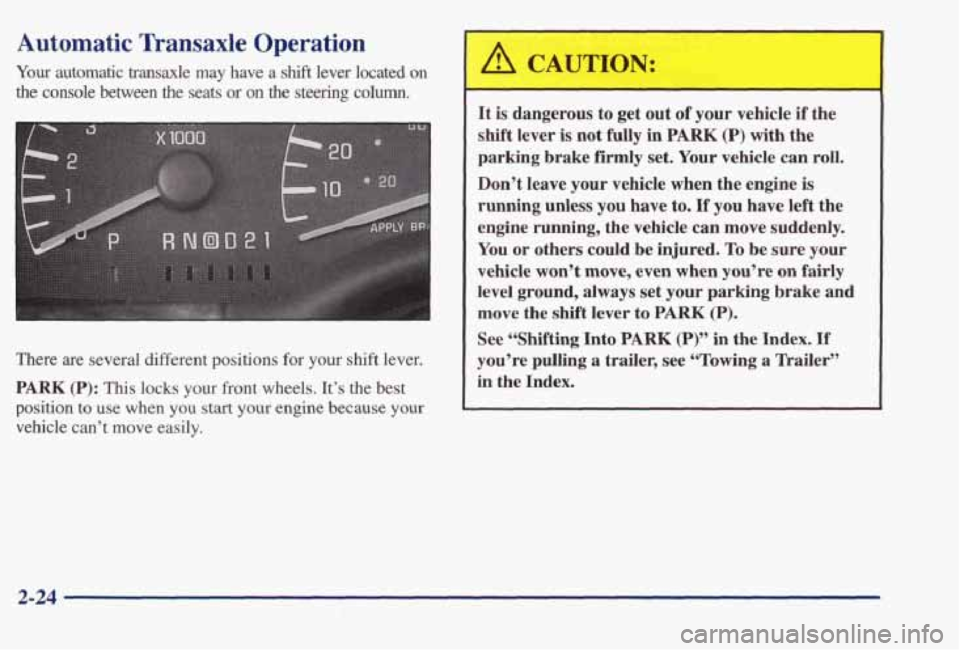
Your automatic transaxle may have a shift lever located on
the console between the seats or on the steering column.
There are several different
positions for your shift lever.
PARK (P): This locks your front wheels. It’s the best
position to use
when you start your engine because your
vehicle can’t move easily.
A CAUTION: I
It is dangerous to get out of your vehicle if the
shift lever is not fully in
PARK (P) with the
parking brake firmly set. Your vehicle
can roll.
Don’t leave your vehicle when the engine is
running unless
you have to. If you have left the
engine
running, the vehicle can move suddenly.
You or others could be injured.
To be sure your
vehicle won’t move, even when you’re on fairly
level ground, always set your parking brake and
move the shift lever to
PARK (P).
See “Shifting Into PARK (P)” in the Index. If
you’re pulling
a trailer, see “Towing a Trailer”
in the Index.
2-24
Page 82 of 395
Ensure the shift lever is fully in PARK (P) range before
starting the engine. Your vehicle has a brake-transaxle shift
interlock. You have to fully apply your regular brakes
b#ore you can shift from PARK (P) when the ignition key
is
in an on position. If you cannot shift out of PARK (P),
ease pressure on the shift lever -- push the shift lever all
the way into PARK (P) and also release the shift lever
button on floor
shift console models as you maintain brake
application. Then move the
shift lever into the gear you
wish. (Press the
shift lever button before moving the shift
lever on floor shift console models.) See “Shifting Out of
PARK (P)” later in this section.
REVERSE (R): Use this gear to back up.
NOTICE:
Shifting to REVERSE (R) while your vehicle is
moving forward could damage your transaxle.
Shift to
REVERSE (R) only after your vehicle
is stopped.
To rock your vehicle back and forth to get out of snow,
ice or sand without damaging your transaxle, see
“Stuck: In Sand, Mud, Ice or Snow” in the Index.
NEUTRAL (N): In this position, your engine
doesn’t connect with the wheels. To restart when you’re
already moving, use NEUTRAL
(N) only. Also, use
NEUTRAL (N) when your vehicle is being towed.
A CAUTION:
Shifting out of PARK (P) or NEUTRAL (N) while
your engine is “racing” (running at
high speed) is
dangerous. Unless your foot is
firmly on the
brake pedal, your vehicle could move very
rapidly. You
could lose control and hit people or
objects. Don’t shift out of PARK (P) or
NEUTRAL (N) while your engine is racing.
NOTICE:
Damage to your transaxle caused by shifting out
of PARK (P) or NEUTRAL (N) with the engine
racing isn’t covered
by your warranty.
2-25
Page 83 of 395
AUTOMATIC OVERDRIVE (@I): This position is
for normal driving.
If you need more power for passing,
and you’re:
Going less than about 35 mph (55 km/h), push your
0 Going about 35 mph (55 km/h) or more, push the
You’ll shift down to the next gear and have more power.
accelerator pedal about halfway down.
accelerator
all the way down.
NOTICE:
If your vehicle seems to start up rather slowly, or
if it seems not to shift gears as you go faster,
something may be wrong with a transaxle system
sensor.
If you drive very far that way, your
vehicle can be damaged.
So, if this happens, have
your
vehicle serviced right away. Until then, you
can use
SECOND (2) when you are driving less
than 35 mph (55 km/h) and AUTOMATIC
OVERDRIVE (0) for higher speeds.
DRIVE @): This position is also used for normal
driving, however, it offers more power and lower fuel
economy than AUTOMATIC OVERDRIVE (@).
Here are some times you might choose DRIVE (D)
instead of AUTOMATIC OVERDRIVE (0):
When driving on hilly, winding roads
When towing a trailer, so there is less shifting
When going down a steep hill
SECOND (2): This position gives you more power but
lower fuel economy.
You can use SECOND (2) on hills.
It can help control your speed as you go down steep
mountain roads, but then
you would also want to use
your brakes
off and on.
between gears
NOTICE:
Don’t drive in SECOND (2) for more than
5 miles (8 km), or at speeds over 55 mph
(90 M), or you can damage your transaxle.
Use AUTOMATIC OVERDRIVE (0) or
DRIVE @) as much as possible.
Don’t shif’t into SECOND (2) unless you are going
slower than 65 mph (105 km/h), or you can
damage your engine.
2-26
Page 84 of 395
FIRST (1): This position gives you even more power
(but lower fuel economy) than
SECOND (2). You can
use it on very steep hills, or in deep snow or mud.
If
the selector lever is put in FIRST (l), the transaxle
won't
shift into first gear until the vehicle is going
slowly enough.
NOTICE:
If your front wheels can't rotate, don't try to
drive. This might happen
if you were stuck in
very deep sand or mud or were up against a solid
object. You could damage your transaxle.
Also, if you stop when going uphill, don't hold
your vehicle there with only the accelerator
pedal. This could overheat and damage the
transaxle. Use your brakes or shift into
PARK (P)
to hold your vehicle in position on a hill.
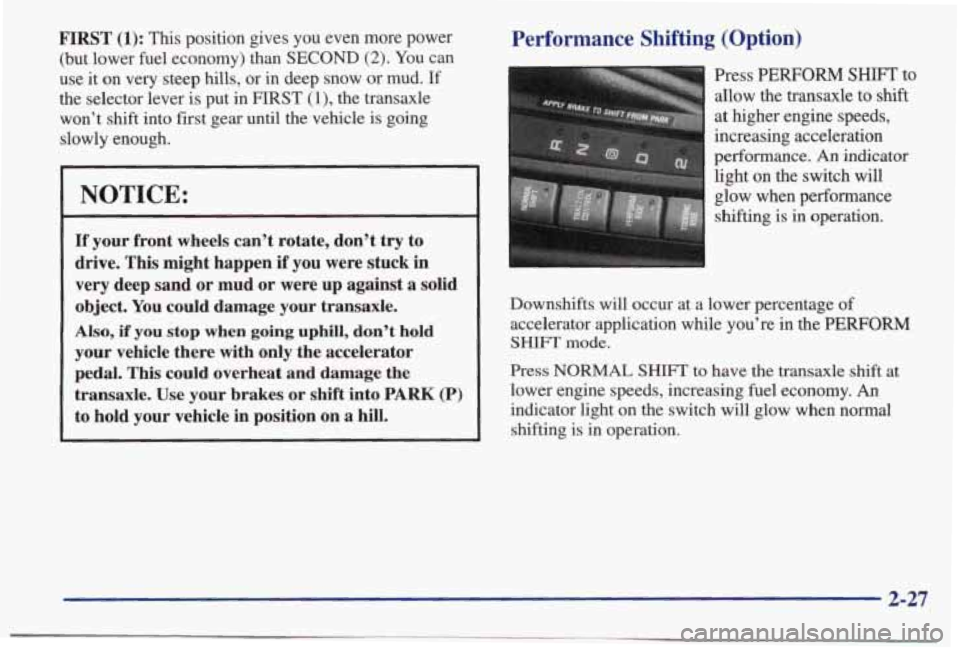
Performance Shifting (Option)
Press PERFORM SHIFI' to
allow the transaxle to shift
at higher engine speeds,
increasing acceleration
performance.
An indicator
light on the switch will
glow when performance
shifting is
in operation.
Downshifts will occur at a lower percentage
of
accelerator application while you're in the PERFORM
SHIFT mode.
Press NORMAL SHIFT to have the transaxle shift at
lower engine speeds, increasing fuel economy.
An
indicator light on the switch will glow when normal
shifting is in operation.
2-27
Page 85 of 395
Computer Command Ride (Option)
Vehicles equipped with computer command ride provide
improved passenger ride comfort under
a variety of road
and driving conditions.
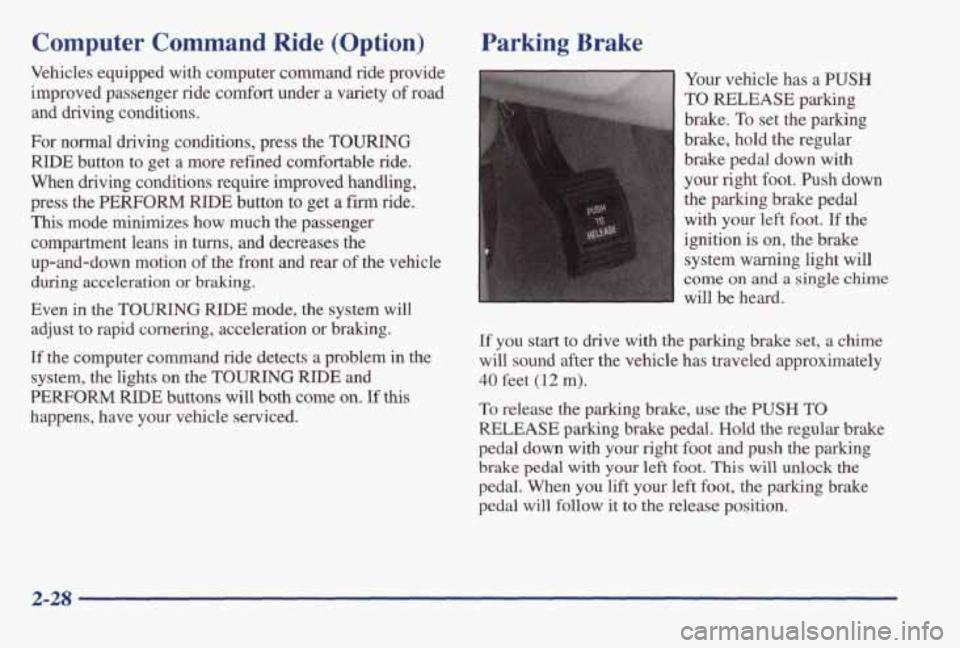
For normal driving conditions, press the
TOURING
RIDE button to get a more refined comfortable ride.
When driving conditions require improved
handling,
press the PERFORM RIDE button to get a fm ride.
This mode minimizes how much the passenger
compartment leans in turns,
and decreases the
up-and-down motion of the front and rear
of the vehicle
during acceleration or
braking.
Even in the TOURING RIDE mode, the system will
adjust
to rapid cornering, acceleration or braking.
If the computer command ride detects a problem in the
system, the lights on the
TOURING RIDE and
PERFORM RIDE buttons will both come on. If this
happens, have your vehicle serviced.
Parking Brake
Your vehicle has a PUSH
TO RELEASE parking
brake.
To set the parking
brake, hold the regular
brake pedal down with
your right foot. Push down
the parking brake pedal
with your left foot.
If the
ignition is on, the brake
system warning light will
come on and a single chime
will be heard.
If you start to drive with the parking brake set, a chime
will sound after
the vehicle has traveled approximately
40 feet (12 m).
To release the parking brake, use the PUSH TO
RELEASE parking brake pedal. Hold the regular brake
pedal down with
your right foot and push the parking
brake pedal with your left foot. This will unlock the
pedal. When you lift your left foot, the parking brake
pedal will follow
it to the release position.
2-28
Page 86 of 395
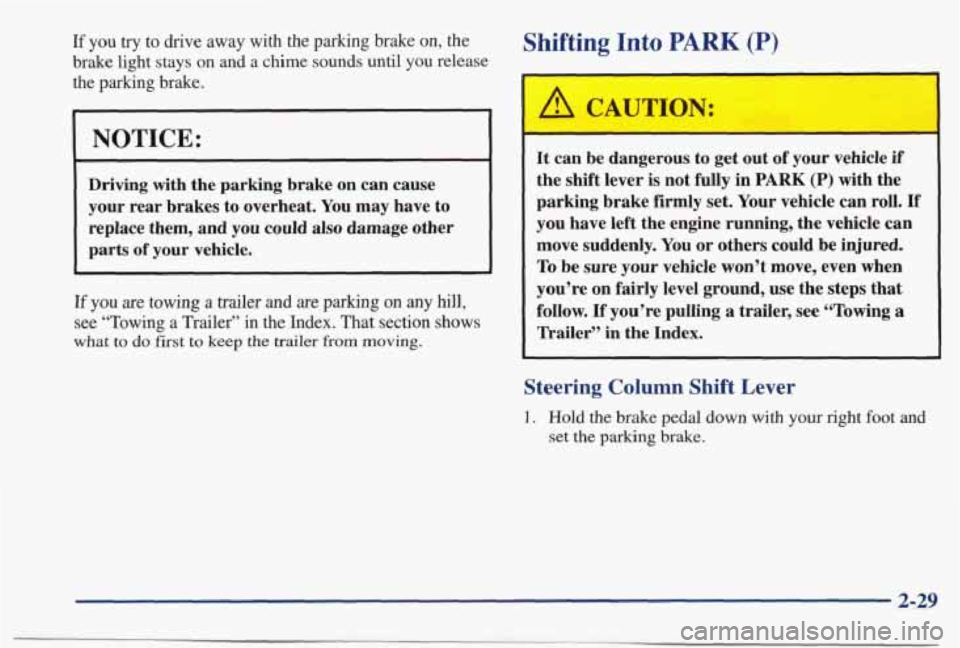
If you try to drive away with the parking brake on, the
brake light stays on and a chime sounds until you release
the parking brake.
NOTICE:
Driving with the parking brake on can cause
your rear brakes to overheat. You may have to
replace them, and you could also damage other
parts of your vehicle.
3
If you are towing a trailer and are parking on any hill,
see “Towing a Trailer” in the Index. That section shows
what to do first to keep the trailer from moving.
Shifting Into PARK (P)
It can be dangerous to get out of your vehicle if
the shift lever is not fully in PARK (P) with the
parking brake firmly set. Your vehicle
can roll. If
you have left the engine running, the vehicle can
move suddenly. You or others could be injured.
To be sure your vehicle won’t move, even when
you’re on fairly level ground, use the
steps that
follow.
If you’re pulling a trailer, see “Towing a
Trailer” in the Index.
Steering Column Shift Lever
1. Hold the brake pedal down with your right foot and
set
the parking brake.
2-29