1998 PONTIAC BONNEVILLE engine
[x] Cancel search: enginePage 124 of 395
The traction control system warning light may come on
for the following reasons:
If you turn the system off by pressing the button
located on the center console, the warning light will come on and stay on.
To turn the system back on,
press the button again.
The warning light should go
off. (See “Traction Control System” in the Index
for more information.)
Low Coolant Warning Light (If Equipped)
LOW
COOLANT
’ If you have this light and it
comes on, your system may
be low on coolant and the
engine may overheat.
If there’s a brake system problem that is specifically
related to traction control, the traction control system will turn
off and the warning light will come on. If
your brakes begin to overheat, the traction control
system will
turn off and the warning light will come
on until your brakes cool down.
engine-related problem, the system will
turn off and
the warning light will come on.
0 If the traction control system is affected by an
If the traction control system warning light comes on
and stays on for
an extended period of time when the
system is turned on, your vehicle needs service. Check to see if
the level is low at the recovery tank, and
add coolant
if necessary. If the level is not low, have
your low coolant warning system serviced. See “Engine
Coolant” in the Index.
The
LOW COOLANT warning light will also come on
when you
turn on the ignition, but your engine is not
running, as a check to show you it is working. If it
doesn’t come on then, have it fixed right away.
After the bulb check, the light will
go out for 20
seconds. If the light comes back on after 20 seconds, the
system may be low on coolant. See “Engine Coolant”
in the Index.
2-67
Page 125 of 395
Engine Coolant Temperature Gage
280
This gage shows the engine
coolant temperature.
If the gage pointer moves
into
the red area, your
engine is too hot! On
vehicles
with the optional
DIC, the CHECK GAGES
light will go on and a
warning chime will sound.
It means that your engine coolant has overheated.
If you
have been operating your vehicle under normal driving
conditions, you should pull
off the road, stop your
vehicle and
turn off the engine as soon as possible.
In the section “Problems
on the Road,” this manual
explains what to
do. See “Engine Overheating” in
the Index.
Malfunction Indicator Lamp (Check Engine Light)
CHECK 0
Your vehicle is equipped
with a computer which
monitors operation of the
fuel, ignition and emission
control systems.
This system is called OBD II (On-Board
Diagnostics-Second Generation)
and is intended to
assure that emissions are at acceptable levels for the life
of the vehicle, helping to produce a cleaner
environment. The
CHECK ENGINE light comes on to
indicate that there is a problem and service is required.
Malfunctions often will be indicated by the system
before any problem is apparent. This may prevent more
serious damage to your vehicle. This system is also
designed to assist your service technician in correctly
diagnosing any malfunction.
2-68
Page 126 of 395
NOTICE:
If you keep driving your vehicle with this light on, after a while, your emission controls may not
work as well,
your fuel economy may not be as
good and your engine may not run as smoothly.
This could lead
to costly repairs that may not be
covered by your warranty. If the
Light Is Flashing
The
following may prevent more serious damage to
your vehicle:
Reducing vehicle speed.
Avoiding hard accelerations.
0 Avoiding steep uphill grades.
0 If you are towing a trailer, reduce the amount of
cargo being hauled as soon as it is possible.
This light should come on, as a check to show you it is
working, when the ignition is on and the engine is not
running. If the light doesn’t come on, have it repaired.
This light will also come on during a malfunction in one
of two ways:
0 Light Flashing -- A misfire condition has been
detected.
A misfire increases vehicle emissions and
may damage the emission control system on your vehicle. Dealer or qualified service center diagnosis
and service may be required.
malfunction has been detected on your vehicle.
Dealer
or qualified service center diagnosis and
service
may be required.
0 Light On Steady -- An emission control system If
the light stops flashing and remains
on steady, see
“If the Light Is On Steady” following.
If the light continues to flash, when it is safe to do so,
stop the vehicle. Find a safe place to park your vehicle.
Turn the key off, wait at least 10 seconds and restart the
engine. If the light remains on steady, see “If the Light
Is On Steady” following. If the light is still flashing,
follow the previous steps, and drive the vehicle to your
dealer or qualified service center for service.
2-69
Page 127 of 395
If the Light Is On Steady
You may be able to correct the emission system
malfunction by considering the following:
Did you recently put fuel into your vehicle?
If so, reinstall the fuel cap, making sure to fully install
the cap. The diagnostic system can determine
if the fuel
cap has been left
off or improperly installed. A loose or
missing fuel cap will allow fuel to evaporate into the
atmosphere.
A few driving trips with the cap properly
installed should
turn the light off.
Did you just drive through a deep puddle of water?
If so, your electrical system may be wet. The condition
will usually be corrected when the electrical system
dries out.
A few driving trips should turn the light off.
Have you recently changed brands of fuel?
If so, be sure to fuel your vehicle with quality fuel (see
“Fuel” in the Index). Poor fuel quality will cause your \
engine not to
run as efficiently as designed. You may
notice
this as stalling after start-up, stalling when you
put the vehicle into gear, misfiring, hesitation on
acceleration or stumbling on acceleration. (These
conditions may go away once the engine is warmed up.)
This will be detected by the system and cause the light
to turn on.
If you experience one or more of these conditions,
change the fuel brand you use.
It will require at least one
full
tank of the proper fuel to turn the light off.
If none of the above steps have made the light turn off,
have your dealer or qualified service center check the
vehicle. Your dealer
has the proper test equipment and
diagnostic tools to
fix any mechanical or electrical
problems
that may have developed.
2-70
Page 128 of 395
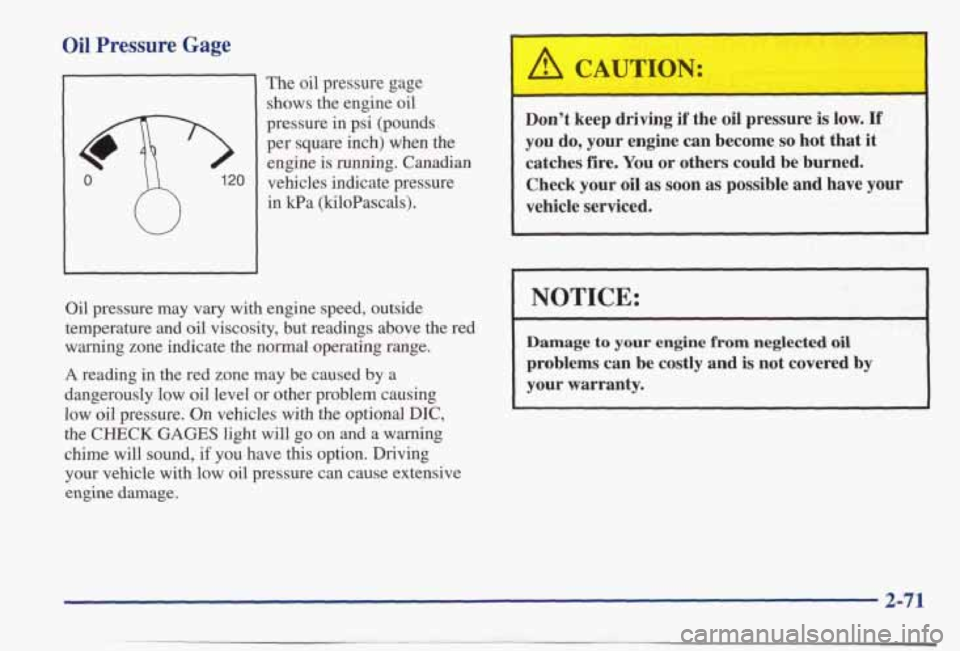
Oil Pressure Gage
The oil pressure gage
shows the engine oil
pressure in psi (pounds
per square inch) when the
engine
is running. Canadian
vehicles indicate pressure
in kPa (kiloPascals).
Oil pressure may
vary with engine speed, outside
temperature and oil viscosity, but readings above the red
warning zone indicate the normal operating
range.
A reading in the red zone may be caused by a
dangerously low oil level or other problem causing
low oil pressure. On vehicles with the optional
DIC,
the CHECK GAGES light will go on and a warning
chime will sound, if you have this option. Driving
your vehicle with low oil pressure can cause extensive
engine damage.
I A CAUTION:
Don’t keep driving if the oil pressure is low* If
you do, your engine can become so hot that it
catches fire. You
or others could be burned.
Check your
oil as soon as possible and have your
vehicle serviced.
I NOTICE: I
Damage to your engine from neglected oil
problems can be costly and
is not covered by
your warranty.
2-71
. . ..
Page 129 of 395
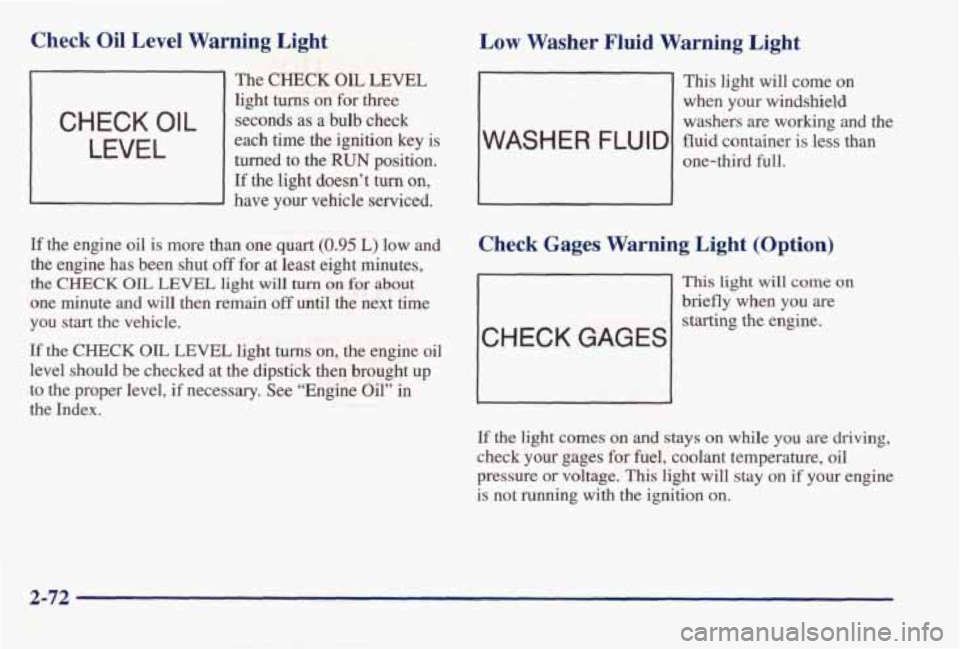
Check Oil Level Warning Light
The CHECK OIL LEVEL
light turns on for three
each time the ignition key is turned to the
RUN position.
If the light doesn’t turn on,
- have your vehicle serviced.
C H EC K 0 I L seconds as a bulb check
LEVEL
If the engine oil is more than one quart (0.95 L) low and
the engine has been shut off for at least eight minutes,
the CHECK OIL LEVEL light will turn on for about
one minute and will then remain off until the next time
you start the vehicle.
If the CHECK OIL LEVEL light turns on, the engine oil
level should be checked at the dipstick then brought up
to the proper level, if necessary. See “Engine Oil” in
the Index.
Low Washer Fluid Warning Light
- This light will come on
when your windshield
washers are working
and the
one-third full.
WASH E R FLU I D fluid container is less than
Check Gages Warning Light (Option)
CHECK GAGES
This light will come on
briefly when you are
starting
the engine.
If
the light comes on and stays on while you are driving,
check your gages for fuel, coolant temperature, oil
pressure
or voltage. This light will stay on if your engine
is not running with the ignition
on.
2-72
Page 131 of 395
Boost Gage (Option) Head-Up Display (Option)
fXjST
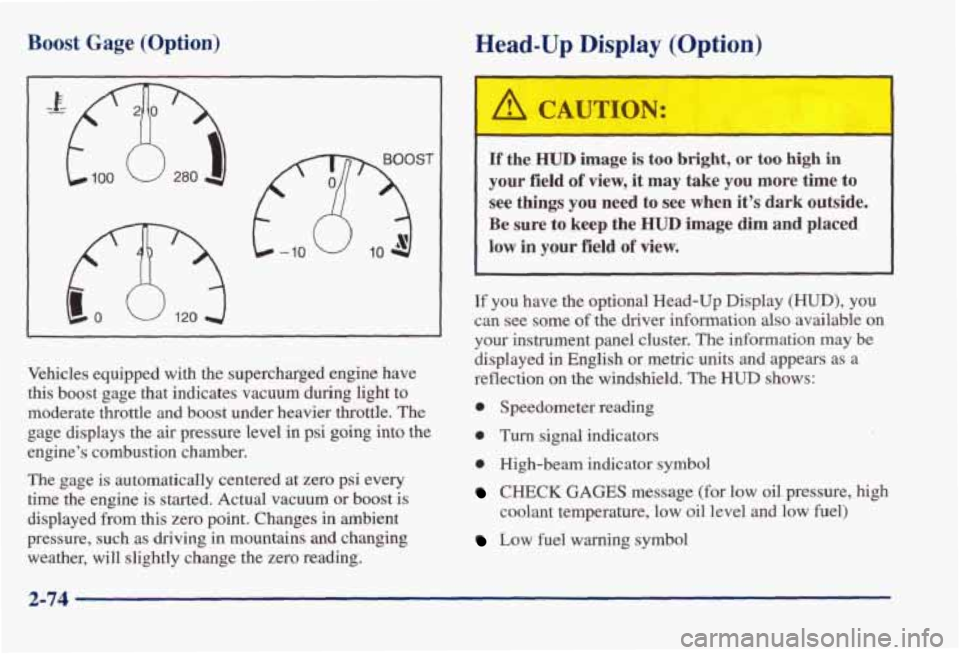
Vehicles equipped with the supercharged engine have
this boost gage that indicates vacuum during light
to
moderate throttle and boost under heavier throttle. The
gage displays the air pressure level in psi going into the
engine’s combustion chamber.
The gage is automatically centered at zero psi every
time the engine is started. Actual vacuum or boost
is
displayed from this zero point. Changes in ambient
pressure, such as driving in mountains
and changing
weather, will slightly change the zero reading.
If the HUD image is too bright, or too high in
your field of view, it may take you more time to
see things you need to see when it’s dark outside.
Be sure to keep the HUD image dim and placed
low in your field of view.
If you have the optional Head-Up Display (HUD), you
can see some
of the driver information also available on
your instrument panel cluster. The information
may be
displayed in English or metric units and appears as a
reflection on the windshield. The
HUD shows:
0 Speedometer reading
0 Turn signal indicators
0 High-beam indicator symbol
CHECK GAGES message (for low oil pressure, high
coolant temperature, low oil level and low fuel)
Low fuel warning symbol
2-74
Page 133 of 395
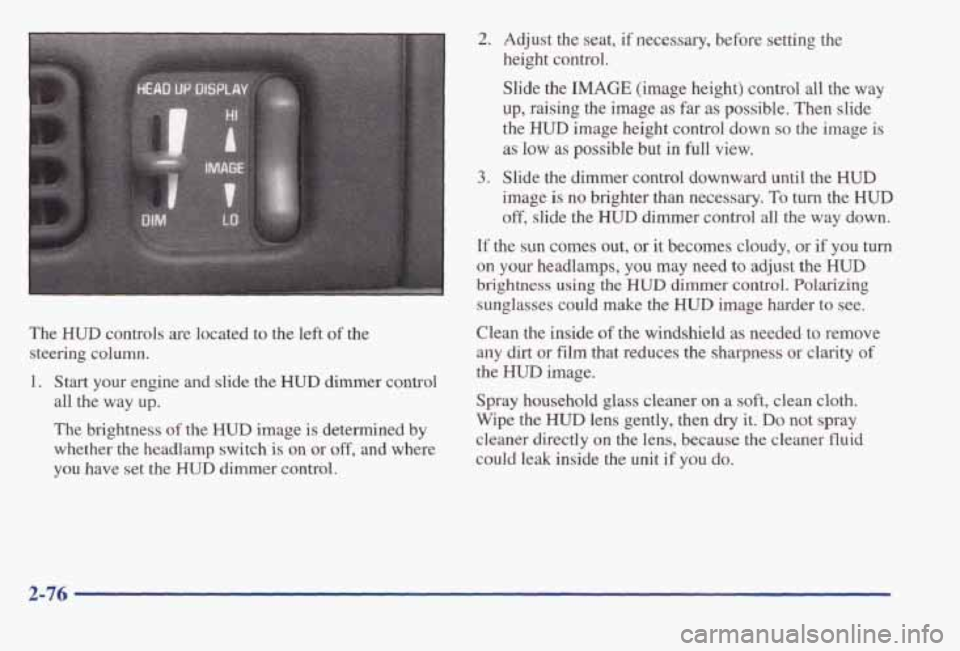
The HUD controls are located to the left of the
steering column. 1. Start your engine and slide the
HUD dimmer control
all the way up.
The brightness
of the HUD image is determined by
whether
the headlamp switch is on or off, and where
you have set the
HUD dimmer control.
2. Adjust the seat, if necessary, before setting the
height control.
Slide the
IMAGE (image height) control all the way
up, raising the image as far as possible. Then slide
the
HUD image height control down so the image is
as low as possible but in full view.
image
is no brighter than necessary. To turn the HUD
off, slide the HUD dimmer control all the way down.
If the sun comes out, or it becomes cloudy, or if you turn
on your headlamps, you may need to adjust the HUD
brightness using the HUD dimmer control. Polarizing
sunglasses could make the
HUD image harder to see.
Clean the inside
of the windshield as needed to remove
any dirt or film that reduces the sharpness or clarity of
the
HUD image.
Spray household
glass cleaner on a soft, clean cloth.
Wipe the
HUD lens gently, then dry it. Do not spray
cleaner directly on the lens, because
the cleaner fluid
could leak inside the
unit if you do.
3. Slide the dimmer control downward until the HUD
2-76