1998 PONTIAC BONNEVILLE remote start
[x] Cancel search: remote startPage 58 of 395
Section 2 Features and Controls
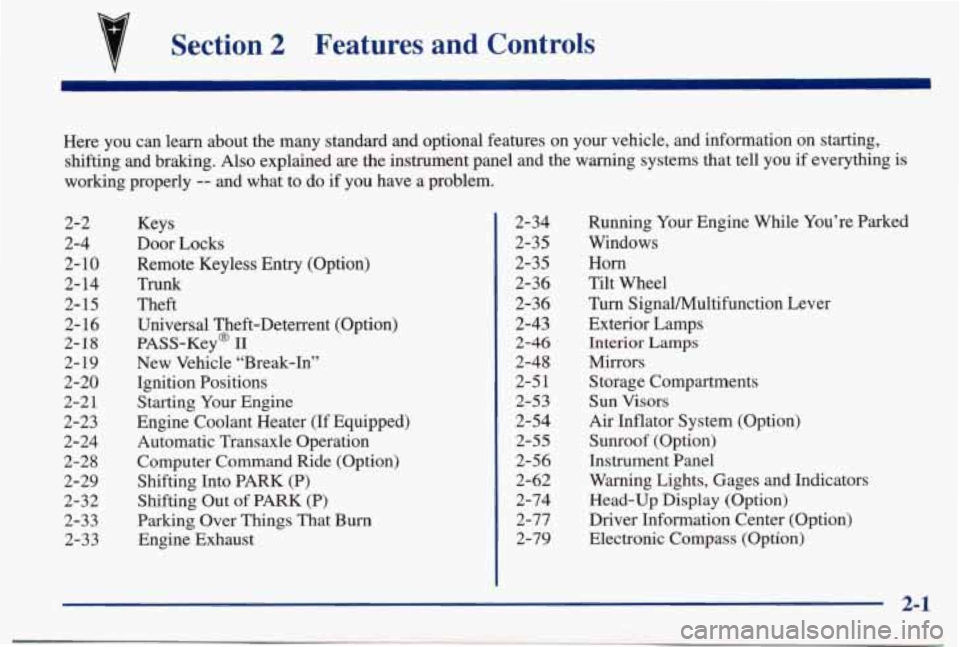
Here you can learn about the many standard and optional featur\
es on your vehicle, and information on starting,
shifting and braking.
Also explained are the instrument panel and the warning systems that tell you if everything is
working properly
-- and what to do if you have a problem.
2-2
2-4 2-
10
2- 14
2-15
2-16
2-18
2- 19
2-20
2-21
2-23
2-24
2-28
2-29 2-32
2-33 2-33 Keys
Door Locks
Remote Keyless Entry (Option)
TnXnk
Theft
Universal Theft-Deterrent (Option)
PASS-Key@
I1
New Vehicle “Break-In”
Ignition Positions
Starting
Your Engine
Engine Coolant Heater (If Equipped) Automatic Transaxle Operation
Computer Command Ride (Option)
Shifting Into PARK (P)
Shifting Out
of PARK (P)
Parking Over Things That Burn Engine Exhaust 2-34
2-35
2-35
2-36
2-36
2-43
2-46
2-48 2-5
1
2-53
2-54
2-55
2-56 2-62
2-74
2-77
2-79 Running
Your Engine While You’re Parked
Windows Horn
Tilt Wheel
Turn SignaYMultifunction Lever
Exterior Lamps
Interior Lamps
Mirrors Storage Compartments
Sun Visors
Air Inflator System (Option)
Sunroof (Option)
Instrument Panel
Warning Lights, Gages and Indicators Head-Up Display (Option)
Driver Information Center (Option)
Electronic Compass (Option)
2-1
Page 64 of 395
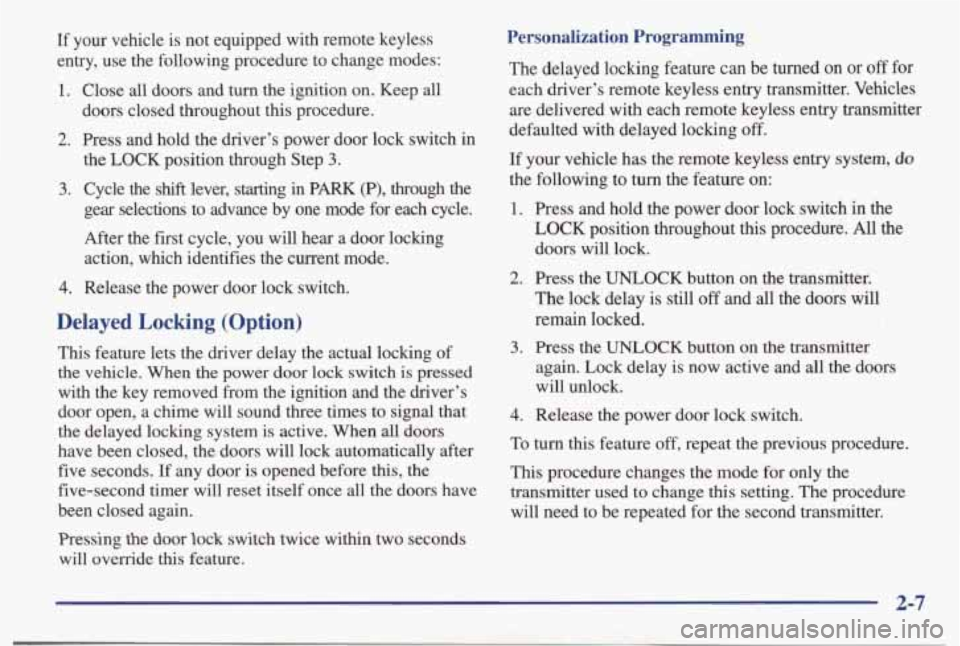
If your vehicle is not equipped with remote keyless
entry, use the following procedure to change modes:
1. Close all doors and turn the ignition on. Keep all
doors closed throughout this procedure.
2. Press and hold thedriver’s power door lock switch in
the LOCK position through Step
3.
3. Cycle the shift lever, starting in PARK (P), through the
gear selections to advance by one mode for each cycle.
After the first cycle, you will hear a door locking action, which identifies the current mode.
4. Release the power door lock switch.
Delayed Locking (Option)
This feature lets the driver delay the actual locking of
the
vehicle. When the power door lock switch is pressed
with the key removed from the ignition and the driver’s
door open, a chime will sound three times to signal that
the delayed locking system is active. When
all doors
have been closed, the doors will lock automatically after five seconds. If any door is opened before this, the
five-second timer will reset itself once all the doors have
been closed again.
Pressing the door lock switch twice within two seconds
will override this feature.
Personalization Programming
The delayed locking feature can be turned on or off for
each driver’s remote keyless entry transmitter. Vehicles are delivered with each remote keyless entry transmitter
defaulted with delayed locking
off.
If your vehicle has the remote keyless entry system, do
the following to turn the feature on:
1. Press and hold the power door lock switch in the
LOCK position throughout this procedure. All the
doors will lock.
2. Press the UNLOCK button on the transmitter.
The lock delay is still
off and all the doors will
remain locked.
again. Lock delay is now active and
all the doors
will unlock.
3. Press the UNLOCK button on the transmitter
4. Release the power door lock switch.
To turn this feature off, repeat the previous procedure.
This procedure changes the mode for only the
transmitter used
to change this setting. The procedure
will need to be repeated for the second transmitter.
2-7
Page 104 of 395
Theater Dimming
This feature allows for a three to five-second fade out of
the courtesy lamps instead of immediate turn off.
Exit Lighting
With this feature, the interior lamps will come on for
25 seconds after you remove the key from the ignition.
This will give you time to find the door pull handle or
lock switches as you exit the vehicle.
Illuminated Entry (Option)
When you press the unlock button on the optional
remote keyless entry transmitter, the lamps inside your
vehicle will
go on. These lamps will go off after about
25 seconds, or when you start your engine. Pressing the
lock button on your remote keyless entry transmitter
will turn the lights immediately
off.
If a door is left ajar, your interior lamps will turn off
after 10 minutes to save your battery.
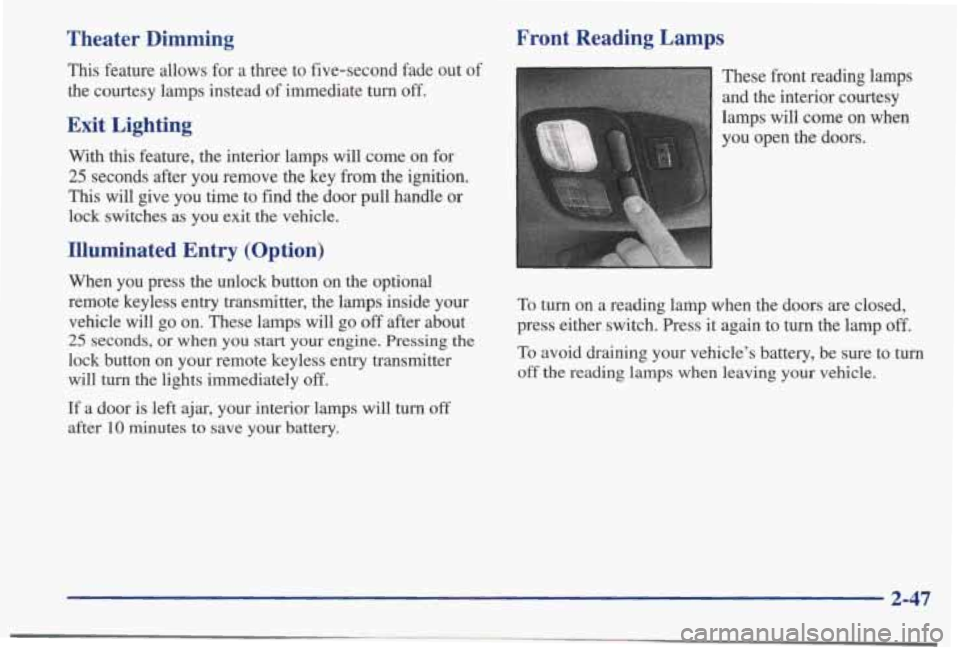
Front Reading Lamps
These front reading lamps
and the interior courtesy
lamps will come on when
you open the doors.
To turn on a reading lamp when the doors are closed,
press either switch. Press it again to turn the lamp
off.
To avoid draining your vehicle’s battery, be sure to turn
off the reading lamps when leaving your vehicle.
2-47
Page 374 of 395
Section 9 Index
Accessory Inflator ............................. 2-54
Accessory Power Outlet
.......................... 2-55
Adjustable Support Seat
........................... 1-3
AirBag
....................................... 1-18
How Does it Restrain
... .................. 1-22
How
it Works ................................ 1-20
Location
.................................... 1-20
Readiness Light
......................... 1.20. 2.63
Servicing
................................... 1-24
What Makes it Inflate
.......................... 1-22
What Will
You See After it Inflates ............... 1-22
When Should it Inflate
......................... 1-22
Air Cleaner .................................... 6- 17
Airconditioning
................................ 3-5
Air Conditioning Refrigerants ..................... 6-65
Air Control. Climate Control System
............. 3-2. 3-3
Air Inflator System
.............................. 2-54 Appearance Care
............................... 6-49
Appearance Care Materials
....................... 6-56
Arbitration Program
.............................. 8-9
Armrest. Storage
............................... 2-52
Ashtrays
...................................... 2-53
Audio Equipment. Adding
........................ 3-28
Audio Systems
.................................. 3-9
Automatic Door Locks
............................ 2-5
Automatic Transaxle
............................ 2-24
Check
.. : ................................... 7-32
Fluid
....................................... 6-20
Operation
................................... 2-24
Overdrive
................................... 2-26
Park Mechanism Check ........................ 7-34
Audio Controls. Steering Wheel Touch Control
....... 3-26
Starting Your Engine
.......... ......... 2-21
Alarm. Univ6rsal Theft-Deterrent .................. 2- 16
Alignment and Balance. Tire
...................... 6-47 Back-up amp 2-79
Aluminum Wheels. Cleaning
...................... 6-54 Back-up Lamp Bulb Replacement 6-37
Antenna. Fixed
................................. 3-30 Battery 6-32
Antenna. Power
................................ 3-30 Jumpstarting 5-3
Antifreeze
..................................... 6-23 Replacement. Remote Keyless Entry 2-13
Anti-Lock Saver 2-48
Brakes ...................................... 4-7 Warnings 5-3
Anti-Lockout Feature ............................ 2-9 BBB Auto Line 8-9
...............................
.................
.......................................
.................................
..............
......................................
............................... Brake System Warning Light .......... . . 2-66. 4-7 WarningLight 2-64 ....................................
.................................
9-1
Page 389 of 395
q%$ ;,
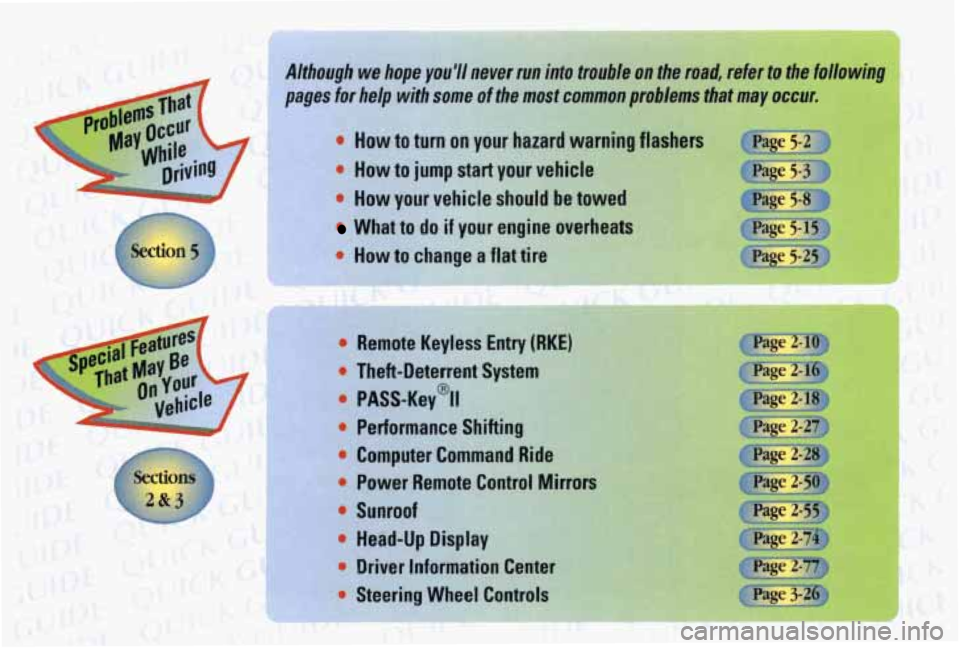
Although- we hope you'll never run into trod F on the road, refer to the following
pages
for help with some ofthe most common problems that may occur,
luvv to turn on your hazard warning flashers
* How to jump start your vehicle
0 How your vehicle should be towed
What to do if your engine overheats
0 How to change a flat tire
. . . .. . .
54 . _" , ..
. I
Qe
' i- r-
Remote Keyless Entry (RI
Theft-Deterrent System I
PASS-Key@%
Performance Shiftint
Lomputer Command 'wer Remote Control
Mirrors ectior
2&3 mroof
Head-Up Display
Driver Information Cen
Steering Wheel Control L
0
0