Page 5868 of 6000

AUTOMATIC TRANSMISSION (AW30-40LE) 7A–87
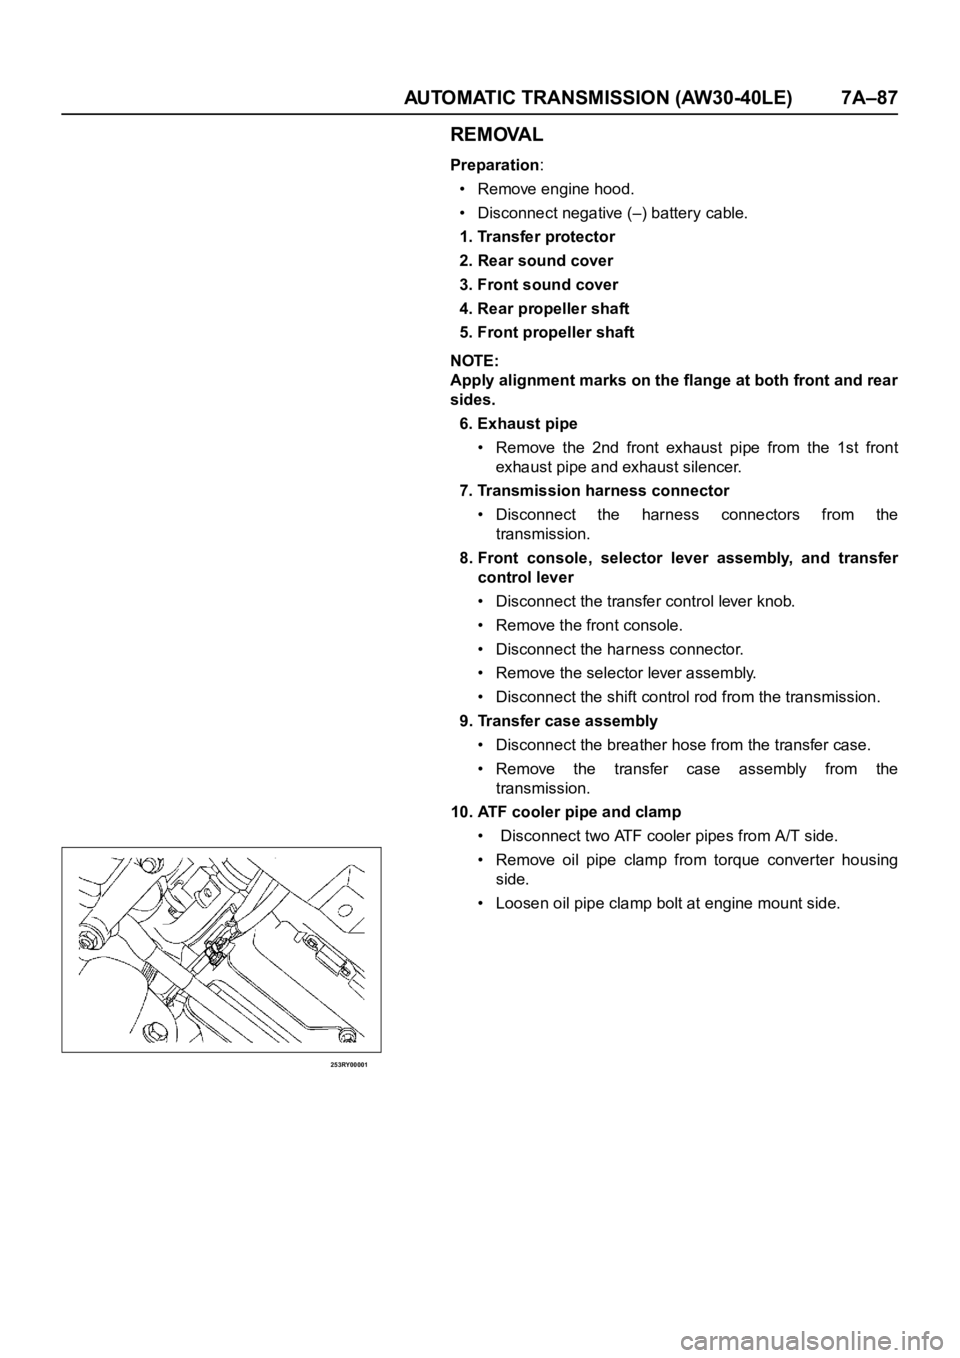
253RY00001
REMOVAL
Preparation
:
• Remove engine hood.
• Disconnect negative (–) battery cable.
1. Transfer protector
2. Rear sound cover
3. Front sound cover
4. Rear propeller shaft
5. Front propeller shaft
NOTE:
Apply alignment marks on the flange at both front and rear
sides.
6. Exhaust pipe
• Remove the 2nd front exhaust pipe from the 1st front
exhaust pipe and exhaust silencer.
7. Transmission harness connector
• Disconnect the harness connectors from the
transmission.
8. Front console, selector lever assembly, and transfer
control lever
• Disconnect the transfer control lever knob.
• Remove the front console.
• Disconnect the harness connector.
• Remove the selector lever assembly.
• Disconnect the shift control rod from the transmission.
9. Transfer case assembly
• Disconnect the breather hose from the transfer case.
• Remove the transfer case assembly from the
transmission.
10. ATF cooler pipe and clamp
• Disconnect two ATF cooler pipes from A/T side.
• Remove oil pipe clamp from torque converter housing
side.
• Loosen oil pipe clamp bolt at engine mount side.
Page 5869 of 6000
7A–88 AUTOMATIC TRANSMISSION (AW30-40LE)
240RY00026
022RY00001
11. Under cover and flex plate-torque converter bolt
• Remove the under cover.
• Turn the crankshaft to gain access to each bolt.
Remove the six torque cover ter fixing bolts.
NOTE:
New fixing bolts should be replaced for reassembly.
12. Rear mounting nut
• Support transmission with a jack.
• Remove two rear mounting nuts from the 3rd
crossmember.
13. 3rd crossmember
14. Oil level gauge and tube
15. Starter
• Remove the mounting bolts, and pull the star ter toward
the front of the vehicle.
Lay the star ter alongside the engine.
16. Engine-transmission bolt
• Remove engine-transmission fixing bolts.
• Disconnect the breather hose from the breather hose 3
way (W/TOD) or 2 way (WO/TOD).
17. Transmission assembly
NOTE:
Keep the oil pan positioned down.
Be careful not to let the torque converter slide out.
Page 5870 of 6000
AUTOMATIC TRANSMISSION (AW30-40LE) 7A–89
INSTALLATION
To install, follow the removal steps in the reverse order,
noting the following points;
1. Torque
Engine-Transmission Bolt Torque
225RY00001
Nꞏm(kgꞏm / lbꞏft)
Rear mounting to crossmember 50 (5.1/37)
Torque conver ter bolt 29 (3.0/22)
ATF cooler pipe to transmission 44 (4.5/33)
Exhaust pipe flange to flange 43 (4.4/32)
3rd crossmember to flame 76 (7.8/56)
Front propeller shaft bolt 63 (6.4/46)
Rear propeller shaft bolt 63 (6.4/46)
Page 5871 of 6000
7A–90 AUTOMATIC TRANSMISSION (AW30-40LE)
Transmission-Transfer Case Bolt Torque
260RY00001
Page 5872 of 6000
AUTOMATIC TRANSMISSION (AW30-40LE) 7A–91
UNIT REPAIR
DISASSEMBLY OF MAJOR COMPONENTS (1)
240RY00024
NOTE:
Steps marked with a triangle (
) are important
operations. Detailed information appears in the text.
Disassembly steps
1. Torque conver ter
2. Breather hose
3. Transmission ocntrol rod and shift lever
4. Neutral start switch
5. Elbow
6. Oil temperature sensor
7. Input revolution sensor
8. Output revolution sensor
9. Adapter housing
10. Transmission assembly
Page 5873 of 6000
7A–92 AUTOMATIC TRANSMISSION (AW30-40LE)
249RW003
240RY00001
240RY00002
Important operations
3. Transmission control rod and shift lever
Remove the transmission control rod and shift lever.
4. Neutral start switch
Unstake the lock washer.
Remove the nut and bolts, and then remove the neutral star t
sw itc h.
Remove the lock washer and grommet.
5. Elbow
Remove two elbows from transmission case.
Install special tool to the transmission unit.
Holding fixture: 5-8840-2152-0 (J-37227)
Fixture base: 5-8840-0003-0 (J-3289-20)
Page 5874 of 6000
AUTOMATIC TRANSMISSION (AW30-40LE) 7A–93
DISASSEMBLY OF MAJOR COMPONENTS (2)
242RY00005
Disassembly steps
1. Converter housing
2. Oil pan
3. Oil strainer assembly
4. Solenoid wiring
5. Valve body
6. Check valve, spring
7. Spring
8. Accumulator piston (B-2)
9. Accumulator piston (C-2)
10. Accumulator piston (B-0)
11. Accumulator piston (C-0)
12. Second brake drum gasket
Page 5875 of 6000
7A–94 AUTOMATIC TRANSMISSION (AW30-40LE)
240RY00006
240RY00007
240RY00008
244RY00003
Important operations
1. Converter housing
Remove the six bolts.
Remove the transmission housing.
2. Oil pan
NOTE:
Do not turn over the transmission as this will contaminate
the valve body with foreign materials in the bottom of the
pan.
Remove the nineteen bolts.
Remove pan by lifting the transmission case.
Seal cutter: 5-8840-2153-0 (J-37228)
Examine particles in pan
Remove the magnet and use it to collect any steel chips.
Look carefully at the chips and par ticles in the pan and on
the magnet to anticipate what type of wear you will find in
the transmission:
Steel (magnetic).....bearing, gear and clutch plate wear
Brass (non-magnetic)...bushing wear
3. Oil strainer assembly
Remove four bolts holding the oil strainer.
NOTE:
When reassembling components, install a new oil strainer
assembly.