Page 223 of 386
Downloaded from www.Manualslib.com manuals search engine Changing a Flat Tire
If a tire goes flat, avoid further tire and wheel damage
by driving slowly to a level place. Turn on your hazard
warning flashers.
- -
Changing a tire can cause an injury. The vehicle
can slip
off the jack and roll over you or other
people. You and they could be badly injured.
Find a level place to change your tire.
To help
prevent the vehicle from moving:
1. Set the parking brake firmly.
2. Put the shift lever in PARK (P).
3. Xhrn off the engine.
To be even more certain the vehicle won't move,
you can put blocks at the front and rear of the
tire farthest
away from the one being changed.
That would be the tire on the other side of the
vehicle, at the opposite end. The following
steps will tell you how
to use the jack and
change
a tire.
5-22
Page 228 of 386
Downloaded from www.Manualslib.com manuals search engine Removing the Wheel Covers and Locking
Wheel Nuts
I
2. Loosen the plastic nut caps.
1. You will need to take off the wheel nut caps to reach
your wheel nuts. When using the ratchet
and socket,
make sure the
DOWN side faces you.
5-27
Page 234 of 386

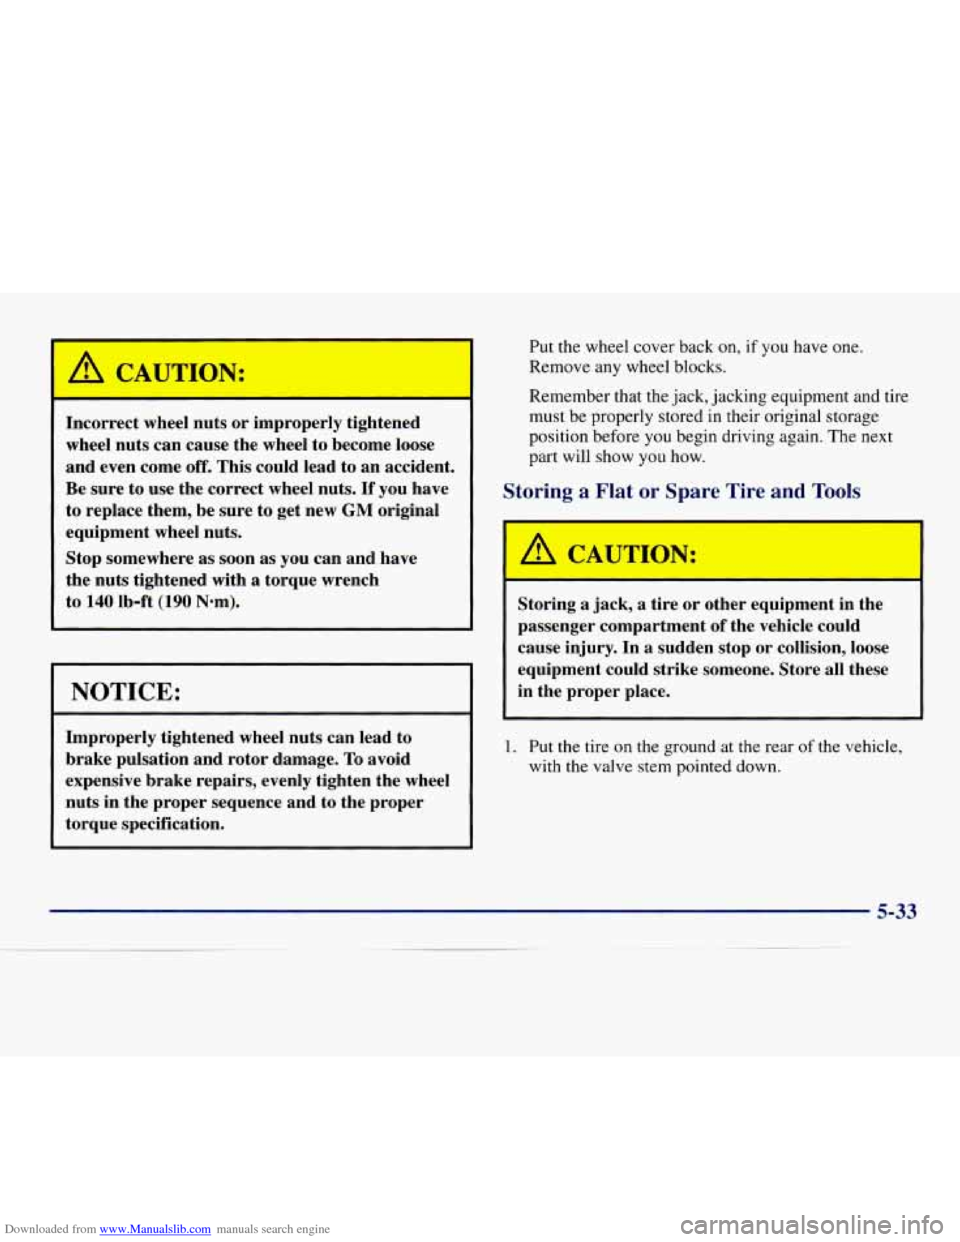
Downloaded from www.Manualslib.com manuals search engine /1 CAUTION:
Incorrect wheel nuts or improperly tightened
wheel nuts can cause the wheel to become loose
and even come
off. This could lead to an accident.
Be sure to use the correct wheel nuts.
If you have
to replace them, be sure to get new
GM original
equipment wheel nuts.
Stop somewhere as soon as you can and have
the nuts tightened with a torque wrench
to
140 lb-ft (190 Nmm).
NOTICE:
Improperly tightened wheel nuts can lead to
brake pulsation and rotor damage. To avoid
expensive brake repairs, evenly tighten the wheel
nuts in the proper sequence and to the proper
torque specification. Put the wheel
cover back on, if
you have one.
Remove any wheel blocks.
Remember that the jack, jacking equipment and tire
must be properly stored
in their original storage
position before
you begin driving again. The next
part will show
you how.
Storing a Flat or Spare Tire and Tools
A CAUTION:
Storing a jack, a tire or other equipment in the
passenger compartment of the vehicle could
cause injury. In a sudden stop or collision, loose
equipment could strike someone. Store all these
in the proper place.
1. Put the tire on the ground at the rear of the vehicle,
with the valve stem pointed down.
5-33
Page 245 of 386
Downloaded from www.Manualslib.com manuals search engine While refueling your
vehicle, hang the cap by
the tether from the hook
on the filler door.
To remove the cap, turn it slowly to the left
(counterclockwise). The cap has a spring in it; if
you let
go of the cap too soon, it will spring back
to the right.
A CAUTION:
If you get gasoline on yourself and then
something ignites it, you could be badly burned.
Gasoline can spray out
on you if you open the
fuel filler cap too quickly. This spray can happen
if your tank is nearly full, and is more likely in
hot weather. Open the fuel filler cap slowly and
wait for any “hiss” noise to stop. Then unscrew
the cap all the way.
Be careful
not to spill gasoline. Clean gasoline from
painted surfaces as
soon as possible. See “Cleaning
the Outside
of Your Vehicle” in the Index.
Page 246 of 386

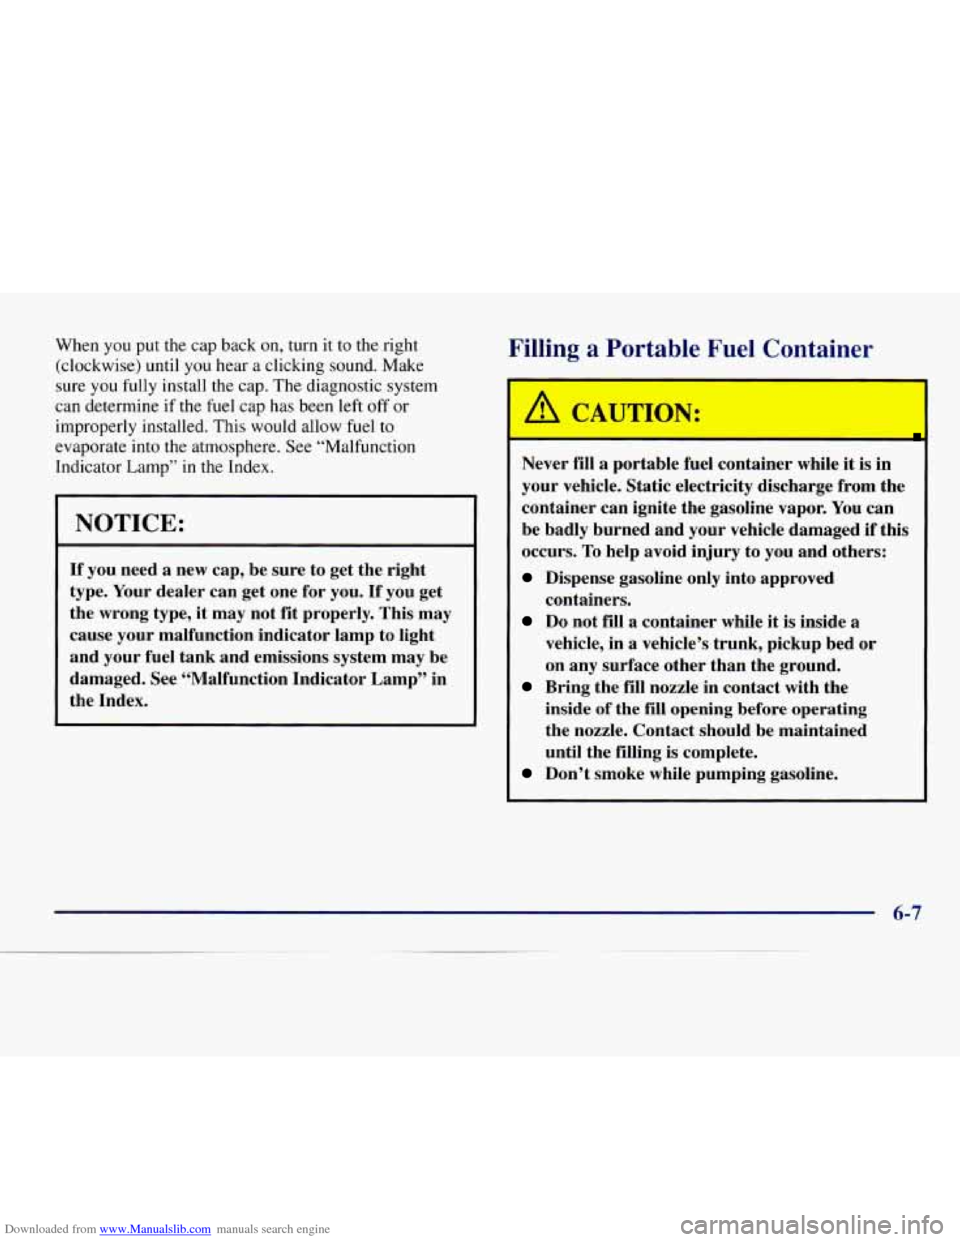
Downloaded from www.Manualslib.com manuals search engine When you put the cap back on, turn it to the right
(clockwise) until you hear a clicking sound. Make
sure
you fully install the cap. The diagnostic system
can determine if the fuel
cap has been left off or
improperly installed. This would allow
fuel to
evaporate into the atmosphere. See “Malfunction
Indicator Lamp” in the Index.
NOTICE:
If you need a new cap, be sure to get the right
type. Your dealer can get one for you.
If you get
the wrong type, it may not fit properly. This may
cause your malfunction indicator lamp to light and your fuel tank and emissions system may be
damaged. See “Malfunction Indicator Lamp” in
the Index.
Filling a Portable Fuel Container
/i CAUTIOlr:
Never fill a portable fuel container while it is in
your vehicle. Static electricity discharge from the
container can ignite the gasoline vapor.
You can
be badly burned and your vehicle damaged if this
occurs.
To help avoid injury to you and others:
Dispense gasoline only into approved
containers.
Do not fill a container while it is inside a
vehicle, in a vehicle’s trunk, pickup bed or
on any surface other than the ground.
inside of the
fill opening before operating
the nozzle. Contact should be maintained
until the filling is complete.
Bring the fill nozzle in contact with the
Don’t smoke while pumping gasoline.
Page 259 of 386

Downloaded from www.Manualslib.com manuals search engine 3. Check both sides of the dipstick, and read the lower
level. The fluid level must be in the COLD area for a
cold check or in the
HOT area or cross-hatched area
for a hot check.
4. If the fluid level is in the acceptable range, push the
dipstick back in all the
way; then flip the handle
down to lock the dipstick
in place.
How to Add Fluid
Refer to the Maintenance Schedule to determine’what
kind of transmission fluid
to use. See “Recommended
Fluids and Lubricants” in the Index.
Add fluid only after checking the transmission fluid
while it is hot. (A cold check is used only as a
reference.) If the fluid level is low, add only enough of
the proper fluid
to bring the level up to the HOT area
for a
hot check. It doesn’t take much fluid, generally
less than
one It (0.5 L). Don’t overfill.
NOTICE:
We recommend you use only fluid labeled
DEXRON@-111, because fluid with that label
is
made especially for your automatic transmission.
Damage caused
by fluid other than DEXRON-111
is not covered by your new vehicle warranty.
After adding fluid, recheck the fluid level as
described under “How to Check.”
0 When the correct fluid level is obtained, push the
dipstick back in all the way; then flip the handle
down
to lock the dipstick in place.
Page 279 of 386
Downloaded from www.Manualslib.com manuals search engine Windshield Wiper
I Blade Replacement
7. Turn the bulb to the left to remove it. Install the
new bulb.
8. Reverse the above steps to reinstall the lamp.
See “Normal Maintenance Replacement
Parts” in the
Index for the proper type of replacement blade.
Replacement blades come in different types and
are
removed in different ways. To remove the type with a
release clip:
1.
To remove the old wiper blades, lift the wiper arm
until it locks into a vertical position.
6-40
Page 280 of 386

Downloaded from www.Manualslib.com manuals search engine 2.
3.
4.
5.
6.
7.
Press down on the blade assembly pivot locking tab.
Pull down on the blade assembly to release it from
the wiper arm hook.
Remove the insert from the blade assembly. The
insert has two notches at one end that are locked by
bottom claws
of the blade assembly. At the notched
end, pull
the insert from the blade assembly.
To install the new wiper insert, slide the notched
end last, into the end with two blade claws. Slide
the insert all the way through the blade claws at the
opposite end.
Be sure that the notches are locked by the bottom
claws. Make sure that all other claws are properly
locked
on both sides of the insert slot.
Put the blade assembly pivot in the wiper arm
hook. Pull up until the pivot locking tab locks in
the hook slot.
Carefully lower the wiper
arm and blade assembly
into the windshield.
Tires
Yo%fS%%v vehicle comes with high-quality tires made by
a leading tire manufacturer. If you ever have questions
about your tire warranty and where to
obtain service, see
your
GM Warranty booklet for details.
A CAUTIOI.:
Poorly maintained and improperly used tires
are dangerous.
0
0
0
0
Overloading your tires can cause
overheating as
a result of too much friction.
You could have an air-out and a serious
accident. See “Loading Your Vehicle” in
the Index.
Underinflated tires pose the same danger
as overloaded tires. The resulting accident
could cause serious injury. Check all tires
frequently to maintain the recommended
pressure. Tire pressure should be checked
when your tires are cold.
Overinflated tires are more likely
to be
cut, punctured
or broken by a sudden
impact
-- such as when you hit a pothole.
Keep tires at the recommended pressure.
Worn, old tires can cause accidents.
If your
tread is badly worn, or if your tires have
been damaged, replace them.
6-41