1998 CHEVROLET CORVETTE turn signal
[x] Cancel search: turn signalPage 15 of 378
Downloaded from www.Manualslib.com manuals search engine Vehicle Symbols
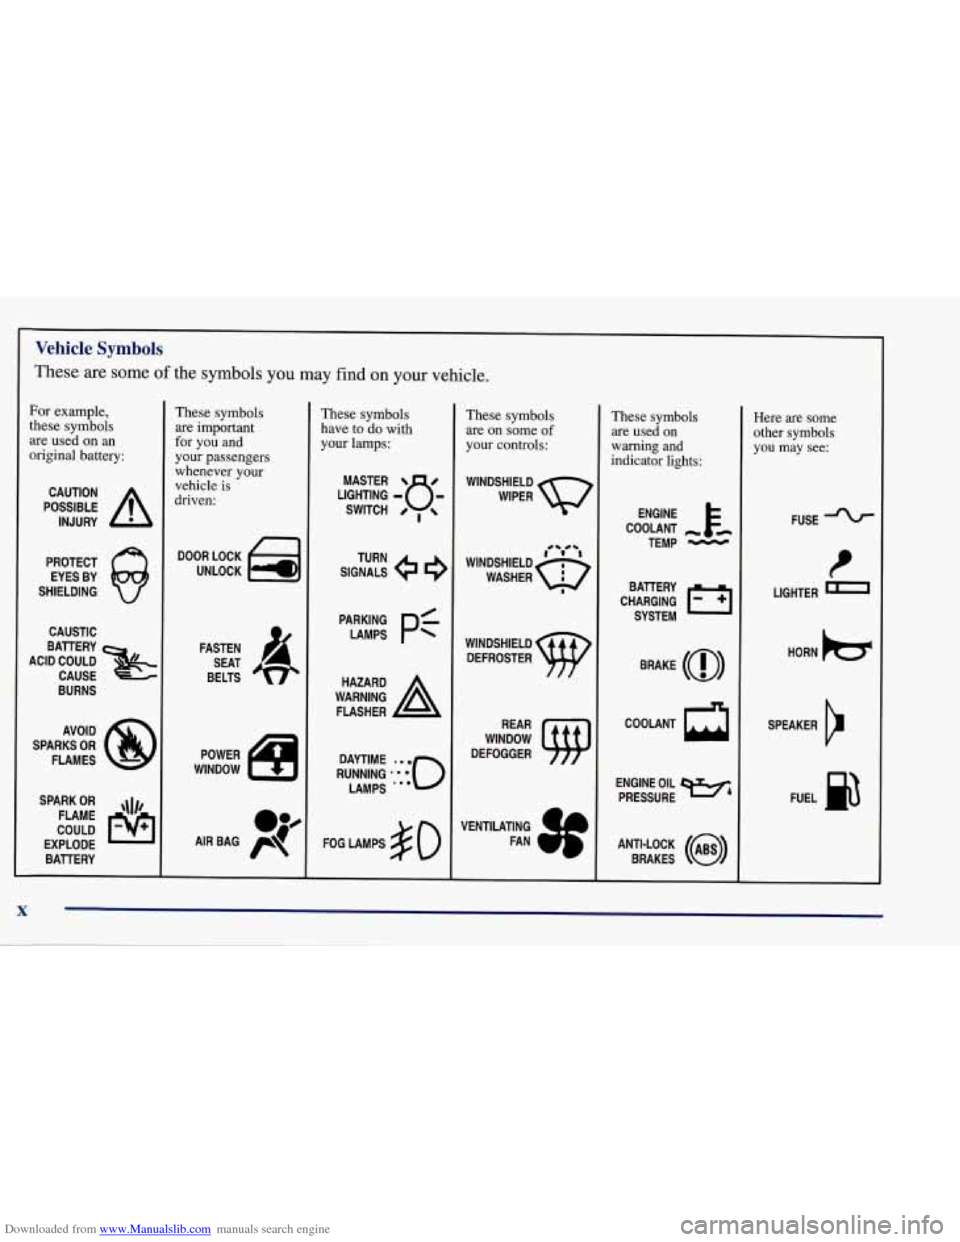
These are some of the symbols you may find on your vehicle.
For example,
these symbols
are used on
an
original battery:
POSSIBLE A
CAUTION
INJURY
PROTECT EYES BY
SHIELDING
Q
CAUSTIC
These symbols
are important
for you and
your passengers
whenever your
vehicle
is
driven:
DOOR LOCK
UNLOCK
ACID COULD BAlTERY
CAUSE
BURNS
AVOID
SPARKS
OR
FLAMES
SPARK
OR ,\I/,
COULD FLAME
EXPLODE BAllERY FASTEN
SEAT
BELTS
These symbols
have
to do with
your lamps:
SIGNALS TURN
A
FLASHER
FOG LAMPS
$0
These symbols
are on some
of
your controls:
WINDSHIELD
DEFROSTER
WINDOW
DEFOGGER
VENTILATING FAN
These symbols
are used on
warning and
indicator lights:
COOLANT -
TEMP -
CHARGING I-1
BATTERY
SYSTEM
BRAKE
(@)
COOLANT
a
ENGINE OIL
PRESSURE
WA
ANTI-LOCK (@)
BRAKES
Here are some
other symbols
you may see:
FUSE
t
LIGHTER
HORN
b
SPEAKER
b
FUEL p3
X
Page 54 of 378
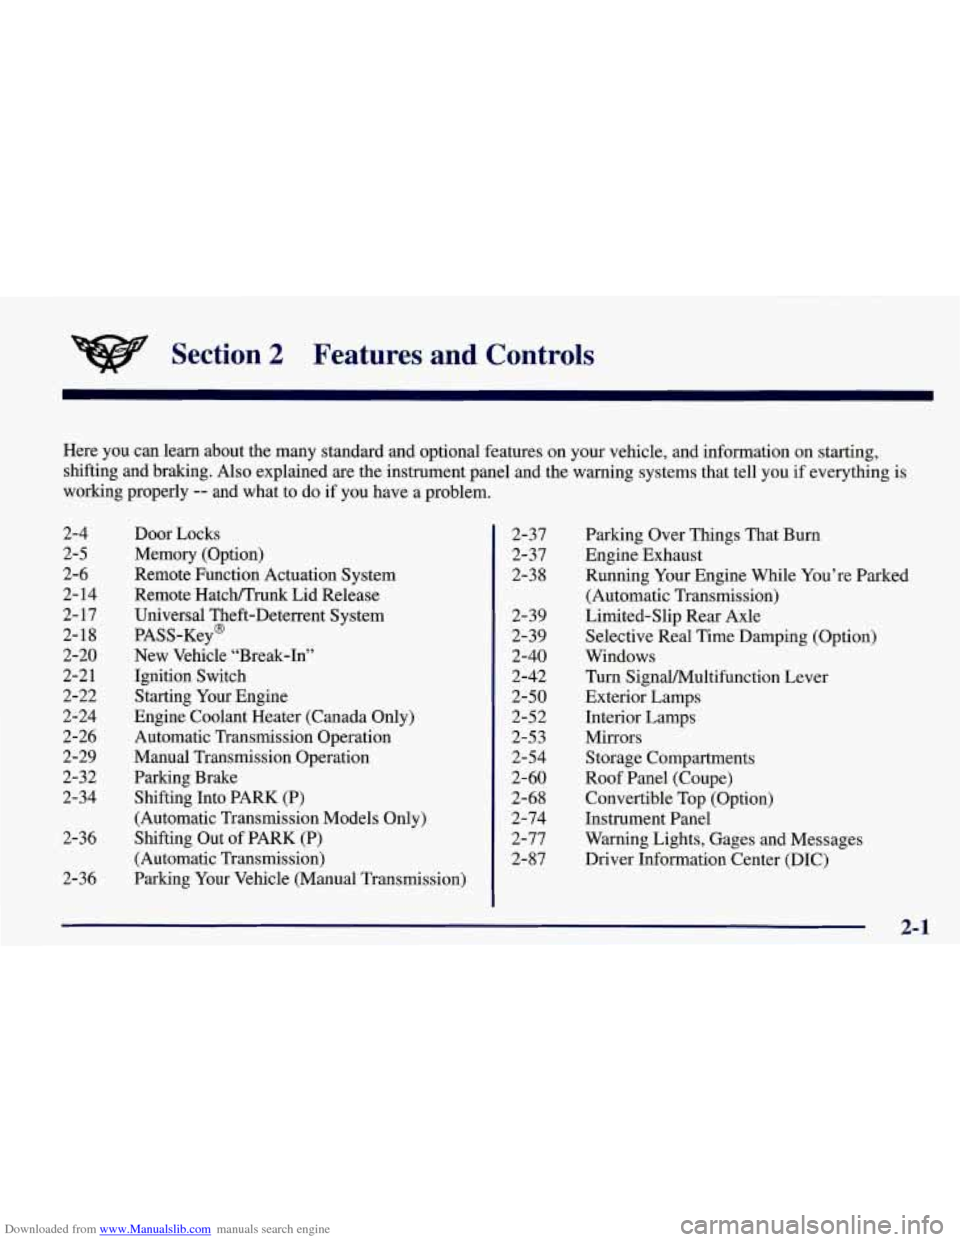
Downloaded from www.Manualslib.com manuals search engine Section 2 Features and Controls
Here you can learn about the many standard and optional features on your vehicle, and information on starting,
shifting and braking. Also explained are the instrument panel and the warning systems that tell you
if everything is
working properly
-- and what to do if you have a problem.
2-4
2-5
2-6
2-
14
2- 17 2-18
2-20
2-2 1
2-22
2-24
2-26
2-29
2-32
2-34
2-36
2-36 Door Locks
Memory (Option)
Remote Function Actuation
System
Remote Hatch/Trunk Lid Release
Universal Theft-Deterrent System
PASS-Key@
New Vehicle “Break-In”
Ignition Switch Starting Your Engine
Engine Coolant Heater (Canada Only)
Automatic Transmission Operation
Manual Transmission Operation
Parking Brake Shifting Into PARK (P)
(Automatic Transmission Models Only)
Shifting Out of PARK (P)
(Automatic Transmission)
Parking Your Vehicle (Manual Transmission) 2-37
2-37
2-38
2-39 2-39
2-40
2-42
2-50
2-52
2-53
2-54
2-60
2-68
2-74
2-77
2-87 Parking Over
Things That Burn
Engine Exhaust
Running Your Engine While You’re Parked
(Automatic Transmission)
Limited-Slip Rear Axle
Selective Real Time Damping (Option)
Windows
Turn SignalMultifunction Lever
Exterior Lamps
Interior Lamps
Mirrors
Storage Compartments
Roof Panel (Coupe)
Convertible Top (Option)
Instrument Panel
Warning Lights, Gages and Messages
Driver Information Center (DIC)
2-1
Page 62 of 378
Downloaded from www.Manualslib.com manuals search engine The system has a feature that makes it difficult for you
to lock your keys in your vehicle.
If you leave your keys
in the ignition and attempt to lock the doors, the vehicle
will not lock and a chime will sound to remind you that
the keys are in the ignition.
If the door lock is pressed
again, within five seconds, the doors will lock and the
keys can be locked in the car. If you leave the keys
in
the ignition and move away with the key fob transmitter,
the doors still will not lock. You should notice that the
horn doesn’t sound and return to get your keys out of
the ignition.
The system will allow you to lock your keys in the
vehicle if you didn’t leave them in the ignition. You
should, however, be able to use the key fob transmitter
to get them out as long as the passive slide switch
is in
the
ON position. After 15 seconds of no motion, the key
fob transmitter shuts down to save the battery. Wait
about
30 seconds, then rock the vehicle. The key fob
transmitter should “wake up” and unlock the doors.
This system can’t guarantee that you will never be
locked out of your vehicle. If the battery is low or if the
key fob transmitter is in a place where the signal can’t
get to the antenna,
it won’t unlock the doors. Always
remember to take your keys with you.
Panic Alarm Button
When you press the special horn button on the key
fob transmitter, your vehicle’s horn will sound. This
panic alarm button will allow you to attract attention,
if needed.
If the horn alarm sounds, there are three ways to turn
it off:
Push the panic alarm button on the key fob
Wait 90 seconds, and the horn will turn off by
transmitter again.
itself
or
0 Turn the key to any position in the ignition switch,
except
OFT.
RF’A Settings
You can adjust the settings on the system through the
Driver Information Center (DIC). You can have just the
driver’s or both door locks passively unlock, change the
type of alarm used by the theft-deterrent, or have lamps
come on when you approach the vehicle. See “Driver
Information Center Controls and Displays” in the Index.
2-9
Page 95 of 378
Downloaded from www.Manualslib.com manuals search engine Turn SignaVMultifunction Lever
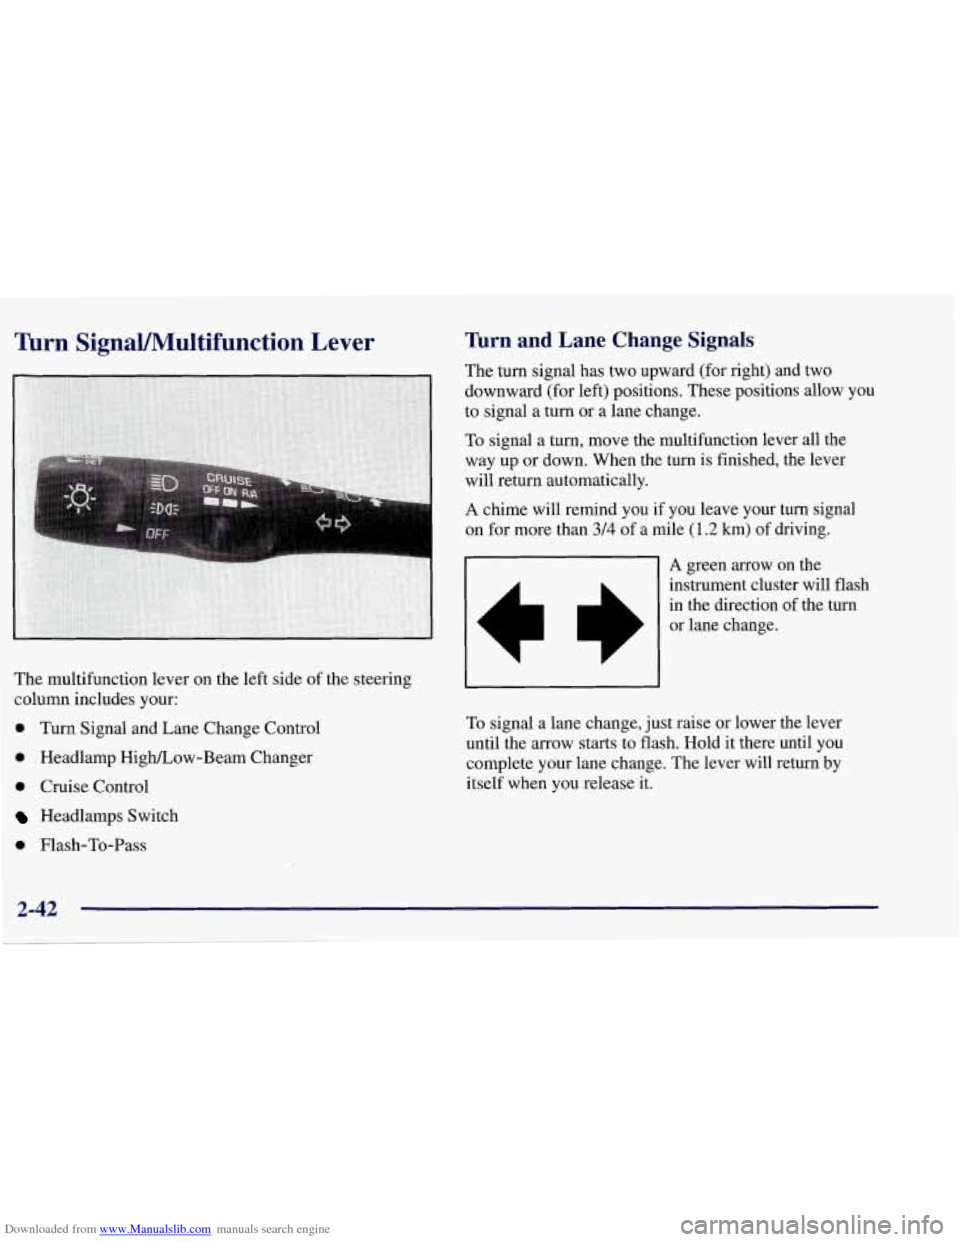
The multifunction lever on the left side of the steering
column includes your:
0 Turn Signal and Lane Change Control
0 Headlamp High/Low-Beam Changer
0 Cruise Control
Headlamps Switch
0 Flash-To-Pass
lbrn and Lane Change Signals
The turn signal has two upward (for right) and two
downward (for left) positions. These positions allow you
to signal a turn or a lane change.
To signal
a turn, move the multifunction lever all the
way up or down. When the
turn is finished, the lever
will return automatically.
A chime will remind you if you leave your turn signal
on for more than 3/4 of a mile (1.2 km) of driving.
01 A green arrow on the
L
instrument cluster will flash
in the direction of the turn
or lane change.
To signal a lane change, just raise or lower the lever
until the arrow starts to flash. Hold
it there until you
complete your lane change. The lever will return by
itself when you release it.
2-42
Page 96 of 378
Downloaded from www.Manualslib.com manuals search engine As you signal a turn or a lane change, if the arrows flash
faster than normal, a signal bulb may be burned out.
If a bulb is burned out, replace it to help avoid an
accident.
If the arrows don’t go on at all when you
signal a turn, check the fuses and check for burned-out
bulbs. (See “Fuses and Circuit Breakers” in the Index.)
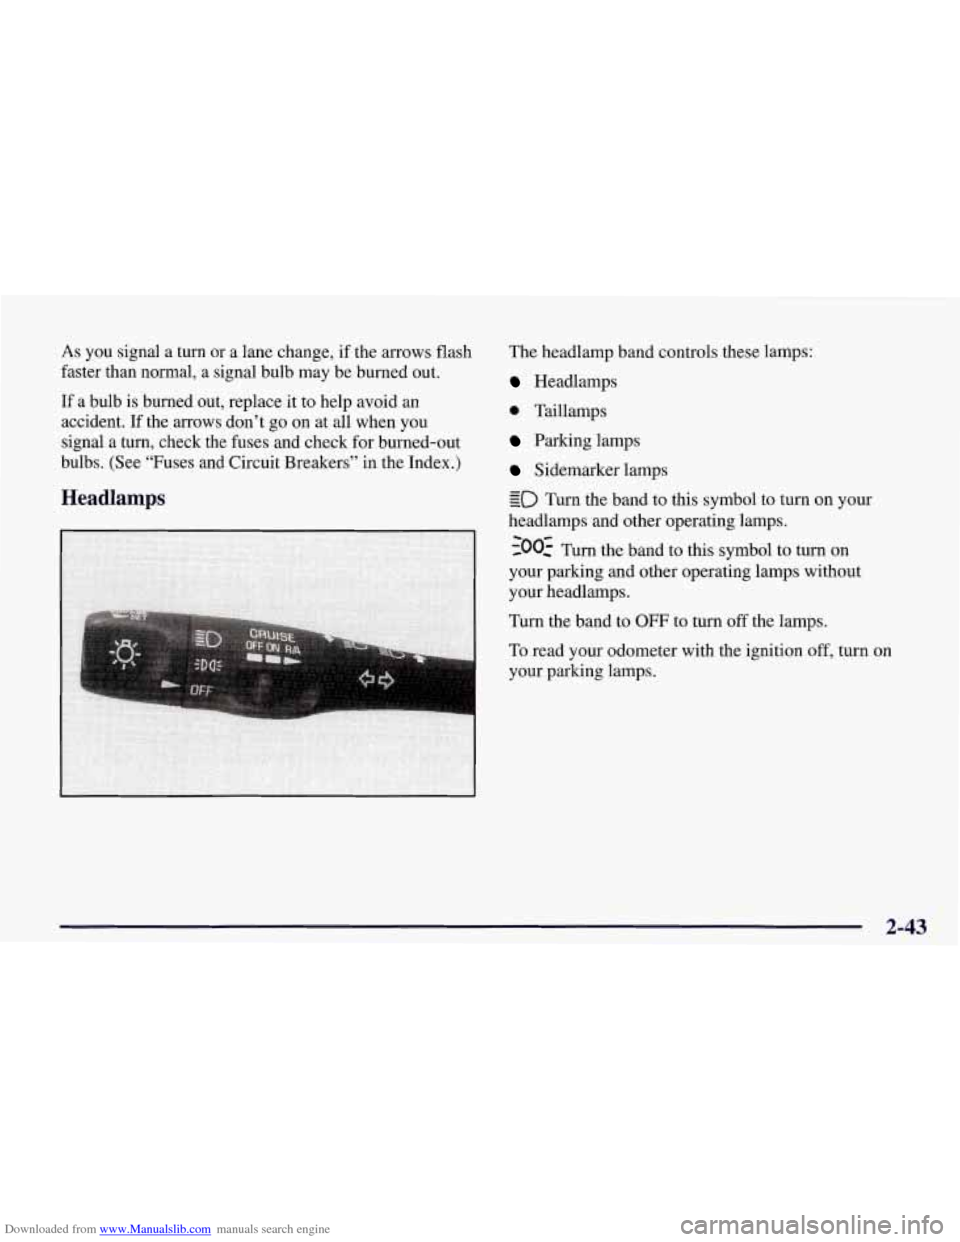
Headlamps
The headlamp band controls these lamps:
Headlamps
0 Taillamps
Parking lamps
Sidemarker lamps
- Eo Turn the band to this symbol to turn on your
headlamps and other operating lamps.
your headlamps.
Turn the band to OFF to turn off the lamps.
To read your odometer with the ignition off, turn on
your parking lamps.
2-43
Page 98 of 378
Downloaded from www.Manualslib.com manuals search engine Headlamp High/Low-Beam Changer
To change the headlamps
signal lever all the
from
low beam to high or
high to low, push the turn
-
- way forward.
When the high beams are on, this light on the instrument
panel also will be
on. To change the headlamps from
high to low, pull the lever rearward.
Flash-To-Pass
Momentarily pull the turn signal lever toward you. The
high-beam indicator will flash to indicate to the other
driver that you intend to pass. If the low-beam
headlamps are off and you have the optional fog lamps
on, the fog lamps will flash.
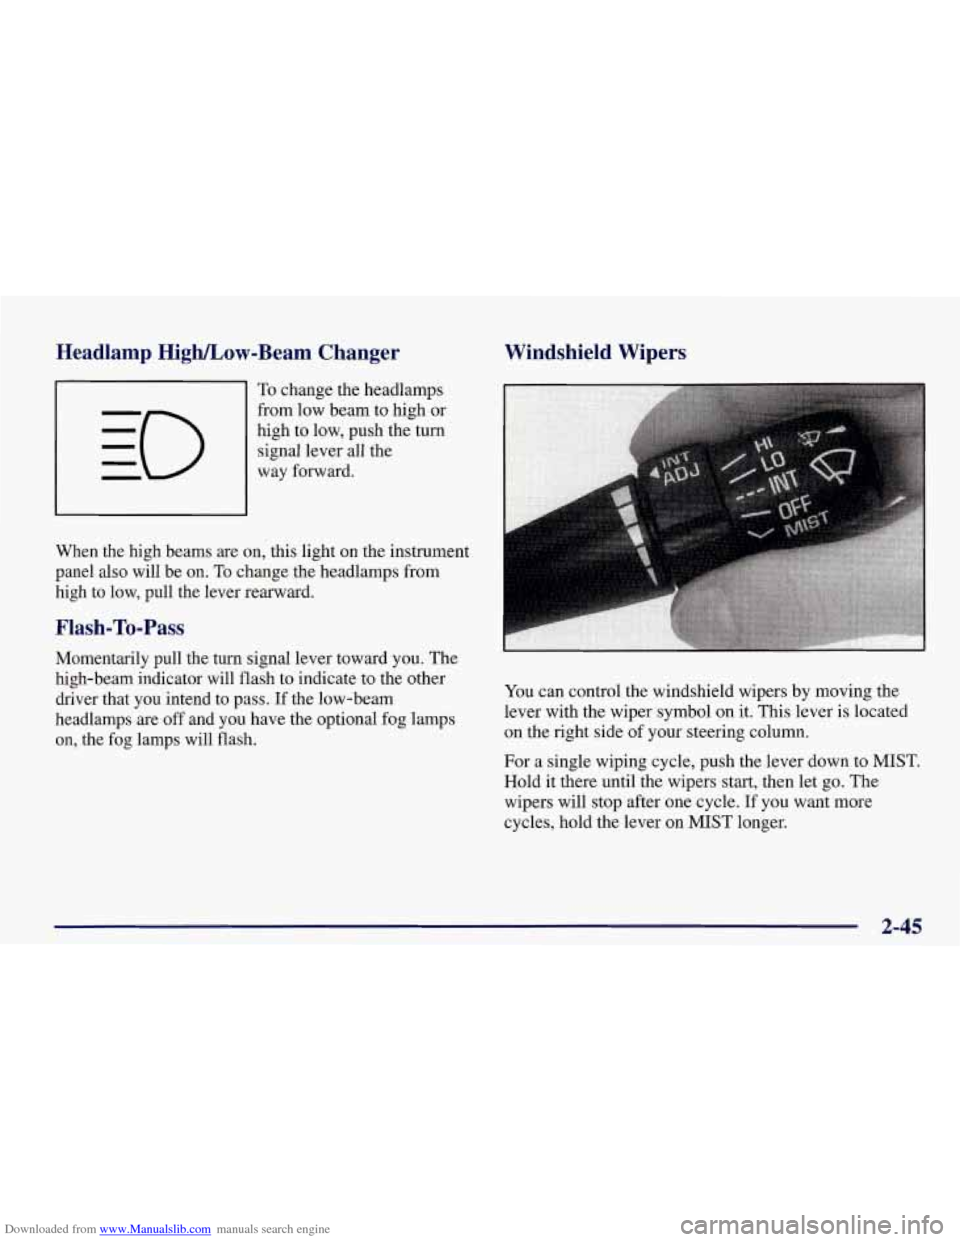
Windshield Wipers
You can control the windshield wipers by moving the
lever with the wiper symbol
on it. This lever is located
on the right side
of your steering column.
For a single wiping cycle, push the lever down to MIST.
Hold it there until the wipers start, then let go. The
wipers will stop after one cycle. If you want more
cycles, hold the lever on MIST longer.
2-45
Page 103 of 378
Downloaded from www.Manualslib.com manuals search engine Passing Another Vehicle While Using Cruise Control
Use the accelerator pedal to increase your speed. When
you take your foot
off the pedal, your vehicle will slow
down to
the cruise control speed you set earlier.
Using Cruise Control on Hills
How well your cruise control will work on hills depends
upon your speed, load and the steepness of the hills.
When going downhill, you may have to brake or shift to
a lower gear to keep your speed down.
Of course,
applying the brake takes you out of cruise control. Many
drivers find this to be too much trouble and don’t use
cruise control on steep hills.
Getting Out of Cruise Control
There are two ways to turn off the cruise control:
0 Step lightly on the brake pedal or push the clutch
pedal,
if you have a manual transmission vehicle; or
0 Move the cruise switch to OFF.
The DIC will display the message “CRUISE
DISENGAGED.”
Erasing Speed Memory
When you turn off the cruise control or the ignition,
your cruise control set speed memory is erased.
Exterior Lamps
Daytime Running Lamps
Daytime Running Lamps (DRL) can make it easier for
others to see the front of your vehicle during the day.
DRL can be helpful in many different driving
conditions, but they can be especially helpful in the
short periods after dawn and before sunset.
The DRL system will make your front turn signal lamps
come on when:
0 the ignition is on,
the headlamp switch is off and
0 the parking brake is released.
When the DRL
are on, only your front turn signal lamps
will be on. The taillamps, sidemarker and other lamps
will not be
on.
Y’JV
Page 104 of 378
Downloaded from www.Manualslib.com manuals search engine When you turn on your headlamps, your front turn
signal lamps (DRL) will go out. The other lamps that
come on with your headlamps will also come on.
On vehicles built for Canada, when it’s dark enough
outside, your front turn signal lamps will automatically
go out and your headlamps will come on. The other
lamps that come on with your headlamps will also come
on. When it’s bright enough outside, the headlamps will
go off, and your front turn signal lamps (DRL) will
come on.
Also on Canadian vehicles, there is a light sensor in the
defroster grille, at the base of the windshield and the
instrument panel. This sensor makes the
DRL work
automatically,
so be sure it isn’t covered.
As with any vehicle, you should turn on the regular
headlamp system when you need it.
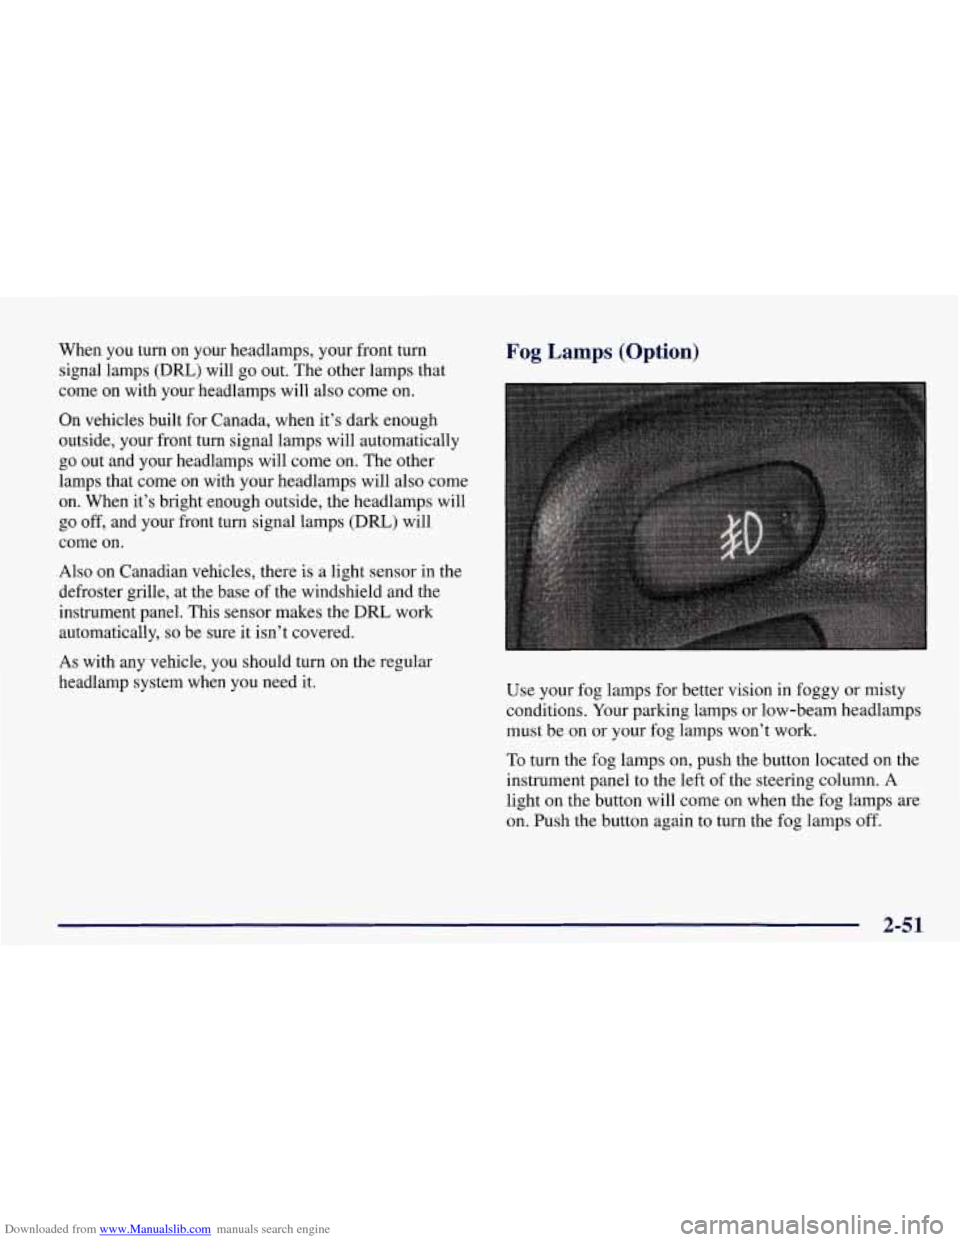
Fog Lamps (Option)
Use your fog lamps for better vision in foggy or misty
conditions. Your parking lamps or low-beam headlamps
must be on or your fog lamps won’t work.
To turn the fog lamps on, push the button located on the
instrument panel to the left of the steering column. A
light on the button will come on when the fog lamps are
on. Push the button again to turn the fog lamps off.
2-51