1998 CADILLAC SEVILLE warning
[x] Cancel search: warningPage 8 of 378
Downloaded from www.Manualslib.com manuals search engine How to Use thi- Mar::,al
Many people read their owner’s manual from beginning
to end when they first receive their new vehicle.
If you
do
this, it will help you learn about the features and
controls for your vehicle. In this manual, you’ll find
that pictures and words work together to explain
things quickly.
Index
A good place to look for what you need is the Index in
back of the manual. It’s an alphabetical list of what’s in
the manual, and the page number where you’ll find it.
Safety Warnings and Symbols
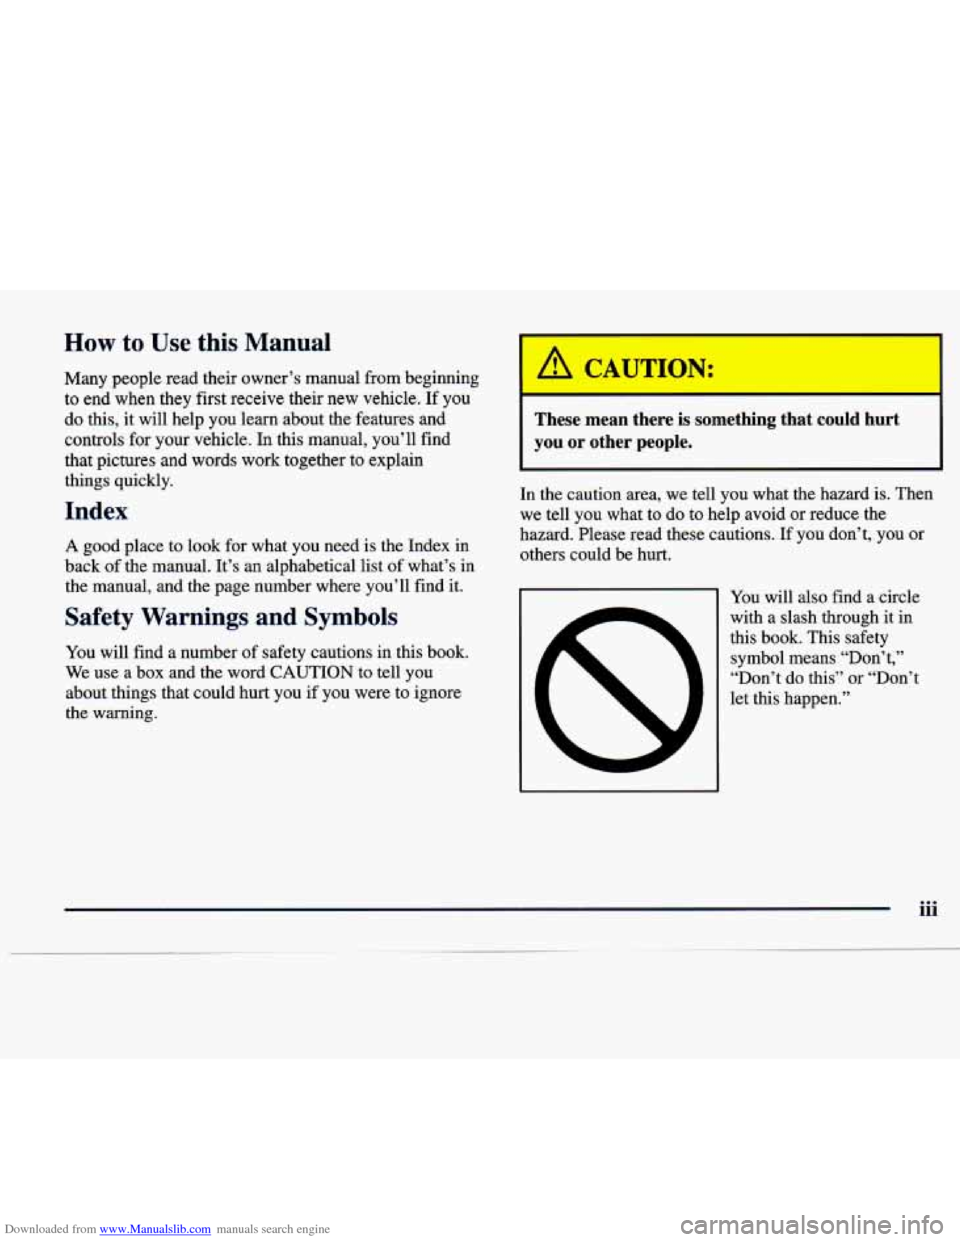
You will find a number of safety cautions in this book.
We use a
box and the word CAUTION to tell you
about things that could hurt you if you were to ignore
the warning.
These mean there is something that could hurt
you or other people.
In the caution area, we tell you what the hazard is. Then
we tell you what to do to help avoid or reduce the
hazard. Please read these cautions.
If you don’t, you or
others could be hurt.
You will also find a circle
with a slash through it in
this book. This safety symbol means “Don’t,’’
“Don’t do this” or “Don’t
let this happen.”
Page 9 of 378
Downloaded from www.Manualslib.com manuals search engine Vehicle Damage Warnings
Also, in this book you will find these notices:
NOTICE:
These mean there is something that could
damage
your vehicle.
iv
In the notice area, we tell you about something that can
damage your vehicle. Many times, this damage would
not be covered by your warranty, and it could be costly.
But the notice will tell
you what to do to help avoid
the damage.
When you read other
manuals, you might see CAUTION
and NOTICE warnings
in Merent colors or in
different words.
You’ll also see warning labels on your vehicle. They use
the same words, CAUTION or NOTICE.
Page 10 of 378
Downloaded from www.Manualslib.com manuals search engine L
Vehicle Symbols
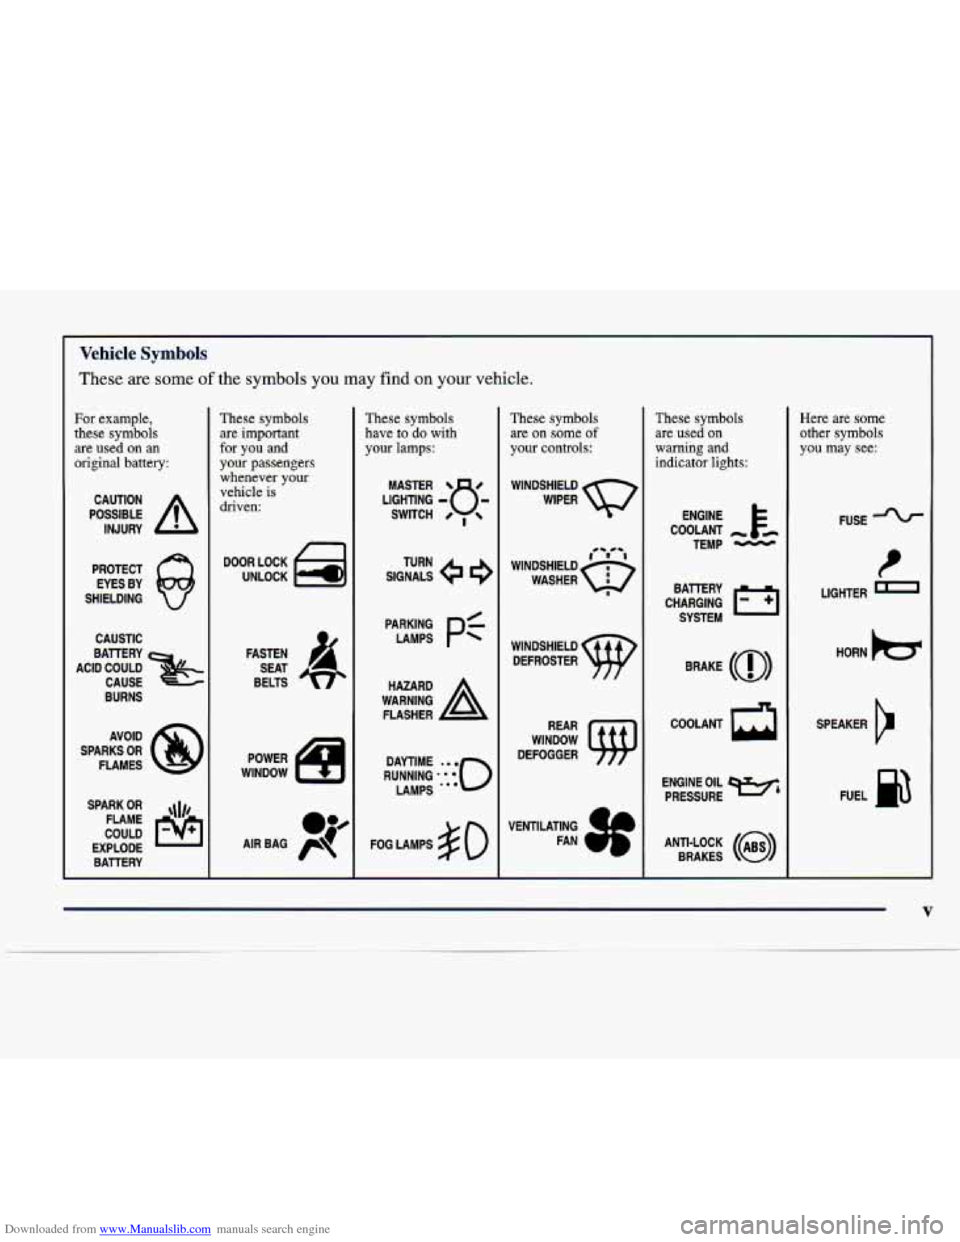
These are some of the symbols you may find on your vehicle.
For example,
these symbols are
used on an
original battery:
POSSIBLE A
CAUTION
INJURY
PROTECT EYES BY
SHIELDING
CAUSTIC
BURNS
SPARK
OR ,\I/,
COULD FLAME
EXPLODE BAlTERY
These symbols are important
for you and
your passengers whenever your
vehicle is
driven:
DOOR LOCK
UNLOCK
FASTEN SEAT
BELTS
These symbols have to
do with
your lamps:
SIGNALS e e
TURN
FOG LAMPS
# 0
These symbols
are on
some of
your controls:
WINDSHIELD
WIPER
WINDOW
DEFOGGER
These symbols are used on
warning and
indicator lights:
COOLANT -
TEMP -
CHARGING BAllERY
SYSTEM
BRAKE
(0)
COOLANT a
ENGINE OIL e,
PRESSURE
ANTI-LOCK
(a)
BRAKES
Here are some
other symbols
you may see:
FUSE
P
LIGHTER I
HORN be
SPEAKER
12
FUEL B
V
Page 62 of 378
Downloaded from www.Manualslib.com manuals search engine a- ‘A-
Section 2 Features and Controls
Here you can learn about the many standard and optional features on your vehicle, and inform\
ation on starting,
shifting and braking. Also explained are the instrument panel and the warning systems that tell you if everything is
working properly
-- and what to do if you have a problem.
2-2
2-4
2-7
2-10
2- 14
2- 14
2-16
2-17
2-18
2-
19
2-20
2-2
1
2-25
2-26
2-28
2-29 Keys
Door Locks
Remote Keyless Entry
(RKE) System
Trunk
Theft
Theft-Deterrent System
PASS-Key@
I11
New Vehicle “Break-In”
Ignition Positions Starting Your Engine
Engine Coolant Heater (If Equipped)
Automatic Transaxle Operation Parking Brake
Shifting Into PARK (P)
Shifting Out of PARK (P)
Parking Over Things That Burn 2-29
2-30
2-3
1
2-32
2-33
2-40
2-44
2-46
2-5 1
2-53
2-55
2-56
2-60
2-64
2-75
Engine Exhaust
Running Your Engine While You’re Parked
Windows
Tilt Wheel
Turn SignaVMultifunction Lever
Exterior Lamps
Interior Lamps
Mirrors
Storage Compartments
Sun Visors
Express
Sunroof (Option)
Universal Transmitter (Option)
The Instrument Panel: Your
Information System
Warning Lights, Gages and Indicators Driver Information Center (DIC)
2-1
Page 94 of 378
Downloaded from www.Manualslib.com manuals search engine Turn SignaVMultifunction Lever
’hrn and Lane Change Signals
To signal a turn, move the lever on the left side of the
steering wheel all the
way up or down. The lever returns
automatically when the turn is complete.
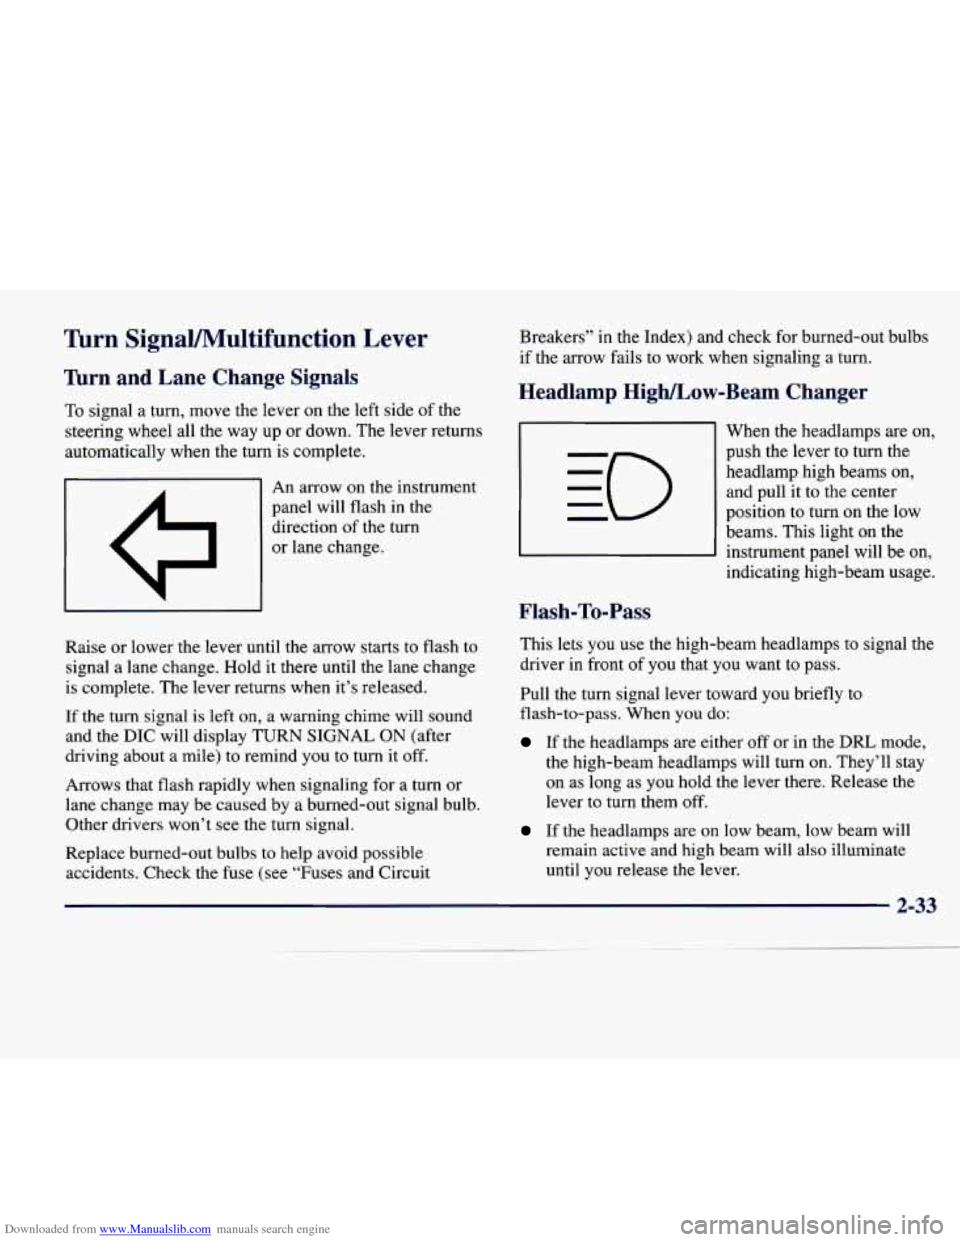
I A I An arrow on the instrument
panel will flash in the
direction of the turn
or lane change.
Raise or lower the lever until the arrow starts to flash to
signal a lane change. Hold it there until the lane change
is complete. The lever returns when it’s released.
If the turn signal is left
on, a warning chime will sound
and the
DIC will display TURN SIGNAL ON (after
driving about a mile) to remind you to turn it off.
Arrows that flash rapidly when signaling for
a turn or
lane change may be caused by a burned-out signal bulb. Other drivers won’t see the turn signal.
Replace burned-out bulbs
to help avoid possible
accidents. Check the fuse (see “Fuses and Circuit Breakers”
in the Index) and check
for burned-out bulbs
if the arrow fails to work when signaling
a turn.
Headlamp High/Low-Beam Changer
Flash-To-Pass
When the headlamps are on,
push the lever to turn the headlamp high beams on, and pull it to the center
position
to turn on the low
beams. This light on the
instrument panel will be on,
indicating high-beam usage.
This lets
you use the high-beam headlamps to signal the
driver in front
of you that you want to pass.
Pull the turn signal lever toward you briefly to
flash-to-pass. When
you do:
If the headlamps are either off or in the DRL mode,
the high-beam headlamps will turn
on. They’ll stay
on as long as you hold the lever there. Release the
lever to turn them off.
If the headlamps are on low beam, low beam will
remain active and high beam will also illuminate
until you release the lever.
Page 102 of 378
Downloaded from www.Manualslib.com manuals search engine Parklamps
Turn the lamp control once to the right to turn on the
parklamps, taillamps, markerlamps, license lamp and
underhood lamp. The lights
on indicator will be on if the
parklarnp switch
is on. Turn to the left to turn these
lights off.
Lamps On Reminder
You will hear a warning chime if you open the driver’s
door while leaving the lamps on and the manual
headlamp or parklamp control is activated. An exception
to this is when you’re using twilight sentinel, or if the
ignition is
on.
Daytime Running Lamps
Daytime Running Lamps (DRL) can make it easier for
others to see the front of your vehicle during the day.
DRL can
be helpful in many different driving
conditions, but they can be especially helpful in the
short periods after dawn and before sunset.
The DRL system will make the high-beam headlamps
come on at reduced brightness when:
the ignition is on,
When DRL are on, only your high-beam headlamps (at
reduced brightness) will be on.
No other exterior lamps
such as the parking lamps, taillamps, etc. will be on
when the DRL are being used. Your instrument panel
won’t be lit up either.
When the twilight sentinel switch is
on and it’s dark
enough outside, the high-beam headlamps (at reduced
intensity) will turn off and normal low-beam headlamp
operation will occur. When the twilight sentinel switch
is on and it’s bright enough outside, the regular lamps
will go off, and the high-beam headlamps at reduced
brightness will take over.
If it’s dark outside and the twilight sentinel control is
off, a HEADLAMPS SUGGESTED message will
display on the DIC. This message informs the driver that
turning on the exterior lamps is recommended even
though the DRL are still illuminated. It has become dark
enough outside to require the headlamps and/or other
exterior lamps. Turning on the twilight sentinel or the
headlamp switch will deactivate the
DRL and remove
the HEADLAMPS SUGGESTED message.
If the
parking lamps or the fog lamps were turned on instead,
the DRL will still deactivate and the HEADLAMPS
SUGGESTED message will continue to be displayed.
0 the headlamp switch is off and
0 the transaxle is not in PARK (P).
2-41
Page 122 of 378
Downloaded from www.Manualslib.com manuals search engine The instrument panel is designed to let you know at a glance how your vehicle is running. You’ll know how fast
you’re going, how much fuel you’re using and many
of the other things you’ll need to know to drive safely and
economically. The main components of the instrument panel are:
1. Air Outlets 13. Fuel Door Release
2. Driver Information Center Control Buttons 14. Trunk Release
3. Turn SignaVLights 15. HVAC Steering Wheel Controls
4. Cluster 16. Horn
5. Windshield Wiperwasher Lever 17. Audio Steering Wheel Controls
6. Cruise Control Lever 18. Seat Heater Switch
7. Ignition Switch 19. Traction Control Switch
8. Air Vent Control Dial
20. Console Shift Lever
9. Hazard Warning Button
2 1. Convenience S torage/Optional Ashtray
10. Radio
22. Electronic Climate Controls
11. Lamp Controls 23. Glove Box
12. Hood Release
Page 125 of 378
Downloaded from www.Manualslib.com manuals search engine Vehicle Speed Limiter
This feature prevents your vehicle from exceeding
speeds that the tires are not rated for. When this
happens, the engine’s fuel supply is shut
off. When the
vehicle speed slows, the fuel supply will come on again.
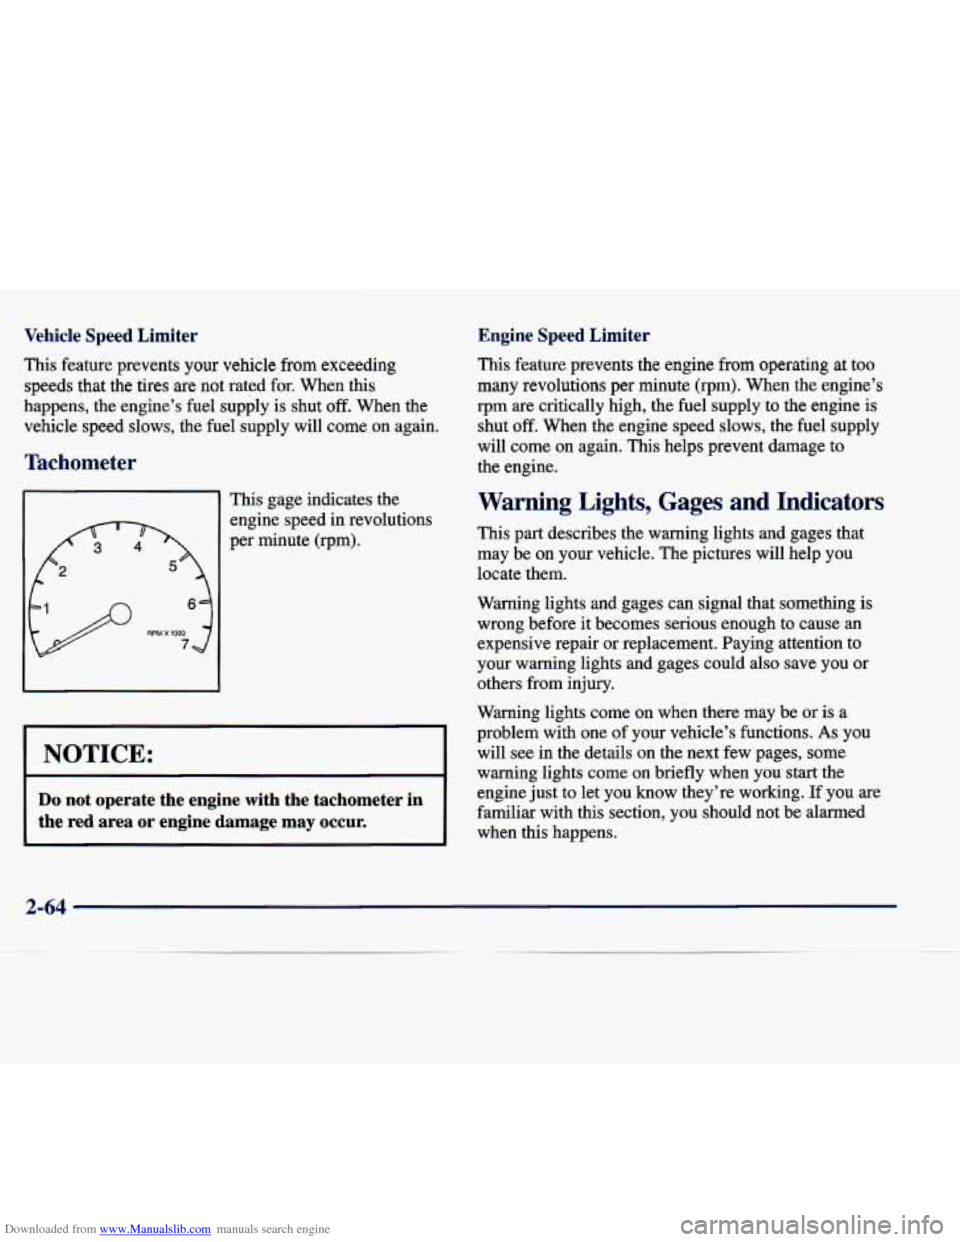
Tach neter
This gage indicates the
engine speed in revolutions
per minute (rpm).
Engine Speed Limiter
This feature prevents the engine from operating at too
many revolutions per minute (rpm). When the engine’s
rpm are critically high, the fuel supply to the engine is
shut
off. When the engine speed slows, the fuel supply
will come on again. This helps prevent damage to
the engine.
Warning Lights, Gages and Indicators
This part describes the warning lights and gages that may be on your vehicle. The pictures will help
you
locate them.
Warning lights and gages can signal that something
is
wrong before it becomes serious enough to cause an
expensive repair or replacement. Paying attention to
your warning lights and gages could also save you or
others from injury.
Warning lights come on when there may be or is a
problem with one of your vehicle’s functions.
As you
warning lights come on briefly when you start the
familiar with this section, you should not be alarmed when this happens.
NOTICE: will see in the details on the next few pages, some
Do not operate the engine with the tachometer in
the red area or engine damage may occur.
engine just to let you know they’re working. If you are
2-64