1998 CADILLAC ELDORADO ECO mode
[x] Cancel search: ECO modePage 101 of 380
Downloaded from www.Manualslib.com manuals search engine Windows Express-Down Window
Power Windows
F-
,.. .
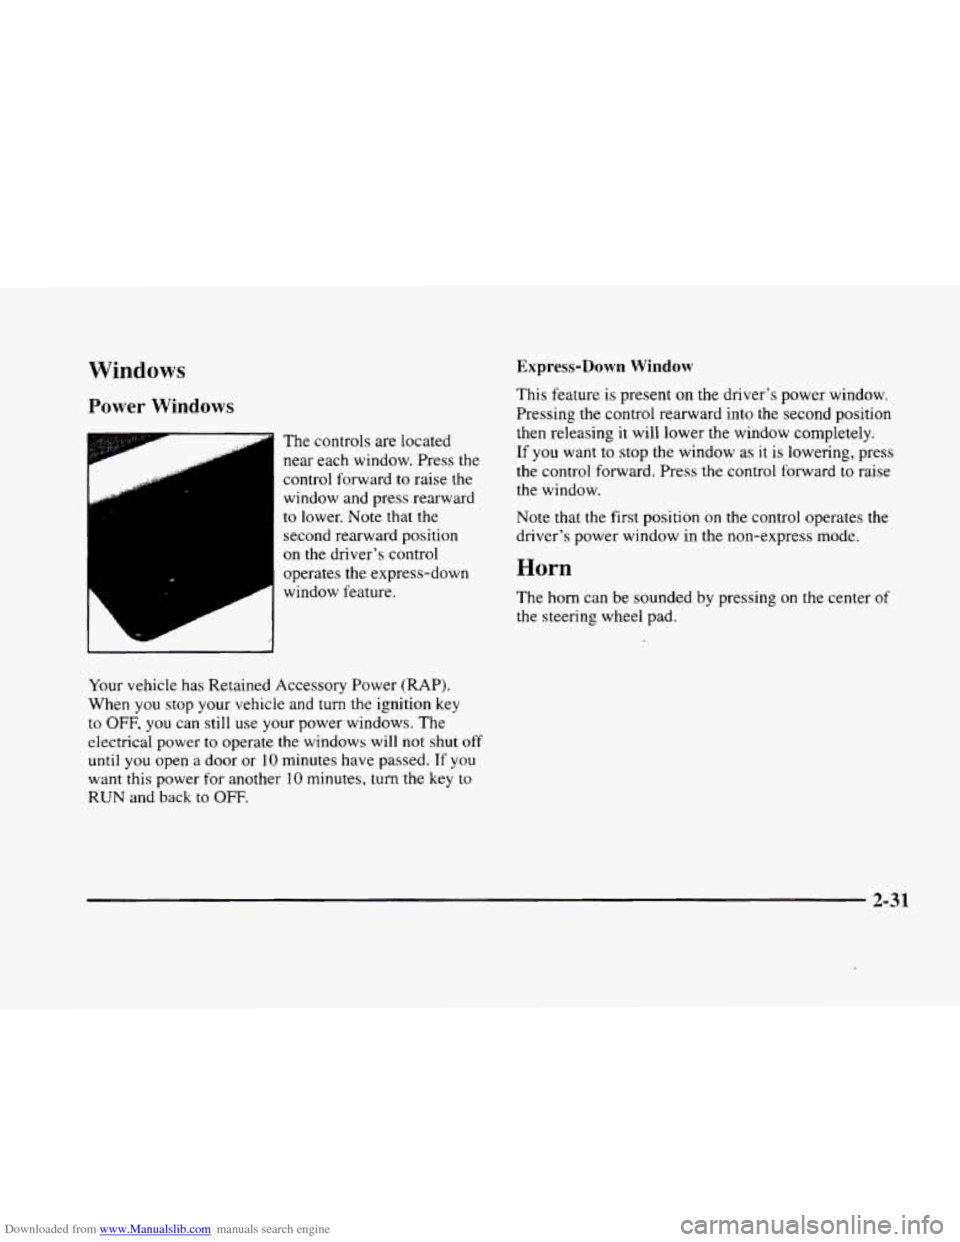
The controls are located
near each window. Press the
control forward
to raise the
window and press rearward
to lower. Note that the
second rearward position
on the driver's control
operates the express-down
window feature.
Your vehicle has Retained Accessory Power
(RAP).
When you stop your vehicle and turn the ignition key
to
OFF, you can still use your power windows. The
electrical power
to operate the windows will not shut off
until you open a door or 10 minutes have passed. If you
want this power for another
10 minutes, turn the key to
RUN and back to OFF.
This feature is present on the driver's power window.
Pressing the control rearward into the second position
then releasing
it will lower the window completely.
If you want to stop the window as it is lowering, press
the control forward. Press the control forward
to raise
the window.
Note that the first position
on the control operates the
driver's power window in the non-express mode.
Horn
The horn can be sounded by pressing on the center of
the steering wheel pad.
2-31
Page 113 of 380
Downloaded from www.Manualslib.com manuals search engine Illuminated Entry
The illuminated entry system turns on the courtesy
lamps and the backlighting to the door switches and to
the lamp control knob when a door is opened or
if you
press a remote keyless entry transmitter button. Since
the illuminated
entry system has a photocell, this means
that it must be dark outside in order for the courtesy
lamps or backlighting
to turn on. The courtesy lamps
turn off approximately
20 seconds after the last door is
closed
or after the ignition key is placed in the ignition.
Parade Dimming
This feature prohibits backlighting and the dimming
of the instrument panel lights during daylight while the
headlamps are
on. This feature operates with the light
sensor for the twilight sentinel and is fully automatic.
When
the light sensor reads darkness outside, the
instrument panel lights can be adjusted. Backlighting
to the instrument panel will also turn on.
Reading Lamps
The reading lamps are located in the roof. These lamps
and the interior courtesy lamps automatically come on
when either door
is opened and it is dark outside. For
manual operation, press the button
to turn them on.
Press it again to turn them off. If
the reading lamps are left
on. rney automatically shut
off IO minutes after the ignition has been turned off.
Inadvertent Power Battery Saver
This feature is designed to protect your vehicle’s battery
against drainage from the interior lamps, trunk lamp,
glove box lamp, cigarette lighters or the garage door
opener. When
the ignition is turned off, the power
to these features will automatically turn off after
10 minutes (three minutes
if a new car has I5 miles
(24 km) or less). Power will be restored for an additional
10 minutes if either door is opened, the trunk is opened
or the courtesy lamp switch is turned on.
Storage Mode Personalization
This feature is for long term use and must be
programmed through the Driver Information Center
(DIC) while the ignition is in RUN. Storage mode
personalization protects the battery by placing your
vehicle in a storage mode
so that the radio, amplifiers,
instrument cluster and remote keyless entry will
not drain the battery over a long period of time.
For programming information, see “Programmable,
Memory and Personalization Features” later
in
this section.
2-43
Page 117 of 380
Downloaded from www.Manualslib.com manuals search engine 4. Press the COMPASS button on the bottom of the
mirror until the new zone number appears
in the
display. After you stop pressing the button, the
display will
show a “C” in the direction display
within
a few seconds. (This is the automatic
calibration mode
-- you’ll need to drive in a
circle to calibrate the mirror. See “Compass
Calibration” following.)
Compass Calibration
If the letter “C” appears in the compass display, the
mirror may need calibration.
The mirror can be calibrated
in one of two ways:
Drive the vehicle in circles at 5 mph (8 km/hj or less
until the display reads a direction, or
Drive the vehicle on your everyday routine.
Power Remote Control Mirror (Heated)
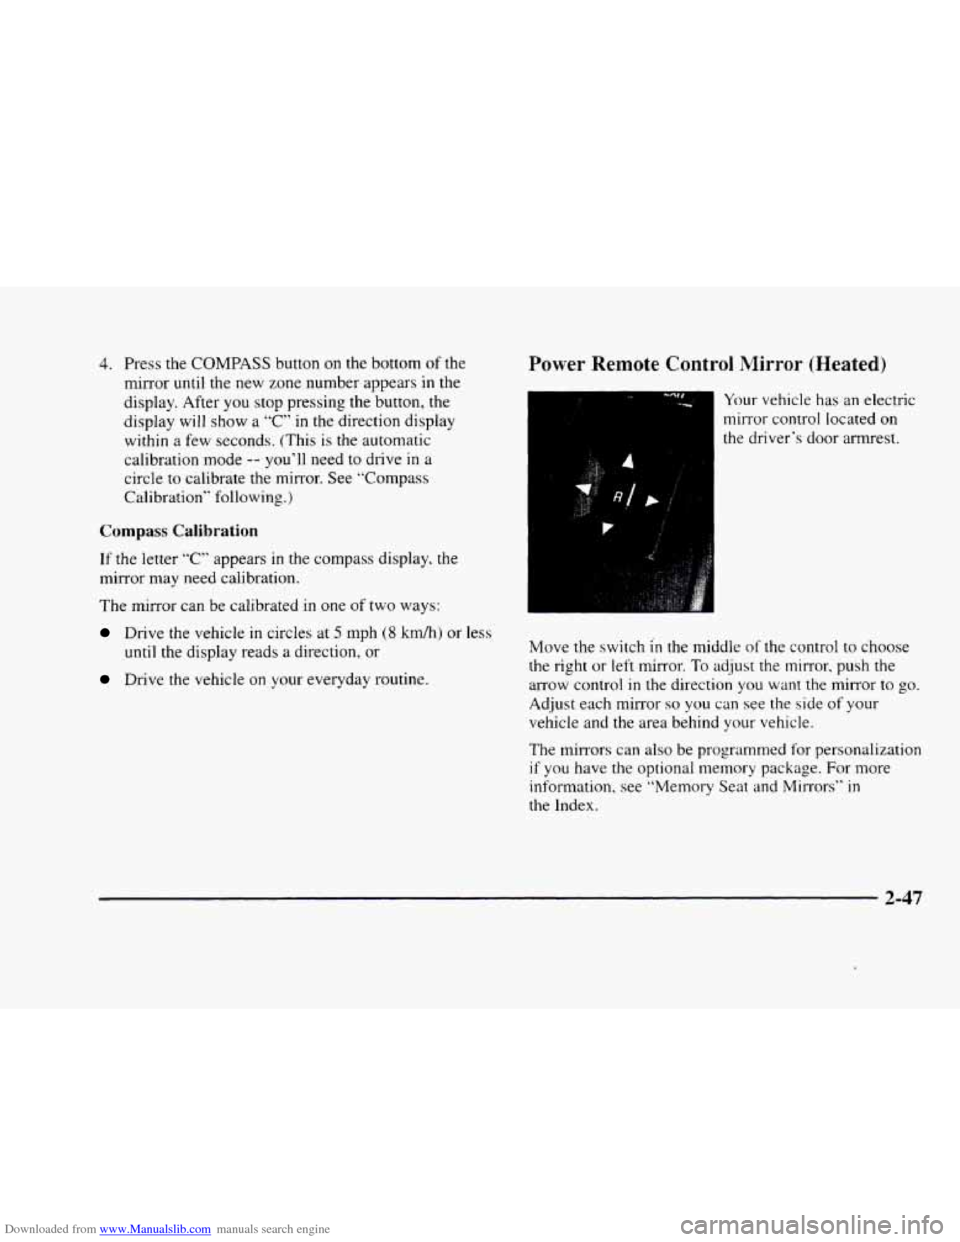
Your vehicle has an electric
mirror control located
on
the driver‘s door armrest.
Move the switch
in the middle of the control to choose
the right or left mirror.
To adjust the mirror, push the
arrow control
in the direction you want the mirror to go.
Adjust each mirror so you can see the side of your
vehicle and the area behind your vehicle.
The
mirrors can also be programmed for personalization
if you have the optional memory package. For more
information, see “Memory Seat and Mirrors” in
the Index.
2-47
Page 123 of 380
Downloaded from www.Manualslib.com manuals search engine This device complies with RSS-210 of Industry Canada.
Operation is subject to the following two conditions:
(1 j this device may not cause interference, and (2) this
device must accept any interference, including
interference that may cause undesired operation
of
the device.
Changes and modifications to this system by other
than an authorized service facility could void
authorization
to use this equipment.
Programming the Transmitter
Do not use the universal transmitter with any garage
door opener that does not have the “stop and reverse”
safety feature. This includes any garage door opener
model manufactured before April
1, 1982.
Be sure that people and objects are clear of the garage
door you are programming.
Your vehicle’s engine should be turned
off while
programming the transmitter. Follow these steps
to
program up to three channels:
1. If you have previously programmed a transmitter
channel, proceed to Step
2. Otherwise, hold down the
two outside buttons on
the universal transmitter
until the amber light begins to flash rapidly
(approximately
20 seconds). Then release the
buttons. This procedure initializes the memory and
erases any previous settings for all three channels.
2. Decide which one of the three channels you want
to program.
3. Hold the end of the hand-held transmitter against the
front surface of the universal transmitter
so that you
can still see the amber light.
4. Using both hands, press the hand-held transmitter
button and the desired button on the universal
transmitter. Continue
to press both buttons through
Step
5.
light on the universal transmitter flash slowly and
then rapidly. The rapid flashing, which could take up
to
90 seconds, indicates that the universal transmitter
has been programmed. Release both buttons once the
light starts
to flash rapidly.
5. Hold down both buttons until you see the amber
2-53
Page 125 of 380
Downloaded from www.Manualslib.com manuals search engine Training a Garage Door Opener with
“Rolling Codes”
(If Equipped)
If you have not previously programmed the hand-held
transmitter to
the universal transmitter. see
“Programming the Transmitter” earlier in this section. If
you have completed this programming already. you now
need to train the garage door opener receiver
to
recognize the universal transmitter. Refer to your garage
door opener owner’s manual
for the proper transmitter
training procedure for your garage door opener brand.
1.
2.
3.
Locate the training button on the garage door opener
receiver. The exact location and color
of the button
may vary by garage door opener brand.
If you have
difficulty locating the training button. refer to your
garage door opener manual.
Press the training button on the garage door opener
receiver for one or two seconds.
A light indicator
will begin
to flash when the receiver enters the
train mode.
Return to
the universal transmitter in your vehicle
and press the universal transmitter button
you have
already programmed for two to three seconds. Press
the button again to make sure that the universal transmitter
has been trained to the garage door
opener receiver. Check that the training was
successful. The receiver light should
no longer
be flashing.
The garage door opener should now recognize the
universal transmitter. You may either use
the universal
transmitter or the hand-held transmitter to open the
garage door.
If after following these instructions you still have
problems training the garage door opener, consult
your dealer.
Erasing Channels
To erase all three-programmed channels, hold down
the two outside buttons until the red light begins to
flash. Individual channels cannot be erased, but can be
reprogrammed using the procedure for Programming
the transmitter explained earlier.
Accessories
Accessories for the universal transmitter are available
from
the manufacturer of the unit. If you would like
additional information, please call
1-800-355-35 15.
2-55
Page 140 of 380
Downloaded from www.Manualslib.com manuals search engine Driver Information Center (DIC)
This display gives you the status of many of your
vehicle’s systems. The DIC is also used to display driver
personalization features and warningktatus messages.
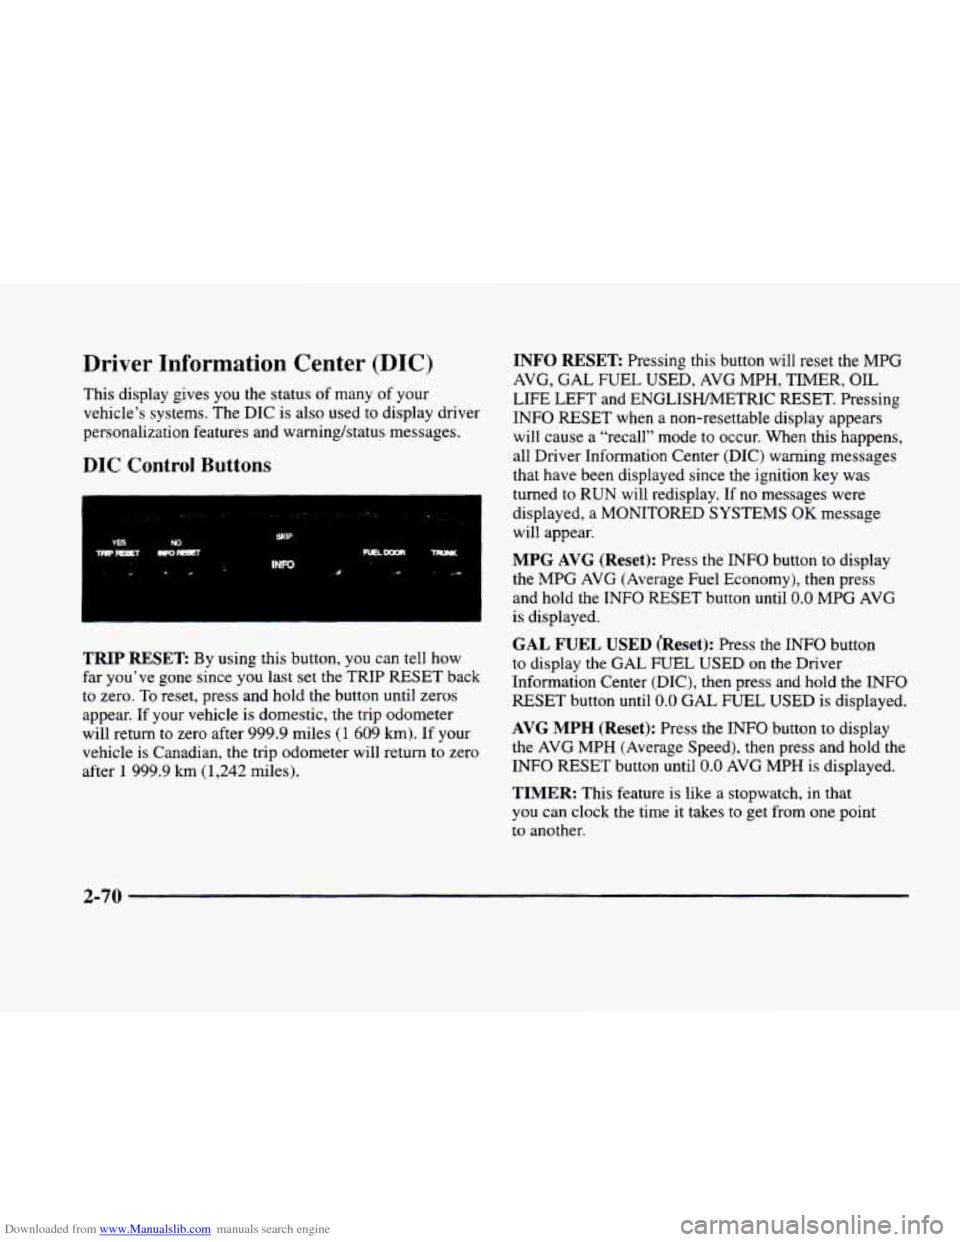
DIC Control Buttons
TRIP RESET By using this button, you can tell how
far you’ve gone since you last set the TRIP
RESET back
to zero.
To reset, press and hold the button until zeros
appear. If your vehicle is domestic, the trip odometer
will return to zero after 999.9 miles
(1 609 km). If your
vehicle is Canadian, the trip odometer will return to zero
after
1 999.9 km (1,242 miles).
INFO RESET Pressing this button will reset the MPG
AVG,
GAL FUEL USED, AVG MPH, TIMER, OIL
LIFE LEFT and ENGLISHMETRIC RESET. Pressing
INFO RESET when a non-resettable display appears
will cause a “recall” mode to occur. When this happens,
all Driver Information Center (DIC) warning messages
that have been displayed since the ignition key was
turned to RUN will redisplay. If no messages were
displayed, a MONITORED SYSTEMS
OK message
will appear.
MPG AVG (Reset): Press the INFO button to display
the MPG
AVG (Average Fuel Economy), then press
and hold the INFO RESET button until
0.0 MPG AVG
is displayed.
GAL FUEL USED (Reset): Press the INFO button
to display the
GAL FUEL USED on the Driver
Information Center (DIC), then press and hold the
INFO
RESET button until 0.0 GAL FUEL USED is displayed.
AVG MPH (Reset): Press the INFO button to display
the
AVG MPH (Average Speed), then press and hold the
INFO RESET button until
0.0 AVG MPH is displayed.
TIMER: This feature is like a stopwatch, in that
you can clock the time
it takes to get from one point
to another.
2-70
Page 141 of 380
Downloaded from www.Manualslib.com manuals search engine To operate, press the INFO button to display TIMER.
Each
of the fields for the hours, minutes and seconds are
two numeric digits.
Once TIMER OFF
0O:OO:OO is displayed, press the
INFO RESET button to start the timing feature. Press
the INFO RESET button again to stop it. If
you will be
starting and stopping your vehicle
-- during a trip for
instance
-- the TIMER feature will automatically start
timing where it left off when
you last stopped. To reset
it, press and hold the INFO RESET button until the
display reads TIMER
0O:OO:OO. Press the INFO button
to exit from the TIMER function.
OIL LIFE LEFT (Reset): Press the INFO button to
display the OIL LIFE LEFT, then press and hold the
INFO RESET button until 100% OIL LIFE LEFT is
displayed. (This only needs
to be reset after you have
had the oil changed.)
ENGLISHAWETRIC (Reset): Press the INFO button to
display ENGLISWMETRIC RESET, then press the
INFO RESET button to select. The display will change
from English (miles) to metric (kilometers).
INFO: Pressing this button repeatedly will display the
RANGE, MPG AVG,
MPG INST, GAL FUEL USED,
MPH, AVG MPH, TIMER, BATTERY VOLTS,
COOLANT TEMP, OIL LIFE LEFT and
ENGLISWMETRIC RESET.
FUEL DOOR: Press this button to open the fuel
door. (This feature will work
only when the shift lever
is in PARK
(P) regardless of whether or not the vehicle
is running.)
TRUNK: Press this button to open the trunk. (This
feature will work only when the shift lever
is in
PARK (P) regardless of whether or not the vehicle
is running.)
DIC Messages
These messages will appear if there is a problem sensed
in one
of your vehicle’s systems. Vehicles that are first
sold
in Canada will have a number after each message.
This number helps
to identify the message which is only
displayed in English.
APPLY BRAKE TO SHIFT - 46: This message will
appear if your vehicle is in PARK
(P) for about 15
seconds and the brake is not pressed. To remove this
message from the Driver Information Center (DIC)
display, hold the
OFF and the blue (cooler) buttons on
the digital cluster control panel for about five seconds.
On the analog climate control panel, press the
OFF
button (next to the MODE button) and the down arrow
on
the PASS TEMP button for about five seconds. Hold
the same two buttons
to display the message again.
2-7 1
Page 145 of 380
Downloaded from www.Manualslib.com manuals search engine ICE POSSIBLE - 13: This message appears when
the outside air temperature is cold enough
to create icy
road conditions.
LOW REFRIG A/C OFF - 12: This message means
that the air conditioning system detects a refrigerant
level that is low enough
to cause damage to the air
conditioning compressor.
To avoid damage, the air
conditioning compressor automatically turns
off and the
electronic climate control system will automatically
switch from AUTO to
ECON and remain there.
Have the air conditioning system serviced if this
message appears.
MONITORED SYSTEMS OK - 1: This message only
appears in the “recall” mode by pressing the RESET
button. It lets you know that no other messages are
stored or currently active.
OIL PRESSURE LOW STOP ENGINE - 35: If this
message appears while the engine is running, stop the
engine and do not operate it until the cause of low oil
pressure
is corrected. Severe damage to the engine can
result.
A multiple chime will also sound when this
message is displayed.
OPTIONS NOT SET - 99: This message will display
if a fault has occurred in your vehicle’s memory. Have
your vehicle serviced
by your dealership.
PROGRAM PASS KEY - 31: This warning message
displays when the PASS-Key I1 pellet information has
not been programmed into your vehicle. See your
dealership for service.
PHONE NOT PRESENT - 126: This message will
appear when the steering wheel controls for the optional
phone system are activated but the phone is not plugged
into
the vehicle. Make sure your phone is plugged in. If
your phone appears
to be connected, see your dealership
for service.
REMOVE KEY - 70: This message will appear
when the Personalized Automotive Security System
(PASS-Key
11) is unable to read the pellet on the
ignition key
or an improper key pellet has been
inserted. This message usually appears following the
display of STARTING DISABLED
REMOVE KEY.
The instrument panel cluster will then run a timer and
change the messages
to WAIT 3 MINUTES, WAIT 2
MINUTES, WAIT 1 MINUTE and then START CAR.
When the REMOVE
KEY message is displayed, remove
the ignition key. Check the ignition key for damage. If it
is damaged, it may need to be replaced. If
you see no
damage, clean the pellet contacts with a soft cloth or
napkin before inserting the key back into the ignition.
Have your vehicle serviced
if the message still appears.
2-75