Page 156 of 426

Oil Life Monitor (Index): Psess the GAGES button
until OIL LIFE INDEX appears in the display. The OIL
LEE INDEX NORMAL display will show an estimate
of the oil’s remaining useful Me. When the oil life index
is less
than IO%, the display will show OIL LIFE
INDEX CHANGE OIL. When you have the oil changed
according
to the maintenance schedule (see
“Maintenance Schedule” in the Index), you will have to
reset the oil We monitor.
To do this, press and hold the
RESET’
button for more than five seconds while the oil
life index
is being displayed on the DPC. The oil life will
change to
100%.
Tire Psessure Status: Press the GAGES button until
‘FWE IPWSSUWE appears in the display. TWE
PRESSUWE NORMAL is displayed when the Check
Tire Pressure System believes your ve~cle’s tire
pressures are normal. If a potential tire pressure problem
is detected, the display will show gIRE PRESSURE
LOW CHECK TIRES. If you see the azRE
PRESSURE LOW: CHECK TIRES message, you
should
st~p as soon as you can and check all your tires
for damage. (If a tire is flat, see ‘‘If a Tire Goes Flat” in
the Index.)
Also check the tire pressure in all four tires
as
soon as you can. See “Inflation - Tire Pressure” and
“Check Tire Pressure System” in the Index. mere
are
times when you will have to reset (calibrate)
the
Check Tire Pressure System. See “Check Tire
Pressure System” in
the Index.
jJ&m&qgs sj& &ssag@j
Other messages or warnings may appear in the DE
display such as:
0 WINDSHIELD WASHER FLUID LOW
ENG COOLANT LOW - CHECK LEVEL
ENGINE OIL LOW - CHECK LEVEL
0 CHANGE ENGINE OIL SOON
0 TRACTION CONTROL SYSTEM ACTIVE
0 DOOR AJAR
0 TRUNKAJAR
Pressing any of the DIC control buttons will remove the
above messages or warnings
from the DIC display.
ProCarManuals.com
Page 232 of 426
i
T!RE-LOADING tNFBRMAT!ON
OCCUPANTS VEHICLE CAP. WT.
FRT. CTR. RR. TOTAL LBS. KG
1 MAX. LOADING €9 GVWR SAME AS VEHICLE
i CAPACITY WEIGHT X>(>( COLD TIRE
TIRE SIZE SPEED PRESSURE
RTG PSI:KPa
IF TIRES ARE HOT, ADD 4PSIj28KPa
SEE OWNER'S MANUAL FOR ADDITIONAL
INFORMATION
Two labels on pur vehicle show how much weight it
may properly cmy. The Tire Loading Information label
found on the rea edge of the driver's door tells YOU the
groper size, speed rating and recommended inflation
pressures
for the tires on your vehicle. It also gives you
important infomation about the number of people that
can be in your vehicle and the total weight that you can
carry. This weight is called the Vehicle Capacity Weight
and includes the weight of all occupants, cargo, and all
nonfactory-instalM QP~~QP~S.
ProCarManuals.com
Page 237 of 426

If you’re using a weight-carrying hitch, the trailer
tongue (A) should weigh 18 percent of the total loaded
trailer weight
(B). If yog have a weight-distributing
hitch, the
trziler tongue (A) should weigh 12 percent of
the total ioaded trailer weight (B).
After you’ve loaded your trailer, weigh the trailer and
then the tongue, separately, to see if the weights are
proper. If they aren’t, YOU may be able to get them right
simply by moving some items around in the traiier.
Be sure your vehicle’s tires
are inflated to the Gpper
limit for cold tires. You’ll find these numbers on the
Tire-Loading Information Babel at
the rear edge of the
driver’s door OF see “Loading Your Vehicle” in the
Index. Then be sure you don’t go over the GVW limit
for your vehicle, including the weight sf the
trailer tongue.
I-- LL&LA2Lb q ; -I ,-+ 1
It’s important to have the correct hitch equipment.
Crosswinds, large trucks going by and rough roads are a
few reasons why you’ll need the right hitch. Were are
some des to follow:
ProCarManuals.com
Page 261 of 426

0:. .. . .
If 8 Goes FE&
It’s unusual for a tire to “blow out” while you’re driving,
especially
if you maintain your tires properly. If air goes
i...
...
out of a &e, it’s much moie likely to leak out slowly.
But if you should ever have a “blowout,” here are
a few
tips about what to expect
and what to do: 1 ‘i
< 1 If a front tire fails, the flat tire will create a drag that
’, !! pulls the vehicle toward that side. Take YOLK foot off the g accelerator pedal and grip the steering wheel firmly.
P Steer to maintain lane position, and then gently brake to
-4 ,i a stop well out of the traffic lane.
.2? .
A rear blowout, particularly on a cwe, acts much like a
skid and may require the same correction you’d use in a
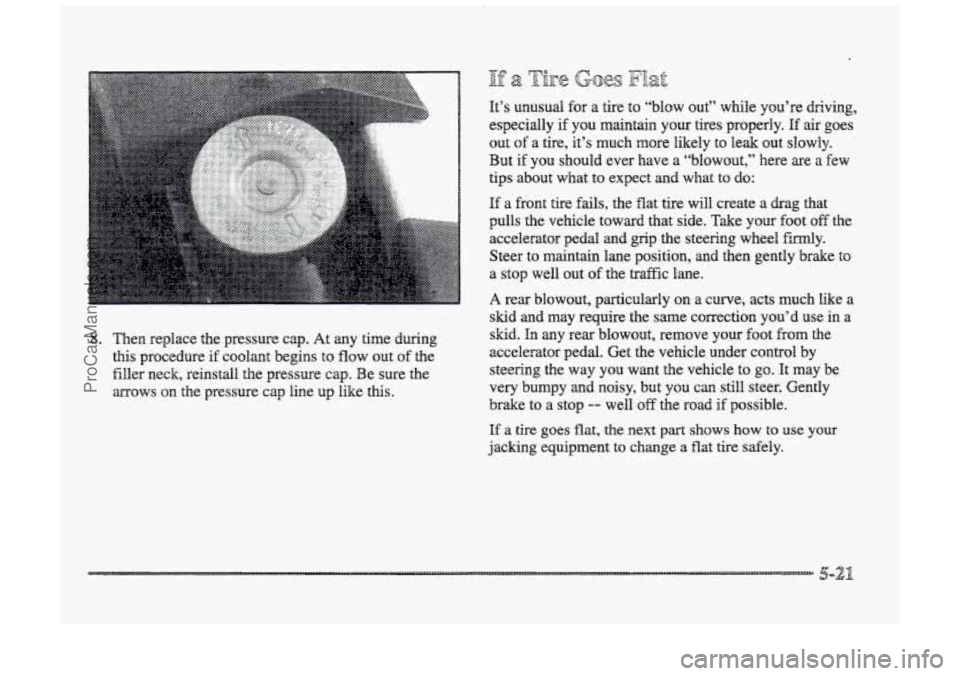
8. Then replace the pressure cap. At any time during
this procedure if
CQQ~EUI~ begins to flow out of the
filler neck, reinstall the pressure cap. Be sure the
mows
on the pressure cap line up like this.
s~. h any kearblowout, remove your foot kom the
accelerator pedal. Get the vehicle under control by
steering the
way you want the vehicle to go. It may be
very bumpy and noisy, but you can still steer. Gently
brake to
a stop -- well off the road if possible.
If a tire goes flat, the next part shows how to use your
jacking equipment to change a flat
tire safely.
ProCarManuals.com
Page 266 of 426
. .. .
Raising your vehicle with the jack improperly
positioned can damage the vehicle and even
make
the vehicle fall. To help avoid personal
injury and vehicle damage, be sure to fit the jack
lift head into the proper lo~ation before raising
the vehicle.
. .. 1.. ... .... -..:::q , . ... , . , ._.. : ,.. .. . ..
5. Raise the vehicle by rotating the wheel wrench to
the right in the jack. Raise the.vehicle far enough
off the ground so there is enough room for the spare
tire to fit.
6. Remove all she wheel nuts and take off the flat tire.
ProCarManuals.com
Page 311 of 426
ff ysbts vehicle is damaged in m accident and the
headamp
ain seems to be affected, see your dealer.
Headlamps
sn damaged vehicles may require
recttiibration of the horizontal aim by your dealer.
To check the ala,
prepared 2s follows:
The vehicle should aot have any snow, ice OK- aud
attache6 to it.
o There sh~dd not be any CS~Q or loading of the
vehicle, except
it should have 2 full tank of gas and
me person or 160 Ibs. (75 kg) on the driver’s seat.
@ Tires should be properly inflated.
Rock the vehicle to stabilize the suspension.
ProCarManuals.com
Page 320 of 426
77; I. .:. ._ $.Q-..l, li- Lfa
Your new vehicle comes with high-quality tires made by
a leading tire manufacturer. If you ever Rave questions
about YQW tire warranty md where to obtain service, see
your Buick Wmmty booklet for details.
Q
8
The Tire-Loading Infamation label, which is located on
the rear edge of the driver’s door shows the correct
inflation pressures for your tires when they’re cold.
“CoId” means your vehicle has been sitting for at least
three hours
OH driven no more than 1 mile (1.6 km).
ProCarManuals.com
Page 321 of 426

Cheek
Use a good quality pocket-type gage t~ check tire
pressure. You can’t tell. if your tires ae properly inflated
simply by
looking at them. Radial tires may lo&
properly inflated even when they’re underinnflated.
Be sure to put the
valve caps back on the valve stems.
They help prevent leaks by
keeping OU~ dirt md moisture.
(?-&e& pgessnre sy$&ekB @f Eqa@p&)
The check tire pressure system can de& you to a
large change in the pressure of one tire. The system
won’t
alert you before you chive that a tire is low or
flat. You must begin driving before the system will
work properly.
The
TIRE PRESSURE LOW CHECK TIRES message
will appear on the Driver hf~~~~~ati~n Center (DK) if
pressure in one tire becomes at least 10 psi (69 Wa)
lower or higher than the other thee tires. The check tire
pressure system won’t alert you if more than one tire is
Bow or high, or if the system is not calibrated properly.
It also won’t tell YOU which tire is Bow or high.
E the anti-lock brake system waning light comes on,
the check tire pressure system may not be working
properly. See your deder for service. (Also,
see
“Anti-hck Brake System Wzming Light” in the Index.)
ProCarManuals.com