1998 BMW 740I tow
[x] Cancel search: towPage 13 of 211
Contents
Owner service procedures
Advanced technology
Technical data
Replacement procedures:
Onboard tool kit162
Windshield wiper blades162
Lamps and bulbs163
Remote control168
Changing tires170
Battery173
Fuses176
In case of electrical
malfunction:
Fuel filler door178
Sliding/Tilt sunroof178
Assistance, giving and
receiving:
Jump-starting179
Towing the vehicle180Airbags184
Adaptive Transmission Control
(ATC)184
Automatic Stability Control plus
Traction (ASC+T)/Dynamic Sta-
bility Control (DSC)185
Radio reception186
BMW Active Seat186
Safety belt tensioner187
DSP sound system187
Interior rearview mirror with auto-
matic dimming feature188
Tire Pressure Control (RDC)189
Xenon lamps190
Water and dirt repelling
windshield191Engine specifications194
Dimensions195
Weights196
Capacities197
Electrical system198
Drive belts198
Page 41 of 211
40n
Alarm systemThe vehicle alarm system responds:
>When a door, the hood or the lug-
gage compartment lid is opened
>To movement inside the vehicle (inte-
rior motion sensor)
>To variations in the vehicle tilt sensor
such as occur during attempts to
steal the wheels or tow the vehicle
>To interruption of battery voltage.
The system responds to unauthorized
vehicle entry and attempted theft by si-
multaneously activating the following:
>Sounding an acoustical alarm for
30 seconds
>The hazard warning flashers are acti-
vated for approx. five minutes
>The high beams flash on and off in
the same rhythm.
To arm and disarm the alarm
systemWhen the vehicle is locked or unlocked
by using a key or with the remote con-
trol, the alarm system is also simulta-
neously armed or disarmed.
The interior motion sensor is activated
approx. 30 seconds after you have fin-
ished locking the car.
The system indicates that it has been
correctly armed by switching on the
hazard flashers for a single cycle and by
emitting an acoustical signal.
When the system is active, you can still
gain access to the luggage compart-
ment by pressing button 3 on the re-
mote control transmitter. When the lid is
closed, it is armed once again.
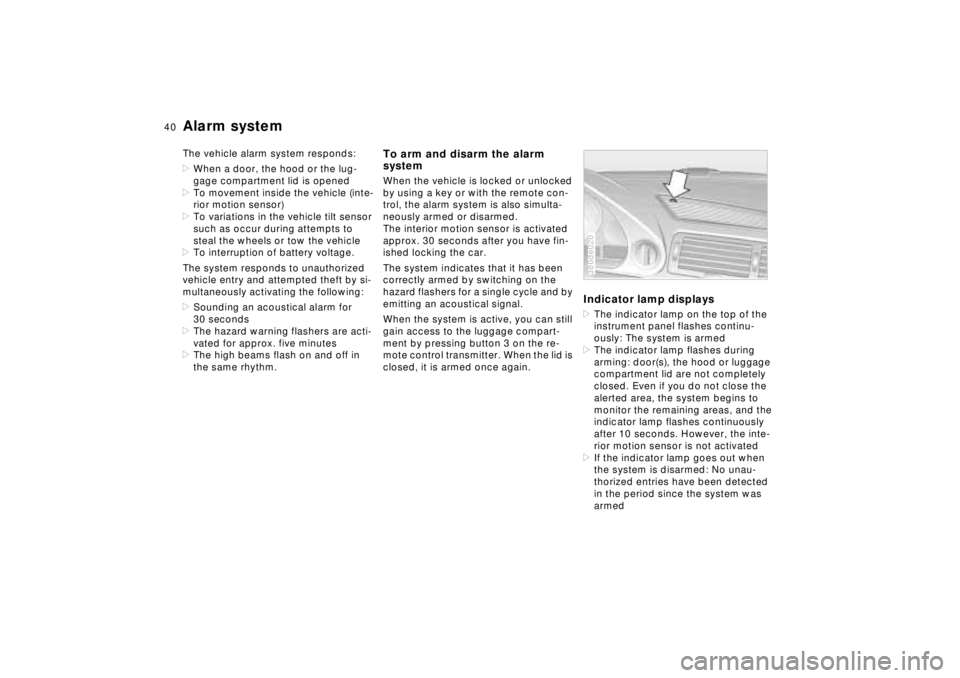
Indicator lamp displays>The indicator lamp on the top of the
instrument panel flashes continu-
ously: The system is armed
>The indicator lamp flashes during
arming: door(s), the hood or luggage
compartment lid are not completely
closed. Even if you do not close the
alerted area, the system begins to
monitor the remaining areas, and the
indicator lamp flashes continuously
after 10 seconds. However, the inte-
rior motion sensor is not activated
>If the indicator lamp goes out when
the system is disarmed: No unau-
thorized entries have been detected
in the period since the system was
armed380de020
Page 46 of 211
45n
RepairsIndexOverview Controls Car care Technology Data
Sliding/Tilt sunroofAutomatic
* opening and closing
Press the switch past the resistance
point briefly: The sunroof travels to ei-
ther the fully-closed or fully-open posi-
tion.
Other automatic operations are:
>With the sunroof open, press the
switch briefly toward "Lift:"
The sunroof automatically extends to
its fully raised position
>With the sunroof lifted, press the
switch briefly toward "Open:" The
sunroof automatically opens all the
way.
Pressing the switch again briefly stops
the motion immediately.
Sliding/Tilt sunroof with glass
moonroof
*
The options and control procedures are
essentially the same as those previ-
ously described for the sliding/tilt sun-
roof. In order to open the raised roof,
press the control switch towards
"Open" until the roof has reached the
desired position.
The headliner insert slides back some-
what when you raise the roof. When the
roof is opened, the headliner retracts
with it. The headliner will then automati-
cally remain in its retracted position, but
can be repositioned as desired.
Power loss or malfunctionAfter interruptions in electrical supply
(when the battery is disconnected, for
instance), the sunroof will only lift. To
reinitialize the mechanism:
1 Raise the sliding/tilt sunroof all the
way
2 Continue to hold the switch for
approx. five seconds.
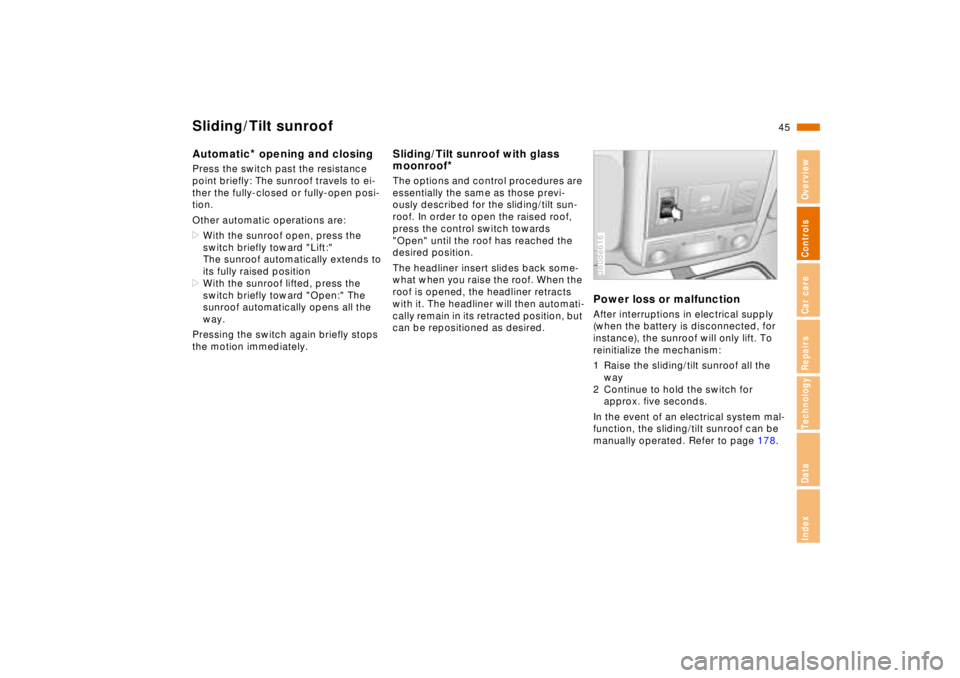
In the event of an electrical system mal-
function, the sliding/tilt sunroof can be
manually operated. Refer to page 178.380de616
Page 52 of 211
51n
RepairsIndexOverview Controls Car care Technology Data
Mirrors Seat, mirror and steering wheel memoryLighted vanity mirrorFold down the sun visor and slide the
cover panel to the side as required.
The mirror lamps operate in ignition key
positions 1 and 2.Sun visorsThese can be folded down toward the
windshield or swiveled out against the
side windows.380de670
You can store and call up three different
seat, exterior mirror and steering wheel
positions.
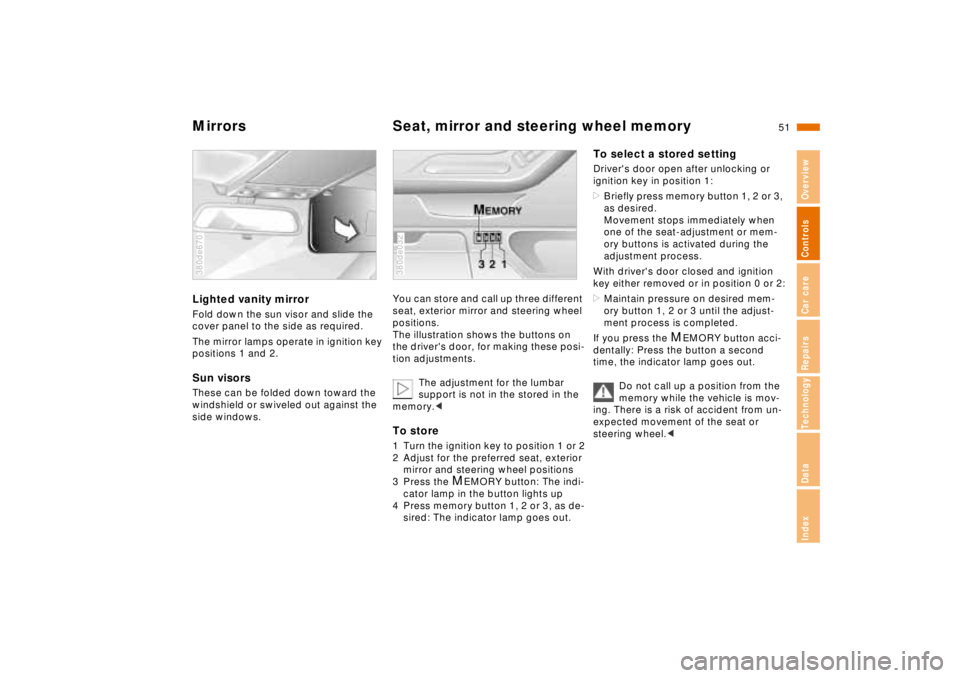
The illustration shows the buttons on
the driver's door, for making these posi-
tion adjustments.
The adjustment for the lumbar
support is not in the stored in the
memory.< To store1 Turn the ignition key to position 1 or 2
2 Adjust for the preferred seat, exterior
mirror and steering wheel positions
3 Press the
M
EMORY button: The indi-
cator lamp in the button lights up
4 Press memory button 1, 2 or 3, as de-
sired: The indicator lamp goes out.
380de032
To select a stored settingDriver's door open after unlocking or
ignition key in position 1:
>Briefly press memory button 1, 2 or 3,
as desired.
Movement stops immediately when
one of the seat-adjustment or mem-
ory buttons is activated during the
adjustment process.
With driver's door closed and ignition
key either removed or in position 0 or 2:
>Maintain pressure on desired mem-
ory button 1, 2 or 3 until the adjust-
ment process is completed.
If you press the
M
EMORY button acci-
dentally: Press the button a second
time, the indicator lamp goes out.
Do not call up a position from the
memory while the vehicle is mov-
ing. There is a risk of accident from un-
expected movement of the seat or
steering wheel.<
Page 65 of 211
64n
Automatic transmissionSpecial functionsIn program A, the Adaptive Transmis-
sion Control influences several special
functions in the selection of the drive
gear.
With the system active, some shifts that
would be made in other modes will be
suppressed. The system also reacts to
special situations by executing shifts
that would not occur with a conven-
tional transmission.Control of the winter programA winter program is automatically se-
lected when the vehicle is operated on
slippery road surfaces (snow and ice).
When this program is active, the trans-
mission starts in 2nd gear and shifts
into the higher gears earlier. This pro-
gram improves response under winter
driving conditions by providing en-
hanced traction and vehicle stability.
ATC leaves the winter program when it
registers a high-traction road surface,
when the Sport program is selected and
when ASC+T/DSC is deactivated.
Electronic transmission control
moduleIf the message "TRANS. FAILSAFE
PROG" appears in the Check Control,
there is a fault in the gearshift electronic
system or in the transmission itself.
You can still place the selector lever in
all positions. However, it is possible
that not all gears are available for the
vehicle's forward drive.
If this happens, avoid extreme engine
loads and consult the nearest autho-
rized BMW center.
Do not work in the engine com-
partment when a drive gear (for-
ward or reverse) is engaged. If you do
this, the vehicle could move.<
For towing, tow-starting or jump-start-
ing the vehicle, refer to pages 179, 180.
Page 68 of 211
67n
RepairsIndexOverview Controls Car care Technology Data
Automatic transmission with Steptronic
*
The ATC will execute upshifts or down-
shifts only at appropriate engine and
road speeds. For example, the trans-
mission does not shift down when the
engine speed is too high. The selected
gear will appear briefly in the instrument
cluster, followed by the current gear.
In the manual mode for rapid ac-
celeration – when passing, for ex-
ample – manually or a shifting down to
the kickdown point.<
You can only change from M/S to the
selector lever positions "P," "R" and "N"
via the "D" position.
In the following situations, the Step-
tronic "thinks" for you in the manual
mode:
>In order to prevent engine over-
speeding, the transmission shifts au-
tomatically to the next higher gear
shortly before the RPM cutoff point
>At low speeds, the transmission shifts
down automatically - you do not have
to act
>In the kickdown mode, the transmis-
sion shifts down to the lowest gear
which is possible, depending on the
engine speed.
Electronic transmission control
moduleIf the "TRANS. FAILSAFE PROG" mes-
sage appears in the Check Control,
there is a malfunction in the transmis-
sion system.
You can still place the selector lever in
all positions. However, it is possible
that not all gears are available for the
vehicle's forward drive.
If this happens, avoid extreme engine
loads and consult the nearest autho-
rized BMW center.
Do not work in the engine com-
partment when a drive gear (for-
ward or reverse) is engaged. If you do
this, the vehicle could move.<
For towing, tow-starting and jump-
starting, refer to pages 179, 180.
Page 92 of 211
91n
RepairsIndexOverview Controls Car care Technology Data
Park Distance Control (PDC)
*
The PDC does not remove the
driver's personal responsibility for
evaluating the distance between the ve-
hicle and any obstacles. Even when
sensors are involved, there is a blind
spot in which objects cannot be de-
tected. This applies especially in those
cases where the system approaches
the physical limits of ultrasonic mea-
surement, as occurs with tow bars and
trailer couplings, and in the vicinity of
thin and painted objects.
Certain sources of sound, such as a
loud radio, could drown the PDC signal
tone.<
Keep the sensors clean and free
of ice or snow in order to ensure
that they continue to operate effectively.
Do not apply high-pressure spray to the
sensors for a prolonged period of time.
Maintain an adequate distance of more
than approx. 4 inches (10 cm).<
Page 102 of 211
101n
RepairsIndexOverview Controls Car care Technology Data
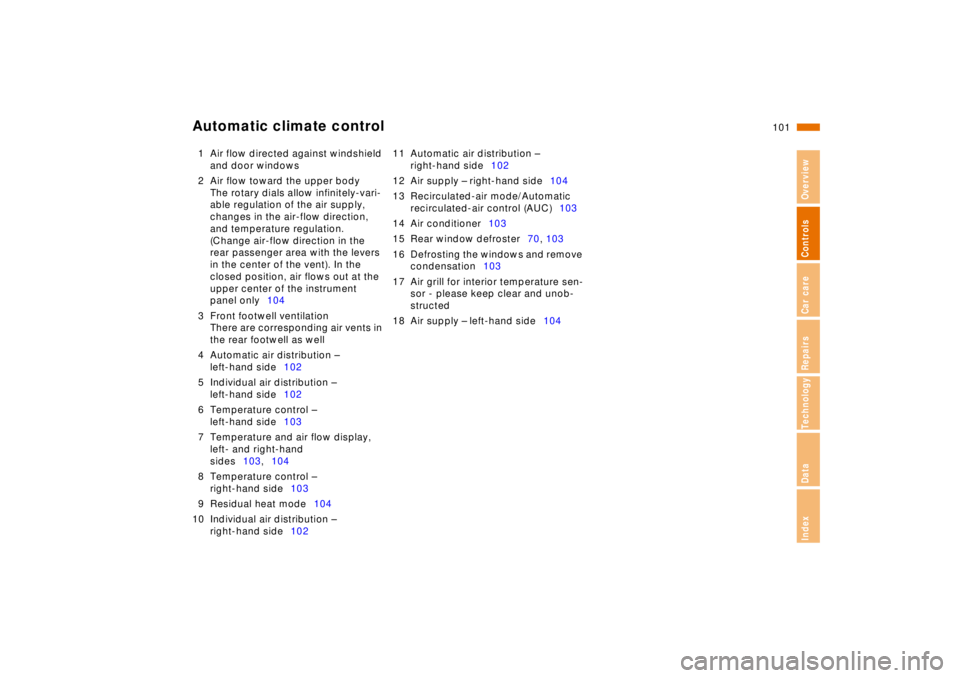
Automatic climate control1 Air flow directed against windshield
and door windows
2 Air flow toward the upper body
The rotary dials allow infinitely-vari-
able regulation of the air supply,
changes in the air-flow direction,
and temperature regulation.
(Change air-flow direction in the
rear passenger area with the levers
in the center of the vent). In the
closed position, air flows out at the
upper center of the instrument
panel only104
3 Front footwell ventilation
There are corresponding air vents in
the rear footwell as well
4 Automatic air distribution –
left-hand side102
5 Individual air distribution –
left-hand side102
6 Temperature control –
left-hand side103
7 Temperature and air flow display,
left- and right-hand
sides103,104
8 Temperature control –
right-hand side103
9 Residual heat mode104
10 Individual air distribution –
right-hand side10211 Automatic air distribution –
right-hand side102
12 Air supply – right-hand side104
13 Recirculated-air mode/Automatic
recirculated-air control (AUC)103
14 Air conditioner103
15 Rear window defroster70, 103
16 Defrosting the windows and remove
condensation103
17 Air grill for interior temperature sen-
sor - please keep clear and unob-
structed
18 Air supply – left-hand side104