1998 BMW 740I light
[x] Cancel search: lightPage 110 of 211
109n
RepairsIndexOverview Controls Car care Technology Data
Integrated Universal Remote Control
*
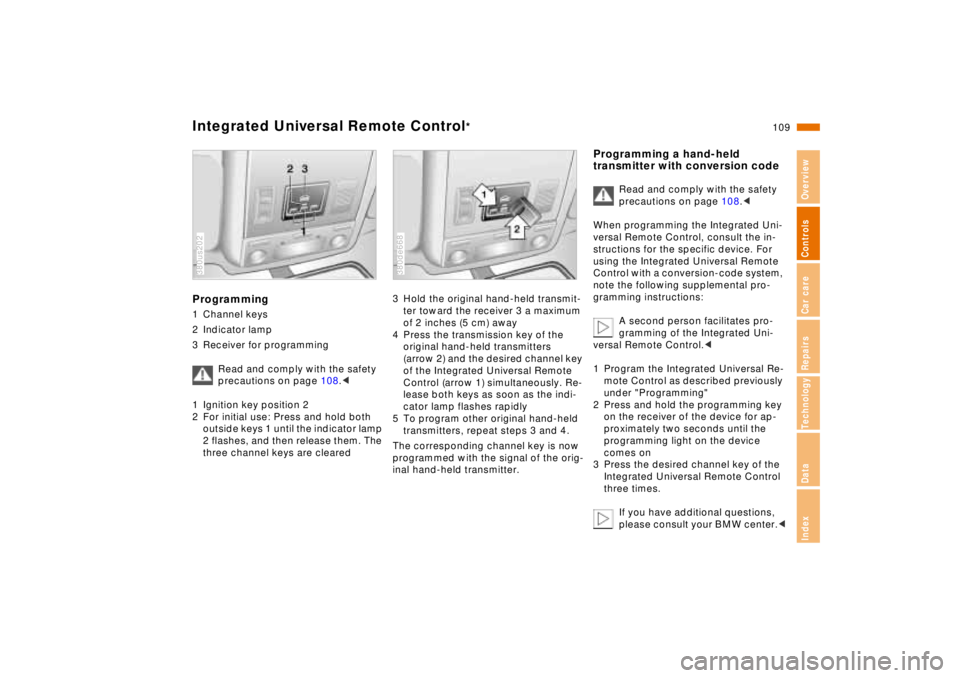
Programming1 Channel keys
2 Indicator lamp
3 Receiver for programming
Read and comply with the safety
precautions on page 108.<
1 Ignition key position 2
2 For initial use: Press and hold both
outside keys 1 until the indicator lamp
2 flashes, and then release them. The
three channel keys are cleared380us202
3 Hold the original hand-held transmit-
ter toward the receiver 3 a maximum
of 2 inches (5 cm) away
4 Press the transmission key of the
original hand-held transmitters
(arrow 2) and the desired channel key
of the Integrated Universal Remote
Control (arrow 1) simultaneously. Re-
lease both keys as soon as the indi-
cator lamp flashes rapidly
5 To program other original hand-held
transmitters, repeat steps 3 and 4.
The corresponding channel key is now
programmed with the signal of the orig-
inal hand-held transmitter.380de668
Programming a hand-held
transmitter with conversion code
Read and comply with the safety
precautions on page 108.<
When programming the Integrated Uni-
versal Remote Control, consult the in-
structions for the specific device. For
using the Integrated Universal Remote
Control with a conversion-code system,
note the following supplemental pro-
gramming instructions:
A second person facilitates pro-
gramming of the Integrated Uni-
versal Remote Control.<
1 Program the Integrated Universal Re-
mote Control as described previously
under "Programming"
2 Press and hold the programming key
on the receiver of the device for ap-
proximately two seconds until the
programming light on the device
comes on
3 Press the desired channel key of the
Integrated Universal Remote Control
three times.
If you have additional questions,
please consult your BMW center.<
Page 111 of 211
110n
Integrated Universal Remote Control
*
Glove compartment
Clearing the channel keys
Read and comply with the safety
precautions on page 108.<
The memory of individual channel keys
cannot be deleted. However, the three
channel keys can be cleared together
as follows:
>Press and hold both outside keys of
the Integrated Universal Remote
Control until the indicator lamp
flashes, and then release them.
All of the channel keys are cleared.
User informationDo not use this BMW Universal Trans-
mitter with any garage door opener that
lacks safety "stop" and "reverse" fea-
tures as required by federal safety stan-
dards (this includes any garage door
opener model manufactured before
April 1, 1982).
This device complies with Section 15 of
the FCC Rules. Operation is subject to
the following two conditions: As defined
in the regulations, this device must not
emit harmful interference, and must be
shielded against interference from ex-
ternal sources to prevent unauthorized
or inadvertent activation.
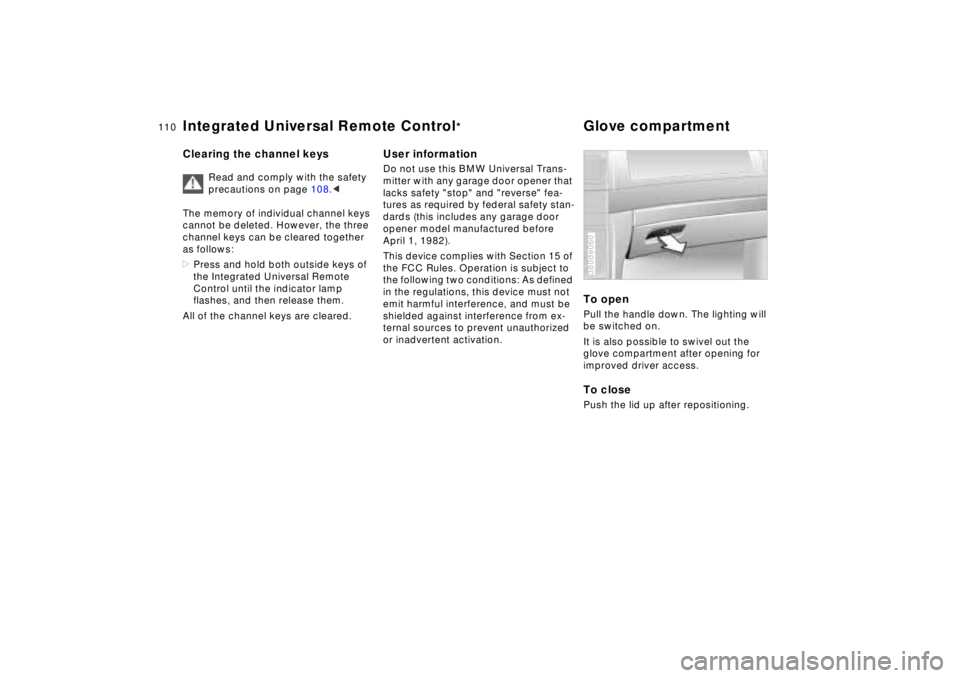
To openPull the handle down. The lighting will
be switched on.
It is also possible to swivel out the
glove compartment after opening for
improved driver access.To closePush the lid up after repositioning.380de060
Page 112 of 211
111n
RepairsIndexOverview Controls Car care Technology Data
Glove compartment Center armrestsTo lockLock with a master key or manually
press the small lever behind the glove
compartment latch to the right.
For example, if you turn over only
your door and ignition keys for va-
let parking (refer to page 30), access to
the glove compartment is not possible.<
To prevent injury in the event of an
accident, close the glove com-
partment immediately after use.<
Rechargeable flashlightLocated on the left-hand side of the
glove compartment.
Features integral overload-protection,
so it can be left in its holder continu-
ously.
Be sure that the flashlight is
switched off when it is inserted
into its holder. Failure to comply with
this precaution could lead to overcharg-
ing and damage.<
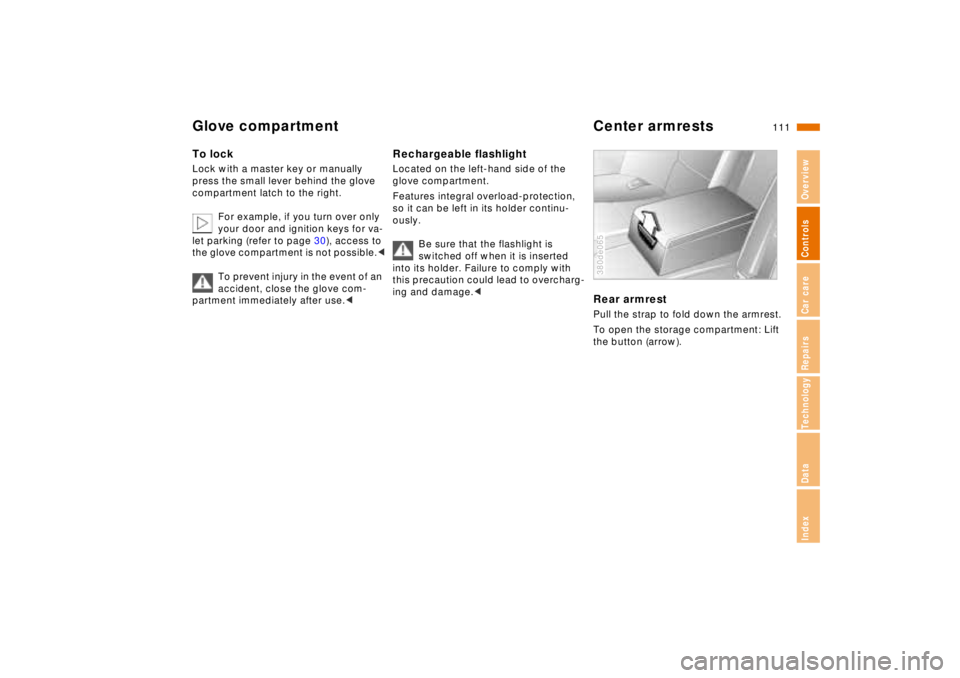
Rear armrestPull the strap to fold down the armrest.
To open the storage compartment: Lift
the button (arrow).380de065
Page 116 of 211
115n
RepairsIndexOverview Controls Car care Technology Data
Cigarette lighter
*
Rear foot rests
*
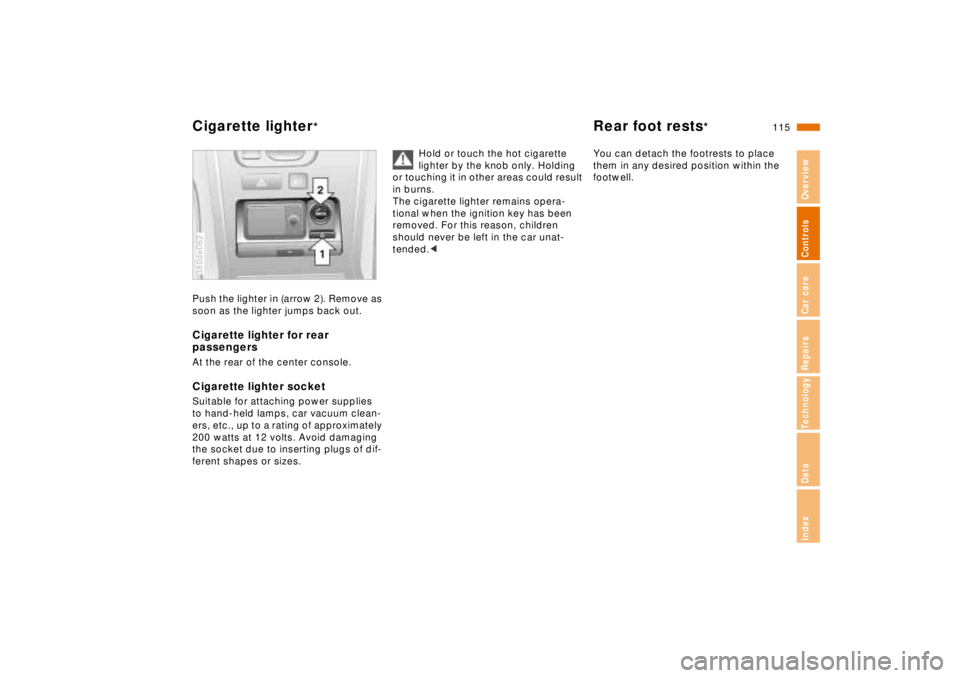
Push the lighter in (arrow 2). Remove as
soon as the lighter jumps back out.Cigarette lighter for rear
passengersAt the rear of the center console.Cigarette lighter socketSuitable for attaching power supplies
to hand-held lamps, car vacuum clean-
ers, etc., up to a rating of approximately
200 watts at 12 volts. Avoid damaging
the socket due to inserting plugs of dif-
ferent shapes or sizes.380de062
Hold or touch the hot cigarette
lighter by the knob only. Holding
or touching it in other areas could result
in burns.
The cigarette lighter remains opera-
tional when the ignition key has been
removed. For this reason, children
should never be left in the car unat-
tended.<
You can detach the footrests to place
them in any desired position within the
footwell.
Page 119 of 211
118n
Cargo loading Roof-mounted luggage rack
*
Securing the load>Secure smaller, light pieces with the
retaining straps or with a luggage
compartment net or elastic straps (re-
fer to page 39)
>For large, heavy pieces, see your
BMW center for load-securing de-
vices
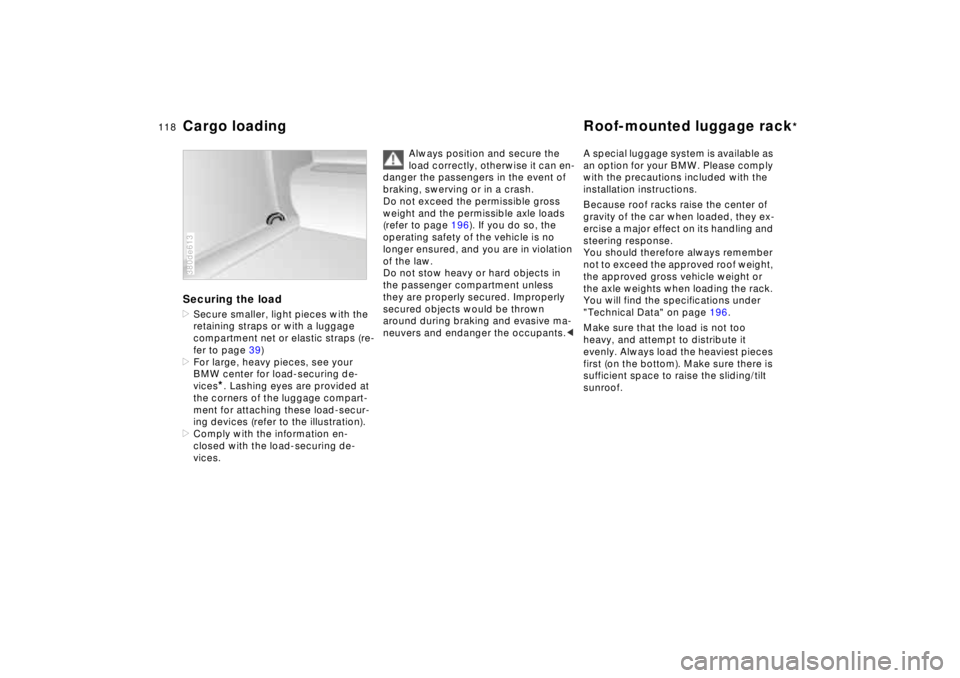
*. Lashing eyes are provided at
the corners of the luggage compart-
ment for attaching these load-secur-
ing devices (refer to the illustration).
>Comply with the information en-
closed with the load-securing de-
vices.
380de613
Always position and secure the
load correctly, otherwise it can en-
danger the passengers in the event of
braking, swerving or in a crash.
Do not exceed the permissible gross
weight and the permissible axle loads
(refer to page 196). If you do so, the
operating safety of the vehicle is no
longer ensured, and you are in violation
of the law.
Do not stow heavy or hard objects in
the passenger compartment unless
they are properly secured. Improperly
secured objects would be thrown
around during braking and evasive ma-
neuvers and endanger the occupants.<
A special luggage system is available as
an option for your BMW. Please comply
with the precautions included with the
installation instructions.
Because roof racks raise the center of
gravity of the car when loaded, they ex-
ercise a major effect on its handling and
steering response.
You should therefore always remember
not to exceed the approved roof weight,
the approved gross vehicle weight or
the axle weights when loading the rack.
You will find the specifications under
"Technical Data" on page 196.
Make sure that the load is not too
heavy, and attempt to distribute it
evenly. Always load the heaviest pieces
first (on the bottom). Make sure there is
sufficient space to raise the sliding/tilt
sunroof.
Page 123 of 211

122n
To ensure that your vehicle provides
maximum economy throughout a long
service life, we request that you comply
with the following:
Engine and differentialUp to 1,200 miles (2,000 km):
Drive at varying engine speeds and
road speeds, but do not exceed
4500 rpm and/or 105 mph (170 km/h)
during this initial period. Comply with
the legal speed limit at all times.
Refrain from using full throttle and avoid
pressing the accelerator beyond the
kickdown point.
Once 1,200 miles (2,000 km) have
elapsed, engine speeds and road
speeds can gradually be increased.
You should also comply with these
break-in procedures if the engine or dif-
ferential is replaced later in the course
of the vehicle service life.TiresDue to technical factors associated with
their manufacture, tires do not achieve
their full traction potential until an initial
break-in period has elapsed.
Thus drive with extra care during the
initial 200 miles (300 km).When the vehicle is operated on
wet or slushy roads, a wedge of
water may form between the tire and
the road surface. This phenomenon is
referred to as aquaplaning, or hydro-
planing, and can lead to partial or com-
plete loss of traction, vehicle control
and braking effectiveness. Reduce your
speed on wet roads.<
Brake systemApproximately 300 miles (500 km) must
elapse before the brake pads and rotors
achieve the optimal pad-surface and
wear patterns required for trouble-free
operation and long service life later on.
To break-in the separate parking brake
drums, apply the parking brake lightly
when coasting to a standstill (at a traffic
signal, for instance), provided that traf-
fic conditions allow you to do so.
To avoid corrosion, repeat this proce-
dure from time to time.
The brake lamps do not come on
when the parking brake is applied.
Vacuum for the brake system servo unit
on your BMW is available only when the
engine is running. When you move the
car with the engine shut off – when tow-
ing, for instance – substantially higher
levels of pedal force will be required to
brake the vehicle.<
Break-in procedure
Page 124 of 211

123n
RepairsIndexOverview Controls Car care Technology Data
Driving notes
Brakes:
Do not drive with your foot resting
on the brake pedal. Even light but con-
sistent pedal pressure can lead to high
temperatures, brake wear and possibly
even brake failure.
Aquaplaning:
When driving on wet or slushy roads,
reduce road speed. If you do not, a
wedge of water can form between tires
and road surface. This phenomenon is
referred to as aquaplaning or hydro-
planing. It is characterized by a partial
or complete loss of contact between
the tires and the road surface. The ulti-
mate results are loss of steering and
braking control.
Driving through water:
Do not drive through water more than
1 foot (30 cm) deep. In water of this
depth, drive only at walking speed, oth-
erwise damage to the engine, the elec-
trical system and the transmission can
occur.
Rear parcel tray:
Do not use the rear parcel tray to store
heavy or bulky objects. They could
pose a danger to the occupants during
braking maneuvers.
Clothes hooks:
Hang items of clothing from the hooks
so that they will not obstruct the driver's
vision. In order to avoid personal inju-
ries during braking maneuvers, do not
hang heavy objects on the hooks.<
Page 128 of 211
127n
RepairsIndexOverview Controls Car care Technology Data
Disc brakesDriving notesWhile driving in wet conditions and in
heavy rain, it is a good idea to apply
light pressure to the brake pedal every
few miles. Watch traffic conditions to
ensure that this maneuver does not en-
danger other road users. The heat gen-
erated in this braking process helps dry
the brake pads and rotors.
Maximum braking force is obtained
while the wheels continue to rotate,
peaking when the wheels remain on the
verge of locking without actually doing
so. ABS maintains this state automati-
cally. If the ABS fails, you should revert
to the staggered braking technique de-
scribed below (refer to page 129).
Extended or steep mountain descents
do not necessarily have to lead to re-
duced braking efficiency; downshift to a
gear in which only minimal periodic
brake applications are required - move
the selector lever to the appropriate
lower range.
You can continue to increase the brak-
ing effect of the engine by selecting a
lower gear - you can select transmis-
sion ranges as low as position 2 for ex-
treme conditions.Should engine braking prove inade-
quate, you should still avoid extended,
continuous braking. Instead of main-
taining low to moderate pressure over
an extended period of time, you should
decelerate the vehicle by applying more
substantial force on the pedal (watch
for following traffic!) and then pausing
before repeating the application. This
staggered braking technique allows the
brakes to cool in the intervals between
active braking phases, preventing over-
heating and ensuring that full braking
capacity remains available at all times.
Do not coast with the transmission
selector lever in neutral. Do not
drive with the engine shut off. The en-
gine provides no braking effect when
the transmission is in neutral, and there
is no power-assist for braking or steer-
ing when the engine is shut off.
Never allow floor mats, carpets or any
other objects to protrude into the area
around the accelerator and brake ped-
als and obstruct their movement.<
Dynamic Brake Control (DBC)
*
If you apply the brakes rapidly, this sys-
tem automatically produces the maxi-
mum braking force boost and thus
helps to achieve the shortest possible
braking distance during "panic stops."
All of the benefits of the ABS system
are exploited under these circum-
stances.
Do not reduce the pressure on the
brake pedal for the duration of the
brake application. When the brake
pedal is released, the DBC is deacti-
vated.
In the event of a malfunction, the
warning lamp comes on with a
yellow light. Conventional brak-
ing efficiency is available with-
out limitations.
Have the system checked and
repaired at your BMW center as soon
as possible.
For "Information for your safety"
covering the ABS system, refer to
page 125. This information also gener-
ally applies for DBC.<