1998 BMW 740I light
[x] Cancel search: lightPage 75 of 211
74n
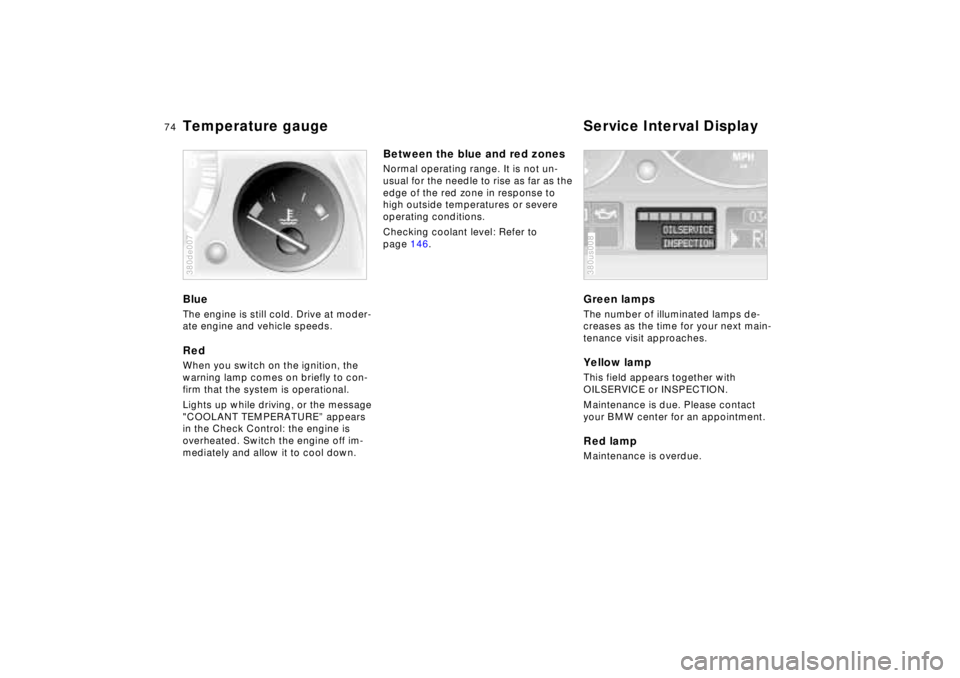
Temperature gauge Service Interval DisplayBlueThe engine is still cold. Drive at moder-
ate engine and vehicle speeds.RedWhen you switch on the ignition, the
warning lamp comes on briefly to con-
firm that the system is operational.
Lights up while driving, or the message
"COOLANT TEMPERATURE” appears
in the Check Control: the engine is
overheated. Switch the engine off im-
mediately and allow it to cool down.380de007
Between the blue and red zonesNormal operating range. It is not un-
usual for the needle to rise as far as the
edge of the red zone in response to
high outside temperatures or severe
operating conditions.
Checking coolant level: Refer to
page 146.
Green lampsThe number of illuminated lamps de-
creases as the time for your next main-
tenance visit approaches.Yellow lampThis field appears together with
OILSERVICE or INSPECTION.
Maintenance is due. Please contact
your BMW center for an appointment.Red lampMaintenance is overdue.380us008
Page 77 of 211

76n
Check ControlPriority 2
These alerts for problems are reported
for 20 seconds when the ignition key is
in position 2. The status reports remain
after the message disappears. You can
view the message again by pressing the
CHECK button.
>TRUNK LID OPEN
This message is given only when ini-
tially starting off.
>DOOR OPEN
This is displayed after a minimum
vehicle speed is exceeded.
>FASTEN SEAT BELTS
*
In addition, the indicator lamp with
the safety belt symbol appears and
an acoustic signal is heard.
>WASHER FLUID LOW
The washer fluid is too low. Top up
the fluid at the earliest opportunity.
Refer to page 142.
>CHECK ENGINE OIL
Add engine oil as soon as possible.
Refer to page 143.
>OUTSIDE TEMPERATURE 247
(–5.06)
This display is only an example. The
current reading appears at an outside
temperature of 37.57 (+36) and
below. Refer also to page 72.>TIRE PRESSURE SET
*
The RDC has imported the current in-
flation pressure in the tires as the tar-
get values which the system will
monitor.
Refer to page 94.
>CHECK TIRE PRESSURE
*
Check and correct the tire inflation
pressure to specifications at the earli-
est opportunity (next stop for fuel).
Refer to page 94.
>TIRE CHECK INACTIVE
*
A temporary interference of the RDC
or a system fault. Refer to page 95
>BRAKE LAMP CIRCUIT
A bulb has failed or the circuit has a
malfunction. Refer to pages 163, 176
or consult an authorized BMW center.
>CHECK LOWBEAMS
CHECK SIDE LAMPS
CHECK REAR LAMPS
CHECK FRONT FOGLAMPS
CHECK LICPLATE LAMP
CHECK TRAILER LIGHTS
CHECK HIGHBEAMS
CHECK BACKUP LAMPS
Defective bulb or circuit. Refer to
pages 163, 176 or consult an autho-
rized BMW center.
>TRANS. FAILSAFE PROG
Please consult the nearest authorized
BMW center. Refer to pages 64, 67.>CHECK BRAKE LININGS
Have the brake pads inspected by
your BMW center. Refer to page 126.
>REMOTE KEY BATTERY
Change the battery. Refer to
page 168.
>CHECK COOLANT LEVEL
The coolant is too low. Top up at the
next opportunity. Refer to page 146.
>ENGINE FAILSAFE PROG
Fault in the Electronic Engine Power
Control EML. When braking, higher
brake application pressure may be
necessary and brake pedal travel may
be significantly longer.
Please have the system inspected by
your authorized BMW center.
Page 78 of 211

77n
RepairsIndexOverview Controls Car care Technology Data
Check ControlDisplays after completion of tripAll of the malfunctions registered during
the trip appear consecutively when the
ignition key is turned to position 0.
One of the following displays may ap-
pear:
>LIGHTS ON
>KEY IN IGNITION LOCK
>CHECK ENGINE OIL LEV
Add engine oil at the next opportunity
(next stop for fuel). Refer to page 14 3.
This message appears when you open
the driver's door after parking the vehi-
cle. A supplementary gong is also
heard.
Even if the ignition key has been re-
moved and the display has gone off,
you can still retrieve these messages
with CHECK button (1) for approx. three
minutes after completion of your trip. If
there are multiple messages, continue
to press the CHECK button.
To monitor the Check ControlWith the ignition key in position 2, press
CHECK button (1):
CHECK CONTROL OK appears in the
display.
In this case, there are no faults in the
systems which are monitored.
Page 93 of 211
92n
ASC+T/DSC
*
Automatic Stability Control plus
Traction (ASC+T)/Dynamic
Stability Control (DSC)
*
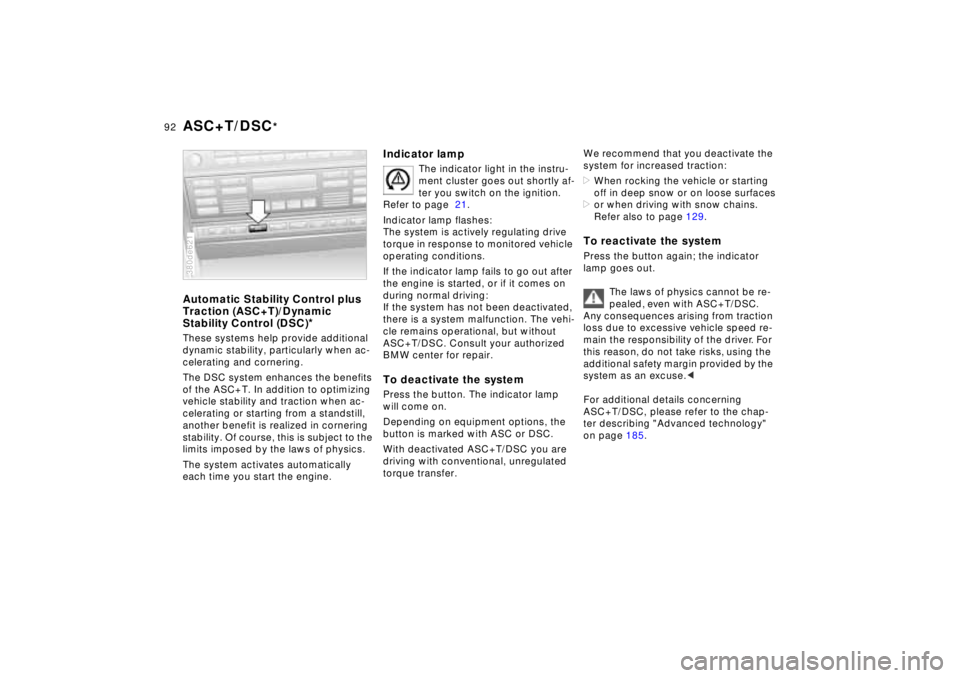
These systems help provide additional
dynamic stability, particularly when ac-
celerating and cornering.
The DSC system enhances the benefits
of the ASC+T. In addition to optimizing
vehicle stability and traction when ac-
celerating or starting from a standstill,
another benefit is realized in cornering
stability. Of course, this is subject to the
limits imposed by the laws of physics.
The system activates automatically
each time you start the engine.380de621
Indicator lamp
The indicator light in the instru-
ment cluster goes out shortly af-
ter you switch on the ignition.
Refer to page 21.
Indicator lamp flashes:
The system is actively regulating drive
torque in response to monitored vehicle
operating conditions.
If the indicator lamp fails to go out after
the engine is started, or if it comes on
during normal driving:
If the system has not been deactivated,
there is a system malfunction. The vehi-
cle remains operational, but without
ASC+T/DSC. Consult your authorized
BMW center for repair.
To deactivate the systemPress the button. The indicator lamp
will come on.
Depending on equipment options, the
button is marked with ASC or DSC.
With deactivated ASC+T/DSC you are
driving with conventional, unregulated
torque transfer.
We recommend that you deactivate the
system for increased traction:
>When rocking the vehicle or starting
off in deep snow or on loose surfaces
>or when driving with snow chains.
Refer also to page 129.To reactivate the systemPress the button again; the indicator
lamp goes out.
The laws of physics cannot be re-
pealed, even with ASC+T/DSC.
Any consequences arising from traction
loss due to excessive vehicle speed re-
main the responsibility of the driver. For
this reason, do not take risks, using the
additional safety margin provided by the
system as an excuse.<
For additional details concerning
ASC+T/DSC, please refer to the chap-
ter describing "Advanced technology"
on page 185.
Page 97 of 211
96n
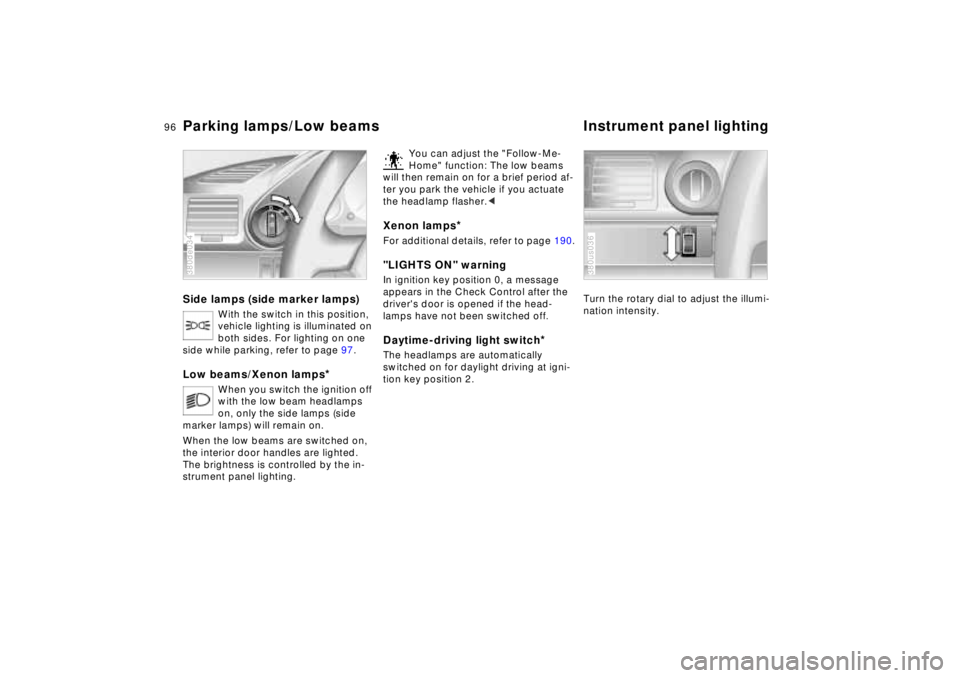
Parking lamps/Low beams Instrument panel lightingSide lamps (side marker lamps)
With the switch in this position,
vehicle lighting is illuminated on
both sides. For lighting on one
side while parking, refer to page 97.
Low beams/Xenon lamps
*
When you switch the ignition off
with the low beam headlamps
on, only the side lamps (side
marker lamps) will remain on.
When the low beams are switched on,
the interior door handles are lighted.
The brightness is controlled by the in-
strument panel lighting.
380de034
You can adjust the "Follow-Me-
Home" function: The low beams
will then remain on for a brief period af-
ter you park the vehicle if you actuate
the headlamp flasher.<
Xenon lamps
*
For additional details, refer to page 190."LIGHTS ON" warningIn ignition key position 0, a message
appears in the Check Control after the
driver's door is opened if the head-
lamps have not been switched off
.
Daytime-driving light switch
*
The headlamps are automatically
switched on for daylight driving at igni-
tion key position 2.
Turn the rotary dial to adjust the illumi-
nation intensity.380us036
Page 98 of 211
97n
RepairsIndexOverview Controls Car care Technology Data
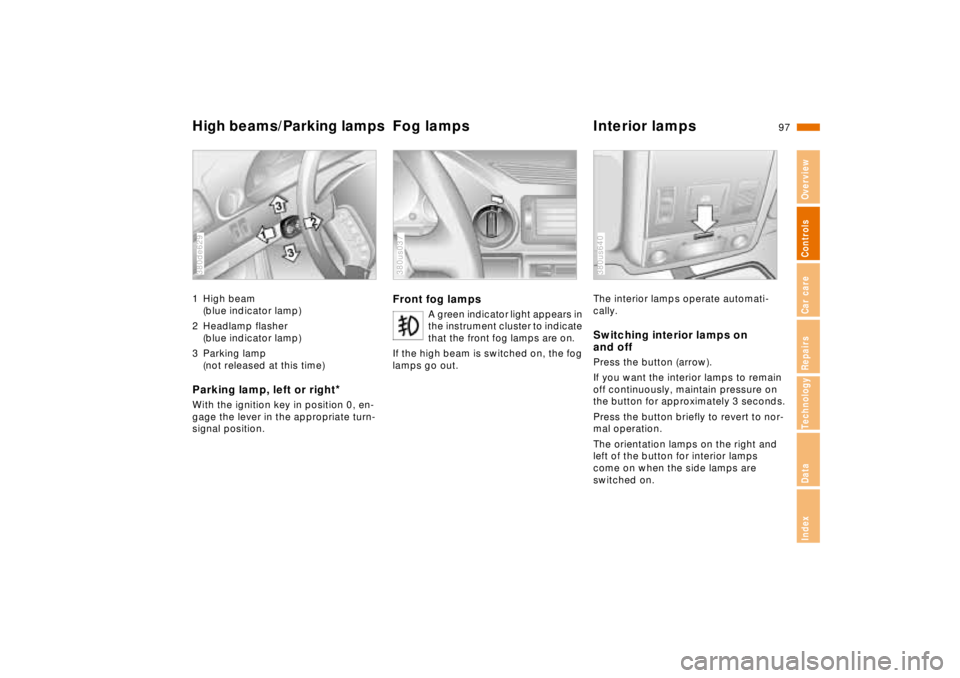
High beams/Parking lampsFog lamps Interior lamps1 High beam
(blue indicator lamp)
2 Headlamp flasher
(blue indicator lamp)
3 Parking lamp
(not released at this time)Parking lamp, left or right
*
With the ignition key in position 0, en-
gage the lever in the appropriate turn-
signal position.380de629
Front fog lamps
A green indicator light appears in
the instrument cluster to indicate
that the front fog lamps are on.
If the high beam is switched on, the fog
lamps go out.
380us037
The interior lamps operate automati-
cally.Switching interior lamps on
and offPress the button (arrow).
If you want the interior lamps to remain
off continuously, maintain pressure on
the button for approximately 3 seconds.
Press the button briefly to revert to nor-
mal operation.
The orientation lamps on the right and
left of the button for interior lamps
come on when the side lamps are
switched on.380us640
Page 107 of 211
106n
Seat heating
*
Steering wheel heating
*
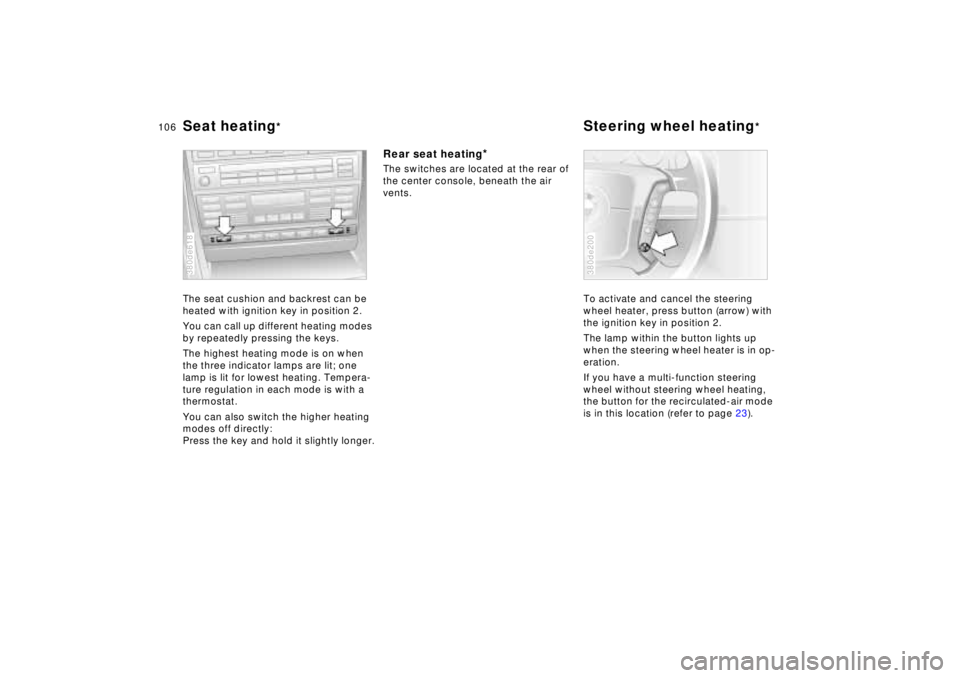
The seat cushion and backrest can be
heated with ignition key in position 2.
You can call up different heating modes
by repeatedly pressing the keys.
The highest heating mode is on when
the three indicator lamps are lit; one
lamp is lit for lowest heating. Tempera-
ture regulation in each mode is with a
thermostat.
You can also switch the higher heating
modes off directly:
Press the key and hold it slightly longer.380de618
Rear seat heating
*
The switches are located at the rear of
the center console, beneath the air
vents.
To activate and cancel the steering
wheel heater, press button (arrow) with
the ignition key in position 2.
The lamp within the button lights up
when the steering wheel heater is in op-
eration.
If you have a multi-function steering
wheel without steering wheel heating,
the button for the recirculated-air mode
is in this location (refer to page 23).
380de200
Page 109 of 211
108n
Integrated Universal Remote Control
*
The conceptThe Integrated Universal Remote Con-
trol replaces up to three hand-held
transmitters of different devices such as
garage-door openers, alarm systems,
or door locking systems. The Integrated
Universal Remote Control recognizes
and "learns" the transmitted signal of
each of the original hand-held transmit-
ters.
The signal of an original hand-held
transmitter can be programmed on one
of the three channel keys. Following
that, each of the devices can be actu-
ated with the appropriately-program-
med channel key. Transmission of the
signal is signaled by the indicator lamp.
If the vehicle is sold, the memory of the
channel keys should be cleared as de-
scribed on page 110.
During programming and before
every remote actuation of a pro-
grammed device by the Integrated Uni-
versal Remote Control, check to be
sure that there are no persons, animals
or objects within the actuation range of
the device in order to prevent possible
injuries or damage. Also, comply with
the safety precautions of the original
hand-held transmitter.<
To Canadian residents:
During programming, your hand-
held transmitter may automatically stop
transmitting after two seconds, which
may not be long enough to program the
BMW Universal Transmitter. If you are
programming from one of these hand-
held transmitters, the Universal Trans-
mitter's light may begin to flash in a se-
ries of double-blinks. If this occurs,
continue to hold the button on the Uni-
versal Transmitter while you reactivate
your hand-held transmitter. You may
have to repeat this function several
times while programming.<
Before programming, read the
"User information" section on
page 110.<
Original hand-held transmitter
If this symbol is present on the
packaging or in the instructions
of the original hand-held trans-
mitter, it may be assumed that this
hand-held transmitter is compatible
with the Integrated Universal Remote
Control.
Checking for the conversion codeTo determine whether the original
hand-held transmitter is provided with a
conversion-code system, you may ei-
ther read the instructions for the original
hand-held transmitter or program a
channel key as described on page 109
(left-hand column under "Program-
ming").
Then press and hold the programmed
channel key of the Integrated Universal
Remote Control. If the indicator lamp of
the Integrated Universal Remote Con-
trol flashes for two seconds and then
comes on steadily, the original hand-
held transmitter is provided with a con-
version-code system. With a conver-
sion-code system, program the channel
keys as described on page 109 (right-
hand column under "Programming a
hand-held transmitter with conversion
code").
If you have additional questions,
please consult your BMW center
or call 1-800-355-3515.<