Page 1035 of 3342
G3M0704
B: DISASSEMBLY
1) Remove grip from selector lever.
2) Remove indicator from plate.
B3M0346A
3) Remove the following parts from the grip.
�
1Button
�
2Spring
G3M0706
4) Remove shift-lock solenoid and“P”position switch.
G3M0707
5) Remove the bolt to take off the selector lever from the
plate and remove selector lever from the plate.
G3M0708
6) Remove lock plate.
7) Remove selector lever from the plate.
12
3-3SERVICE PROCEDURE
2. Automatic Transmission
Page 1037 of 3342
G3M0711
5) Adjust the position of shift-lock plate and solenoid.
Then, tighten bolts.
G3M0712
6) Assemble indicator to the plate
Tightening torque:
4.4±1.5 N⋅m (0.45±0.15 kg-m, 3.3±1.1 ft-lb)
B3M0347A
7) Assemble the following parts to the grip.
CAUTION:
Apply grease on sliding surfaces of the following
parts.
�
1Button
�
2Spring
G3M0714
8) Assemble the grip to the selector lever.
9) After completion of fitting, transfer selector lever to
range“P”∼“1”, pressing the button of the grip; then check
whether the indicator and select lever agree, whether the
pointer and position mark agree and what the operating
force is.
14
3-3SERVICE PROCEDURE
2. Automatic Transmission
Page 1176 of 3342
B4M0051
7. Full Wheel Cap
A: REMOVAL
Pry off the full wheel cap with a wheel cap remover inserted
between openings in the cap.
B: INSTALLATION
Align the valve hole in the wheel cap with the valve on the
wheel and secure the wheel cap by tapping four points by
hand.
8. Steel Wheel and Tire
1) Deformation or damage on the rim can cause air leak-
age. Check the rim flange for deformation, crack, or
damage, and repair or replace as necessary.
2) Take stone, glass, nail etc. off the tread groove.
G4M0297
3) Replace tire:
�when large crack on side wall, damage or crack on
tread is found.
�when the“tread wear indicator”appears as a solid
band across the tread.
CAUTION:
�When replacing a tire, make sure to use only the
same size, construction and load range as originally
installed.
�Avoid mixing radial, belted bias or bias tires on the
vehicle.
49
4-2SERVICE PROCEDURE
7. Full Wheel Cap - 8. Steel Wheel and Tire
Page 1177 of 3342
B4M0051
7. Full Wheel Cap
A: REMOVAL
Pry off the full wheel cap with a wheel cap remover inserted
between openings in the cap.
B: INSTALLATION
Align the valve hole in the wheel cap with the valve on the
wheel and secure the wheel cap by tapping four points by
hand.
8. Steel Wheel and Tire
1) Deformation or damage on the rim can cause air leak-
age. Check the rim flange for deformation, crack, or
damage, and repair or replace as necessary.
2) Take stone, glass, nail etc. off the tread groove.
G4M0297
3) Replace tire:
�when large crack on side wall, damage or crack on
tread is found.
�when the“tread wear indicator”appears as a solid
band across the tread.
CAUTION:
�When replacing a tire, make sure to use only the
same size, construction and load range as originally
installed.
�Avoid mixing radial, belted bias or bias tires on the
vehicle.
49
4-2SERVICE PROCEDURE
7. Full Wheel Cap - 8. Steel Wheel and Tire
Page 1182 of 3342

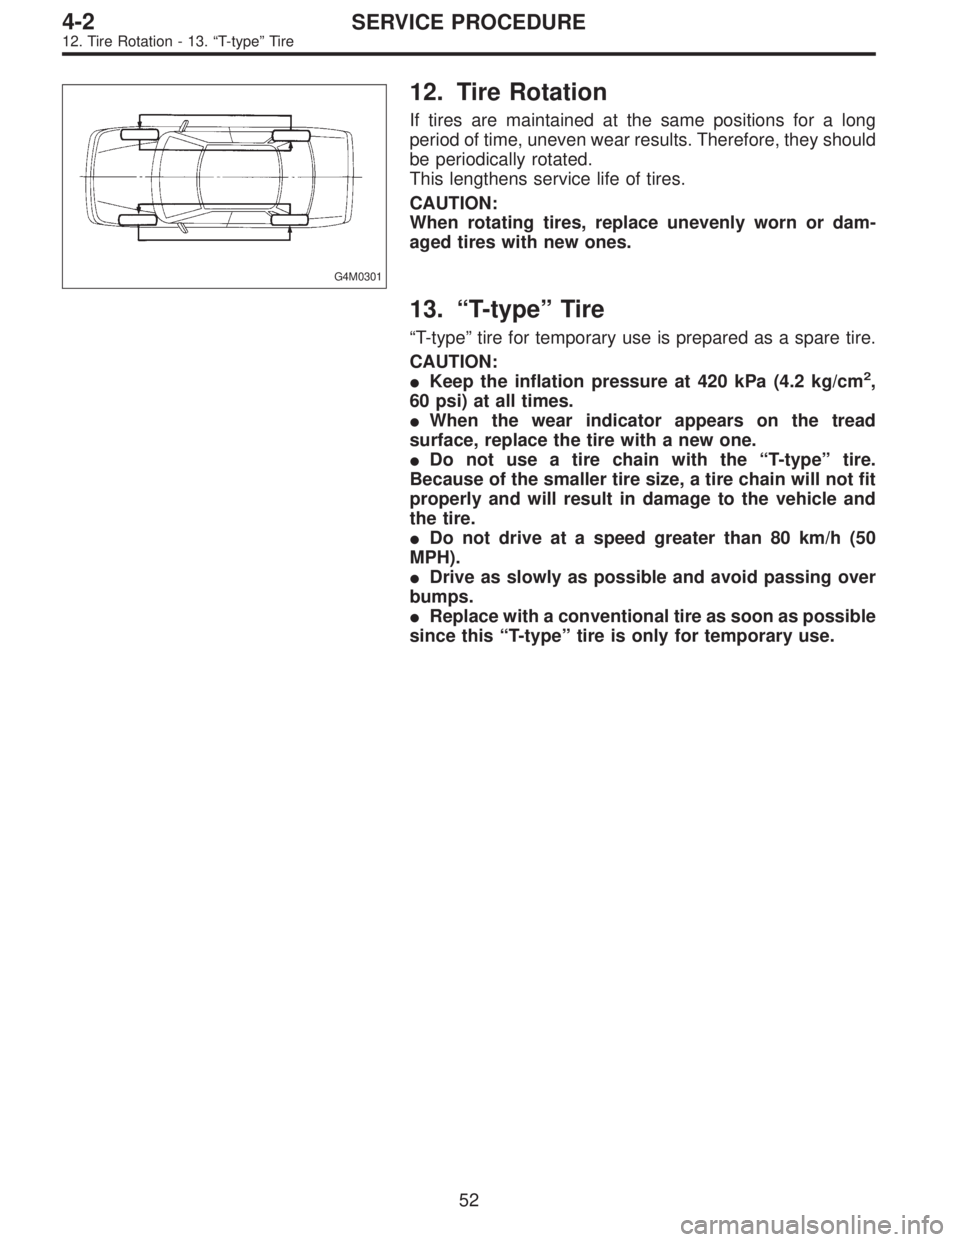
G4M0301
12. Tire Rotation
If tires are maintained at the same positions for a long
period of time, uneven wear results. Therefore, they should
be periodically rotated.
This lengthens service life of tires.
CAUTION:
When rotating tires, replace unevenly worn or dam-
aged tires with new ones.
13.“T-type”Tire
“T-type”tire for temporary use is prepared as a spare tire.
CAUTION:
�Keep the inflation pressure at 420 kPa (4.2 kg/cm
2,
60 psi) at all times.
�When the wear indicator appears on the tread
surface, replace the tire with a new one.
�Do not use a tire chain with the“T-type”tire.
Because of the smaller tire size, a tire chain will not fit
properly and will result in damage to the vehicle and
the tire.
�Do not drive at a speed greater than 80 km/h (50
MPH).
�Drive as slowly as possible and avoid passing over
bumps.
�Replace with a conventional tire as soon as possible
since this“T-type”tire is only for temporary use.
52
4-2SERVICE PROCEDURE
12. Tire Rotation - 13.“T-type”Tire
Page 1183 of 3342

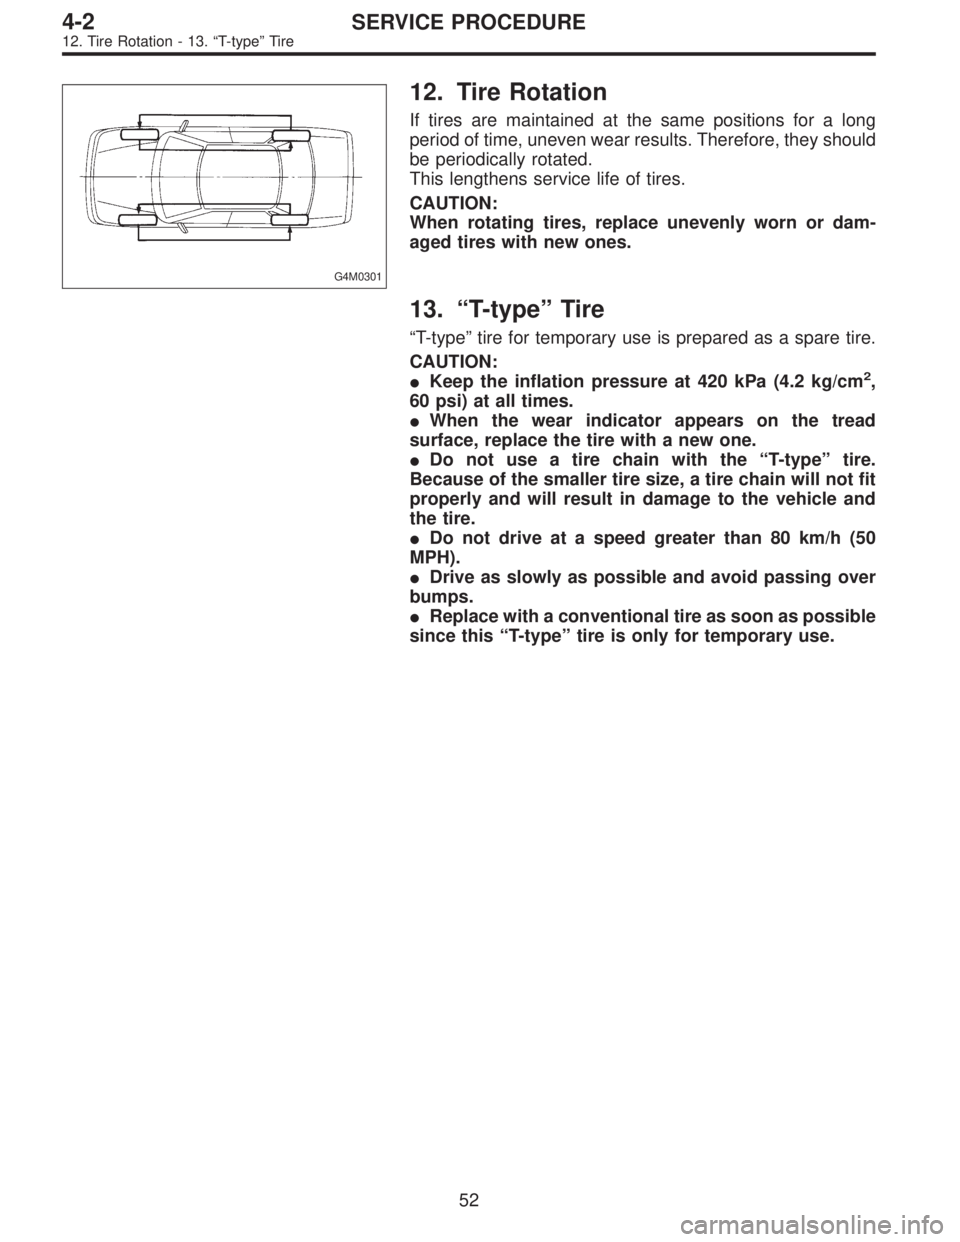
G4M0301
12. Tire Rotation
If tires are maintained at the same positions for a long
period of time, uneven wear results. Therefore, they should
be periodically rotated.
This lengthens service life of tires.
CAUTION:
When rotating tires, replace unevenly worn or dam-
aged tires with new ones.
13.“T-type”Tire
“T-type”tire for temporary use is prepared as a spare tire.
CAUTION:
�Keep the inflation pressure at 420 kPa (4.2 kg/cm
2,
60 psi) at all times.
�When the wear indicator appears on the tread
surface, replace the tire with a new one.
�Do not use a tire chain with the“T-type”tire.
Because of the smaller tire size, a tire chain will not fit
properly and will result in damage to the vehicle and
the tire.
�Do not drive at a speed greater than 80 km/h (50
MPH).
�Drive as slowly as possible and avoid passing over
bumps.
�Replace with a conventional tire as soon as possible
since this“T-type”tire is only for temporary use.
52
4-2SERVICE PROCEDURE
12. Tire Rotation - 13.“T-type”Tire
Page 1264 of 3342

9. Power Steering Fluid
A: RECOMMENDED AIR BLEEDING AND
POWER STEERING FLUID
Recommended power steering fluid Manufacturer
ATF DEXRON II or ATF DEXRON IIEB.P.
CALTEX
CASTROL
MOBIL
SHELL
TEXACO
1) Feed the specified fluid with its level being about 5 cm
(2.0 in) lower than the mouth of tank.
2) Continue to turn steering wheel slowly from lock to lock
until bubbles stop appearing in the tank while keeping the
fluid at that level.
3) In case air is absorbed to deliver bubbles into piping
because the fluid level is lower, leave it about half an hour
and then do the step 2) all over again.
4) Start, and idle the engine.
5) Continue to turn steering wheel slowly from lock to lock
again until bubbles stop appearing in the tank while keep-
ing the fluid at that level.
It is normal that bubbles stop appearing after three times
turning of steering wheel.
6) In case bubbles do not stop appearing in the tank, leave
it about half an hour and then do the step 5) all over again.
7) Stop the engine, and take out safety stands after jack-
ing up vehicle again.
Then lower the vehicle, and idle the engine.
8) Continue to turn steering wheel from lock to lock until
bubbles stop appearing and change of the fluid level is
within 3 mm (0.12 in).
9) In case the following happens, leave it about half an
hour and then do step 8) again.
(1) The fluid level changes over 3 mm (0.12 in).
(2) Bubbles remain on the upper surface of the fluid.
(3) Grinding noise is generated from oil pump.
10) Check the fluid leakage at flare nuts after turning
steering wheel from lock to lock with engine running.
CAUTION:
�Before checking, wipe off any fluid on flare nuts and
piping.
�In case the fluid leaks from flare nut, it is caused by
dust (or the like) and/or damage between flare and
tapered seat in piping.
�So remove the flare nut, tighten again it to the speci-
fied torque after cleaning flare and tapered seat. If flare
or tapered seat is damaged, replace it with a new one.
11) Inspect fluid level on flat and level surface with engine
“OFF”by indicator of filler cap.
80
4-3SERVICE PROCEDURE
9. Power Steering Fluid
Page 1265 of 3342
If the level is at lower point or below, add fluid to keep the
level in the specified range of the indicator. If at upper point
or above, drain fluid by using a syringe or the like.
Fluid capacity:
0.7�(0.7 US qt, 0.6 Imp qt)
B4M0563
(1) Check at temperature 21°C (70°F) on reservoir sur-
face of oil pump.
(2) Check at temperature 60°C (140°F) on reservoir
surface of oil pump.
81
4-3SERVICE PROCEDURE
9. Power Steering Fluid