Page 43 of 315

38OIL CHANGE RESET PROCEDURE Ð This
procedure allows you to reset the oil monitoring
system to 100% (or your Personalized Oil Reset
Percentage) after each oil change.
1. Press the VEHICLE SETTINGS control until the
ªOIL CHANGE RESETº display appears.
2. Then press the RESET switch and hold it for 5
seconds while the display counts down to
trigger an oil change reset.
3. After a successful reset the Message Center will
display ªOIL LIFE RESET TO 100%º. If you
have established a Personalized Oil Reset
Percentage, the display will show that
percentage instead of 100%. To ensure accurate
oil life indicators, perform this reset procedure
only after an oil change. For more information
on Personalized Oil Reset Percentage see the
section onPersonalized Oil Reset Percentage.GEAR DISPLAY DATA ERRÐ This warning
message is displayed when the data used to provide
the redundant gear selection display on the
Instrument Cluster is missing or invalid. In this
case, the Instrument cluster redundant gear
selection display is turned off. The driver should use
the mechanical position indication on the center
console gear selector as temporary indication. If this
warning stays on, contact your dealer for service as
soon as safely possible.
File:03fnis8.ex
Update:Thu Jun 27 10:00:37 1996
Page 49 of 315

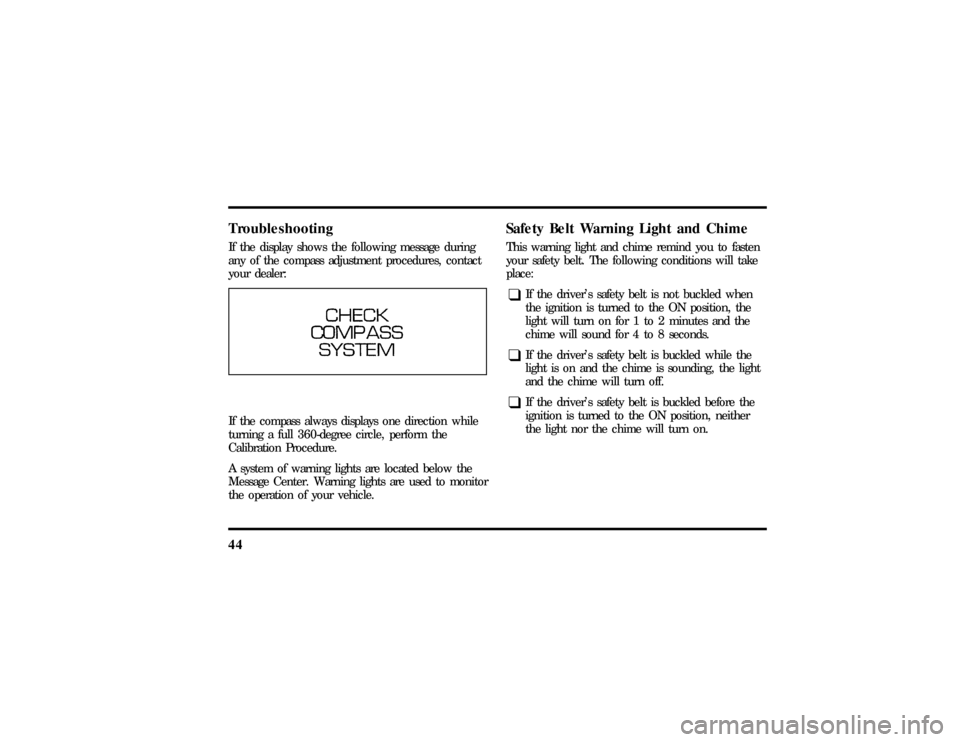
44TroubleshootingIf the display shows the following message during
any of the compass adjustment procedures, contact
your dealer:If the compass always displays one direction while
turning a full 360-degree circle, perform the
Calibration Procedure.
A system of warning lights are located below the
Message Center. Warning lights are used to monitor
the operation of your vehicle.
Safety Belt Warning Light and ChimeThis warning light and chime remind you to fasten
your safety belt. The following conditions will take
place:q
If the driver's safety belt is not buckled when
the ignition is turned to the ON position, the
light will turn on for 1 to 2 minutes and the
chime will sound for 4 to 8 seconds.
q
If the driver's safety belt is buckled while the
light is on and the chime is sounding, the light
and the chime will turn off.
q
If the driver's safety belt is buckled before the
ignition is turned to the ON position, neither
the light nor the chime will turn on.
File:03fnis8.ex
Update:Thu Jun 27 10:00:37 1996
Page 50 of 315
45
Check Engine Warning LightThis light illuminates when the engine's Emission
Control System requires service. It will also
illuminate when the ignition key is in the ON
position and the engine is off.
Air Bag Readiness LightThe air bag system uses a readiness light and a tone
to indicate the condition of the system. The
readiness light is in the instrument cluster. When
you turn the ignition key to the ON position, this
light will light up for six (6) seconds and then turn
off. This indicates that the system is operating
normally. NOTE: Regularly scheduled maintenance
of the air bag system is not required.
File:03fnis8.ex
Update:Thu Jun 27 10:00:37 1996
Page 56 of 315

51
Premium Stereo Cassette, Stereo
Cassette with CD DJ and
Premium Compact Disc RadioYour vehicle is equipped with either a premium
stereo cassette radio or a premium compact disc
radio. Both systems are available with a JBLH
upgrade system, which includes a Ford 10-CD
changer.
Individual functions of these systems follow:Using the Controls on Your New RadioHow to turn the radio on and offPress the ªVOL/PUSHº knob to turn the radio on.
Press again to turn it off.How to adjust the volumeTurn the ªVOL/PUSHº knob to the right to
increase the volume and to the left to decrease the
volume. Bars illuminate in the display to show
relative volume level.NOTE:If the volume level is set above a certain
listening level when the ignition switch is turned
off, when the ignition switch is turned back on, the
volume will come back to a ªnominalº listening
level. However, if the radio power is turned off, the
volume will remain in the position it was set at
when radio power was switched off.
Selecting the AM or FM frequency bandPush the ªAM/FMº button to select the desired
frequency band or to stop/store cassette tape (when
in cassette mode) or compact disc (when in CD
mode). Pushing the button more than once will
alternate between AM, FM1 and FM2. These
functions are used with the station memory buttons
described underHow to tune radio stations.How to tune radio stationsThere are four ways for you to tune in a particular
station. You can manually locate the station using
the ªTUNEº, ªSEEKº, ªSCANº or selecting the
station by using the memory buttons, which you
File:04fnas8.ex
Update:Wed Jun 19 10:43:44 1996
Page 59 of 315

54q
Increasing or decreasing treble response
Press the top
cof the ªTREBLEº button to
increase treble; press the bottom
dof the treble
button to decrease treble.
q
Adjusting speaker balance
Balance control allows you to adjust the sound
distribution between the right and left speakers.
Press the top
cof the ªBALº button to shift the
sound to the right speakers, and press the bottom
dof the ªBALº button to shift the sound to the
left speakers.
q
Adjusting speaker fader
Fade control allows you to adjust the sound
distribution between the front and rear speakers.
Press the top
cof the ªFADEº button to shift the
sound to the front speakers, and press the bottom
dof the ªFADEº button to shift the sound to the
back speakers.NOTE:Illuminated bars in the display show relative
levels of bass and treble, and positions of speaker
balance and fader functions (left to right, front to
rear).
Using the Controls of Your
Cassette Tape Player
(If Equipped)NOTE:Radio power must be on to use the cassette
tape player.How to insert a tapeYour cassette tape player is equipped with power
loading. Once you insert a tape and push slightly
(with theopen edge to the right), the loading
mechanism draws the tape the rest of the way in
and play will begin after a momentary tape
tightening process. Display indicates ªTAPEº while
tape is playing.
File:04fnas8.ex
Update:Wed Jun 19 10:43:44 1996
Page 74 of 315
69
Controls and FeaturesThe Climate Control SystemElectronic Automatic Temperature
Control SystemThe Electronic Automatic Temperature Control
(EATC) module is located at the center of the
instrument panel and operates only when the key is
in the ON position.The EATC feature maintains the temperature you
select and automatically controls the airflow for
your comfort. It also allows you to override the
automatic operation with manual override buttons.
File:05fncf8.ex
Update:Thu Jun 27 10:02:20 1996
Page 76 of 315

71
If you want continuous maximum cooling, push the
BLUE button until60ÊF(16ÊC) isshown in the
display window. Your EATC will cool at maximum
and disregard the60ÊF(16ÊC)setting until you
select a warmer temperature with the RED button.
If you want continuous maximum heating, push the
RED button until90ÊF(32ÊC) isshown in the
display window. Your EATC will provide maximum
heat regardless of the90ÊF(32ÊC)setting until you
select a cooler temperature with the BLUE button.
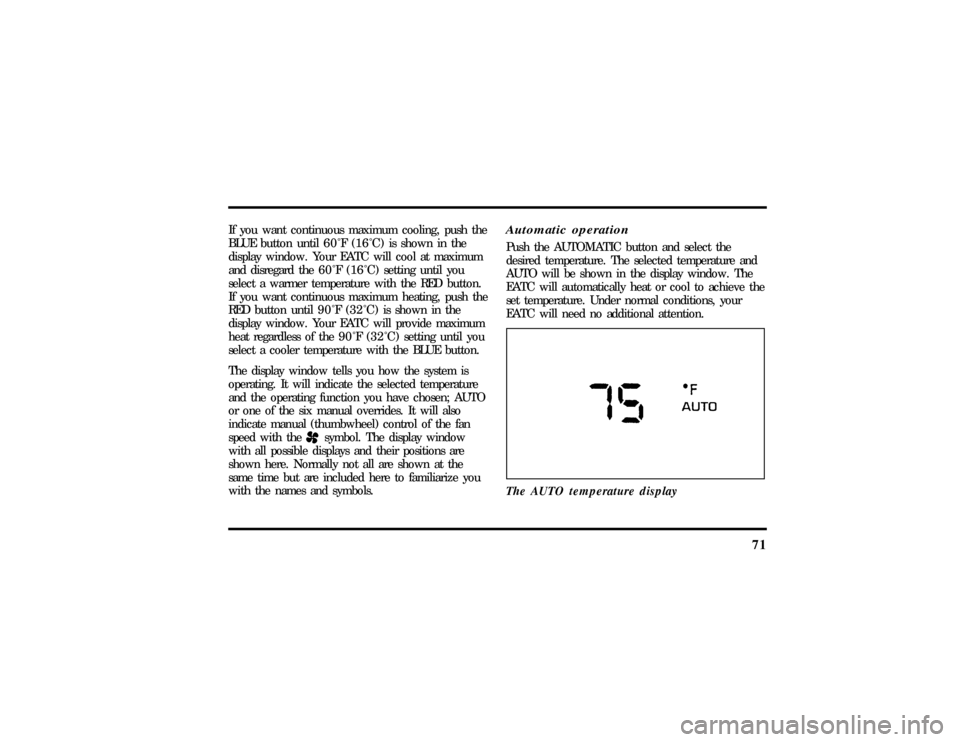
The display window tells you how the system is
operating. It will indicate the selected temperature
and the operating function you have chosen; AUTO
or one of the six manual overrides. It will also
indicate manual (thumbwheel) control of the fan
speed with the
Hsymbol. The display window
with all possible displays and their positions are
shown here. Normally not all are shown at the
same time but are included here to familiarize you
with the names and symbols.
Automatic operationPush the AUTOMATIC button and select the
desired temperature. The selected temperature and
AUTO will be shown in the display window. The
EATC will automatically heat or cool to achieve the
set temperature. Under normal conditions, your
EATC will need no additional attention.
The AUTO temperature display
File:05fncf8.ex
Update:Thu Jun 27 10:02:20 1996
Page 80 of 315

75
MAX A/C button
The MAX A/C feature allows for faster cooling
because air is drawn from inside the vehicle. Using
inside air causes the fan to sound louder which is
normal for this selection. The Display window will
change to indicate60ÊF(16ÊC) and MAXA/C. The
fan will run and the airflow will be from the
instrument panel registers. To exit and return to the
previous temperature, push AUTOMATIC or any of
the other five override buttons.
VENT button
Push this button to select outside air through the
instrument panel registers. The display window will
show the set temperature and VENT to the lower
right of the temperature. Your EATC will heat the
air if the temperature you have selected is warmer
than the outside air coming into the vehicle.
However, the air will NOT be cooled regardless of
the temperature setting.PNLOFLR button
Push this button to get air from the floor and
instrument panel registers at the same time. The
display will show the set temperature and the
words PNL and FLR. Depending on the selected
temperature, the air will be automatically heated or
cooled.
FLOOR button
Airflow will be to the floor when the FLOOR
button is pressed. The display window will show
the set temperature and FLR to the left of the
temperature. The air cannot be cooled in the FLR
position, only heated. Fan speed will be automatic
unless manually controlled. If you override the fan
speed and wish to return to automatic fan control,
push AUTOMATIC. Then, again select FLOOR for
airflow to the floor.
File:05fncf8.ex
Update:Thu Jun 27 10:02:20 1996