Page 10 of 321

5
When you buy Ford ESP, you receive peace-of-mind
protection throughout the United States and
Canada, provided by a network of more than 5,100
participating Ford Motor Company dealers.
NOTE:Repairs performed outside the United States
and Canada are not eligible for ESP coverage.
This information is subject to change. Ask your
dealer for complete details about Ford ESP coverage.Breaking Your Vehicle InYour new vehicle goes through an adjustment or
break-in period during the first 1,000 miles
(1,600 km) that you drive it. During the break-in
period, you need to pay careful attention to how
you drive your vehicle.q
Avoid sudden stops.Because your vehicle has
new brake linings, you should take these steps:
Ð Watch traffic carefully so that you can
anticipate when to stop.Ð Begin braking well in advance.
Ð Apply the brakes gradually.
The break-in period for new brake linings
lasts for 100 miles (160 km) of city driving
or 1,000 miles (1,600 km) of highway
driving.
q
Use only the type of engine oil that Ford
recommends.SeeEngine oil recommendations
in the Index. Do not use special ªbreak-inº oils.
File:02fniic.ex
Update:Mon Jun 17 14:13:47 1996
Page 16 of 321

12Engine Oil Pressure Warning LightThis light indicates the engine's oil pressure, not the
oil level. However, if your engine's oil level is low,
it could affect the oil pressure. The light will come
on briefly when you turn your key to the START
and ON position. The light should stay off when
the engine is running with normal oil pressure. If
the light comes on while the engine is running, you
have lost oil pressure and continued operation will
cause severe engine damage.If you lose engine oil pressure:
1. Pull off the road as soon as safely possible.
2. Shut off the engine immediately or severe
engine damage could result.
3. Check the engine's oil level, following the
instructions on checking and adding engine oil,
seeEngine Oilin the Index. If you do not
follow these instructions, you or others could
be injured. To assure an accurate reading, your
car should be on level ground.
4. If the level is low, add only as much oil as
necessary before you start the engine again. Do
not overfill. Do not operate the engine if the
light is on, regardless of the oil level. Contact
your nearest dealer for further service actions.
For more information about adding oil, seeAdding
engine oilin theMaintenance and Carechapter.
File:03fnisc.ex
Update:Mon Jun 17 14:14:40 1996
Page 17 of 321
13
Traction ControlHActive Light
(If equipped)This light comes on when the Traction ControlH
system begins applying and releasing the brakes and
adjusting the engine characteristics to limit a
wheelspin condition.
It will be lit for a minimum of six seconds or for
the duration of the Traction ControlHevent.
Charging System LightThis light indicates that your battery is not being
charged and that you need to have the electrical
system checked.
File:03fnisc.ex
Update:Mon Jun 17 14:14:40 1996
Page 18 of 321

14This light illuminates every time you turn the
ignition to the ON or START position (engine off).
The light should go off when the engine starts and
the alternator begins to charge.
If the light stays on or illuminates when the engine
is running, have the electrical system checked as
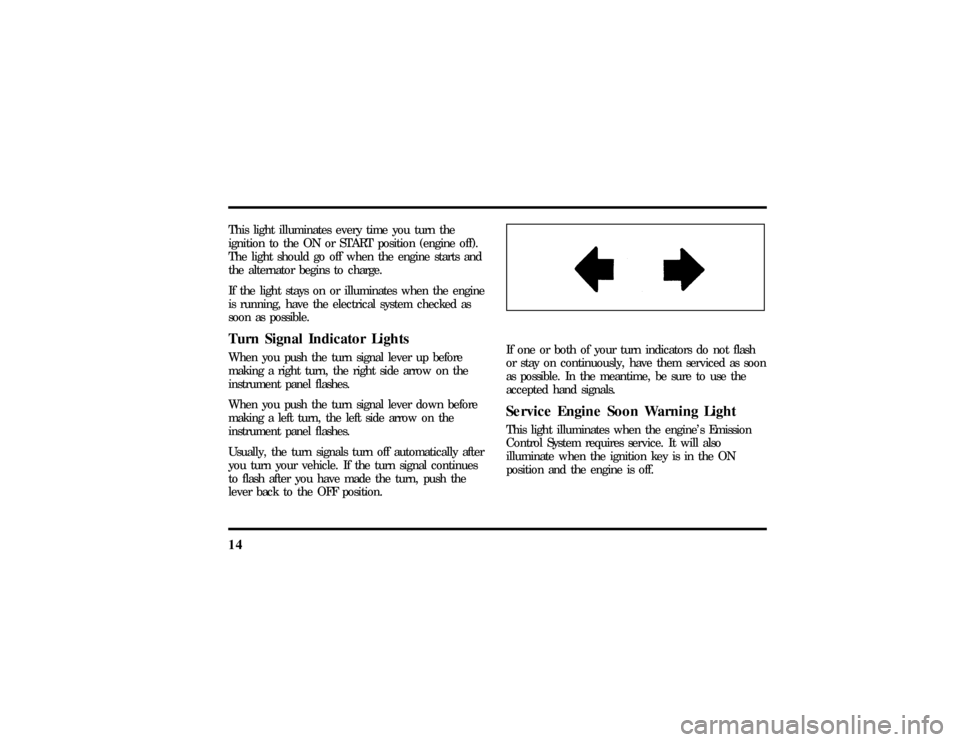
soon as possible.Turn Signal Indicator LightsWhen you push the turn signal lever up before
making a right turn, the right side arrow on the
instrument panel flashes.
When you push the turn signal lever down before
making a left turn, the left side arrow on the
instrument panel flashes.
Usually, the turn signals turn off automatically after
you turn your vehicle. If the turn signal continues
to flash after you have made the turn, push the
lever back to the OFF position.
If one or both of your turn indicators do not flash
or stay on continuously, have them serviced as soon
as possible. In the meantime, be sure to use the
accepted hand signals.Service Engine Soon Warning LightThis light illuminates when the engine's Emission
Control System requires service. It will also
illuminate when the ignition key is in the ON
position and the engine is off.
File:03fnisc.ex
Update:Mon Jun 17 14:14:40 1996
Page 21 of 321

17
OdometerThe odometer tells you the total number of miles
(kilometers) your vehicle has been driven.
If the odometer displays the word Error, please
contact your dealer for service.SpeedometerThe speedometer tells you how many miles
(kilometers) per hour your vehicle is moving.TachometerThe tachometer displays the approximate engine
revolutions per minute (rpm), or how fast the
engine is running.
You can drive your vehicle at most rpm points on
the tachometer but you must stay out of the red
zone.
If you drive with the tachometer in the red zone,
you may damage the engine.
Engine Coolant Temperature GaugeThis gauge indicates the temperature of the engine
coolant, not the coolant level. If the coolant is not
at its proper level or mixture, the gauge indication
will not be accurate.
The pointer moves from the C (cold) mark into the
NORMAL band as the engine coolant warms up. It
is acceptable for the pointer to fluctuate within the
NORMAL band under normal driving conditions.
Under certain driving conditions such as, heavy stop
and go traffic, or driving up hills in hot weather,
the pointer may indicate at the top of the NORMAL
band.
If, under any circumstances, the pointer moves
above the NORMAL band, the engine is overheating
and continued operation may cause engine damage.
If your engine overheats:
1. Pull off the road as soon as it is safely possible.
2. Turn off the engine.
File:03fnisc.ex
Update:Mon Jun 17 14:14:40 1996
Page 22 of 321

183. Let the engine cool.DO NOT REMOVE
COOLANT SYSTEM FILL CAP UNTIL THE
ENGINE IS COOL.
4. Check the coolant level following the
instructions on checking and adding coolant to
your engine, seeEngine Coolantin the Index.
If you do not follow these instructions, you or
others could be injured.
If the coolant continues to overheat, have the
coolant system serviced as soon as possible.Fuel GaugeThe fuel gauge displays approximately how much
fuel you have in the fuel tank. The ignition switch
must be in the OFF position while filling the tank
with at least three gallons (11 liters) for the fuel
gauge to indicate the new level. If the ignition is
left ON or less than 3 gallons (11 liters) of fuel are
added the fuel gauge will not immediately indicate
the new fuel level. The gauge will gradually correct
itself to indicate the true fuel level.
The Electronic Message Center
(M/C)The Electronic Message Center only works when
the ignition is in the ON position.
Each time the M/C is powered the display goes
through a self test by displaying the PLEASE
FASTEN SEATBELT message. This self test is used
to stabilize the systems before reporting the status
to you.
The message center tells you about the condition of
your vehicle by two methods:q
operator selectable features
q
continuous warning reporting of monitored
systems
File:03fnisc.ex
Update:Mon Jun 17 14:14:40 1996
Page 24 of 321

20These features are controlled by the message center
(M/C) control buttons located to the right of the
instrument cluster.System CheckPressing the SYSTEM CHECK button causes the
M/C to cycle through a status of each of the
systems being monitored. For each of the monitored
systems, the M/C will indicate either an OK
message or a warning message for three seconds.
The sequence of the system check report is as
follows:q
Washer Fluid Level
q
Ride Control
q
Oil Level
q
Engine Coolant Level
q
Voltage Level
q
Engine Temperature
q
Doors Closed (Driver and Right Side)
q
Trunk Closed
q
Exterior Lamps (Head, Front Turn, Brake and
Tail)
q
Distance to Empty
q
Fuel Level
q
Traction Control (if equipped)
System WarningsSystem warnings alert you to possible problems or
malfunctions in your vehicle's operating systems.
There are up to 18 warning messages which can be
displayed by the M/C to show the status of the
monitored systems. The M/C will display the last
selected feature if there are no more warning
messages. This allows you to use the full
functionality of the M/C after you acknowledge the
warning by pressing the RESET button and clearing
the warning message.
File:03fnisc.ex
Update:Mon Jun 17 14:14:40 1996
Page 52 of 321

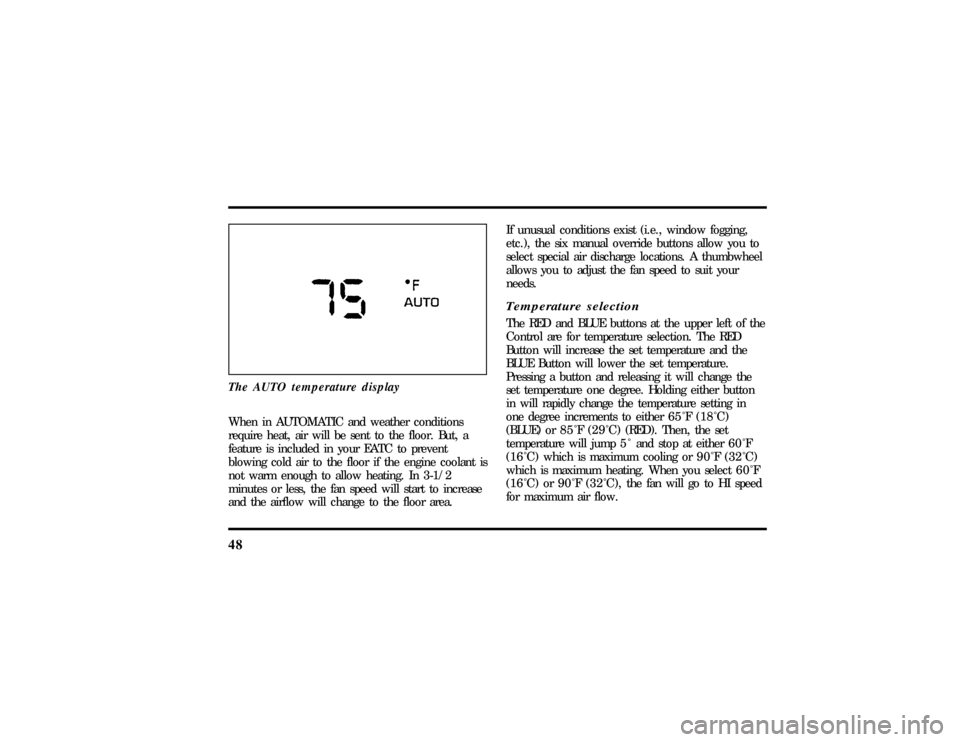
48The AUTO temperature displayWhen in AUTOMATIC and weather conditions
require heat, air will be sent to the floor. But, a
feature is included in your EATC to prevent
blowing cold air to the floor if the engine coolant is
not warm enough to allow heating. In 3-1/2
minutes or less, the fan speed will start to increase
and the airflow will change to the floor area.If unusual conditions exist (i.e., window fogging,
etc.), the six manual override buttons allow you to
select special air discharge locations. A thumbwheel
allows you to adjust the fan speed to suit your
needs.
Temperature selectionThe RED and BLUE buttons at the upper left of the
Control are for temperature selection. The RED
Button will increase the set temperature and the
BLUE Button will lower the set temperature.
Pressing a button and releasing it will change the
set temperature one degree. Holding either button
in will rapidly change the temperature setting in
one degree increments to either65ÊF(18ÊC)
(BLUE) or85ÊF(29ÊC)(RED). Then, the set
temperature will jump 5 Ê and stop at either60ÊF
(16ÊC)which is maximum cooling or90ÊF(32ÊC)
which is maximum heating. When you select60ÊF
(16ÊC) or90ÊF(32ÊC), the fanwill go to HI speed
for maximum air flow.
File:05fncfc.ex
Update:Fri Sep 6 14:53:57 1996