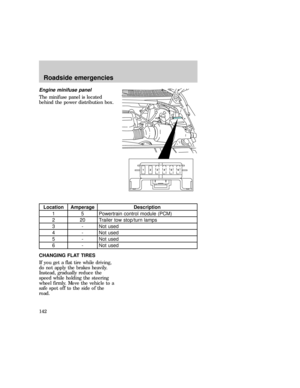
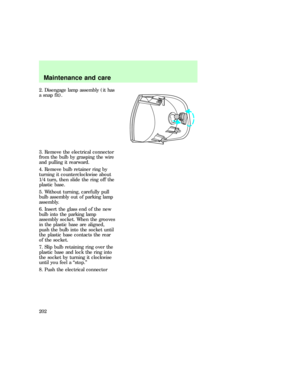
Page 49 of 219

The remote entry system may not
arm and disarm non-factory
installed anti-theft systems.
Replacing the batteries
The transmitter is powered by two
coin type three-volt lithium
batteries. A decrease in operating
range can be caused by:
²battery failure
²weather conditions
²structures around the vehicle.
Replacement batteries for the
remote entry transmitters may be
purchased at pharmacies, watch
stores or at authorized dealers.
To replace the batteries:
1. Twist a thin coin between the
two halves of the transmitter. DO
NOT TAKE THE FRONT PART OF
THE TRANSMITTER APART.
2. Place the positive (+) side of
the new batteries down.
3. Snap the two halves back
together.
Replacing lost transmitters
Take all your vehicle's transmitters
to your dealer for reprogramming
if:
²a transmitter is lost or
²you want to purchase additional
transmitters (up to four total)
Additional information about
remote entry
This device complies with Part 15
of the FCC rules. Operation is
f12_replacing_batteries
f12_fcc_rule
Controls and features
50
Page 50 of 219

subject to the following two
conditions: (1) This device may
not cause harmful interference,
and (2) This device must accept
any interference received,
including interference that may
cause undesired operation.
Anti-theft system (if equipped)
When armed, the anti-theft system
prevents unauthorized entry into
your vehicle.
Arming the anti-theft system
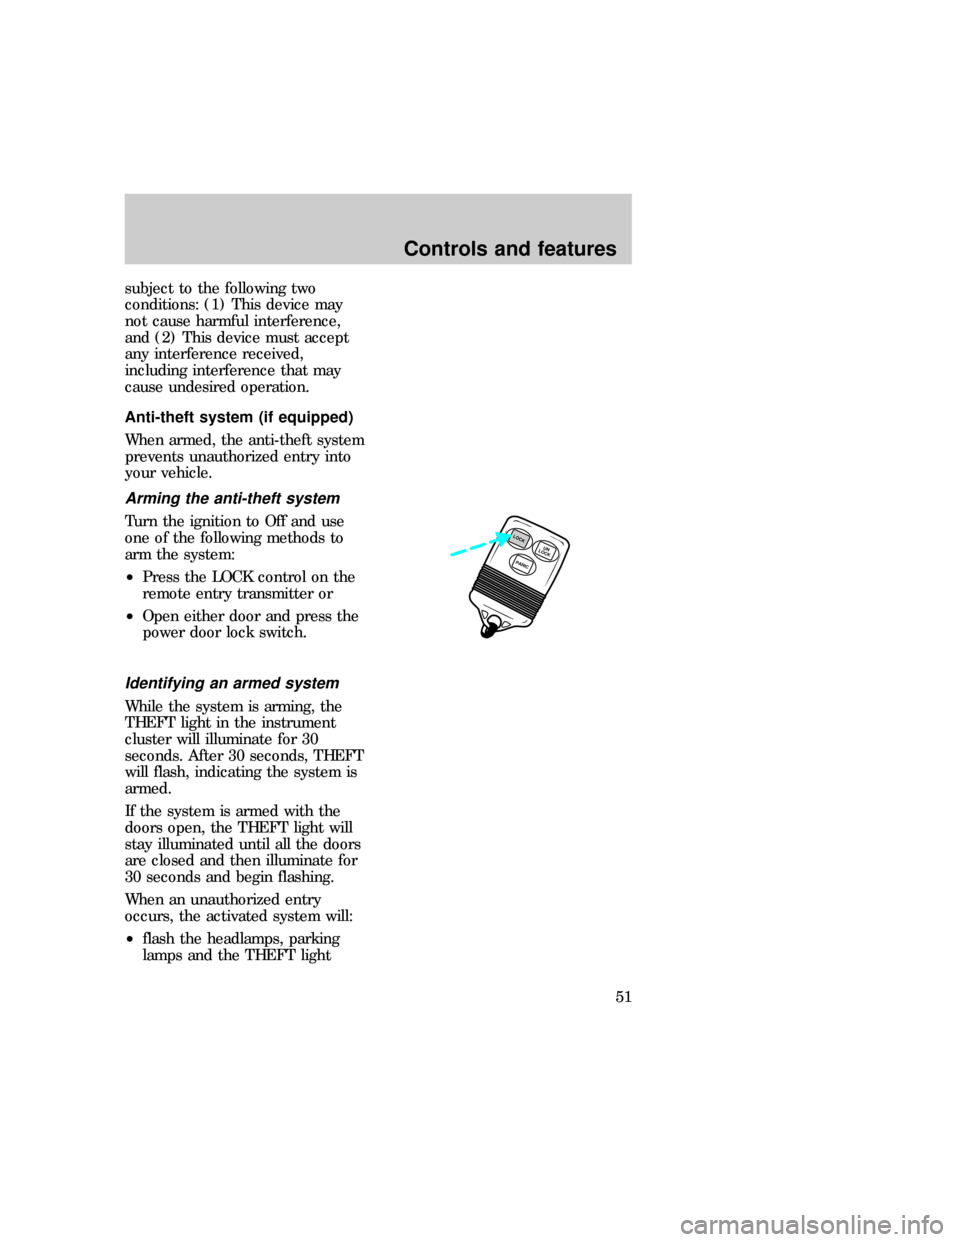
Turn the ignition to Off and use
one of the following methods to
arm the system:
²Press the LOCK control on the
remote entry transmitter or
²Open either door and press the
power door lock switch.
Identifying an armed system
While the system is arming, the
THEFT light in the instrument
cluster will illuminate for 30
seconds. After 30 seconds, THEFT
will flash, indicating the system is
armed.
If the system is armed with the
doors open, the THEFT light will
stay illuminated until all the doors
are closed and then illuminate for
30 seconds and begin flashing.
When an unauthorized entry
occurs, the activated system will:
²flash the headlamps, parking
lamps and the THEFT light
PANICUN
LOCKLOCK
f12_arming_anti_theft
f12_identifying_armed
Controls and features
51
Page 51 of 219
²sound the horn
²prohibit the vehicle from
starting.
The flashing headlamps and the
honking horn automatically shut
off after about three minutes and
will remain off unless another
unauthorized entry is attempted.
However, the vehicle will not start
until the system is disarmed.
Disarming an untriggered
anti-theft system
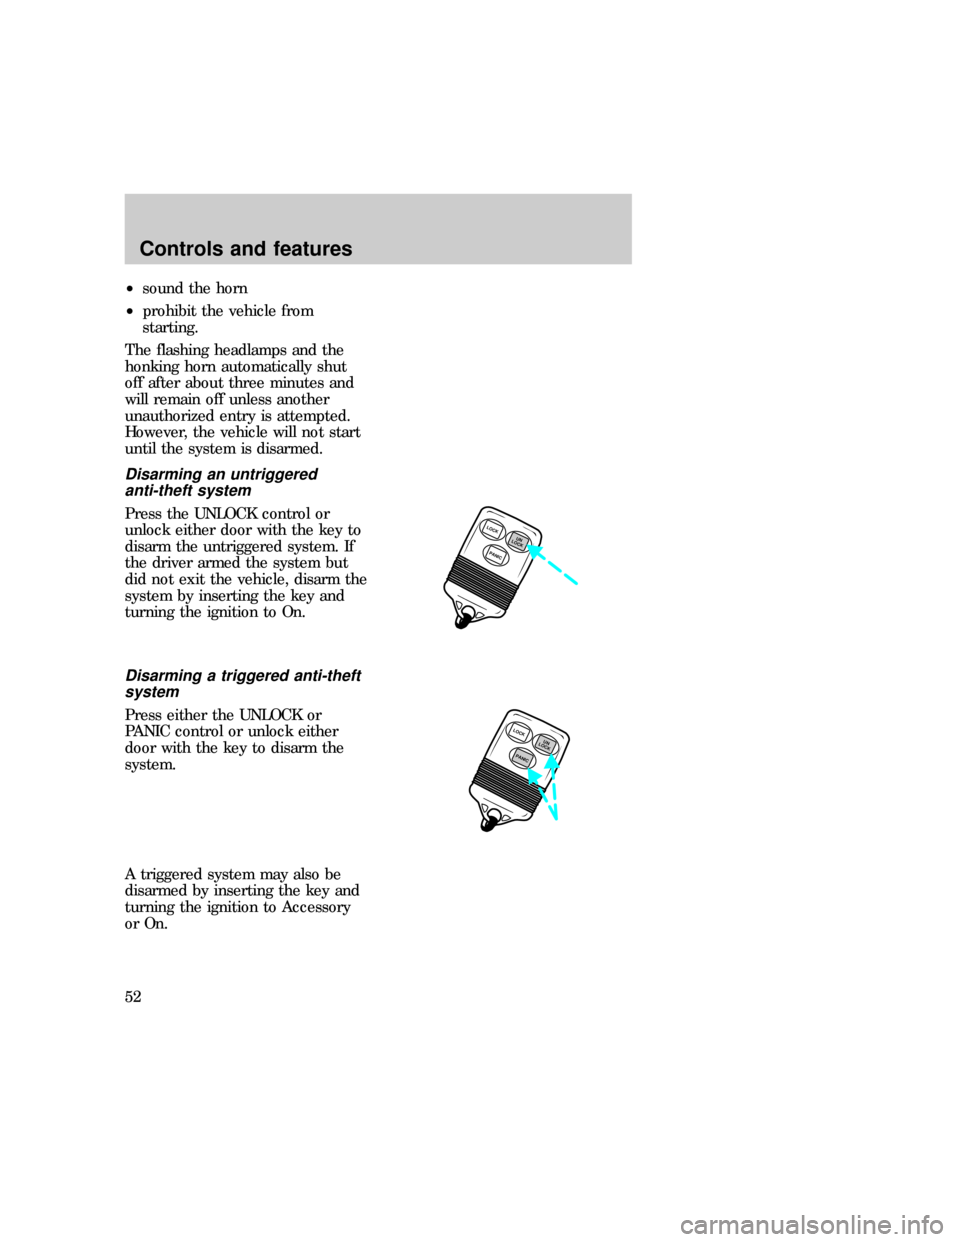
Press the UNLOCK control or
unlock either door with the key to
disarm the untriggered system. If
the driver armed the system but
did not exit the vehicle, disarm the
system by inserting the key and
turning the ignition to On.
Disarming a triggered anti-theft
system
Press either the UNLOCK or
PANIC control or unlock either
door with the key to disarm the
system.
A triggered system may also be
disarmed by inserting the key and
turning the ignition to Accessory
or On.
LOCK
PANICUN
LOCK
PANICUN
LOCKLOCK
f12_disarming_untriggered
Controls and features
52
Page 52 of 219
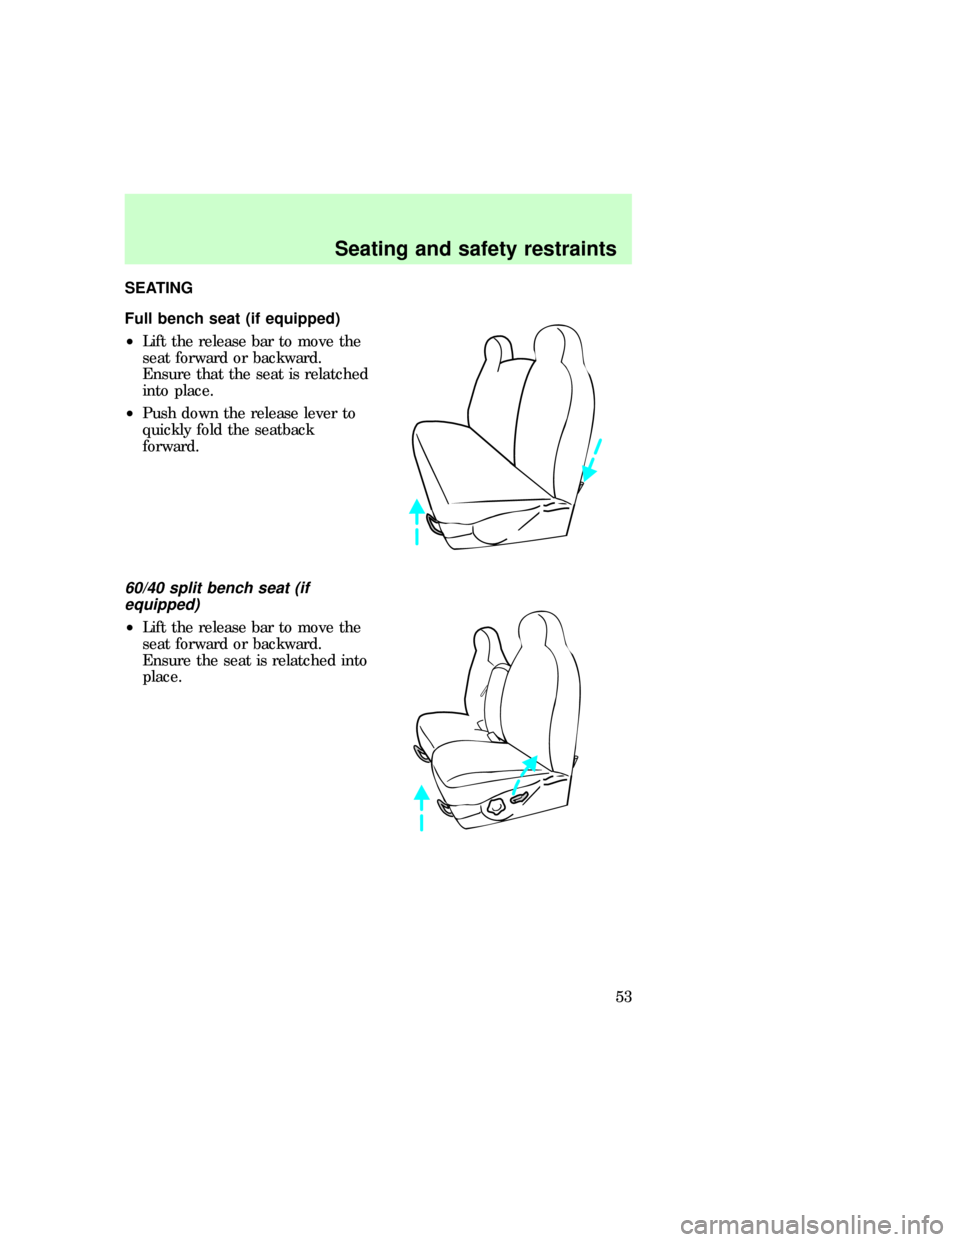
SEATING
Full bench seat (if equipped)
²Lift the release bar to move the
seat forward or backward.
Ensure that the seat is relatched
into place.
²Push down the release lever to
quickly fold the seatback
forward.
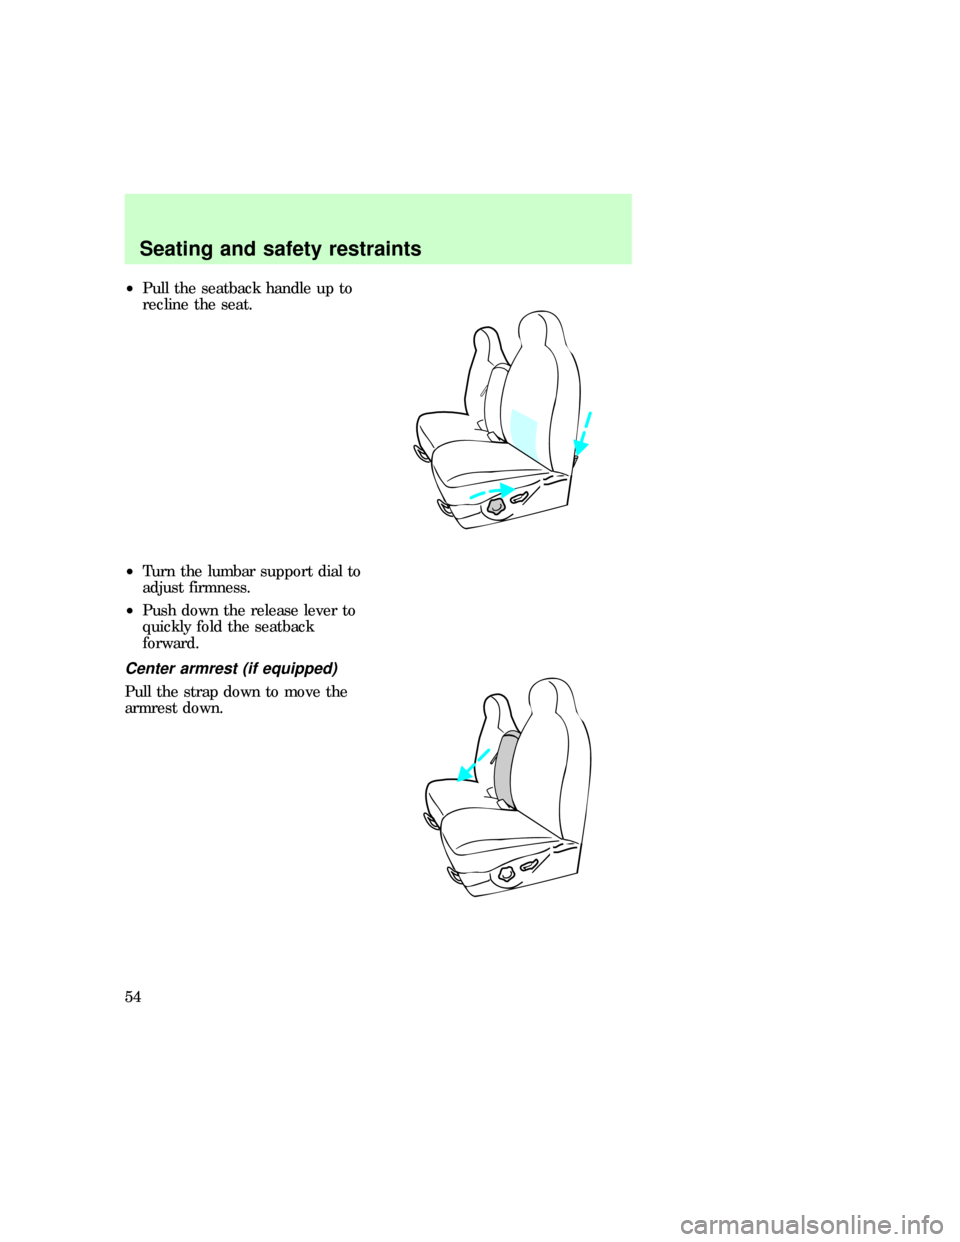
60/40 split bench seat (if
equipped)
²Lift the release bar to move the
seat forward or backward.
Ensure the seat is relatched into
place.
f12_adjusting_bench
f12_split_bench
Seating and safety restraints
53
Page 53 of 219
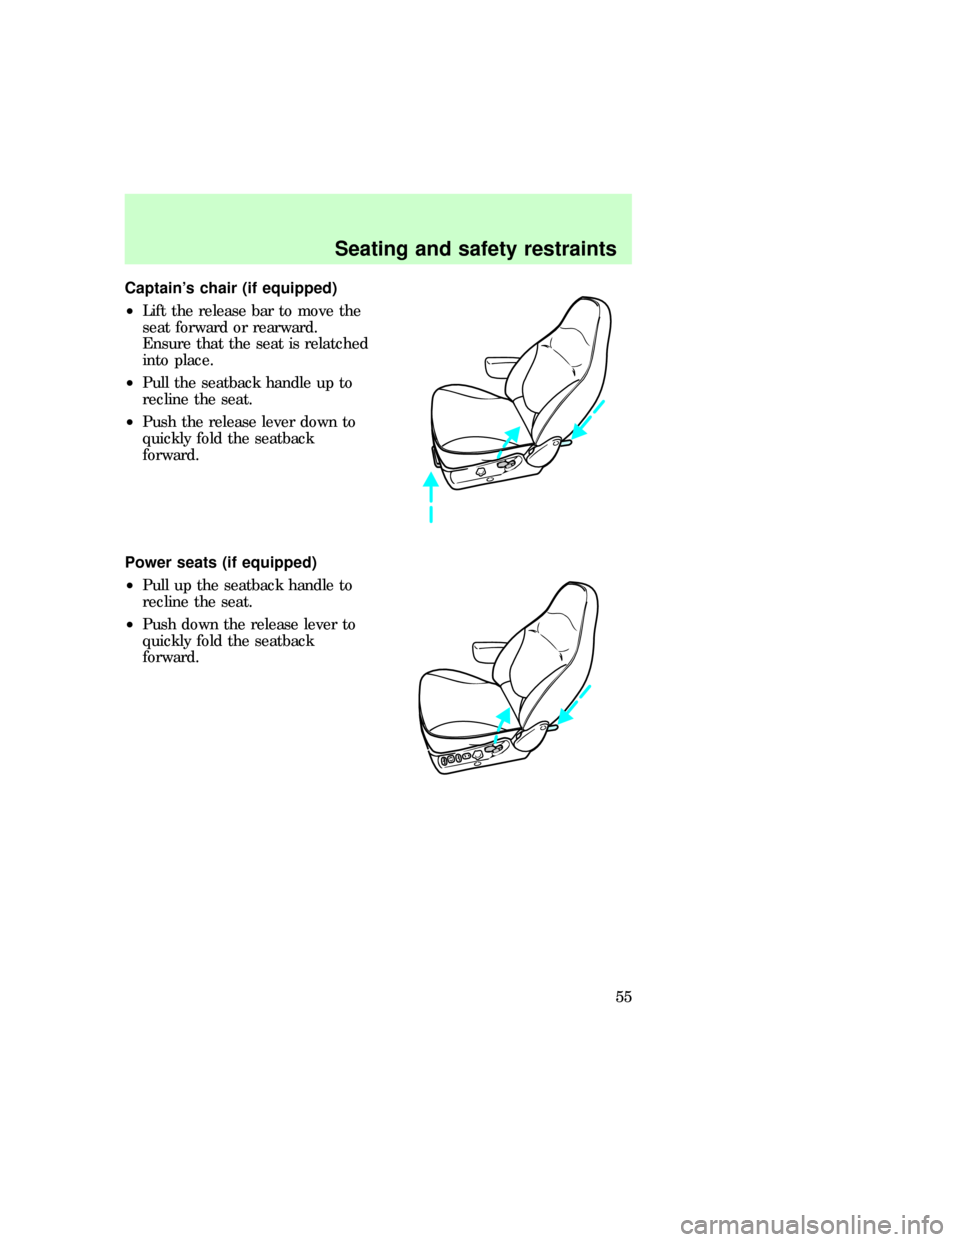
²Pull the seatback handle up to
recline the seat.
²Turn the lumbar support dial to
adjust firmness.
²Push down the release lever to
quickly fold the seatback
forward.
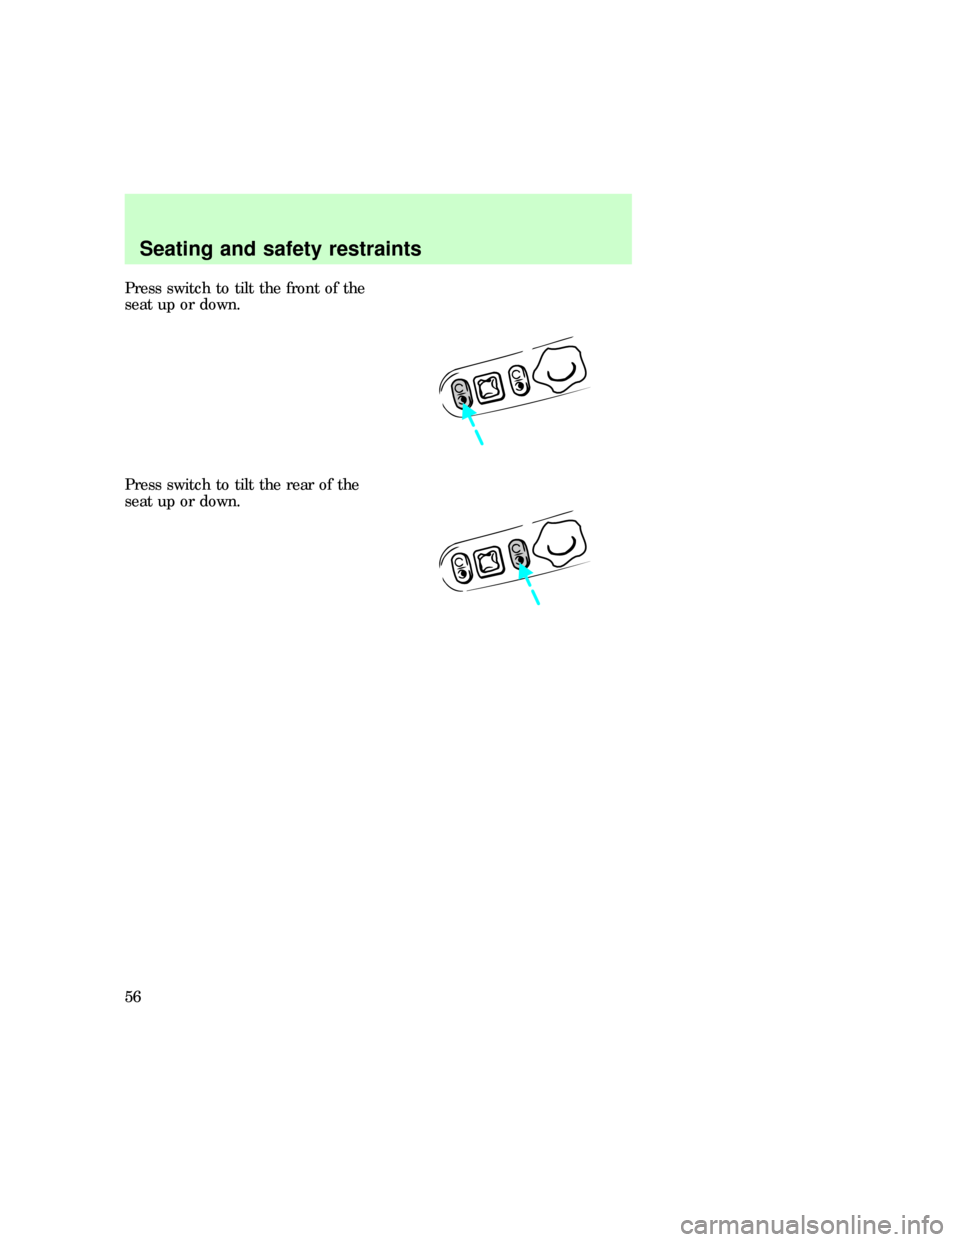
Center armrest (if equipped)
Pull the strap down to move the
armrest down.
f12_adjust_man_bucket
Seating and safety restraints
54
Page 54 of 219
Captain's chair (if equipped)
²Lift the release bar to move the
seat forward or rearward.
Ensure that the seat is relatched
into place.
²Pull the seatback handle up to
recline the seat.
²Push the release lever down to
quickly fold the seatback
forward.
Power seats (if equipped)
²Pull up the seatback handle to
recline the seat.
²Push down the release lever to
quickly fold the seatback
forward.
f12_adjust_power_seat
Seating and safety restraints
55
Page 55 of 219
Press switch to tilt the front of the
seat up or down.
Press switch to tilt the rear of the
seat up or down.
Seating and safety restraints
56
Page 56 of 219
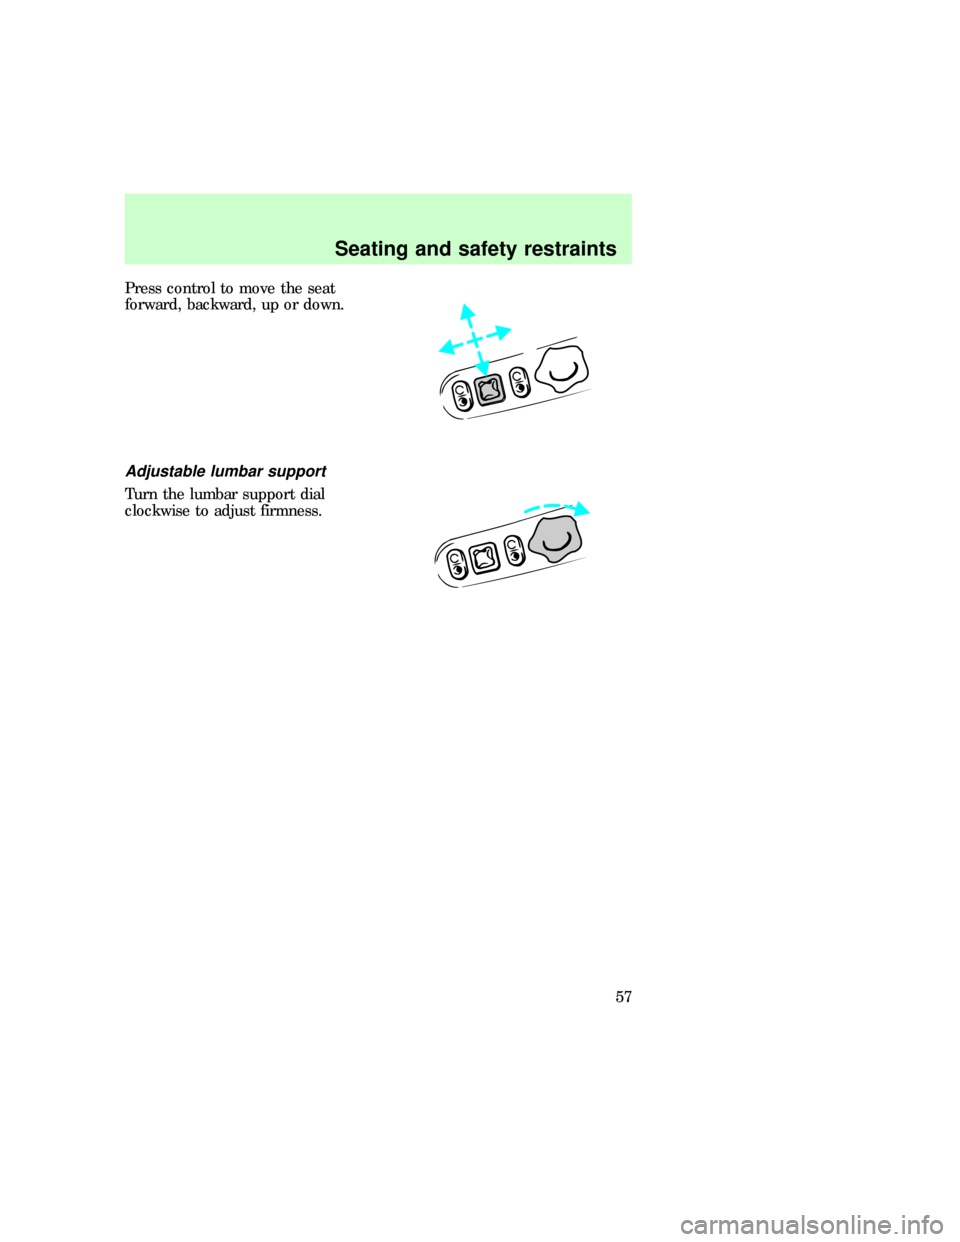
Press control to move the seat
forward, backward, up or down.
Adjustable lumbar support
Turn the lumbar support dial
clockwise to adjust firmness.
f12_adjust_lumbar
f12_rear_bench
Seating and safety restraints
57