1997 CHEVROLET CORVETTE fuse
[x] Cancel search: fusePage 13 of 356
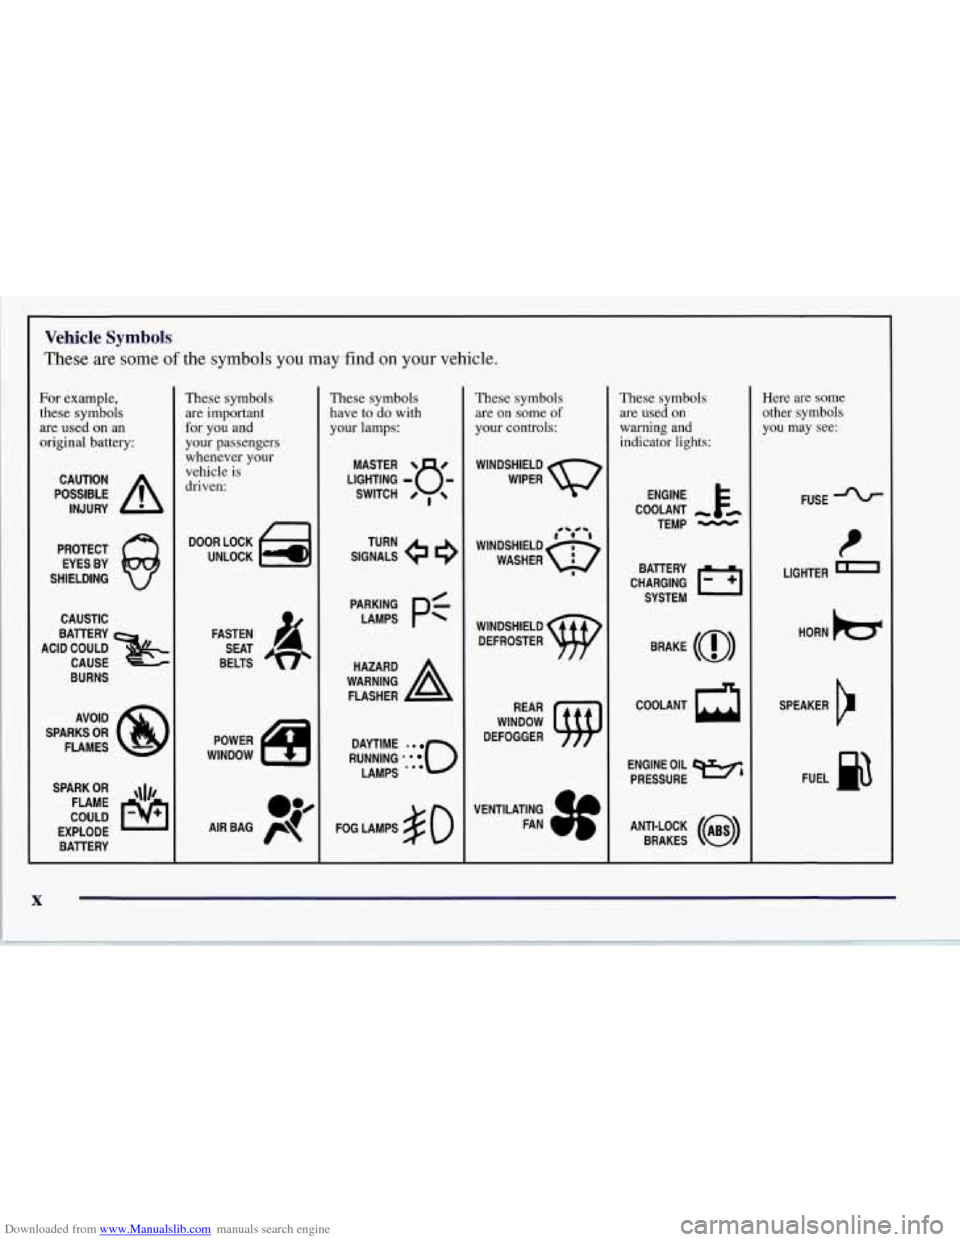
Downloaded from www.Manualslib.com manuals search engine Vehicle Symbols
These are some of the symbols you may find on your vehicle.
For example,
these symbols
are used on an
original battery:
POSSIBLE A
CAUTION
INJURY
PROTECT EYES BY
SHIELDING
CAUSTIC
ACID COULD BATTERY
CAUSE
BURNS
AVOID
SPARKS
OR
FLAMES
SPARK
OR ,\I/,
COULD FLAME
EXPLODE BATTERY
L
These symbols are important
for you and
your passengers
whenever your
vehicle is
driven:
n
UNLOCK w
FASTEN
SEAT
BELTS
These symbols
have to do with
your lamps:
SIGNALS e
TURN
RUNNING
* . 0
DAYTIME -0
LAMPS ***
FOG LAMPS $0
These symbols are on some
of
your controls:
WINDSHIELD
WIPER
WINDSHIELD DEFROSTER
WINDOW
DEFOGGER
VENTILATING FAN
These symbols
are used on
warning and
indicator lights:
COOLANT
TEMP
-
CHARGING I-1
BATTERY
SYSTEM
BRAKE
(0)
ENGINE OIL w,
PRESSURE
ANTI-LOCK
(a)
BRAKES
Here are some
other symbols you may see:
FUSE -%-
LIGHTER m
HORN )a(
SPEAKER
b
FUEL B
Page 66 of 356
Downloaded from www.Manualslib.com manuals search engine The theft-deterrent system won’t arm if you lock the
doors with a key, the manual door lock, or if you
power lock (from the inside) the vehicle after the
doors are closed.
If your passenger stays in the vehicle when you leave
with the keys, have the passenger lock the vehicle after
the doors are closed. This way the alarm won’t arm,
and your passenger won’t set it
off.
Always use your key or the key fob transmitter to
unlock a door. Unlocking a door any other way will
set off the alarm. If you do set
off the alarm, there
are four ways to stop it:
0 Unlock any door with your key.
0 Put the key in the ignition.
Press the UNLOCK button on the key
fob transmitter.
0 Walk into range with the passive switch on.
Testing the Alarm
1.
2.
3.
4.
5.
6.
Make sure the rear hatch is latched.
Lower a window on the door.
Manually arm the system with the power door
lock switch.
Close the doors and wait
15 seconds.
Reach through the open window and press the
power unlock button. Now open the door. The
alarm should sound.
Turn off the alarm.
If the alarm is inoperative, check to see if the horn
works. If not, check the horn fuse. See “Fuses and
Circuit Breakers” in the Index. If the horn works, but
the alarm doesn’t
go off, see your dealer.
2-17
Page 67 of 356
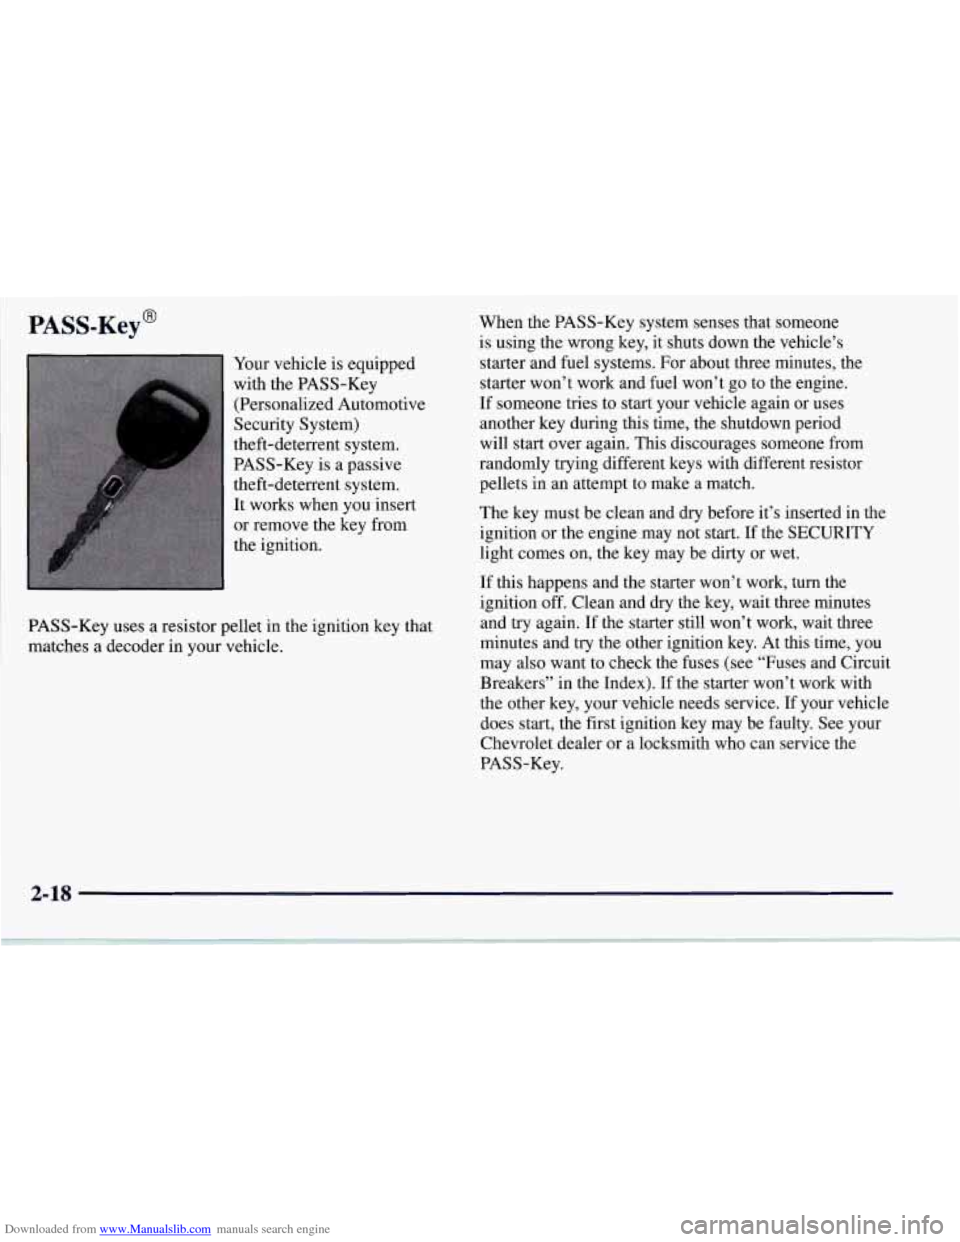
Downloaded from www.Manualslib.com manuals search engine PASS-Key@
Your vehicle is equipped
with the PASS-Key
(Personalized Automotive
Security System)
theft-deterrent system. PASS-Key is a passive
theft-deterrent system.
It works when you insert
or remove the key from
the ignition. When the
PASS-Key system senses that someone
is using the wrong key, it shuts down the vehicle’s
starter and fuel systems. For about three minutes, the
starter won’t work and fuel won’t go to the engine.
If someone tries to start your vehicle again or uses
another key during this time, the shutdown period
will start over again. This discourages someone from
randomly trying different keys with different resistor
pellets in an attempt to make a match.
The key must be clean and dry before it’s inserted in the
ignition or the engine may not start. If the SECURITY
light comes on, the key may be dirty or wet.
’ PASS-Key uses a resistor pellet in the ignition key that
matches a decoder in your vehicle. If
this happens and the starter won’t work, turn the
ignition off. Clean and dry the key, wait three minutes
and try again. If the starter still won’t work, wait three
minutes and try the other ignition key. At this time, you
may also want to check the fuses
(see “Fuses and Circuit
Breakers” in the Index). If the starter won’t work with
the other key, your vehicle needs service.
If your vehicle
does start, the first ignition key may be faulty. See your
Chevrolet dealer or a locksmith who can service the
PASS-Key.
2-18
Page 91 of 356
Downloaded from www.Manualslib.com manuals search engine ’lhrn and Lane Change Signals
The turn signal has two upward (for right) and two
downward (for left) positions. These positions allow
you to signal a turn
or a lane change.
To signal a turn, move the multifunction lever all the
way up or down. When the turn
is finished, the lever
will return automatically.
A chime will remind you if you leave your turn signal
on for more than
3/4 of a mile (1.2 km) of driving.
To signal a lane change, just raise or lower the lever
until the arrow starts to flash. Hold it there until you
complete your lane change. The lever will return by
itself when you release it.
As
you signal a turn or a lane change, if the arrows flash
faster than normal, a signal bulb may be burned out.
If a bulb is burned out, replace it to help avoid an
accident. If the arrows don’t go
on at all when you
signal a turn, check the fuses and check for burned-out
bulbs. (See “Fuses and Circuit Breakers” in the Index.)
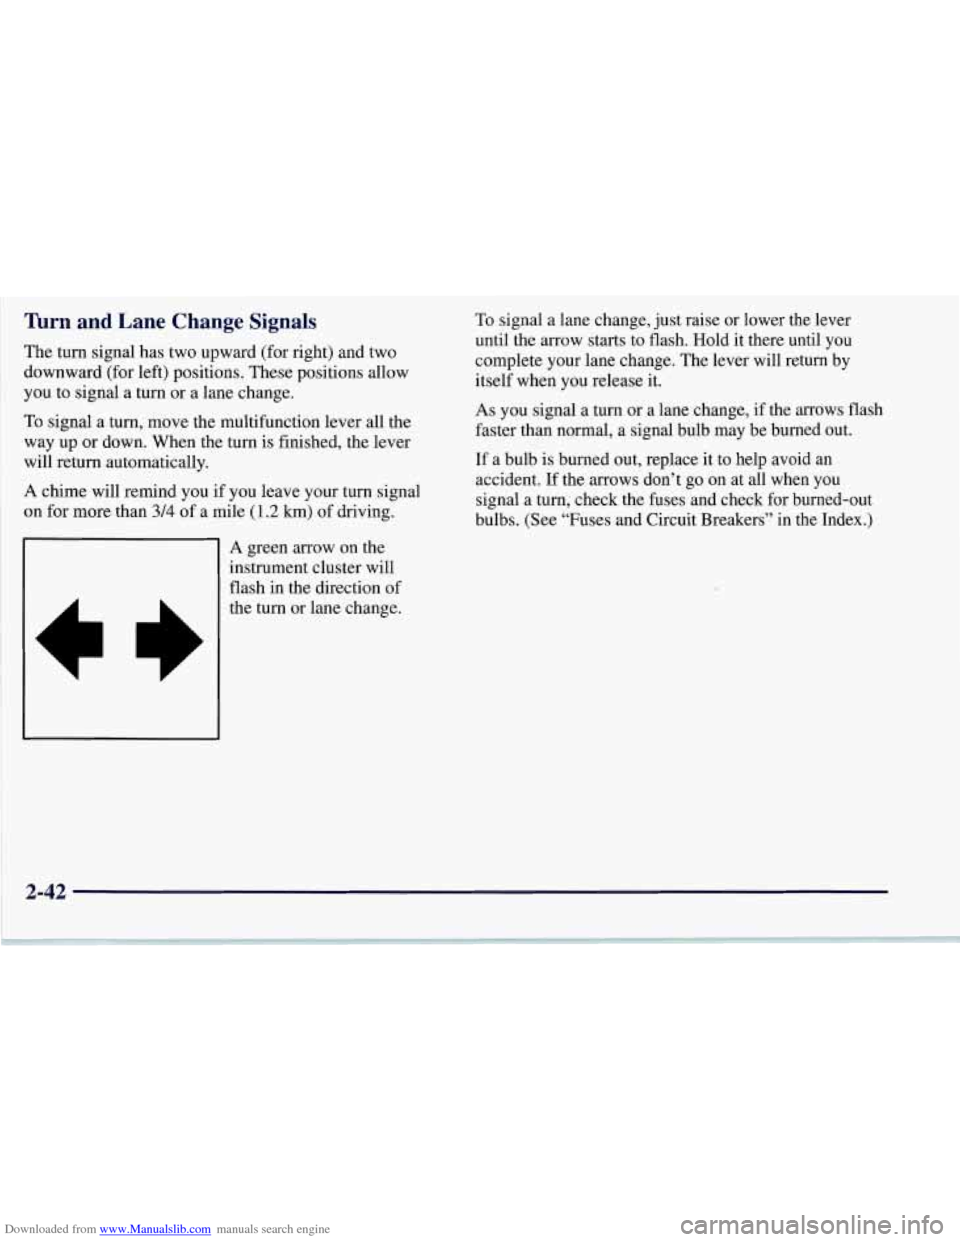
A green arrow on the
instrument cluster will
flash in the direction of
the turn or lane change.
2-42
Page 118 of 356

Downloaded from www.Manualslib.com manuals search engine A. Turn SignalNultifunction Lever
B. Driver Information Center (DIC)
C. Instrument Panel Cluster
D. Windshield WiperNVasher Lever
E. DIC Buttons
F. Hazard Warning Flasher Button
G. Center Air Vent
H. Audio System
I. Comfort Controls
J. Fog Lamp Button (Option)
K. Remote Hatch Release Button
L. Ignition Switch
M. Shift Lever (Automatic Shown)
N. Traction Control System (TCS) Switch
0. Selective Real Time Damping (Option)
P. Instrument Panel Cupholder
Q. Ashtray & Cigarette Lighter
R. Remote Fuel Door Release Button
S. Parking Brake
T. Glove Box
U. Instrument Panel Fuse Block
V. Power Accessory Outlet
2-69
Page 238 of 356
Downloaded from www.Manualslib.com manuals search engine c
You can be injured and your vehicle could be
damaged
if you try to do service work on a
vehicle without knowing enough about it.
Be sure you have sufficient knowledge,
experience, the proper replacement parts
and tools before you attempt any vehicle
maintenance task.
Be sure to use the proper nuts, bolts and
other fasteners. “English” and “metric”
fasteners can be easily confused.
If you use
the wrong fasteners, parts can later break
or fall
off. You could be hurt.
Adding Equipment to the Outside of
Your Vehicle
Things you might add to the outside of your vehicle can
affect the aifflow around it. This may cause wind noise
and affect windshield washer performance. Check with
your Chevrolet dealer before adding equipment to the
outside of your vehicle.
Fuel
Use premium unleaded gasoline rated at 91 octane or
higher for best performance. You may use middle grade
or regular unleaded gasolines, but your vehicle may not
accelerate as well.
At a minimum, the gasoline you use should meet
specifications ASTM
D48 14 in the United States and
CGSB 3.5-M93 in Canada. Improved gasoline
specifications have been developed by
the American
Automobile Manufacturers Association (AAMA) for
better vehicle performance and engine protection. Gasolines meeting the AAMA specification could
provide improved driveability and emission control
system protection compared to other gasolines.
Be sure the posted octane for premium is at least
91
(at least 89 for middle grade and 87 for regular). If the
octane is less than
87, you may get a heavy knocking
noise when you drive. If it’s bad enough,
it can damage
your engine.
6-3
Page 297 of 356
Downloaded from www.Manualslib.com manuals search engine NOTICE:
When using the accessory plug:
0
0
0
0
DO NOT splice wires directly into the
vehicle electrical wire harness.
If done
incorrectly, splicing may cause damage to
your electrical system and would not be
covered by the vehicle’s warranty.
The maximum load of any electrical
equipment should not exceed
15 amps.
Be sure to turn off any electrical equipment
when not in use. Leaving electrical
equipment on for extended periods of time
can drain your battery.
DO NOT use this plug if the electrical
equipment requires frequent connecting
and disconnecting. This may cause
excessive wear on the accessory plug and
damage your electrical system and the
damage would not be covered by
your warranty.
Headlamps
The headlamp wiring is protected by a circuit breaker.
An electrical overload will cause the lamps to go on and
off, or in some cases to remain off. If this happens, have
your headlamp wiring checked right away.
Windshield Wipers
The windshield wiper motor is protected by a fuse and
an internal circuit breaker.
If the motor overheats due to
heavy snow, etc., the wiper will stop until the motor
cools. If the overload
is caused by some electrical
problem and not snow, etc., be sure to get
it fixed.
Power Windows and Other Power Options
Circuit breakers protect the power seats and other power
accessories. When the current load is too heavy, the
circuit breaker opens and closes, protecting the circuit
until the problem is fixed or goes away.
6-62
Page 298 of 356
Downloaded from www.Manualslib.com manuals search engine Fuses and Circuit Breakers
The wiring circuits in your vehicle are protected from
short circuits by a combination of maxi-fuses,
mini-fuses and circuit breakers. This greatly reduces the
chance of fires caused by electrical problems.
Look at the silver-colored band inside the fuse. If the
band is broken or melted, replace the fuse. Be sure you
replace a bad fuse with a new one of the identical size
and rating.
If you ever have a problem on the road and don’t have a
spare fuse, you can borrow one that has the same
amperage. Just pick some feature of your vehicle that
you can get along without
-- like the radio or cigarette
lighter
-- and use its fuse, if it is the correct amperage.
Replace it as soon as you can.
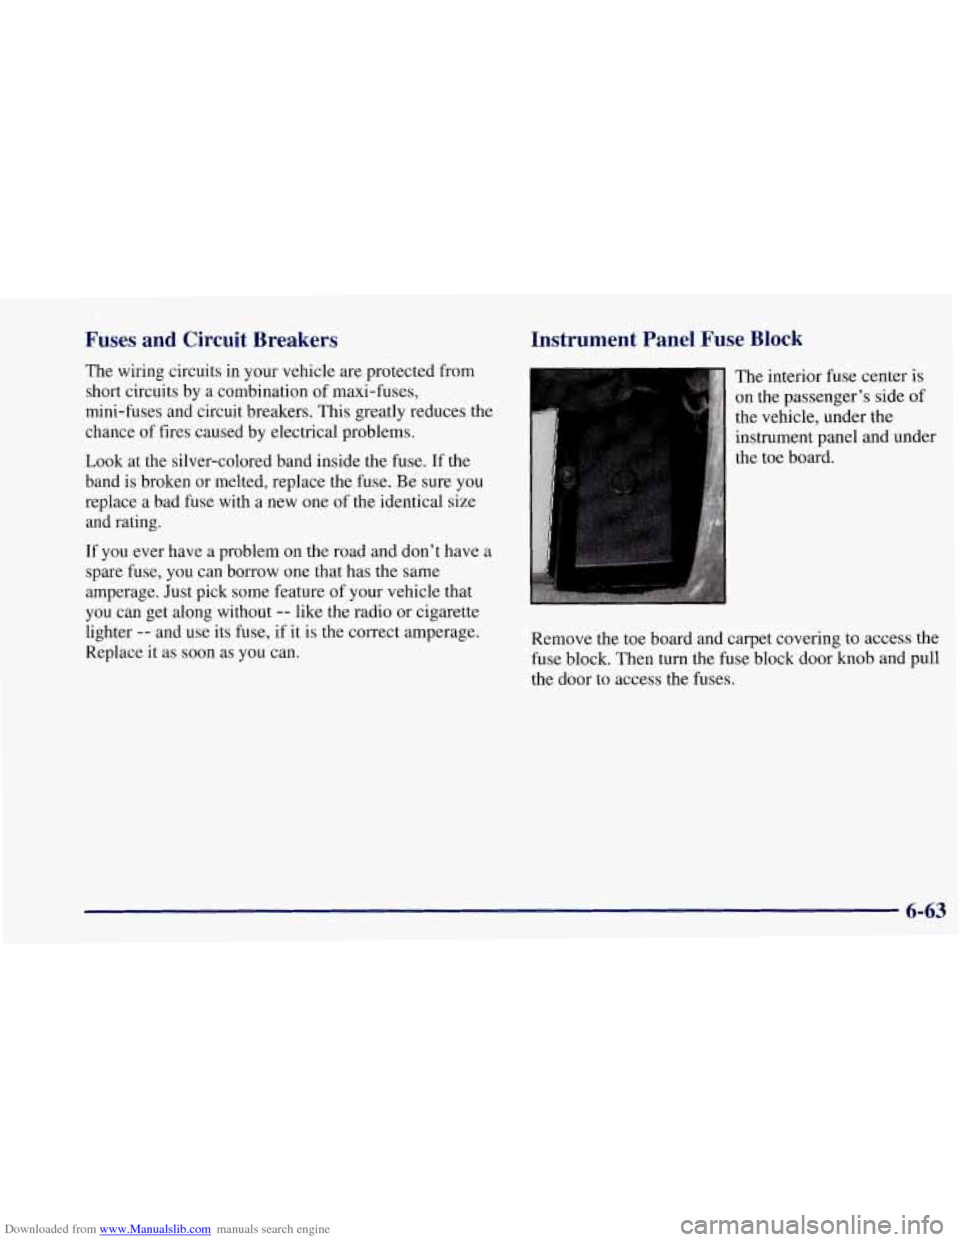
Instrument Panel Fuse Block
The interior fuse center is
on the passenger’s side of
the vehicle, under the
instrument panel and under
the toe board.
Remove the toe board and carpet covering
to access the
fuse block. Then turn the fuse block door
knob and pull
the door to access the fuses.
6-63