Page 91 of 356

Downloaded from www.Manualslib.com manuals search engine ’lhrn and Lane Change Signals
The turn signal has two upward (for right) and two
downward (for left) positions. These positions allow
you to signal a turn
or a lane change.
To signal a turn, move the multifunction lever all the
way up or down. When the turn
is finished, the lever
will return automatically.
A chime will remind you if you leave your turn signal
on for more than
3/4 of a mile (1.2 km) of driving.
To signal a lane change, just raise or lower the lever
until the arrow starts to flash. Hold it there until you
complete your lane change. The lever will return by
itself when you release it.
As
you signal a turn or a lane change, if the arrows flash
faster than normal, a signal bulb may be burned out.
If a bulb is burned out, replace it to help avoid an
accident. If the arrows don’t go
on at all when you
signal a turn, check the fuses and check for burned-out
bulbs. (See “Fuses and Circuit Breakers” in the Index.)
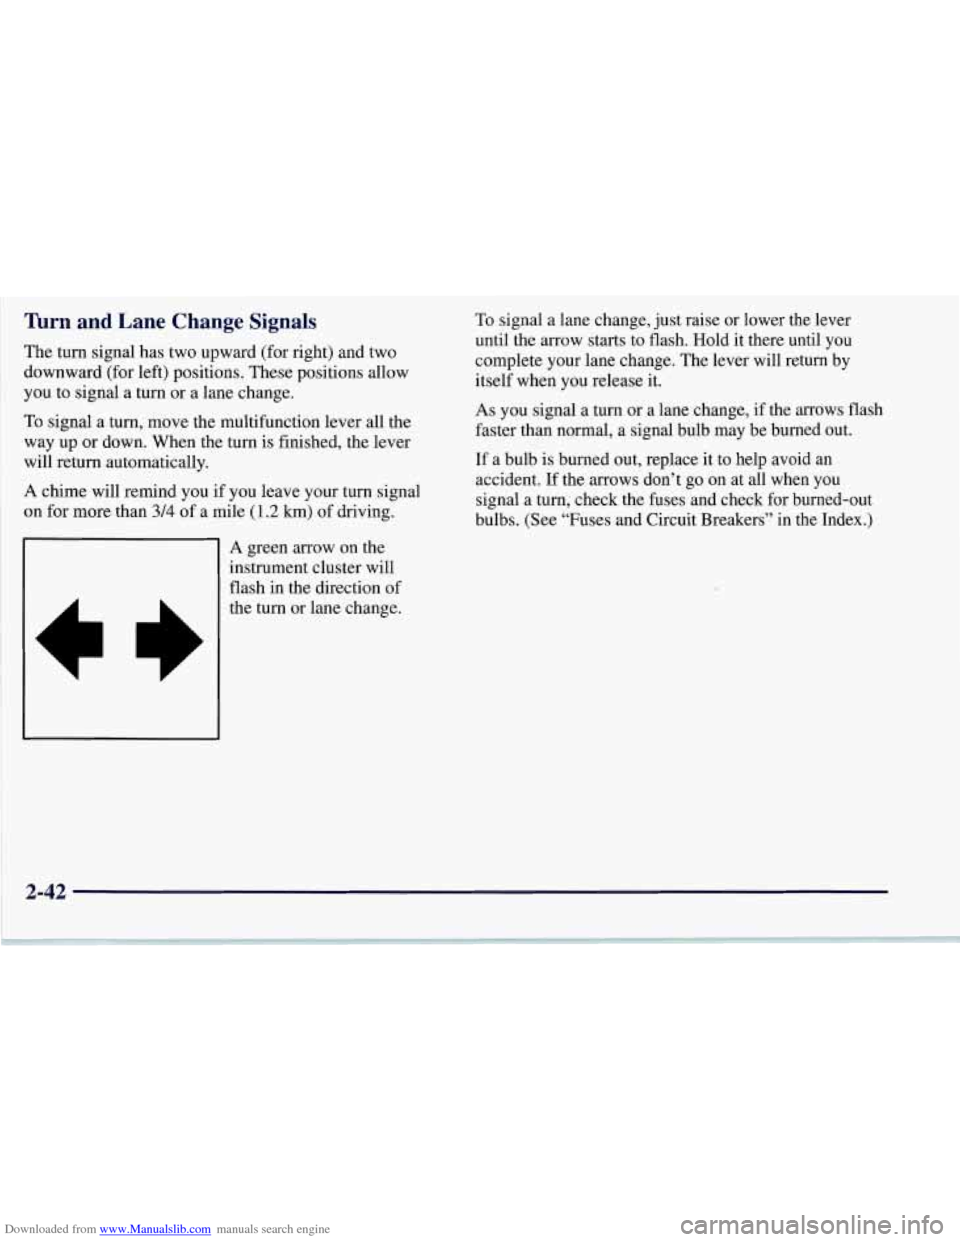
A green arrow on the
instrument cluster will
flash in the direction of
the turn or lane change.
2-42
Page 236 of 356

Downloaded from www.Manualslib.com manuals search engine e Section 6 Service and Appearance Care
Here you will find information about the care of your Corvette. This section begins with service and fuel information,
and then it shows how to check important fluid and lubricant levels. There is also technical information about your
vehicle, and a part devoted to its appearance care.
6-2 Service 6-3 Fuel
6-5 Fuels in Foreign Countries
6-5 Filling Your Tank
6- 8 Checking Things Under the Hood
6-1 1 Engine Oil
6-16 Air Cleaner
6-18 Automatic Transmission Fluid
6- 19 Manual Transmission Fluid
6-20 Hydraulic Clutch
6-22 Engine Coolant
6-26 Surge Tank Pressure Cap
6-26 Power Steering Fluid
6-22 Rear Axle
6-26
Thermostat
6-27 Windshield Washer Fluid
6-
29 Brakes
6-32 Battery 6-33
6-33
6-37
6-40
6-5
1
6-5 1
6-54
6-55
6-56
6-57
6-57 6-59
6- 60
6- 60
6-6 1
6-69
6-69 6-7
1
Bulb Replacement
Halogen Bulbs
Windshield Wiper Blade Replacement
Tires Appearance Care
Cleaning the Inside of Your Corvette
Care of Safety Belts
Cleaning the Outside of Your Corvette
Aluminum Wheels
Tires Underbody Maintenance
Appearance Care Materials
Vehicle Identification Number (VIN)
Service Parts Identification Label
Electrical System
Replacement Bulbs Capacities and Specifications
Air Conditioning Refrigerants
6-1
Page 268 of 356
Downloaded from www.Manualslib.com manuals search engine Bulb Replacement
For the proper type of replacement bulb, see
“Replacement
Bulbs” in the Index.
Halogen Bulbs
Halogen bulbs have pressurized gas inside and
can burst if you drop or scratch the bulb. You or
others could be injured.
Be sure to read and
follow the instructions on the bulb package.
HeadlampsLHighbeam
1. The headlamps need to be halfway open. Turn the
headlamp switch on, then quickly back to the
parking lamps setting. You may have to
do this a few
times to get the half-open position.
2. You can also open the headlamps manually by
turning the adjuster to the left.
6-33
Page 269 of 356
Downloaded from www.Manualslib.com manuals search engine 3.
4.
5.
Remove the screws on each side of the headlamp
bezel.
Open the hood.
To remove the bezel, pull the sides slightly outward
and
tilt the bezel forward. Pull the clip centered
above the lens outward. Be careful not to scratch
the paint.
6. Reach behind the lamp and turn the bulb to the
left
to remove it. Don’t touch the halogen bulbs.
The inner bulb is the high beam and the outer bulb
is the low beam.
7. Disconnect the desired bulb from the wiring harness.
8. Reverse the steps with a new bulb.
6-34
Page 270 of 356
Downloaded from www.Manualslib.com manuals search engine Front Turn Signal Lamps
1. Remove the front fascia close out panel
attaching bolts.
2. Remove the front fascia close out panel.
3. Grasp the cooling duct and pull to release it from the
front fascia, then reposition it. This will give you
better access to the bulb.
4. Squeeze the tab on the socket and turn it to the left to
5. Remove the bulb from the socket.
6. Reverse the steps with a new bulb.
remove the
socket with the bulb.
Front Sidemarker Lamps
Lamps” described previously.
1. Follow the first three steps in “Front Turn Signal
2. Turn the socket to the left one-quarter of a turn and
pull it out.
3. Pull the bulb straight out of the socket.
4. Reverse the steps with a new bulb.
Rear Turn Signal and Taillamps
A. Back-up Lamp
B. Inboard Taillamp
C. Outboard Taillamp
6-35
Page 271 of 356
Downloaded from www.Manualslib.com manuals search engine 1. Remove the screws.
2. Pull the taillamp housing assembly out.
3. To remove the socket with the bulb, squeeze the tab
while
you turn the socket to the left.
Page 272 of 356

Downloaded from www.Manualslib.com manuals search engine 4. Remove the bulb from the socket.
5. Reverse the steps with a new bulb.
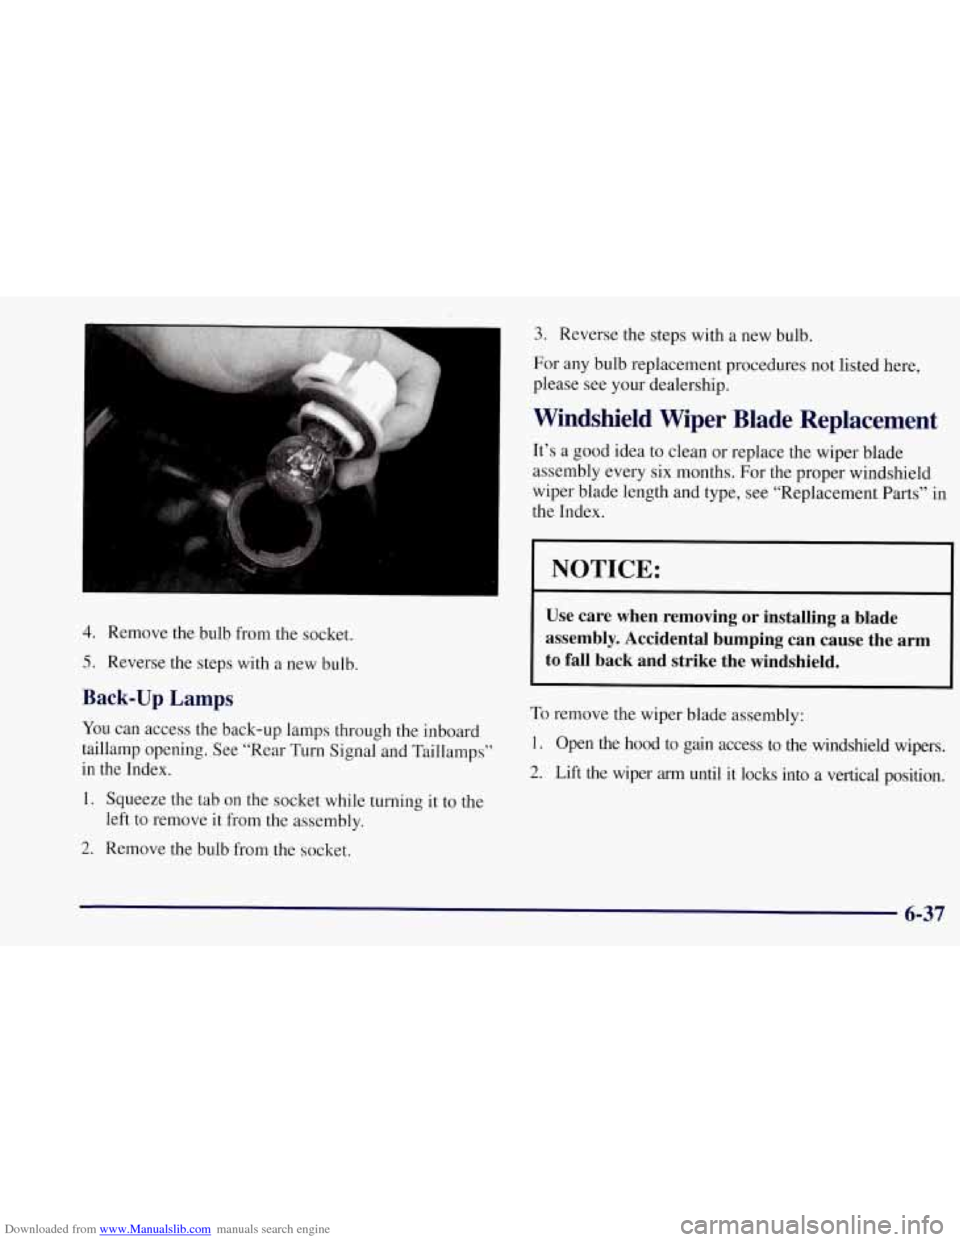
Back-up Lamps
YOU can access the back-up lamps through the inboard
taillamp opening. See “Rear Turn Signal and Taillamps”
in the Index.
1. Squeeze the tab on the socket while turning
it to the
2. Remove the bulb from the socket.
left
to remove it from the assembly.
3. Reverse the steps with a new bulb.
For any bulb replacement procedures not listed here,
please see your dealership.
Windshield Wiper Blade Replacement
It’s a good idea to clean or replace the wiper blade
assembly every six months. For the proper windshield
wiper blade length and type, see “Replacement Parts” in
the Index.
NOTICE:
Use care when removing or installing a blade
assembly. Accidental bumping can cause the
arm
to fall back and strike the windshield.
To remove the wiper blade assembly:
I. Open the hood to gain access to the windshield wipers.
2. Lift the wiper arm until it locks into a vertical position.
6-37
Page 304 of 356

Downloaded from www.Manualslib.com manuals search engine Replacement Bulbs
Automatic Transmission Indicator ............ 194
Console Compartment Flood
................ LED
Glove Box Lamp ......................... 194
Mirror Reading Lamps
.................... 212-2
Visor Vanity Mirror
........................ 37
Underhood
............................. 211-2
IP Courtesy Lamps
........................ 194
Headlamp High Beam
.................... 9005
Headlamp Low Beam .................... 9006
Fog .................................... 893
Rear Courtesy .......................... PC168
Front ParlunglTurn Signal
............. 3 157NAK
Back-up
............................... 2057
Front Sidemarker
......................... 194
Rear Sidemarker
......................... 194
Stopflail Turn Signal
..................... 3057
Center High-Mounted Stoplamp
............. LED
License
................................. 194
Capacities and Specifications
Engine
Type .................................... V8
Fuel Delivery ............ Sequential Multi-Port
VIN Engine Code .......................... G
Fuel Injection (SFI)
Valve Arrangement ............. Overhead Valve
Piston Displacement ..................... 5.7 L
Bore ...................... 3.90 inches (9.9 cm)
Stroke .................... 3.62 inches (9.2 cm)
Compression Ratio ..................... 10.1 : 1
Horsepower ............................. 345
Firing Order .................. 1-8-7-2-6-5-4-3
Thermostat Temperature
Specification
.................. 1 87 O F (86 O C)
6-69