Page 2 of 356

Downloaded from www.Manualslib.com manuals search engine The 1997 Chevrolet Corvette Owner’s Manual
1-1
2-1
3-1
4- 1
5- 1
6-1
7-1
8-1
9- 1
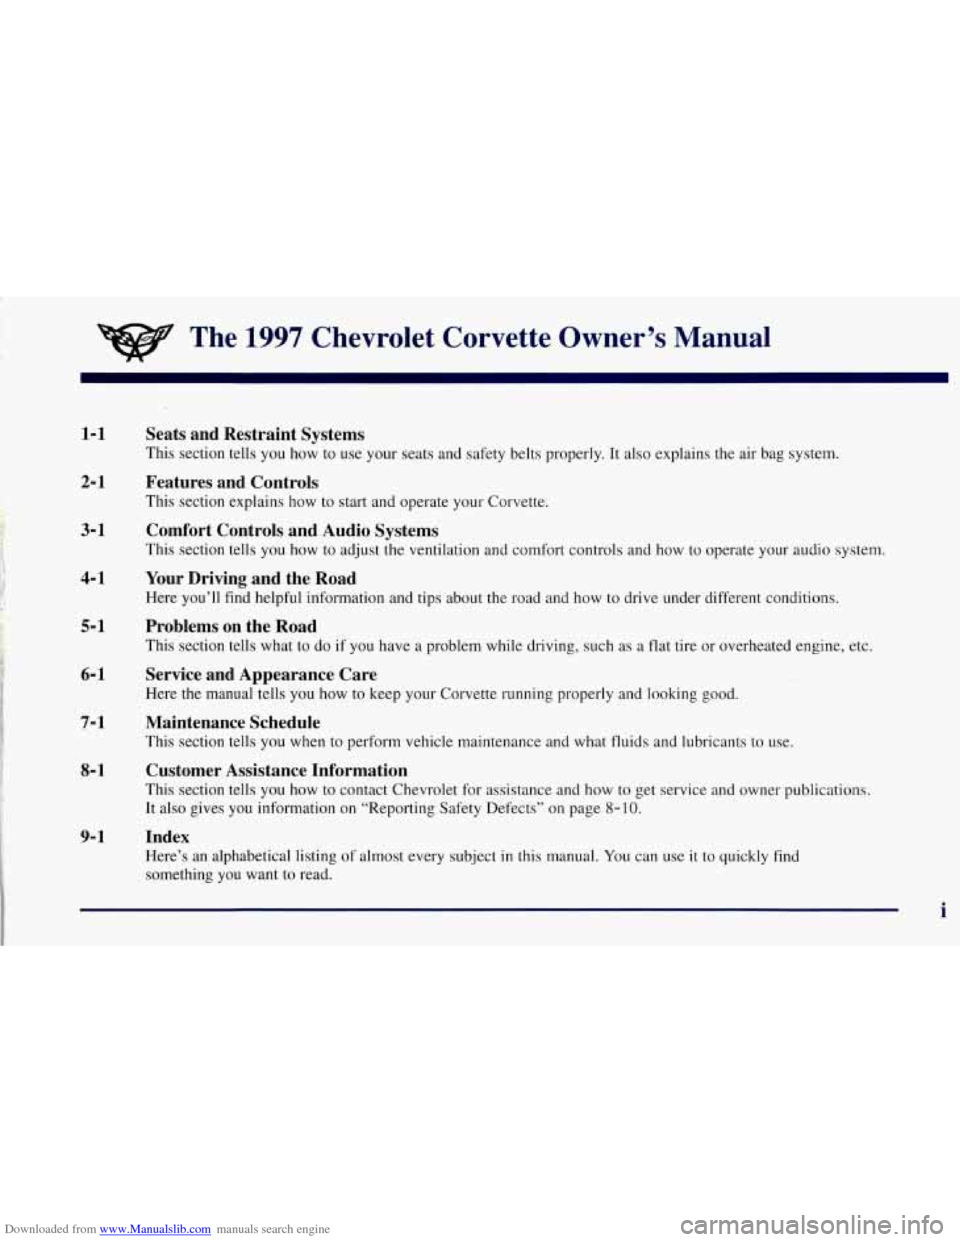
Seats and Restraint Systems
This section tells you how to use your seats and safety belts\
properly. It also explains the air bag system.
Features and Controls
This section explains how to start and operate your Corvette.
Comfort Controls and Audio Systems
This section tells you how to adjust the ventilation and comfort controls and how to operate your audio \
system.
Your Driving and the Road
Here you’ll find helpful information and tips about the road\
and how to drive under different conditions.
Problems on the Road
This section tells what to do if you have a problem while driving, such as a flat tire or overheated engine, etc.
Service and Appearance Care
Here the manual tells you how to keep your Corvette running p\
roperly and looking good.
Maintenance Schedule
This section tells you when to perform vehicle maintenance and what fluids and lubricants to u\
se.
Customer Assistance Information
This section tells you how to contact Chevrolet for assistance \
and how to get service and owner publications.
It also gives you information on “Reporting Safety Defects” on page
8- 10.
Index
Here’s an alphabetical listing of almost every subject in this manual. You can use it to quickly find
something you want to read.
i
Page 14 of 356
Downloaded from www.Manualslib.com manuals search engine e Section 1 Seats and Restraint Systems
Here you’ll find information about the seats in your Corvette and how to use your safety belts properly. You can also
learn about some things you should not do with air bags and safety belts.
1-2
1-6
1-10
1-11
1-12
1-18
1-19
Seats and Controls
Safety Belts: They’re for Everyone
Here Are Questions Many People Ask About
Safety Belts
-- and the Answers
How to Wear Safety Belts Properly
Driver Position
Safety Belt Use During Pregnancy
Passenger Position
1-19
1-25
1-27
1-30
1-33
1-33
1-34 Air Bag System
Children
Child Restraints
Larger Children
Safety Belt Extender
Checking Your Restraint Systems
Replacing Restraint System Parts
After a Crash
1-1
Page 15 of 356

Downloaded from www.Manualslib.com manuals search engine Seats and Seat Controls Power Seat
This part tells you about the seats -- how to adjust them,
and also about reclining seatbacks and seatback latches.
Manual Front Seat (Option)
(Passenger Only)
,_i :
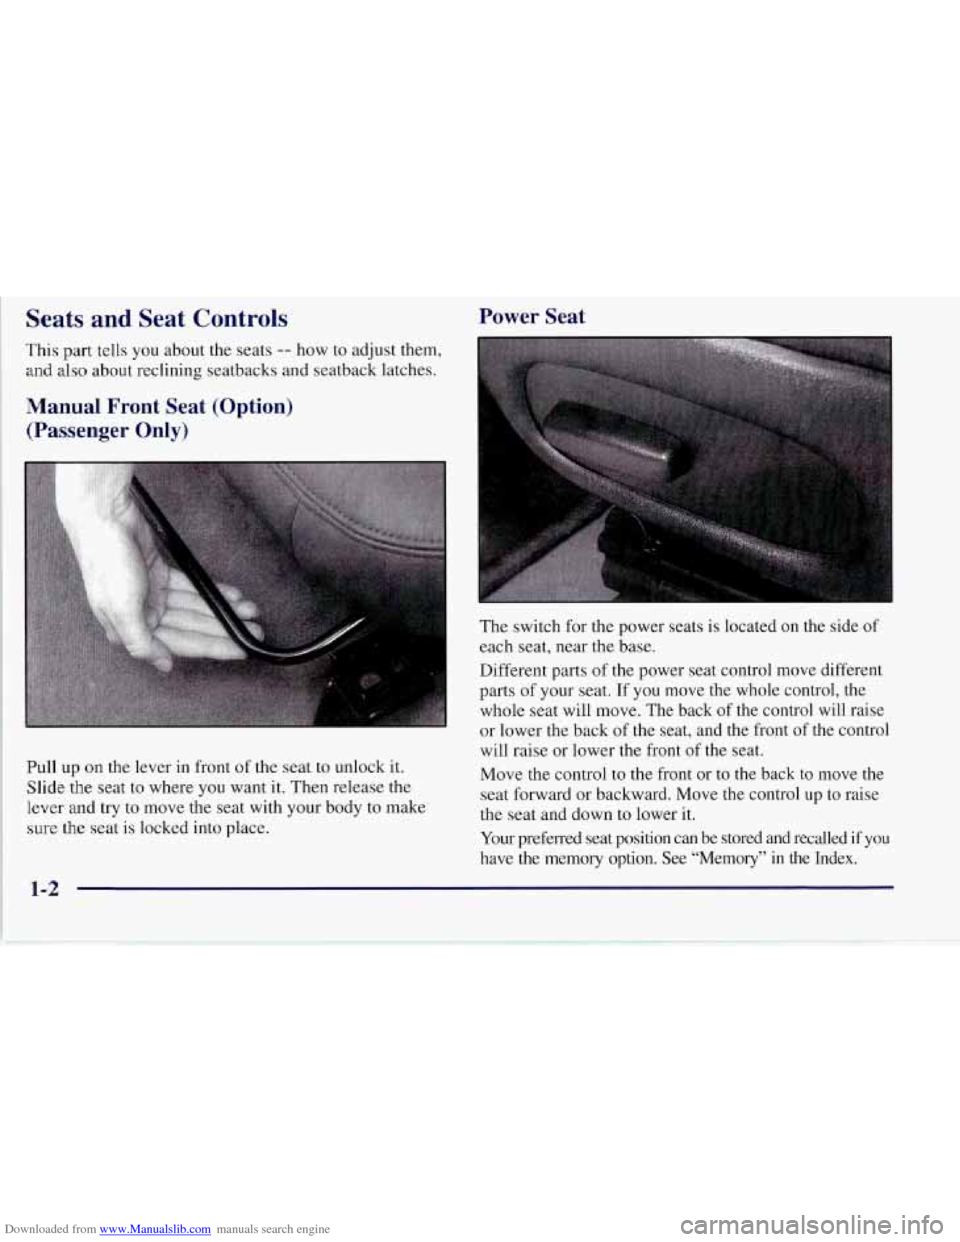
Pull up on the lever in front of the seat to unlock it.
Slide
the seat to where you want it. Then release the
lever
and try to move the seat with your body to make
sure the seat is locked into place. The
switch for the power seats is located
on the side of
each seat, near the base.
Different parts of the power seat control move different
parts of your seat. If you move the whole control, the
whole seat will move. The back of the control will raise
or lower the back of the seat, and the front of the control
will raise or lower
the front of the seat.
Move the control to the front or to the back
to move the
seat forward or backward. Move the control up
to raise
the seat and down to lower it.
Your preferred seat position can be stored and recalled
if you
have the memory option. See “Memory”
in the Index.
Page 19 of 356

Downloaded from www.Manualslib.com manuals search engine Safety Belts: They’re for Everyone
This part of the manual tells you how to use safety belts
properly. It also tells you some things you should not do
with
safety belts.
And it explains the air bag system.
I
A CAUT-ON:
-
Don’t let anyone ride where he or she can’t wear
a safety belt properly. If you are in a crash and
you’re not wearing a safety belt, your injuries
can be much worse. You can hit things inside the
vehicle or be ejected from
it. You can be seriously
injured or killed. In the same crash, you might
not be if you are buckled up. Always fasten your
safety belt, and check that your passenger’s belt
is fastened properly too.
It is extremely dangerous to ride in a cargo area,
inside or outside
of a vehicle. In a collision,
people riding in these areas are more likely to be
seriously injured or killed.
Do not allow people to
ride in any area of your vehicle that is not
equipped with seats and safety belts. Be sure
everyone in your vehicle is in a seat and using a
safety belt properly.
1-6
Page 25 of 356
Downloaded from www.Manualslib.com manuals search engine Driver Position
This part describes the driver’s restraint system.
Lap-Shoulder Belt
The driver has a lap-shoulder belt. Here’s how to
it properly.
1. Close and lock the door.
2. Adjust the seat (to see how, see “Seats’? in the
so you can sit up straight. wear
Index)
3. Pick up the latch plate and pull the belt across you.
Don’t let it get twisted.
When the lap portion
of the belt is pulled out all the
way, it will lock.
If it does, let it go back all the way
and start again. See “Lap Belt Cinch Feature” in
the Index.
I 1-12
Page 41 of 356

Downloaded from www.Manualslib.com manuals search engine Your vehicle has a passenger air bag. Never put a
rear-facing child restraint in this vehicle. Here’s why:
A child in a rear-facing child restraint can be
seriously injured if the passenger’s air bag
inflates. This is because the back of a rear-facing
child restraint would be
very close to the inflating
air bag.
Do not use a rear-facing child restraint in
this vehicle.
If a forward-facing child restraint is suitable for
your child, always move the passenger seat as far
back as it will go.
You’ll be using the lap-shoulder belt. See the earlier part
about the top strap if the child restraint has one.
1.
2.
3.
4.
Because your vehicle has a passenger air bag, always
move the seat as far back as it will
go before
securing a forward-facing child restraint. (See
“Seats” in the Index.)
Put the restraint on the seat. Follow the instructions
for the child restraint.
Secure the child in the child restraint as the
instructions say.
Pick up the latch plate, and run the lap and shoulder
portions of the vehicle’s safety belt through or
around the restraint. The child restraint instructions
will show you how.
If the shoulder belt goes in front of the child’s face
or
neck, put it behind the child restraint.
1-28
Page 130 of 356

Downloaded from www.Manualslib.com manuals search engine Driver Information Center (DIC)
The Driver Information Center (DIC) will display
information about how your vehicle is functioning, as
well as warning messages if a system problem is
detected. The DIC display area is located in the
instrument cluster below the speedometer and
tachometer, directly above the steering column.
The following buttons are on the DIC control panel
which is located to the right of the cluster:
1 FUEL: Press this button to display fuel information
such as fuel economy and range.
2 GAGES: Use this button to display gage information
like oil pressure and temperature, coolant temperature,
transmission fluid temperature, battery voltage and
fronurear tire pressures.
3 TRIP: Use this button to display your total and trip
miles, the elapsed time function, your average speed and
the oil life.
4 OPTIONS: This button allows you to choose personal
options available with your vehicle such as security,
door locks, easy entry seats and language.
5 EM: Use this button to change the display between
English and metric units.
RESET: This button, used along with the other buttons,
will reset system functions and turn off or acknowledge
messages on the DIC.
At the top
of the DIC control buttons is a light sensor.
Be sure not to block the sensor or your lighting
functions may be disrupted.
2-81
Page 136 of 356

Downloaded from www.Manualslib.com manuals search engine 4 OPTIONS
This button allows you to choose personal options
available with your vehicle, such as security, door
locks, easy entry seats and language. Some of these
functions work along with the key fob transmitter.
When returning to the options menu, the first item of
the options list will always be displayed, not the one
you were last in when you changed buttons.
1 PASSIVE UNLK DRIVER 1
APPROACH LIGHTS ON
AUTO LOCK
ON
I AUTO UNLOCK-DRIVER I
I SEAT EASY ENTRY ON
t LANGUAGE ENGLISH
LI
r
I FOB TRAINING I
The following are the options listed under the
OPTIONS button:
Lock and Arm
Press the OPTIONS button until LOCK & ARM
appears on the display, then use the RESET button to
page through the following selections:
0 LOCK & ARM OFF
0 LOCK & ARM HORN ONLY
0 LOCK & ARM LIGHTS ONLY
0 LOCK & ARM HORN & LTS
If you choose LOCK & ARM OFF, you will receive no
security feedback when locking or unlocking your vehicle.
If you choose LOCK
& ARM HORN ONLY, only the
horn will chirp to let you know when your alarm system
has armed when locking your vehicle.
If you choose LOCK
& ARM LIGHTS, only your
exterior lights will flash to let you know when your
alarm system has armed when locking your vehicle.
If you choose LOCK
& ARM HORN & LTS, the horn
will chirp and the exterior lights will flash briefly to
let you know the system has armed when locking
your vehicle.
2-87