Page 208 of 356
Downloaded from www.Manualslib.com manuals search engine Snow can trap exhaust gases under your vehicle.
This can cause deadly
CO (carbon monoxide) gas
to get inside.
CO could overcome you and kill
you. You can’t see it or smell it, so you might not
know it
is in your vehicle. Clear away snow from
around the base of your vehicle, especially any
that
is blocking your exhaust pipe. And check
around again from time to time to be sure
snow
doesn’t collect there.
Open a window just
a little on the side of the
vehicle that’s away from the wind. This will help
keep
CO out.
I Run your engine only as long as you must. This saves
fuel. When you run the engine, make it
go a little faster
than just idle. That is, push the accelerator slightly. This
uses less fuel for the heat that you get and it keeps the
battery charged. You will need a well-charged battery to
restart the vehicle, and possibly for signaling later on
with your headlamps. Let the heater run for a while.
Then, shut the engine off and close the window almost
all the way to preserve the heat. Start the engine again
and repeat this only when you feel really uncomfortable
from the cold. But do
it as little as possible. Preserve the
fuel as long
as you can. To help keep warm, you can get
out of the vehicle and do some fairly vigorous exercises
every half hour
or so until help comes.
4-29
Page 220 of 356
Downloaded from www.Manualslib.com manuals search engine I
’
A CAUTION:
I
To help avoid injury to you or others:
Never let passengers ride in a vehicle that is
Never tow faster than safe or posted speeds.
Never tow with damaged parts not fully
Never get under your vehicle after it has
Always secure the vehicle on each side with
Use only R-hooks. being towed.
secured.
been lifted by the tow truck.
separate safety chains when towing it.
A vehicle can fall from a car carrier if it isn’t
adequately secured. This can cause
a collision,
serious personal injury and vehicle damage. The
vehicle should be tightly secured with chains or
steel cables before it is transported.
Don’t use substitutes (ropes, leather straps,
canvas webbing, etc.) that can be cut by sharp
edges underneath the towed vehicle. Always use
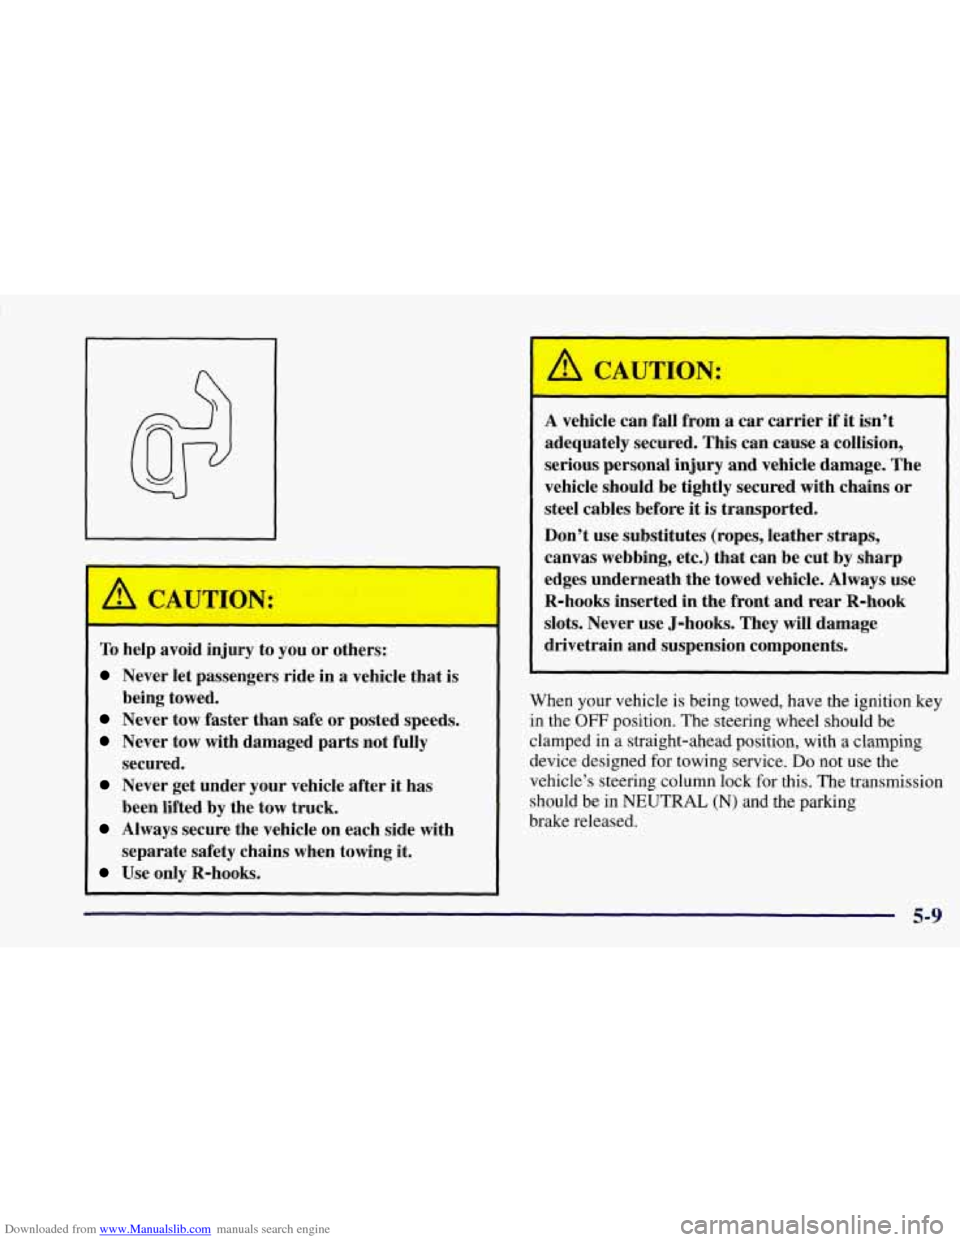
R-hooks inserted
in the front and rear R-hook
slots. Never use J-hooks. They will damage
drivetrain and suspension components.
When your vehicle is being towed, have the ignition key
in the
OFF position. The steering wheel should be
clamped in
a straight-ahead position, with a clamping
device designed for towing service.
Do not use the
vehicle’s steering column lock for this. The transmission
should be in
NEUTRAL (N) and the parking
brake released.
5-9
Page 242 of 356
Downloaded from www.Manualslib.com manuals search engine If you get gasoline on yourself and then
something ignites
it, you could be badly burned.
Gasoline can spray out on you
if you open the
fuel filler cap too quickly. This spray can happen
if your tank is nearly full, and is more likely in
hot weather. Open the fuel filler cap slowly and
wait for any “hiss” noise to stop. Then unscrew
the cap all the way.
Be careful not to spill gasoline. Clean gasoline from
painted surfaces as soon as possible.
See “Cleaning the
Outside of Your Corvette” in the Index. When
you put
the cap back on, turn it to the right
(clockwise) until you hear a clicking sound. Make sure
you fully install the cap.
NOTICE:
If you need a new cap, be sure to get the right
type. Your dealer can get one for you.
If you get
the wrong type, it may not
fit or have proper
venting, and your fuel tank and emissions system
might be damaged.
6-7
Page 272 of 356
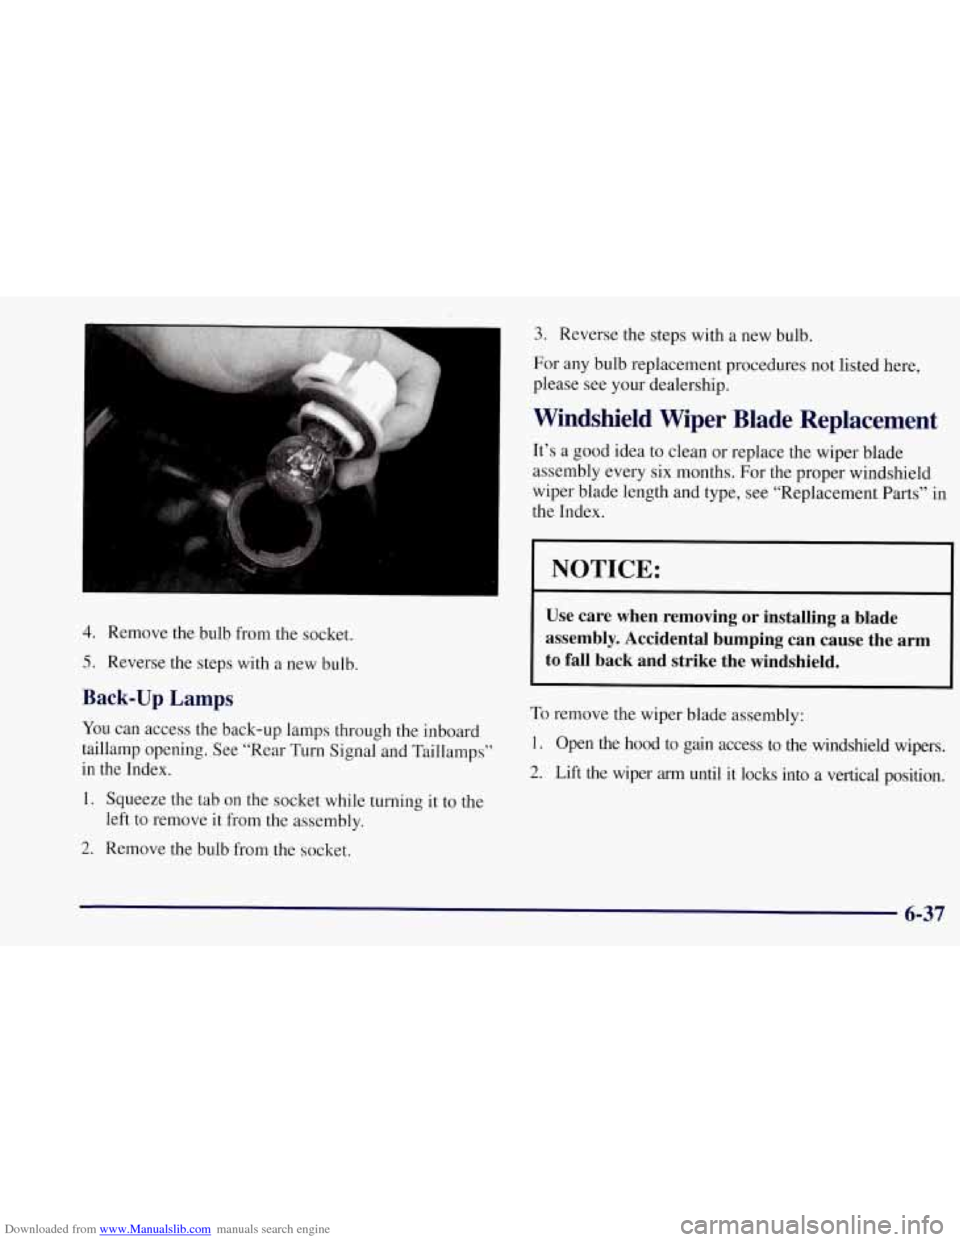
Downloaded from www.Manualslib.com manuals search engine 4. Remove the bulb from the socket.
5. Reverse the steps with a new bulb.
Back-up Lamps
YOU can access the back-up lamps through the inboard
taillamp opening. See “Rear Turn Signal and Taillamps”
in the Index.
1. Squeeze the tab on the socket while turning
it to the
2. Remove the bulb from the socket.
left
to remove it from the assembly.
3. Reverse the steps with a new bulb.
For any bulb replacement procedures not listed here,
please see your dealership.
Windshield Wiper Blade Replacement
It’s a good idea to clean or replace the wiper blade
assembly every six months. For the proper windshield
wiper blade length and type, see “Replacement Parts” in
the Index.
NOTICE:
Use care when removing or installing a blade
assembly. Accidental bumping can cause the
arm
to fall back and strike the windshield.
To remove the wiper blade assembly:
I. Open the hood to gain access to the windshield wipers.
2. Lift the wiper arm until it locks into a vertical position.
6-37
Page 273 of 356
Downloaded from www.Manualslib.com manuals search engine A. Blade Assembly
B. Arm Assembly
C. Locking Tab
D. Blade Pivot
E. Hook Slot
E ArmHook
3.
4.
Press down on the blade assembly pivot locking tab.
Pull down on the blade assembly to release it from
the wiper arm hook.
Remove the insert from the blade assembly. The
insert has two notches at one end that are locked by
the bottom claws of the blade assembly. At the
notched end, pull the insert from the blade assembly.
4 \-
Page 274 of 356
Downloaded from www.Manualslib.com manuals search engine To install the new wiper insert:
1. Slide the insert
(D), notched end last, into the end
with two blade claws
(A). Slide the insert all the way
through the blade claws at the opposite end
(B).
Plastic caps (C) will be forced off as the insert is
fully installed.
2. Be sure the notches are locked by the bottom claws.
Make sure that all other claws are properly locked on
both sides of the insert slots.
A
B w C
A. Claw in Notch
B. Correct Installation
C. Incorrect Installation
3. Put the blade assembly pivot in the wiper arm hook.
Pull up until the pivot locking tab locks in the
hook slot.
4. Carefully lower the wiper arm and blade assembly
into the windshield.
Page 285 of 356
Downloaded from www.Manualslib.com manuals search engine Used Replacement Wheels
Putting a used wheel on your vehicle is
dangerous. You can’t know how
it’s been used or
how far
it’s been driven. It could fail suddenly
and cause an accident.
If you have to replace a
wheel, use a new
GM original equipment wheel.
Using the Wheel Lock Key
The wheel lock key sits in a small depression in
the trunk rail directly under the left-hand rear
compartment cover.
Your vehicle wheel lock key has a unique registration
number. The registration number is printed on a card
included
in your lock nut package. Also on this card is
lost key replacement information. This number is not
recorded by
GM or your dealer, so be sure not to lose
this card. You will need the information if you ever lose
your wheel lock key.
If you or someone else is going to remove the wheels on
your vehicle, make sure that the special wheel nut socket
and wheel lock key are being used.
NOTICE:
Your wheels could be damaged if the wheel
nut socket is not used
to remove your
vehicle’s wheels.
The wheel nut socket can be used with an air wrench or
a torque wrench. The wheel lock key can
be used with a
torque wrench, but not with an air or impact wrench.
NOTICE:
Your wheel lock key or lock nuts could be
damaged if an
air or impact wrench is used with
this key.
6-50
Page 296 of 356
Downloaded from www.Manualslib.com manuals search engine Electrical System
Add-on Electrical Equipment
NOTICE:
Don’t add anything electrical to your Corvette
unless you check with your dealer first. Some
electrical equipment can damage your vehicle
and the damage wouldn’t be covered
by your
warranty. Some add-on electrical equipment
can keep other components from working as
they should.
Your vehicle has an air bag system. Before attempting to
add anything electrical to your Corvette,
see “Servicing
Your Air Bag-Equipped Corvette” in the Index.
Accessory Power Plug
This plug can be used to connect electrical equipment
such as a cellular phone or CB radio. The accessory
power plug is located at the top left corner
of the
passenger’s side footwell. Be sure to follow the
installation instructions included with the equipment.
To use the accessory power plug:
1. Remove the toe-board panel by lifting up on the
latches at the top
of each corner of the panel.
2. Locate the black connector at the left top corner of
the compartment near the body control module
above the two white diagnostic connectors.
3. Disconnect the connector pigtail by pulling forward
on the plastic locking tab and pull the connection
apart from the wire harness.
The plug has three separate wires:
The orange wire connects to battery power.
The yellow wire connects to ignition power. Power is
The black wire connects to ground.
only
available in the ignition
ON position.
6-61